
How to Build a Video JSON Pipeline That Renders Everywhere With VideoFlow
If you need one video template to work in a browser export, a server job, and a live preview, do not split the project into three separate timelines. Keep the scene as JSON and let VideoFlow render it where you need it. That gives you one source of truth, a format you can diff in Git, and a setup that is easy to automate.
Because the core and renderers are open source under Apache-2.0, this is a good fit when you want a pipeline you can keep inside your own repo instead of locking the workflow into a closed timeline format.
What You Need First
- A Node.js project.
@videoflow/corefor authoring the scene.- One renderer package for the environment you care about first.
- Optional:
@videoflow/react-video-editorif you want a human-friendly timeline UI on top.
1. Define The Scene Once
Start with a small scene that you can understand at a glance. The important part is not the exact animation; it is that the video lives in code and can be compiled into portable VideoJSON.
Install the core package first:
npm install @videoflow/core
Then author a scene with the fluent builder API and compile it to JSON:
import VideoFlow from "@videoflow/core";

const $ = new VideoFlow({
  name: "My Video",
  width: 1920,
  height: 1080,
  fps: 30,
});

$.addText(
  { text: "Hello, VideoFlow!", fontSize: 7, fontWeight: 800 },
  { transitionIn: { transition: "overshootPop", duration: "500ms" } }
);

const json = await $.compile();

At this point the important artifact is json, not the MP4. That is what makes the workflow portable. You can store it, review it, regenerate it later, or hand it to a different renderer without rewriting the scene.
2. Keep The JSON Portable In Git
Do not treat the exported MP4 as the source of truth. Keep the JSON next to the code that generated it, then commit both when you want the template to be reproducible.
That is where VideoFlow becomes more useful than a one-off export script:
- You can diff scene changes instead of comparing rendered video files.
- You can version templates and roll them forward carefully.
- You can generate scenes from data later, including product data or AI output.
- You can replay the same template for a new campaign without rebuilding the layout.
If you are building an automation, this is the step that keeps the pipeline sane. The JSON is the contract. The renderer is just an execution target.
3. Pick The Right Renderer For The Job
VideoFlow supports different render targets from the same VideoJSON source, so choose by environment instead of cloning the template.
- Use the browser renderer when a user clicks Export inside your app and you want to avoid sending the project to a server.
- Use the server renderer when you need APIs, queues, CI jobs, or scheduled batch renders.
- Use the DOM renderer when you want live, scrubbable preview playback in an editor or dashboard.
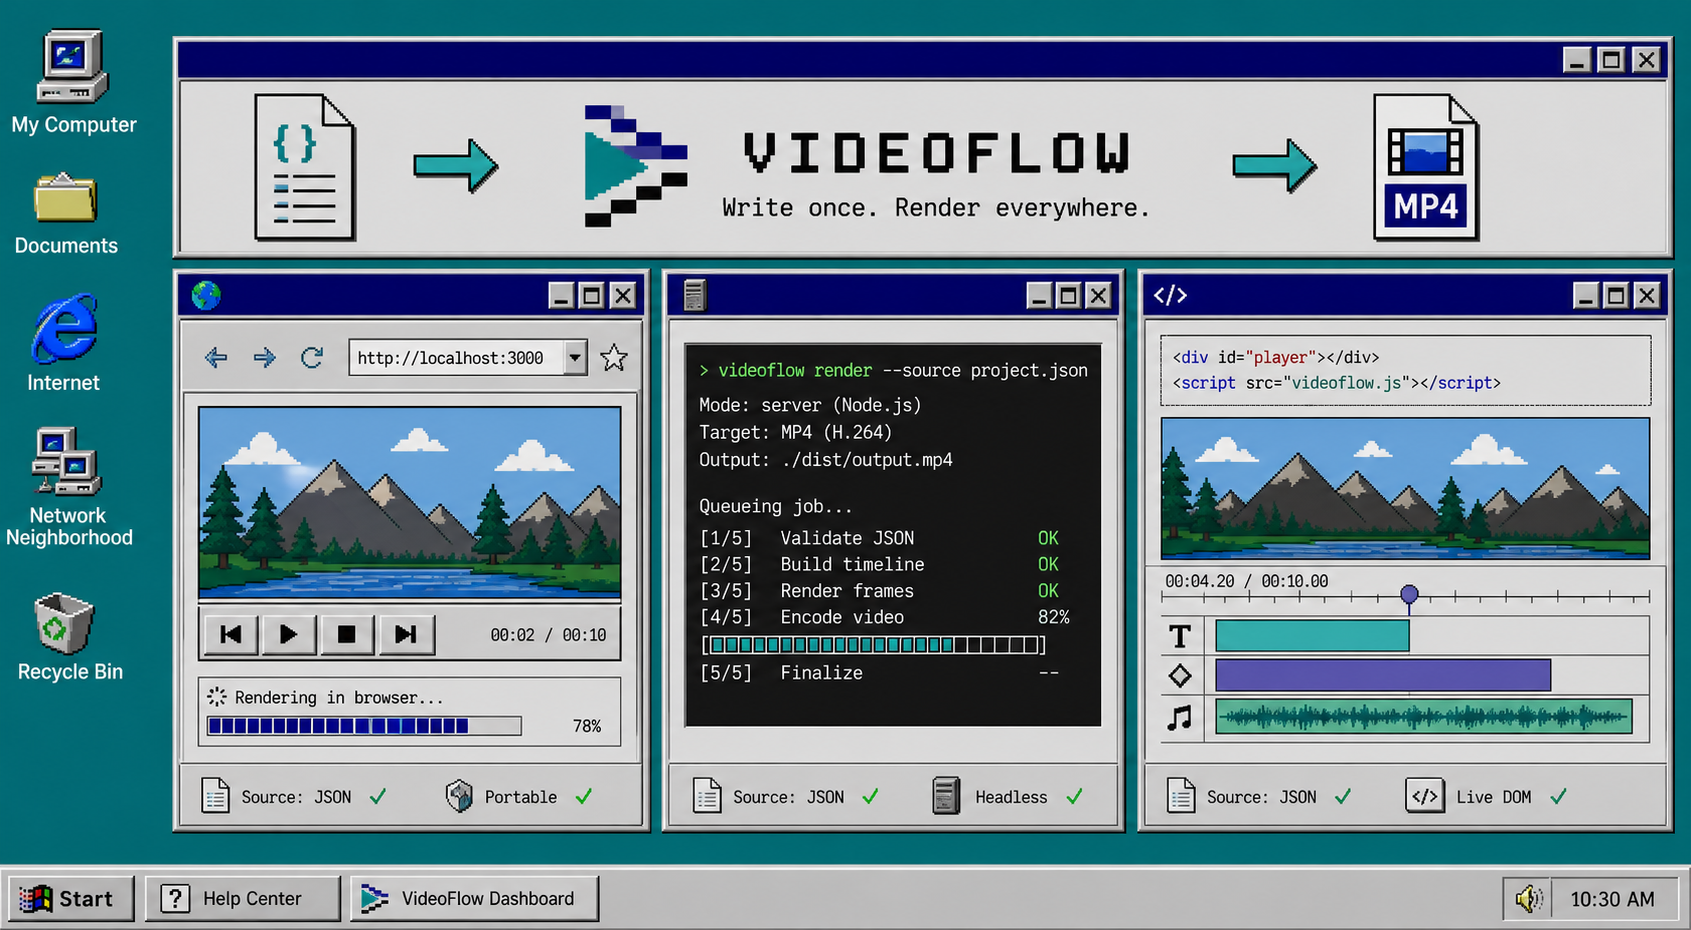
The practical test is simple: if the same JSON can drive all three paths, you have a reusable template. If one path needs a different scene file, the workflow is still too split up.
For the implementation details, the renderers docs are the fastest place to sanity-check which backend matches your use case: https://videoflow.dev/renderers
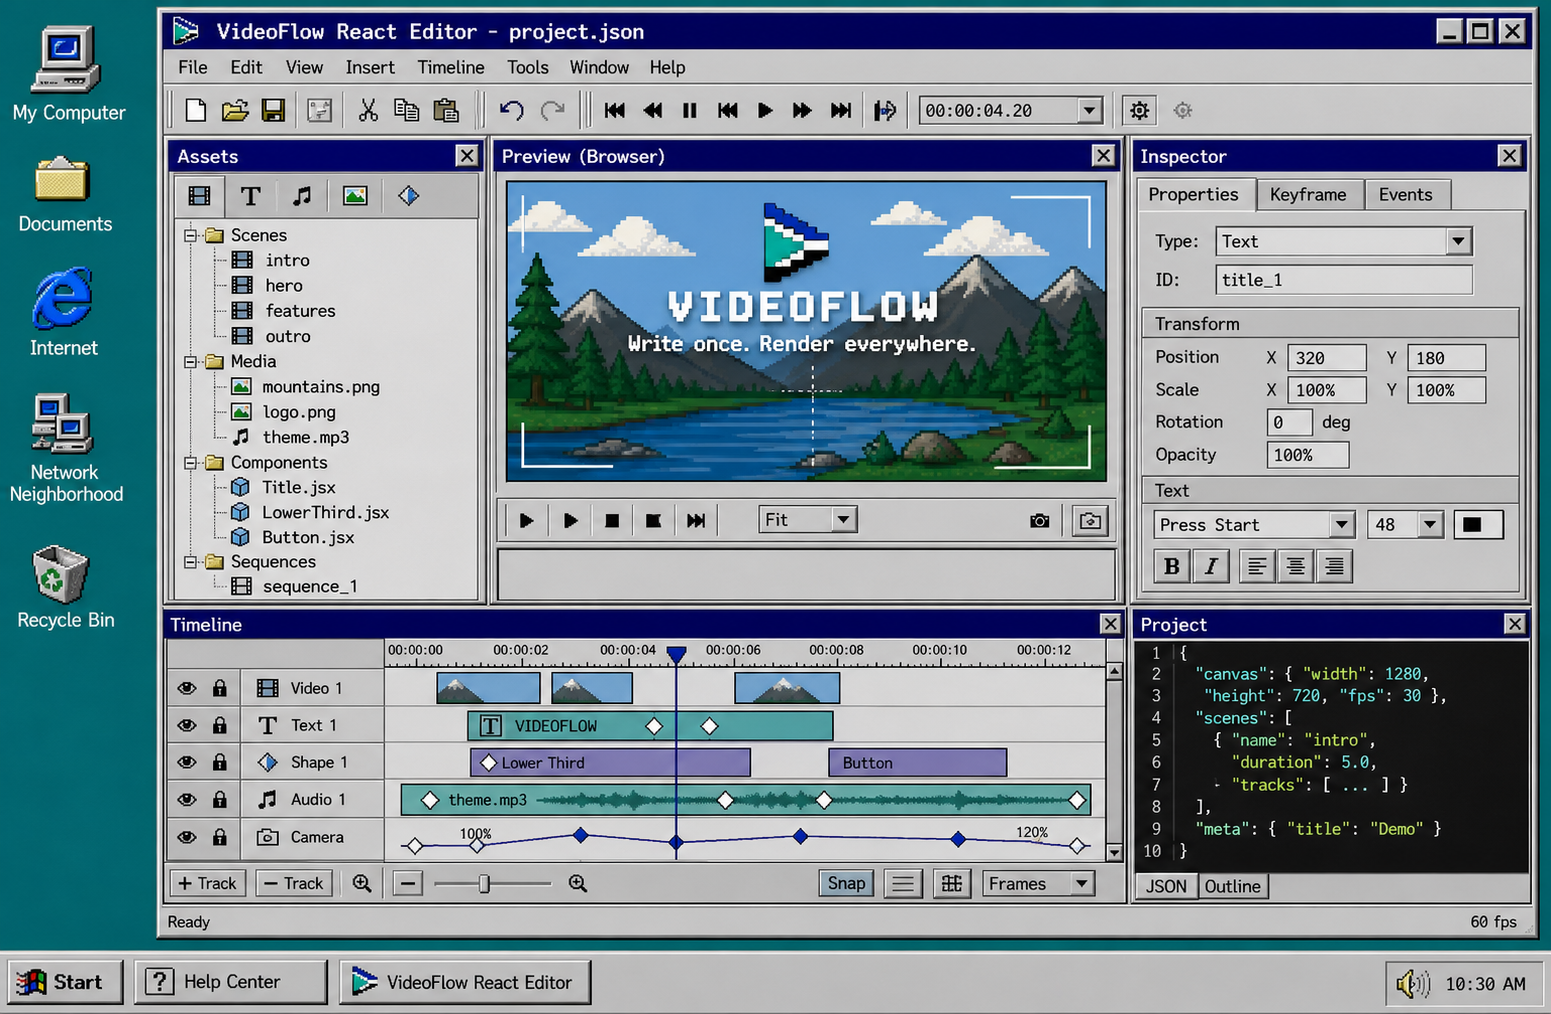
4. Add A Timeline Editor Only When Humans Need To Touch It
If developers are the only editors, JSON plus code is enough. If designers, marketers, or operators need to tweak scenes, add the React video editor on top of the same data model instead of inventing a separate timeline format.
import { VideoEditor } from "@videoflow/react-video-editor";
import "@videoflow/react-video-editor/style.css";

export default function App() {
  return (
    <VideoEditor
      video={videoJSON}
      onChange={(next) => saveToServer(next)}
      onSave={async (next) => await persist(next)}
      onUpload={async (file) => await upload(file)}
      theme="dark"
    />
  );
}
The editor gives you a multi-track timeline, drag-and-drop editing, keyframes, undo and redo, and a live preview driven by the DOM renderer. That is useful when the workflow needs a human in the loop, but you still want the source data to stay portable.
5. Let Data Or AI Author The JSON, Not The Final MP4
This is where the JSON-first design really pays off. If you are generating personalized videos, product demos, reports, or campaign variations, have the automation produce structured scene data first. Then hand that scene to the renderer.
Good inputs for this kind of pipeline include product data, campaign copy, a scene outline, or an AI agent that can produce a valid video structure. The renderer should be the last step, not the place where all the logic lives.
That separation makes the system easier to debug. If the result is wrong, you inspect the scene data. If the scene is right but the output is off, you inspect the renderer or the environment.
Troubleshooting The Usual Problems
If the browser render and the server render do not look the same, check fonts, asset paths, and dimensions first. Mismatched assets cause more confusion than the actual animation code.
If the editor preview looks different from export, make sure the preview and export paths are using the same width, height, and fps values.
If the scene becomes hard to maintain, move repeated elements into reusable template code instead of copying and pasting whole scenes.
If an AI model is generating the JSON, validate the structure before you render. Treat the model as a scene author, not as the final publisher.
Related Guides
- How to Generate MP4 Videos from JSON with TypeScript
- How I Kept Video Templates Versionable in Git With VideoFlow
- How to Build a Portable JSON-to-Video Pipeline with VideoFlow
- How to Turn Product Data Into MP4 Videos with VideoFlow
Next Step
Start with @videoflow/core, build one reusable template, and render it in one environment first. Once that works, add the browser, server, and DOM split where it actually helps. If you want the quickest path to validation, try the docs and playground here: https://videoflow.dev/docs and https://videoflow.dev/playground.