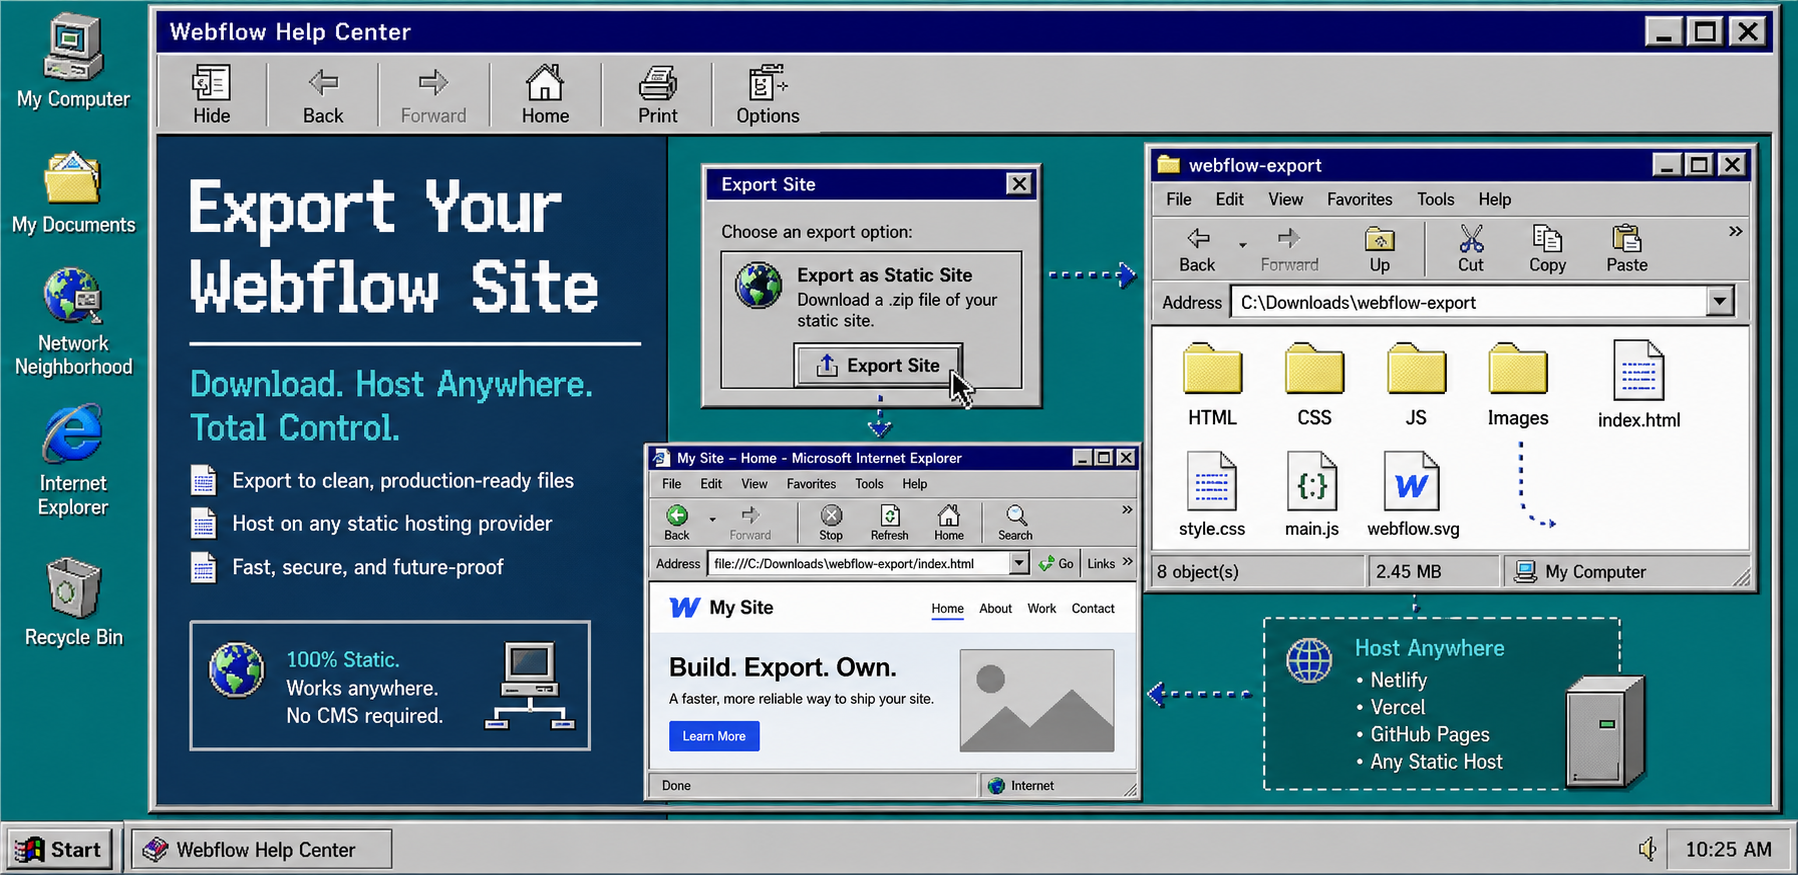
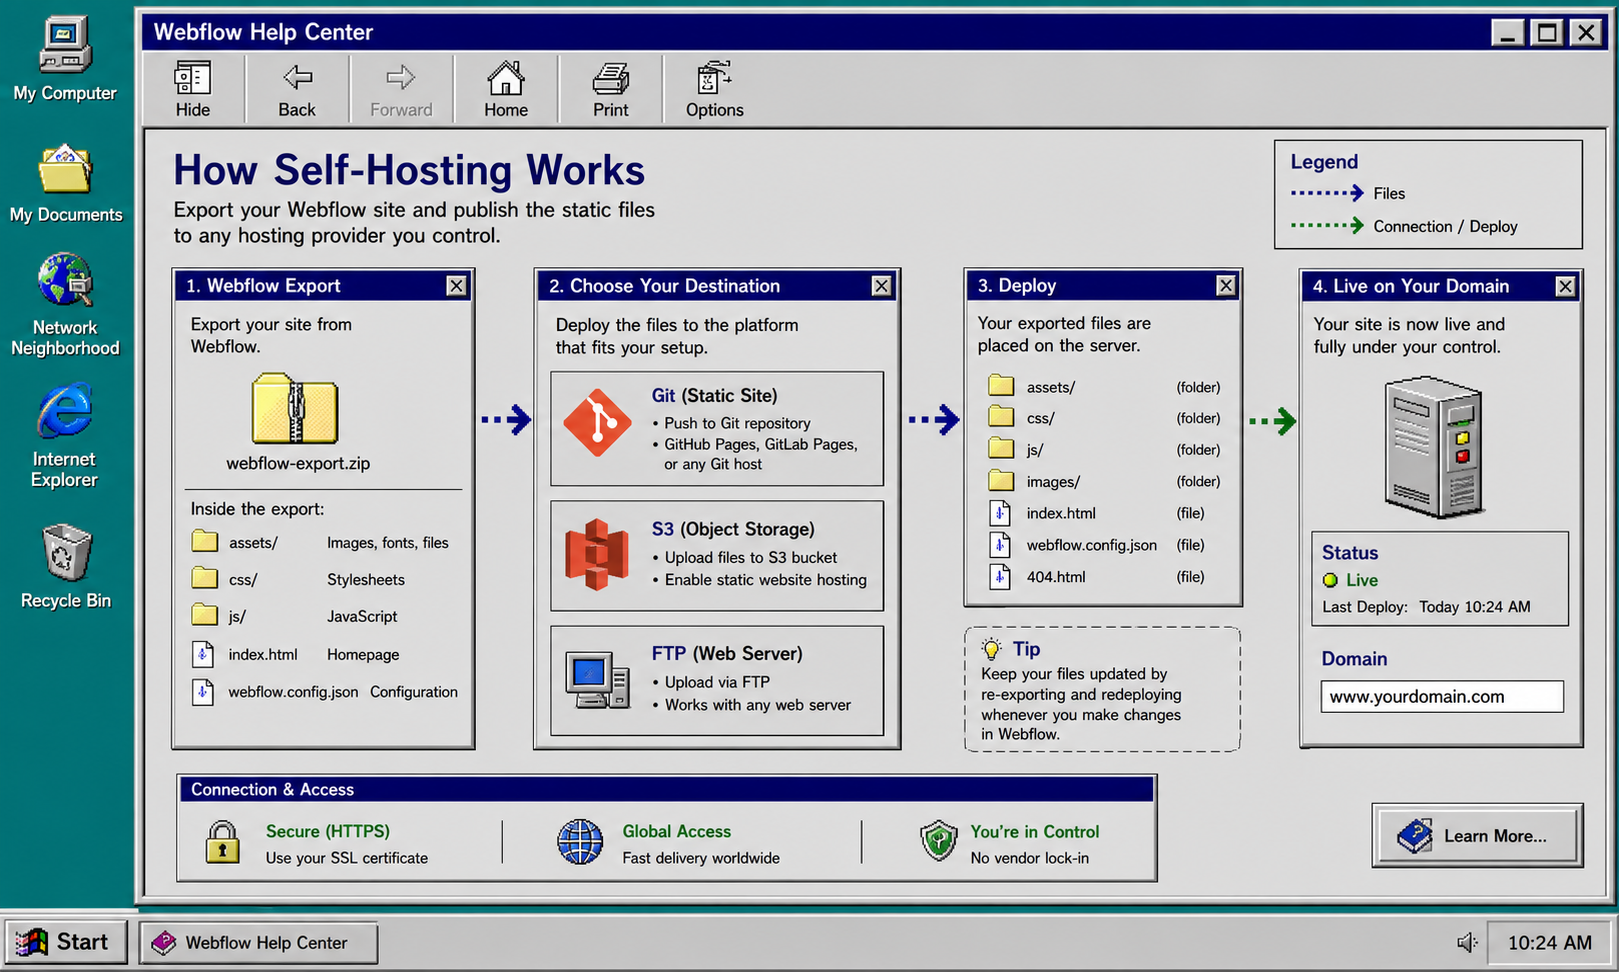
If you need a clean static copy of a Webflow site, the safest workflow is simple: export the site, inspect the files, and then choose whether you want to host it yourself or sync it to Git, S3, or FTP. ExFlow is built for that exact job, so you can download a Webflow site by URL instead of rebuilding it by hand.
If you are deciding whether this is the right path, these related guides cover the same problem from different angles: How to Export a Webflow CMS Site Without Losing Dynamic Content, Webflow CMS to HTML: A Practical Export and Self-Hosting Checklist, How to Move a Webflow Site to GitHub Pages with ExFlow, and How to Replace Webflow Hosting With GitHub Pages Using ExFlow.
1. Enter the Webflow URL first
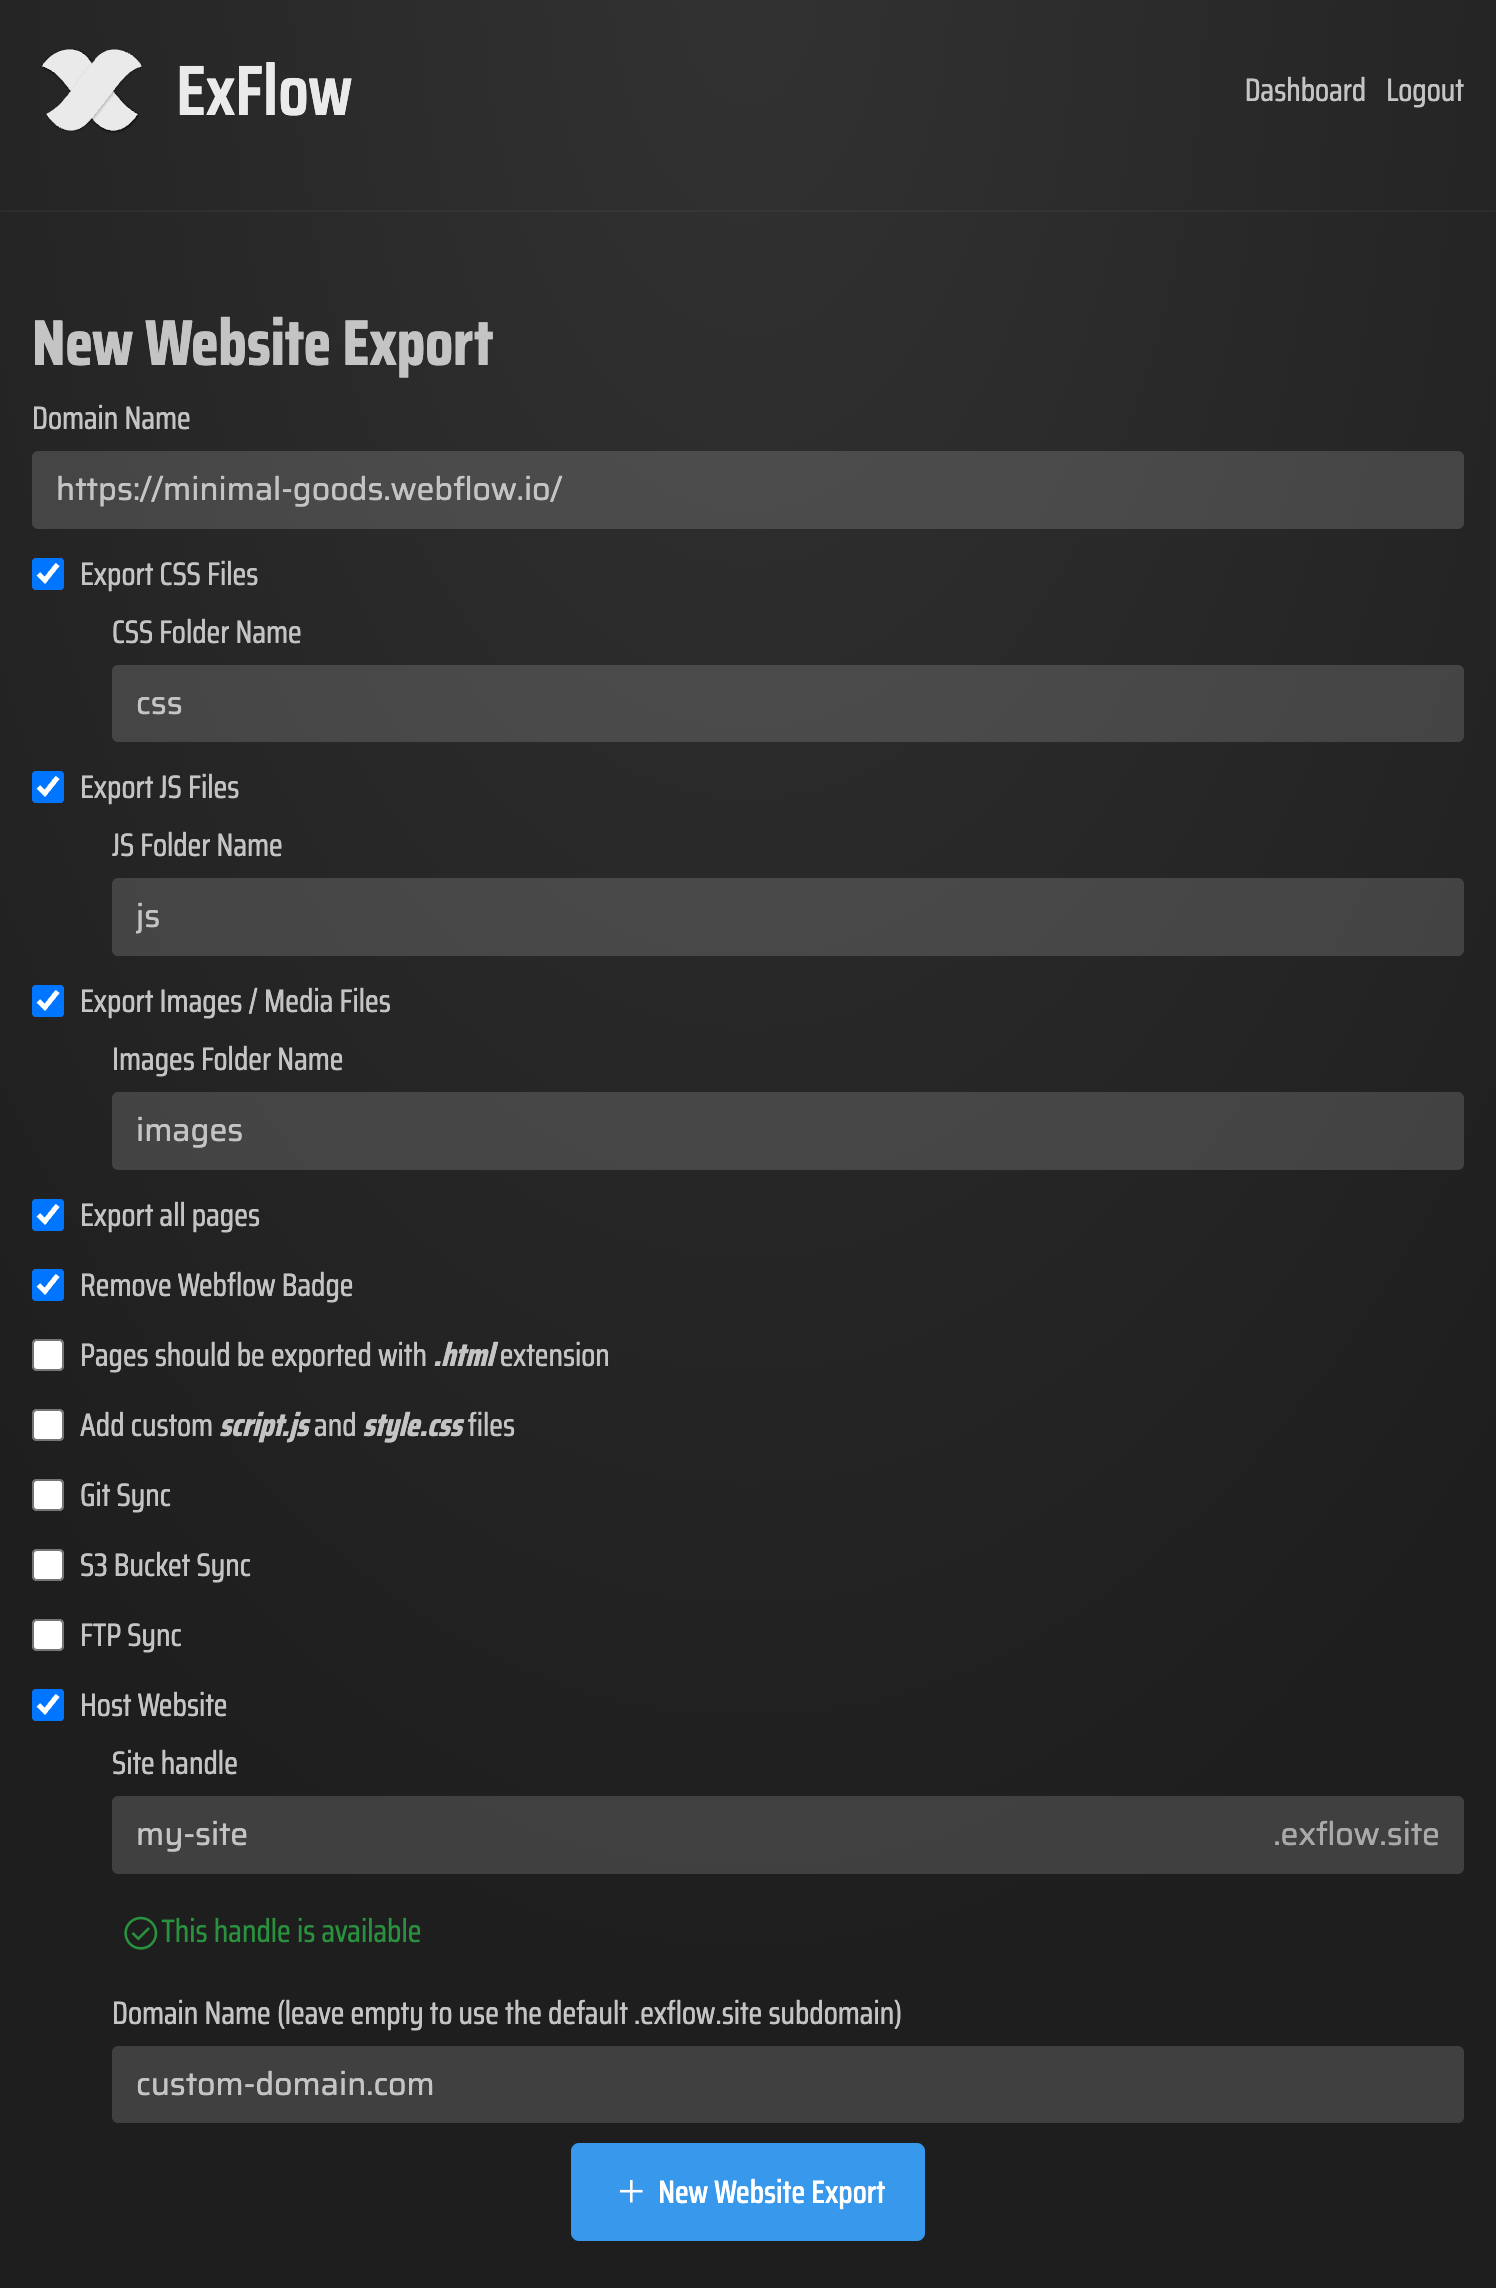
Go to ExFlow.site and paste the exact Webflow URL you want to export. Use the live site URL, not a draft link or a local preview.
When the URL is valid, you should move from a blank form into the export settings screen. That is your sign that ExFlow has recognized the site and is ready to build the package.
If you are exporting a client site, confirm the URL with the owner before you start. A wrong URL usually means the wrong pages, assets, and CMS output.
2. Choose only the export settings you need
The export panel gives you a few simple choices, and it is better to start with the smallest set that matches your goal.
Turn on these options when you want a complete static copy:
- Export CSS Files
- Export JS Files
- Export Images / Media Files
- Export All Pages
If branding is part of the task, also enable Remove “Made with Webflow” Badge. If you need extra behavior or styling, add custom script.js and style.css files only after you know exactly what those files should contain.
At this stage, the main question is not what else can be exported. It is what the destination needs to work. If the answer is a static mirror, keep the settings focused. If the answer is a deployable site, add the minimum extras required for that host.
For the CMS-heavy version of this workflow, How to Export a Webflow CMS Site Without Losing Dynamic Content is the better companion read.
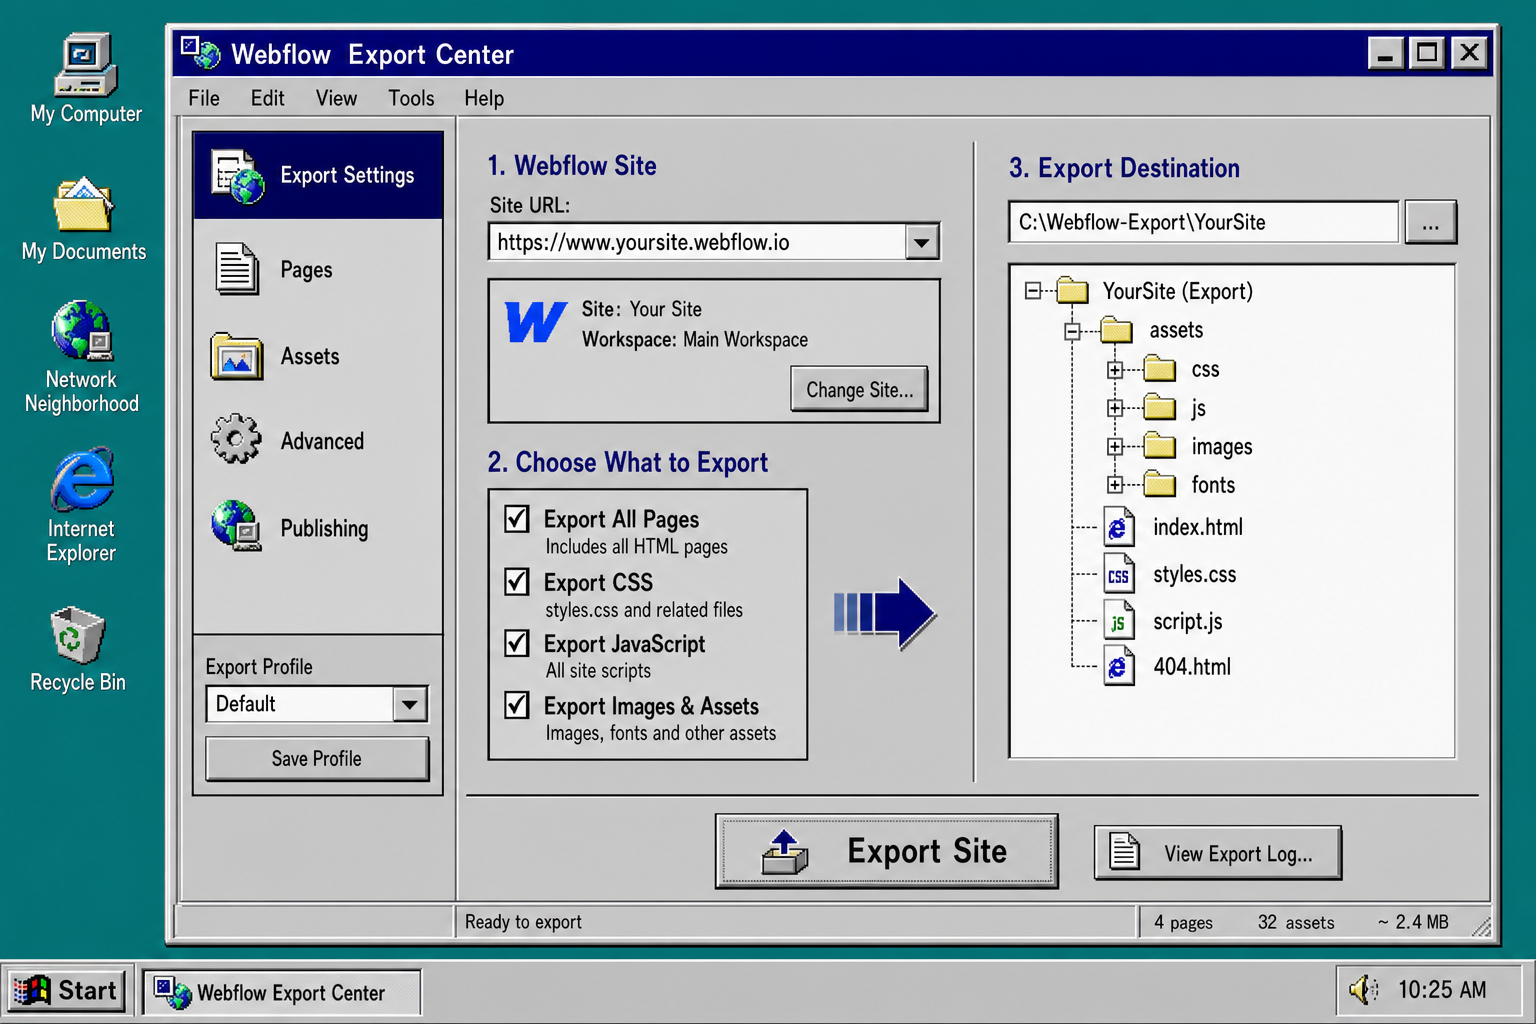
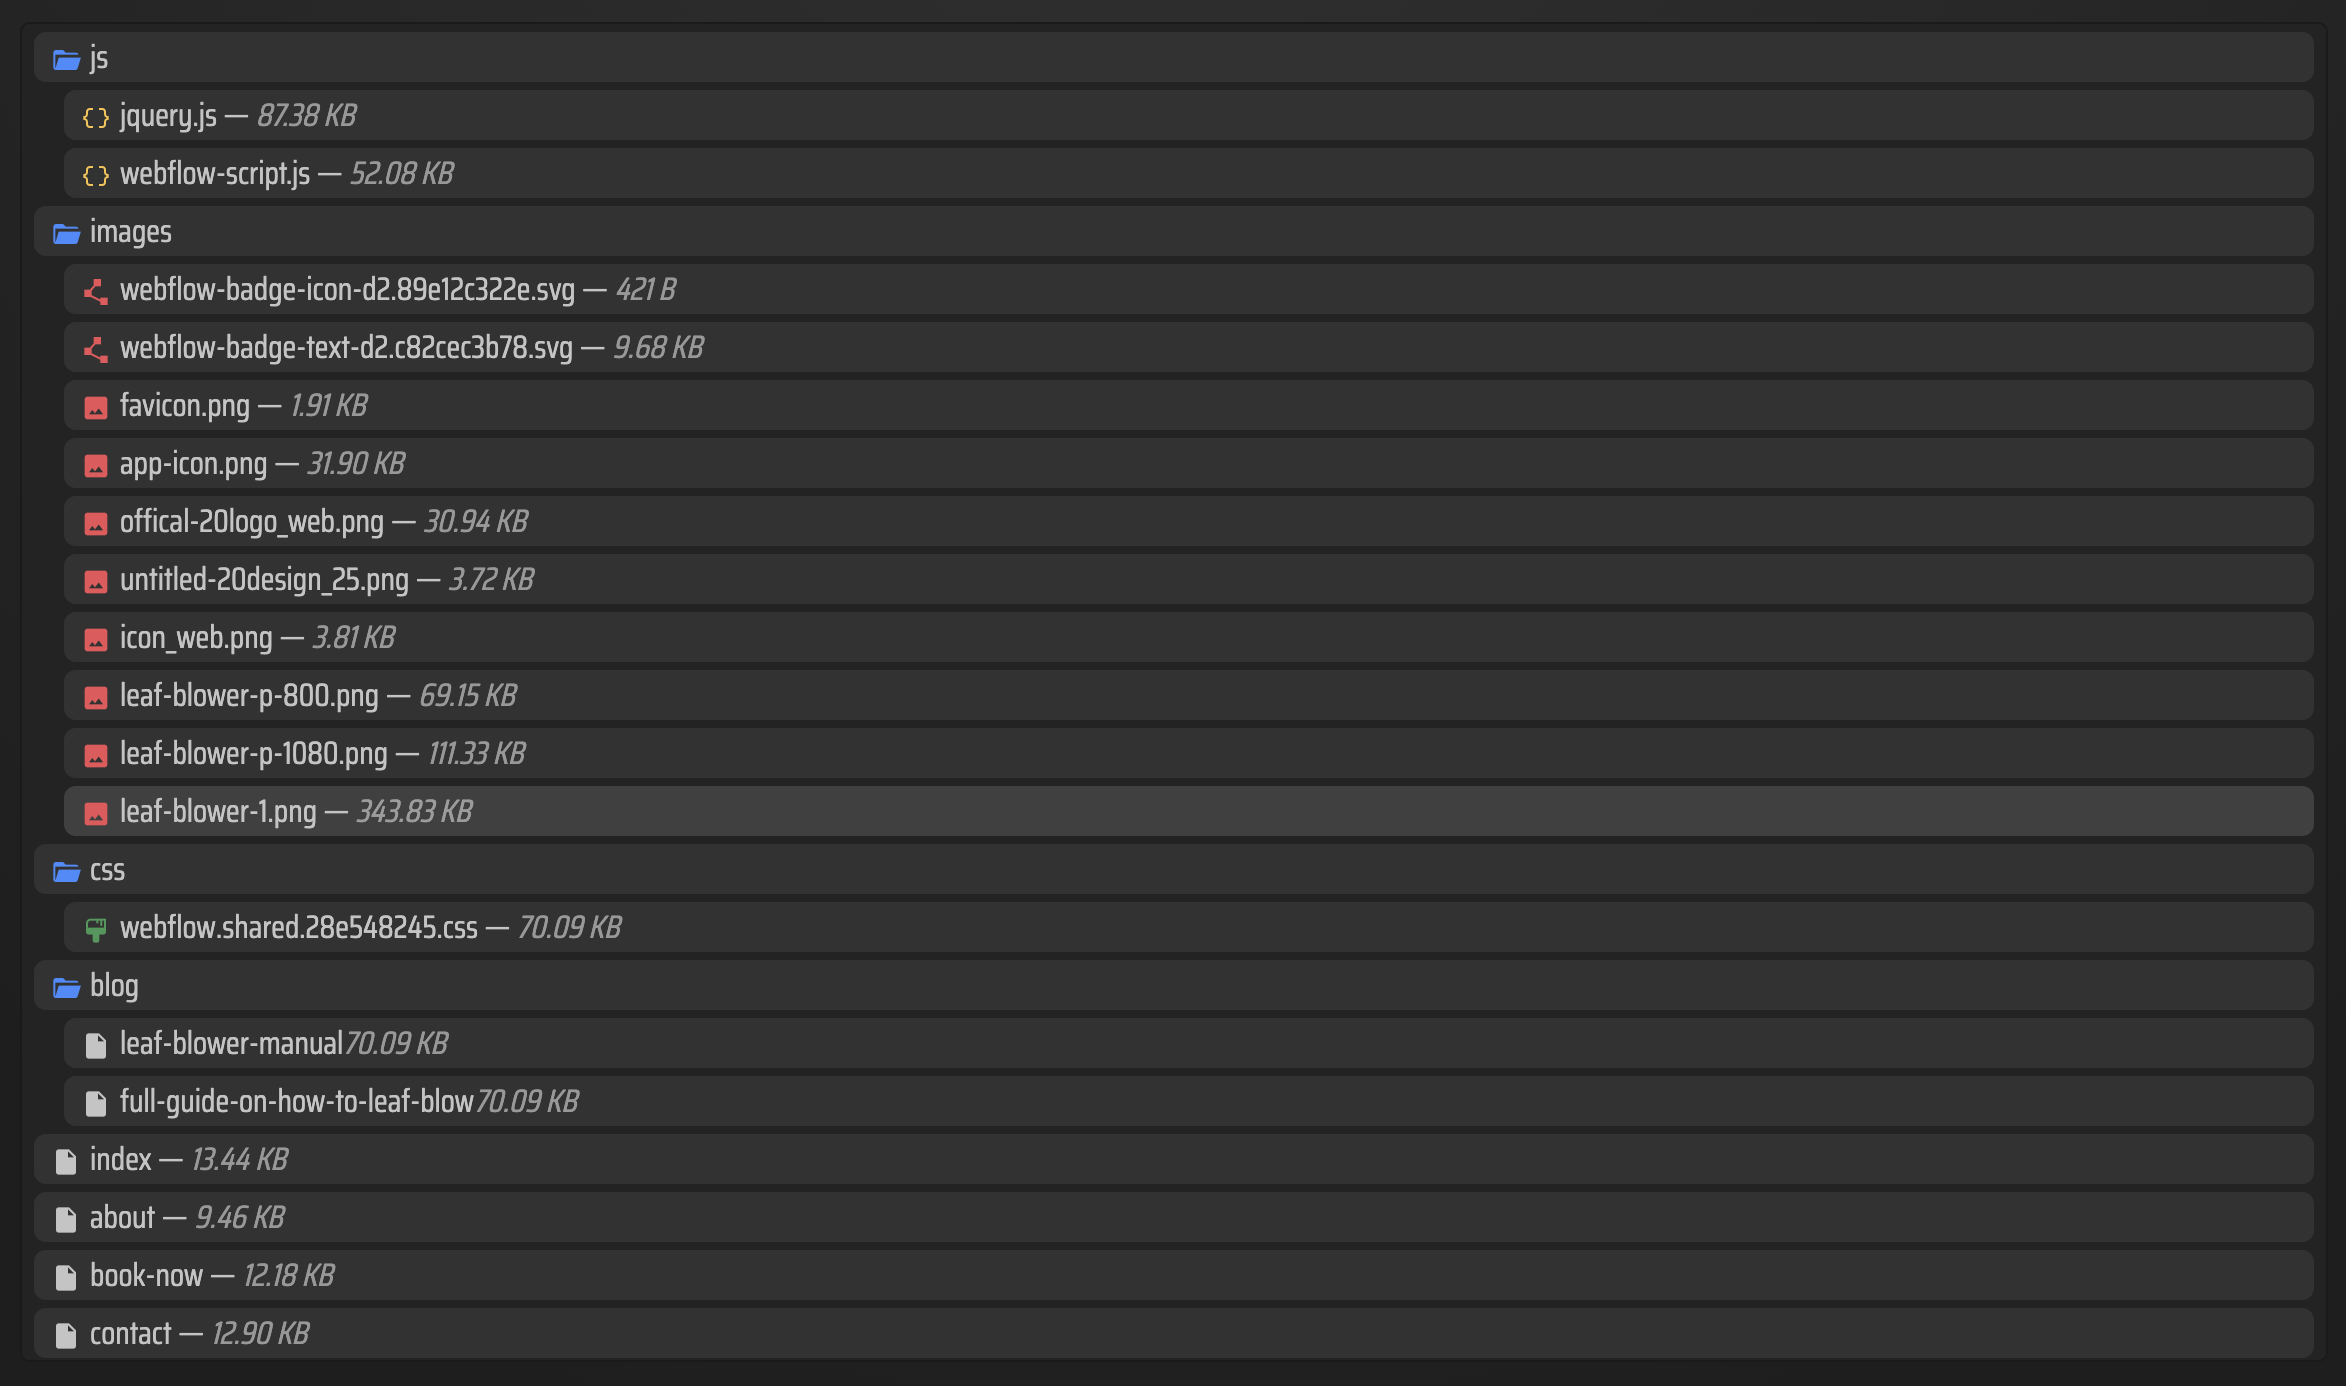
3. Export and inspect the file tree
Run the export and open the downloaded output before you try to publish it anywhere else. The folder should look like a normal static site, not a Webflow project file dump.
Look for:
- HTML pages with a .html extension
- Stylesheets in CSS files
- JavaScript in separate JS files
- Images and media in a dedicated assets folder
- Any CMS pages you expected to see
If the output is missing a page, do not patch it manually unless you really have to. Go back and change the export settings first, because that usually tells you what was excluded.
If your goal is a simple HTML handoff, this is often enough. If your goal is migration, the next step is to pick the right destination before the files drift out of sync with the source.
4. Pick the right destination for the exported site
ExFlow gives you four common paths after export: Hosting, Sync Git, Sync S3, and Sync FTP. The right choice depends on where the site is going next.
Use Hosting when you want the fastest path and do not want to manage deployment yourself. Use Sync Git when version history matters or when your team already deploys from a repository. Use Sync S3 when you want static hosting with object storage. Use Sync FTP when the target is a legacy server that still expects FTP uploads.
Keep credentials private if you use Git, S3, or FTP sync. Only enter the credentials you need for the destination you actually plan to use.
If your destination is GitHub Pages specifically, How to Move a Webflow Site to GitHub Pages with ExFlow and How to Replace Webflow Hosting With GitHub Pages Using ExFlow spell out that path in more detail.
5. Re-export when the site changes
A Webflow export is a snapshot. If the design changes, the CMS changes, or the page structure changes, run the export again instead of assuming the old files still match the live site.
The cleanest habit is to keep one short note with the settings that worked:
- which export boxes were enabled
- whether the badge was removed
- whether custom script.js or style.css files were included
- which hosting destination you used
That makes the next export much easier to repeat. It also keeps you from guessing when someone asks for a fresh static copy a month later.
Troubleshooting
If the export does not look right, I usually check the problem in this order:
- Confirm that Export All Pages was enabled if you expected a full site.
- Confirm that Export Images / Media Files was enabled if the page looks broken.
- Confirm that Remove “Made with Webflow” Badge was enabled if the branding is still showing.
- Confirm that the right URL was entered if the pages are not the ones you expected.
- Confirm that your destination credentials are current if Git, S3, or FTP sync fails.
For a stripped-down checklist version of this workflow, Webflow CMS to HTML: A Practical Export and Self-Hosting Checklist is a good quick reference.
The short version
To export a Webflow site cleanly, enter the site URL in ExFlow, choose the export settings that match the job, inspect the downloaded HTML and assets, and then send the result to Hosting, Git, S3, or FTP.
That gives you a Webflow exporter workflow that is easier to repeat than a manual rebuild. The next step is to export one real site, confirm the file tree, and decide whether the final home should be hosted by ExFlow or synced to your own stack.