If you want 3D media on Shopify, do not start with the camera. Start with the product.
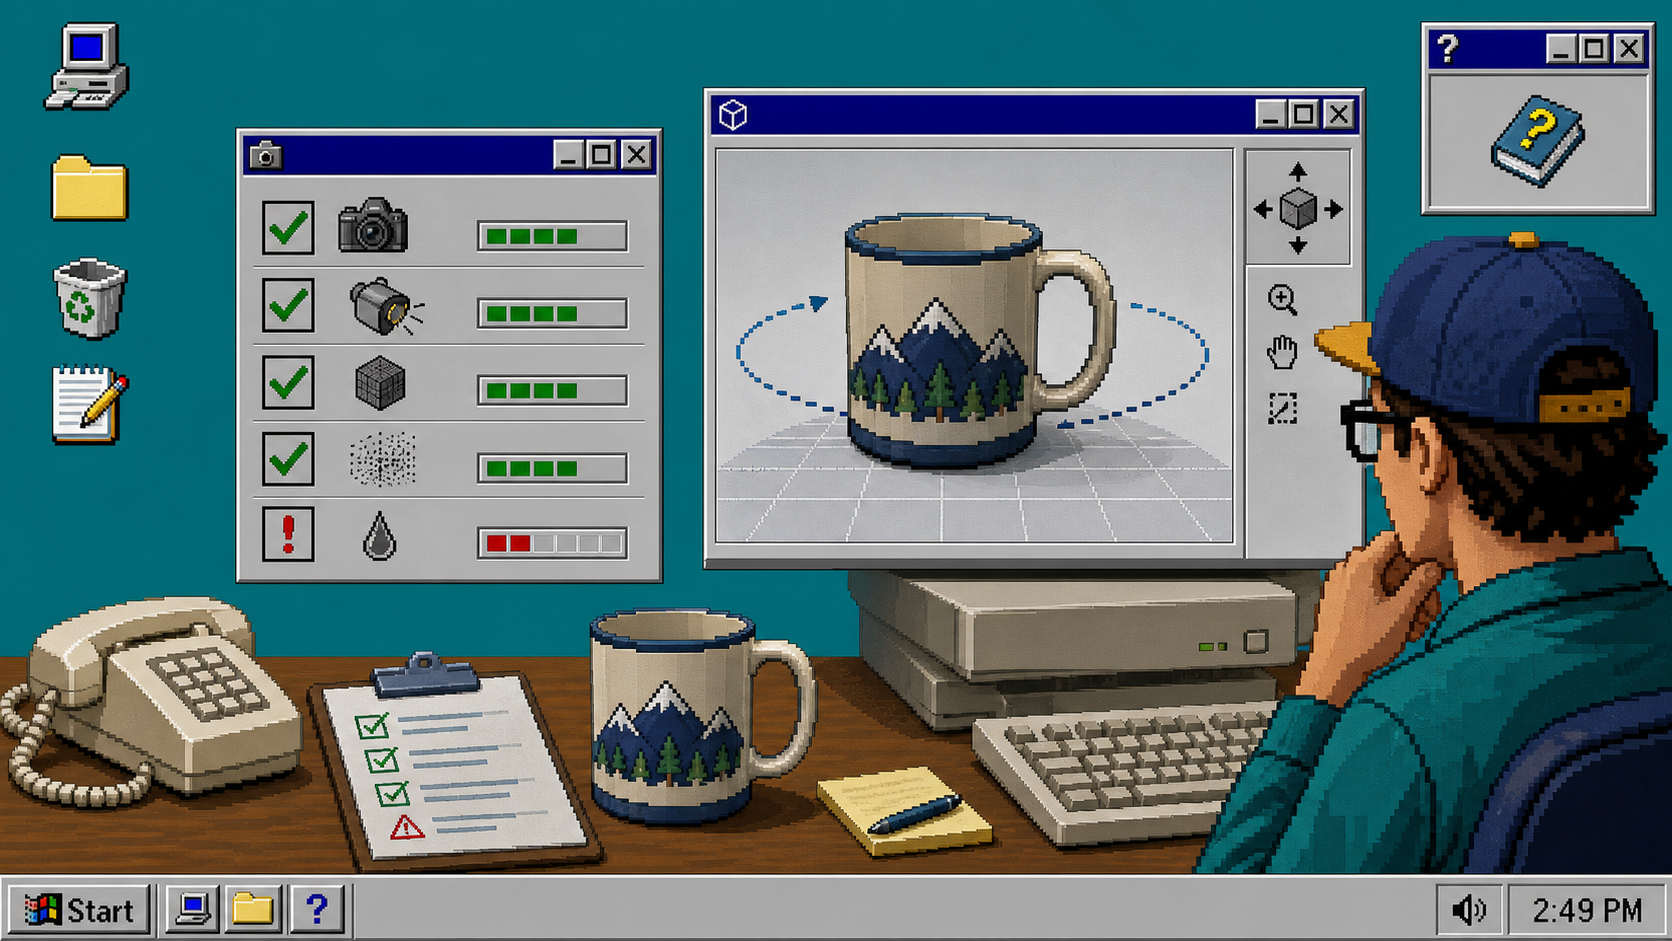
Supra 3D Capture turns a guided set of 10+ phone photos into a web-ready GLB and publishes it into Shopify, but a clean result still depends on the SKU you choose and the room you capture it in. If you only want to test one model first, the free plan gives you 1 saved model and 3 scans/month, and the Shopify App Store listing shows the full plan matrix.
Use this quick filter before you start a capture:
| Candidate | Good sign | Warning sign |
|---|---|---|
| Shape | Clear silhouette, readable contours, stable proportions | Deep recesses, thin edges, loose parts |
| Surface | Matte, textured, opaque, or lightly reflective | Chrome, mirror-like metal, clear plastic, glass |
| Capture space | You can walk a full circle around it | The object is boxed in by shelves, tags, or packaging |
| Lighting | Even light and soft shadows | Harsh highlights, mixed color temperatures, glare |
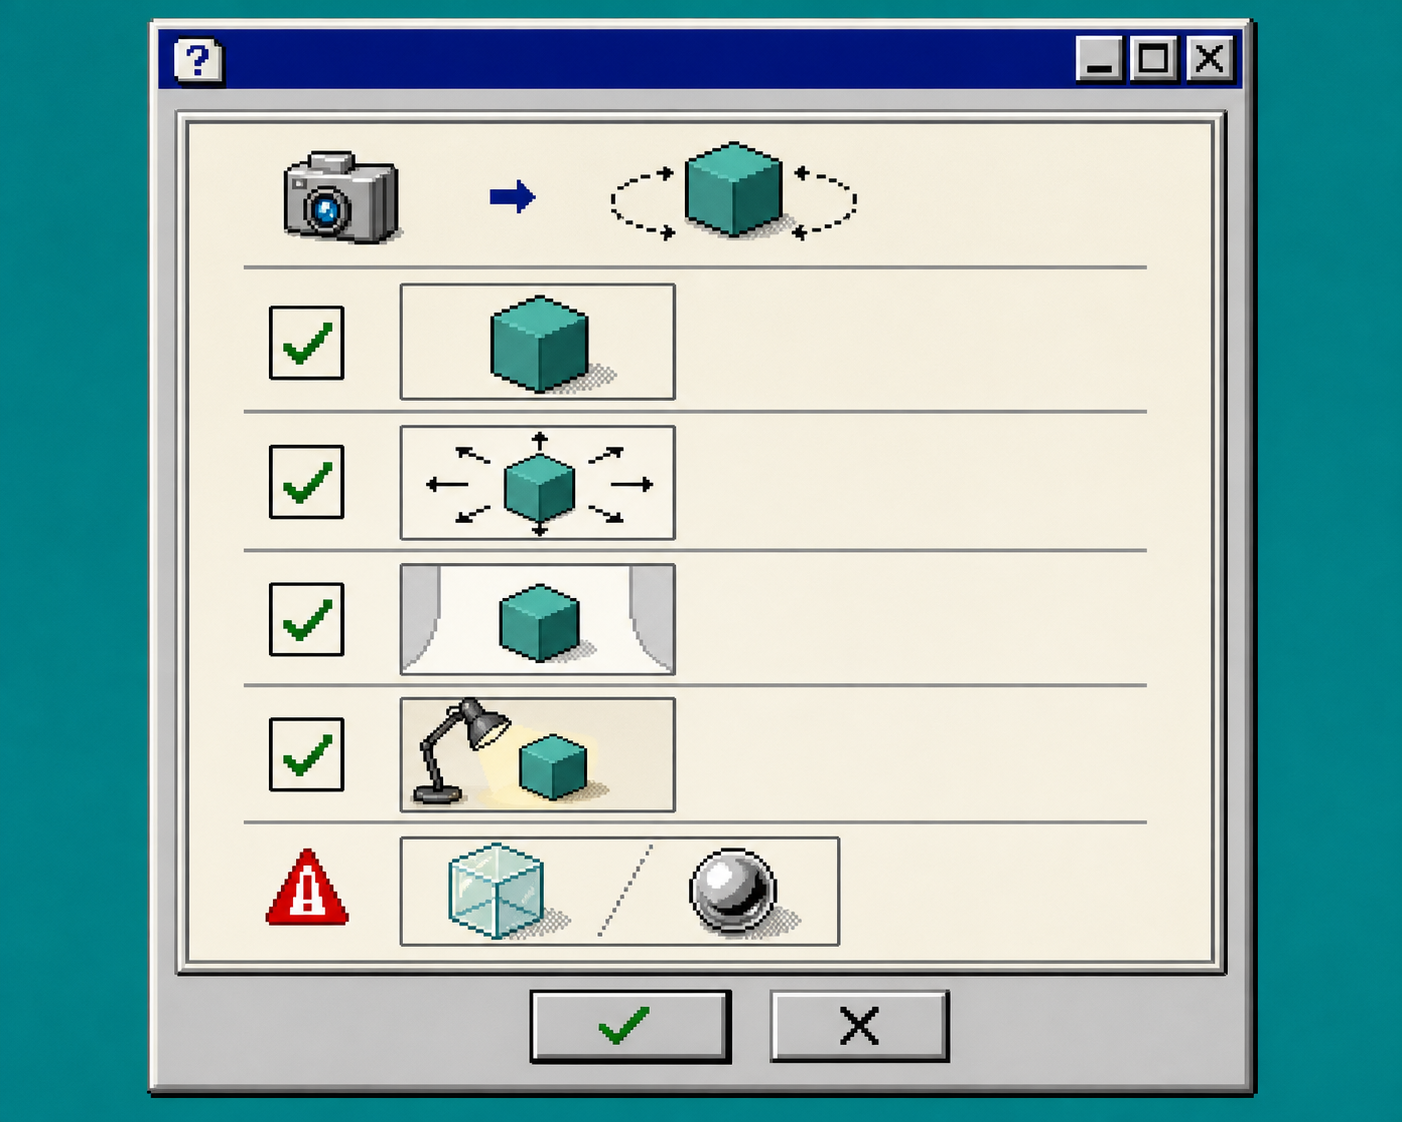
If the product passes those four checks, you are usually dealing with a good 3D candidate. If it fails two or more, 3D may still work, but only after more setup and more patience. If you are still deciding which products deserve the effort at all, read How to Decide Which Shopify Products Deserve 3D Models First before you spend a scan quota.
1. Check The Shape Before You Open The App
The easiest products to scan are the ones that read clearly from multiple angles. Boxes, mugs, bottles, shoes, cookware, toys, and most hard goods usually behave better than items with deep cavities or delicate loose pieces.
What you want is a stable silhouette. When the model spins, the customer should understand the form without guessing where the object ends. If the SKU looks visually confusing from the side or back, the scan will usually be confusing too.
A good rule is simple: if you can point to the product and describe its volume in one sentence, it is probably worth testing. If you need a paragraph, start with photos instead.
2. Sort Surfaces By Risk
Surface finish matters as much as shape. Matte and textured products usually cooperate. Glossy, clear, mirrored, and fuzzy surfaces create more noise for the scan pipeline and more cleanup for you.
This is where Shiny, Hairy, or Clear? Solving the 3 Toughest 3D Scanning Challenges is the right companion guide. That post goes deeper on the specific cases that break most first attempts.
If a product is slippery on camera, treat it as a caution sign, not a no. You can still capture some difficult SKUs, but you should expect a longer review step and a higher chance that photos will outperform 3D for that item.
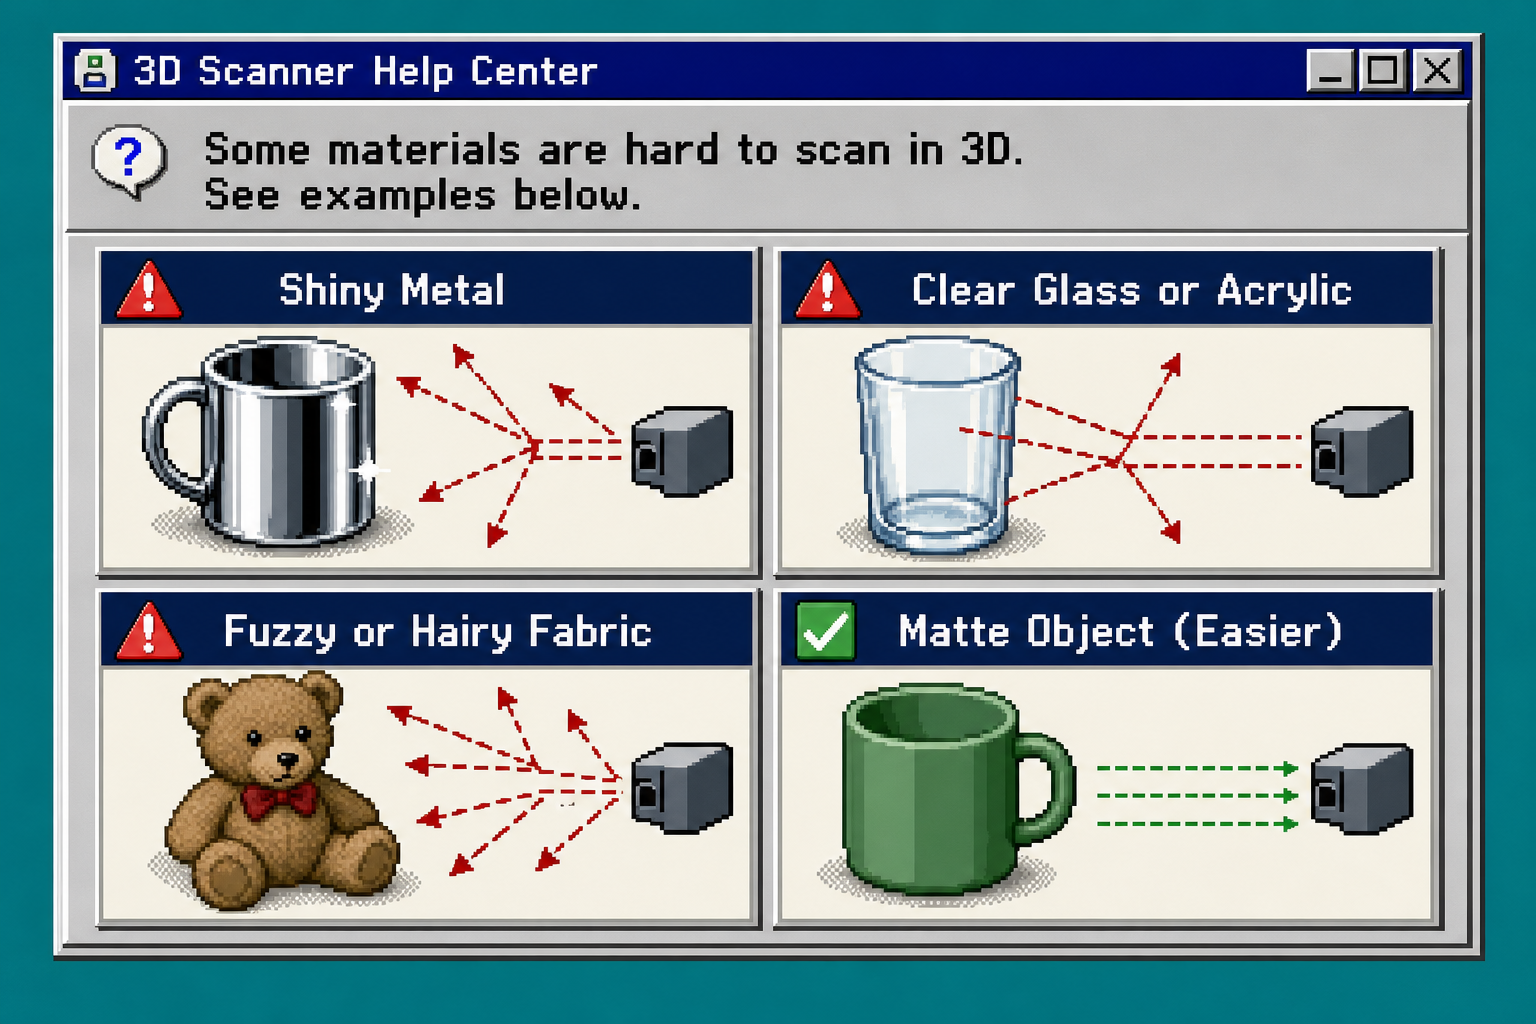
The warning panel above is the practical version of the same rule: shiny metal, clear glass or acrylic, and fuzzy fabric are all harder than a matte object with the same size and shape. That does not make them impossible. It just means they are not the best first model for a new 3D workflow.
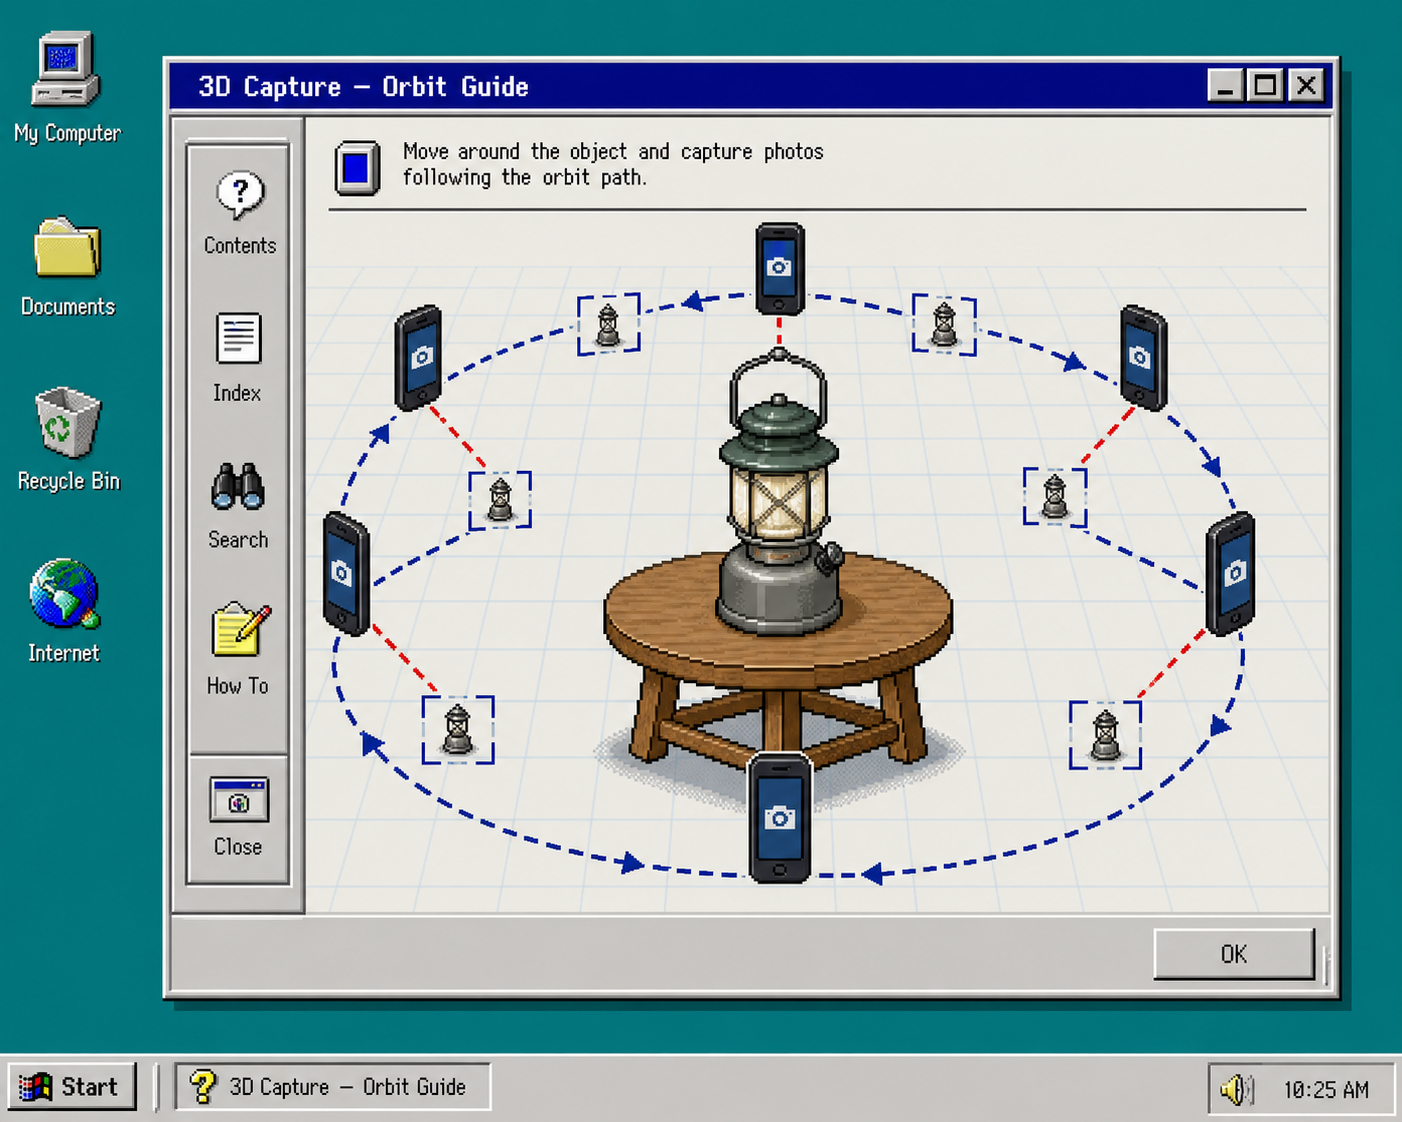
3. Make The Capture Path Easy
A good scan needs a clean orbit. You should be able to move the camera around the object without your hand, the table edge, or the packaging blocking the view.
Set the product on a stable surface, remove loose tags, and clear any reflective props that do not belong in the final model. If the product is sitting in a cramped shelf or a display box, move it before you start. The app can guide the shots, but it cannot fix a path that you never made available.
This is the point where many merchants realize the product is the real constraint, not the software. If the camera cannot see around the item, the reconstruction cannot invent the missing angles later.
4. Fix The Room Before You Shoot
Use bright, even light and keep the background simple. The goal is not a perfect studio; the goal is consistency. Soft daylight or diffuse indoor light is usually enough. Hard side light, mixed color temperatures, and moving shadows are the things that make the preview harder to trust.
Do not try to rescue a bad room with more scans. Fix the room first, then capture.
You should also keep the product still while you work. If it rotates, sags, or gets bumped between shots, the model will often show that instability back at you.
5. Run A Short Orbit Test
Once the product is staged, do a small capture pass and inspect the preview before you commit to the full workflow. Supra 3D Capture is built around that kind of guided phone capture, which is why the 10+ photo orbit matters: the path should be deliberate, not random.
If you want a visual reference for the motion, How to Capture a Shopify Product in 3D Without a Studio shows the same idea from a broader merchant workflow.
What should you see after the test run? A product that stays centered, edges that do not tear apart, and a viewer that still feels like the thing you photographed. If the preview looks like melted geometry or missing chunks, go back to the room, the surface, or the camera path before you try again.
6. Publish Only When The Model Matches The Product Page
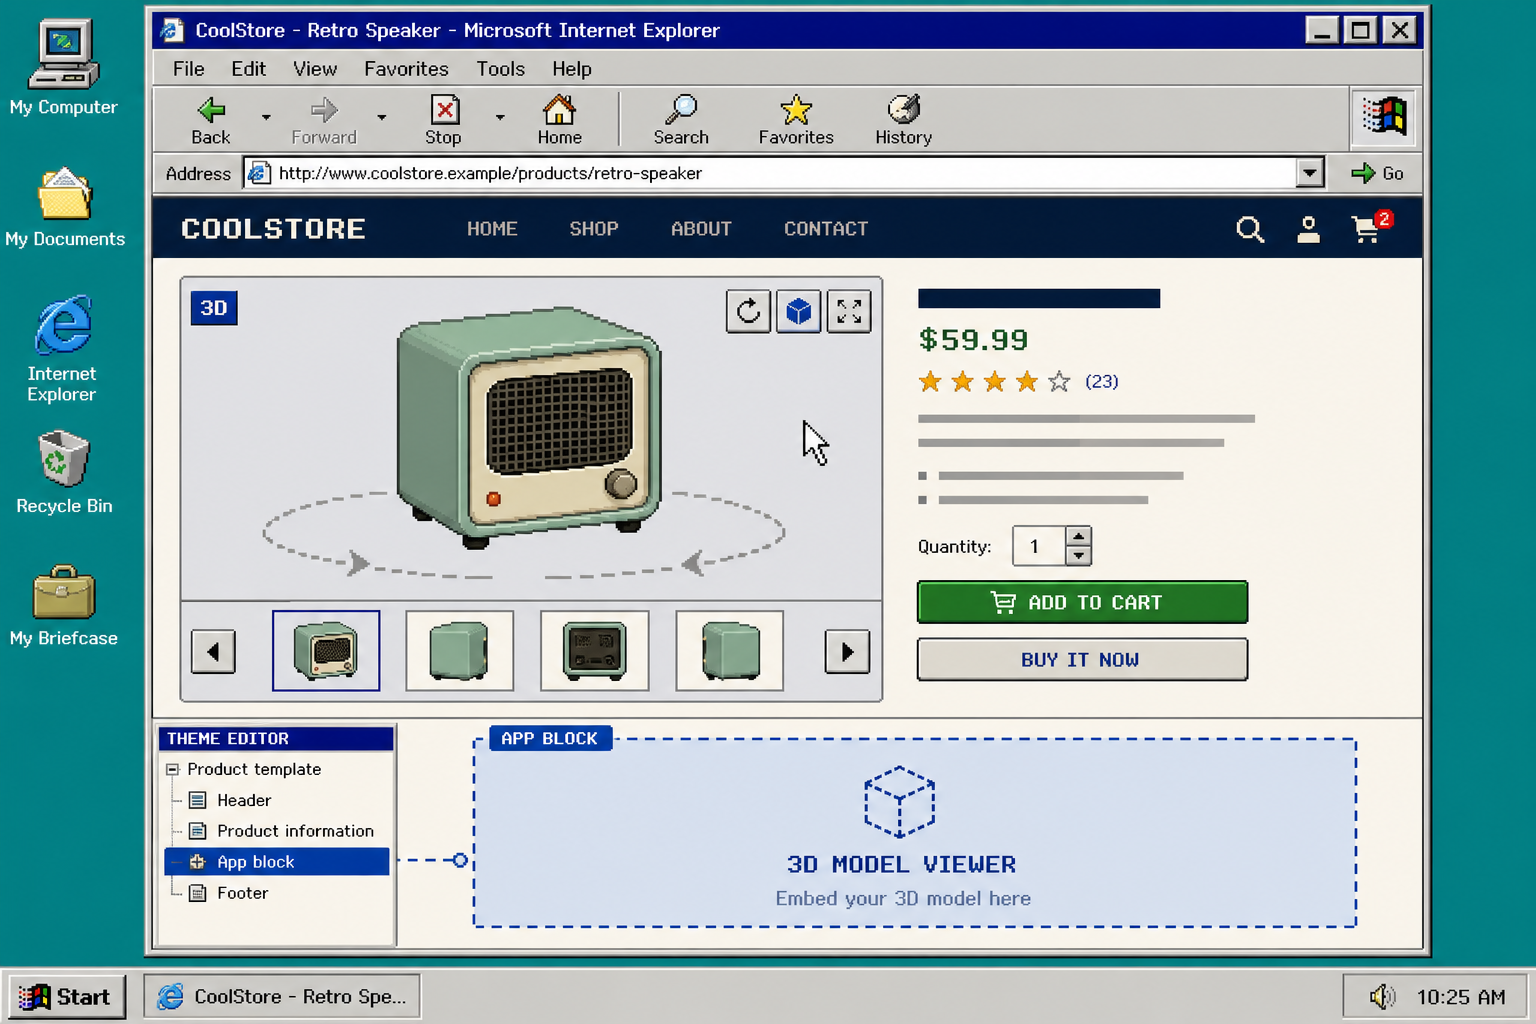
When the model looks clean, attach the GLB to the Shopify product and preview it in the native 3D viewer or the Online Store 2.0 theme app block. That is the real payoff: the model should feel like it belongs on the product page, not like a novelty bolted onto the bottom of it.
If you want to think about the 3D model as one piece of a larger image system, How I Turn One Product Photo Into a Shopify Asset Pipeline and How I Build a Shopify Visual System From One Product Photo are the next two posts I would read. They make the rest of the visual workflow feel less like one-off work and more like a repeatable system.
Troubleshooting
- If the scan has holes or broken edges, add light and remove clutter before you retry.
- If the model still looks wrong on the product page, confirm that the theme is actually using the native 3D viewer or the app block.
- If the SKU is reflective or transparent, do not force the first attempt to be perfect. Use the 3D model as one asset in the page mix, and keep the product photos doing the heavy lifting.
- If you are scanning a small or featureless item, add visual contrast in the setup or choose a different SKU first.
The Short Version
A good 3D model starts before the capture app opens. Check the shape, sort the surface, clear the orbit, fix the room, run a short test, and publish only when the preview matches the product.
If you want to try this on one SKU, start with the Supra 3D Capture landing page, check the Shopify App Store listing, and scan the easiest product in your catalog first. If that one works, the rest of the workflow is much easier to trust.