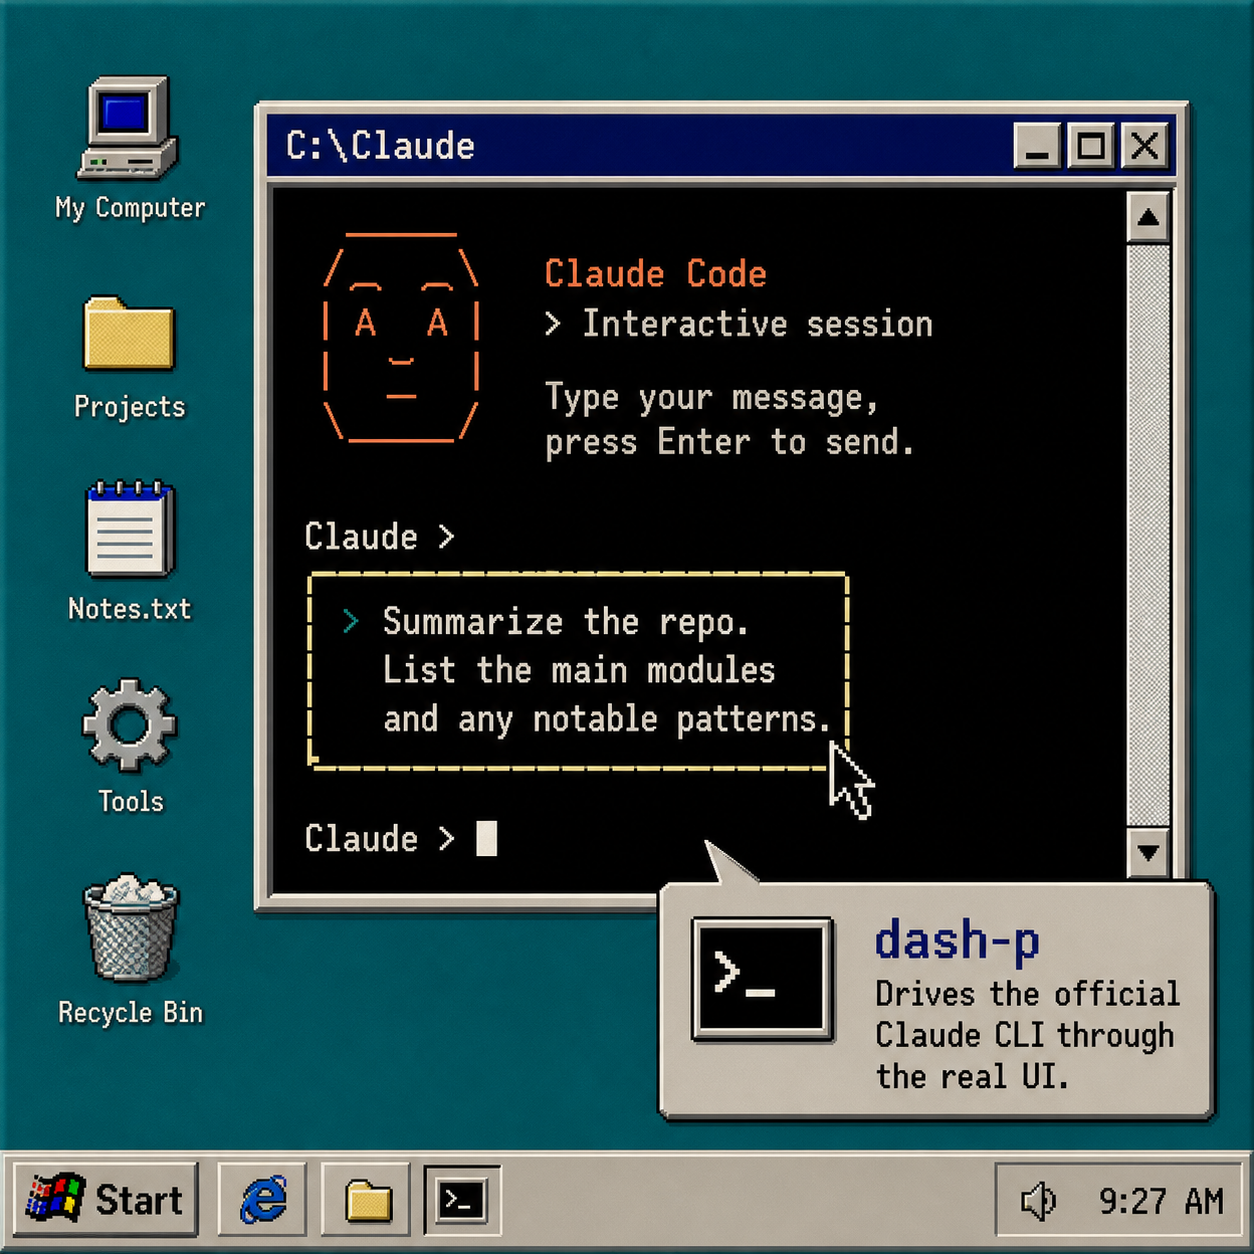
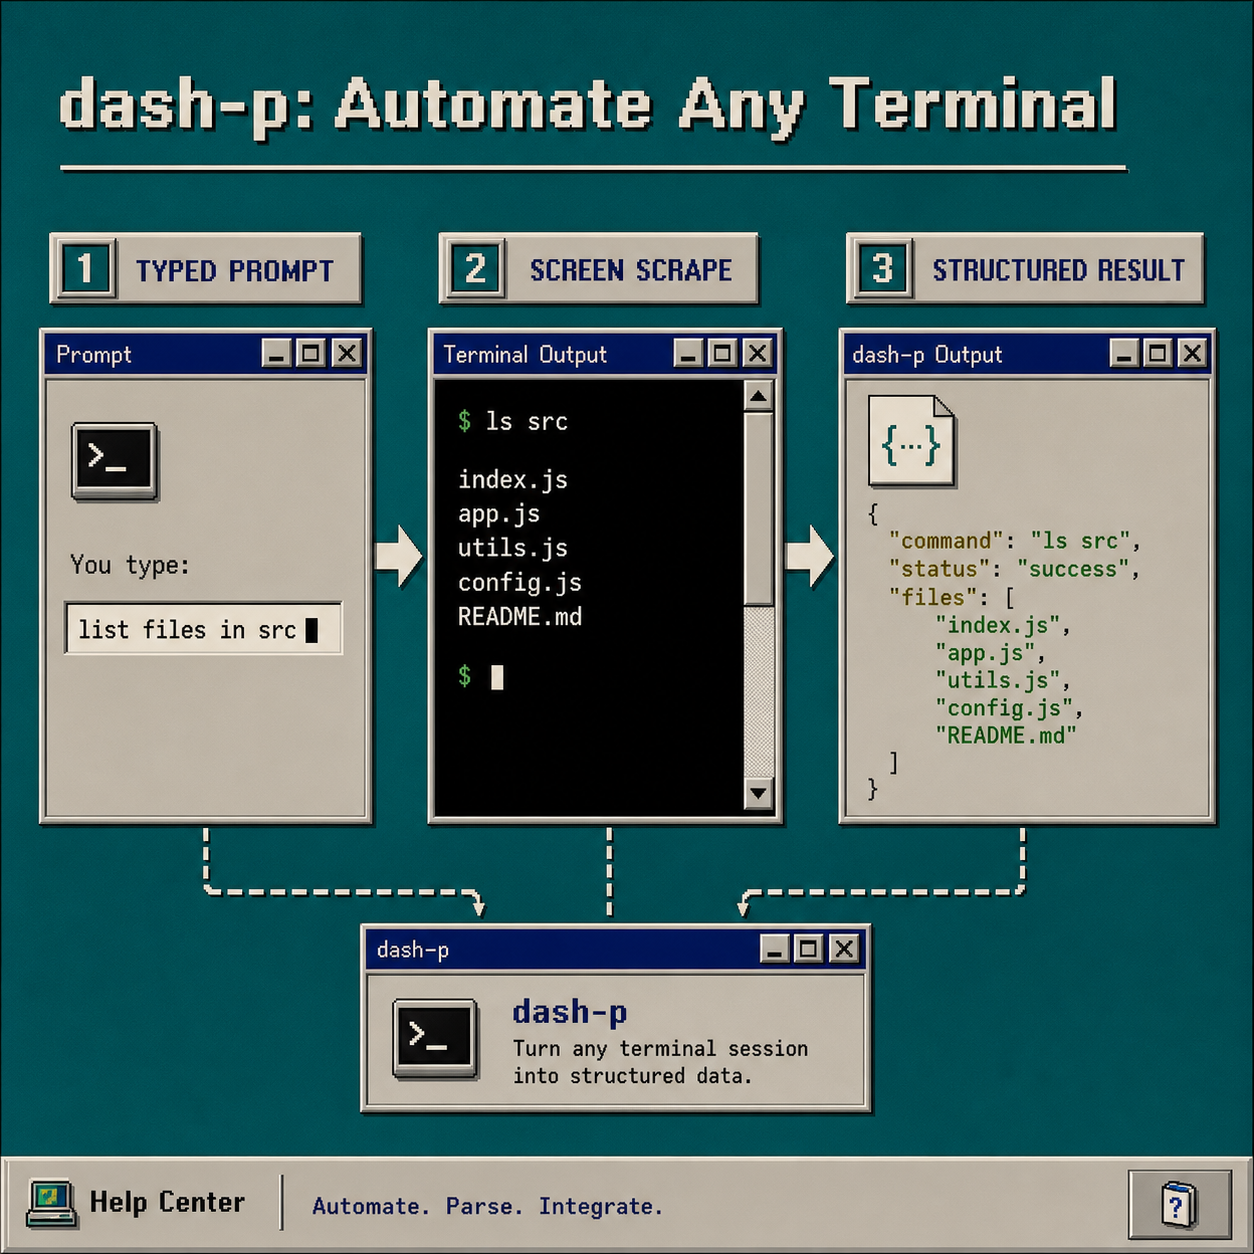
I keep a local Claude Code session around because it is the fastest way to work when I want the real terminal experience. What I do not want is to rebuild that workflow around a separate headless stack just to make it scriptable. dash-p sits in the middle: it launches the official claude command, drives the interactive TUI, and gives me a shell-friendly CLI plus a TypeScript query() API.
If you want the adjacent version of this pattern, I wrote How to Automate Claude Code Without Switching to the Agent SDK and How I Script Claude Code Locally With dash-p. This post is the step-by-step version I would follow from a clean machine.
What you need first:
- The official
claudeCLI installed and logged in. - Node.js 20 or newer.
- A project folder you can safely test in.
- A small prompt to start with.
1. Install Claude Code and dash-p
First confirm that the real Claude Code TUI opens normally. dash-p depends on the official CLI, so I would not troubleshoot the wrapper before I know the base session works.
npm install -g @ybouane/dash-p
dash-p "summarize this repo"
If you prefer not to install globally:
npx @ybouane/dash-p "what color is the sky"
When this works, you should see the request go through the live Claude interface instead of a separate mock or headless endpoint.
2. Start with one small prompt
I use dash-p first for tasks with a clear answer: repository summaries, quick explanations, or a single lookup in the current project. That makes it obvious whether the terminal round-trip is working before I build anything bigger on top.
A good first prompt is boring on purpose:
- Summarize the repository.
- List the main modules.
- Explain one file or workflow in plain language.
Keep the working directory pointed at the project you actually want Claude to inspect. Since this is terminal automation, the folder you launch from matters.
If you want the shorter narrative version of this idea, How to Turn Claude Code Into a Local Shell Pipeline covers the same pattern from a shell-first angle.
3. Move to TypeScript when you need structure
The CLI is enough for one-off checks. I move to the SDK-shaped query() API when I want to loop over messages, inspect the final result, or feed the output into another script.
import { query } from "@ybouane/dash-p";

for await (const msg of query({
  prompt: "In one sentence, what is a pseudo-terminal?",
  options: { model: "sonnet", includePartialMessages: true },
})) {
  if (msg.type === "result") console.log(msg.result);
}
That shape is useful when you want something familiar to @anthropic-ai/claude-agent-sdk users, but still want the real Claude Code TUI underneath. The article How to Automate the Claude Code TUI With dash-p and How I Turn Claude Code Into a Scriptable Workflow With dash-p both use that same idea in slightly different ways.
4. Keep the automation small and explicit
I would not start with a broad agent loop. I would start with one task, one folder, and one prompt that can fail loudly.
The practical guardrails are simple:
- Keep the prompt specific.
- Keep the working directory stable.
- Keep permissions and scope as narrow as the job allows.
- Treat the tool like UI automation, because that is what it is.
That honesty matters. dash-p is powerful because it uses the real interface, and it is fragile for the same reason. If the terminal UI changes, I want that failure to be visible immediately instead of hidden behind a fake protocol.
If you want the local-automation version of the same pattern, How to Automate Claude Code Without Switching to the Agent SDK is the better companion piece.
5. Decide where dash-p fits in your stack
For me, dash-p is best for:
- repo summaries
- quick local explanations
- small scripts that need a Claude session
- notes or developer workflows I keep on my machine
- CI-adjacent helpers where I want a human-shaped local workflow, not a new hosted product
I do not use it as a general replacement for the API or the Agent SDK. If I need production stability, broad integration, or a path that is less sensitive to terminal rendering changes, I reach for the official product path instead.
If you want another read on the same trade-off, How I Script Claude Code Locally With dash-p is the most direct companion post.
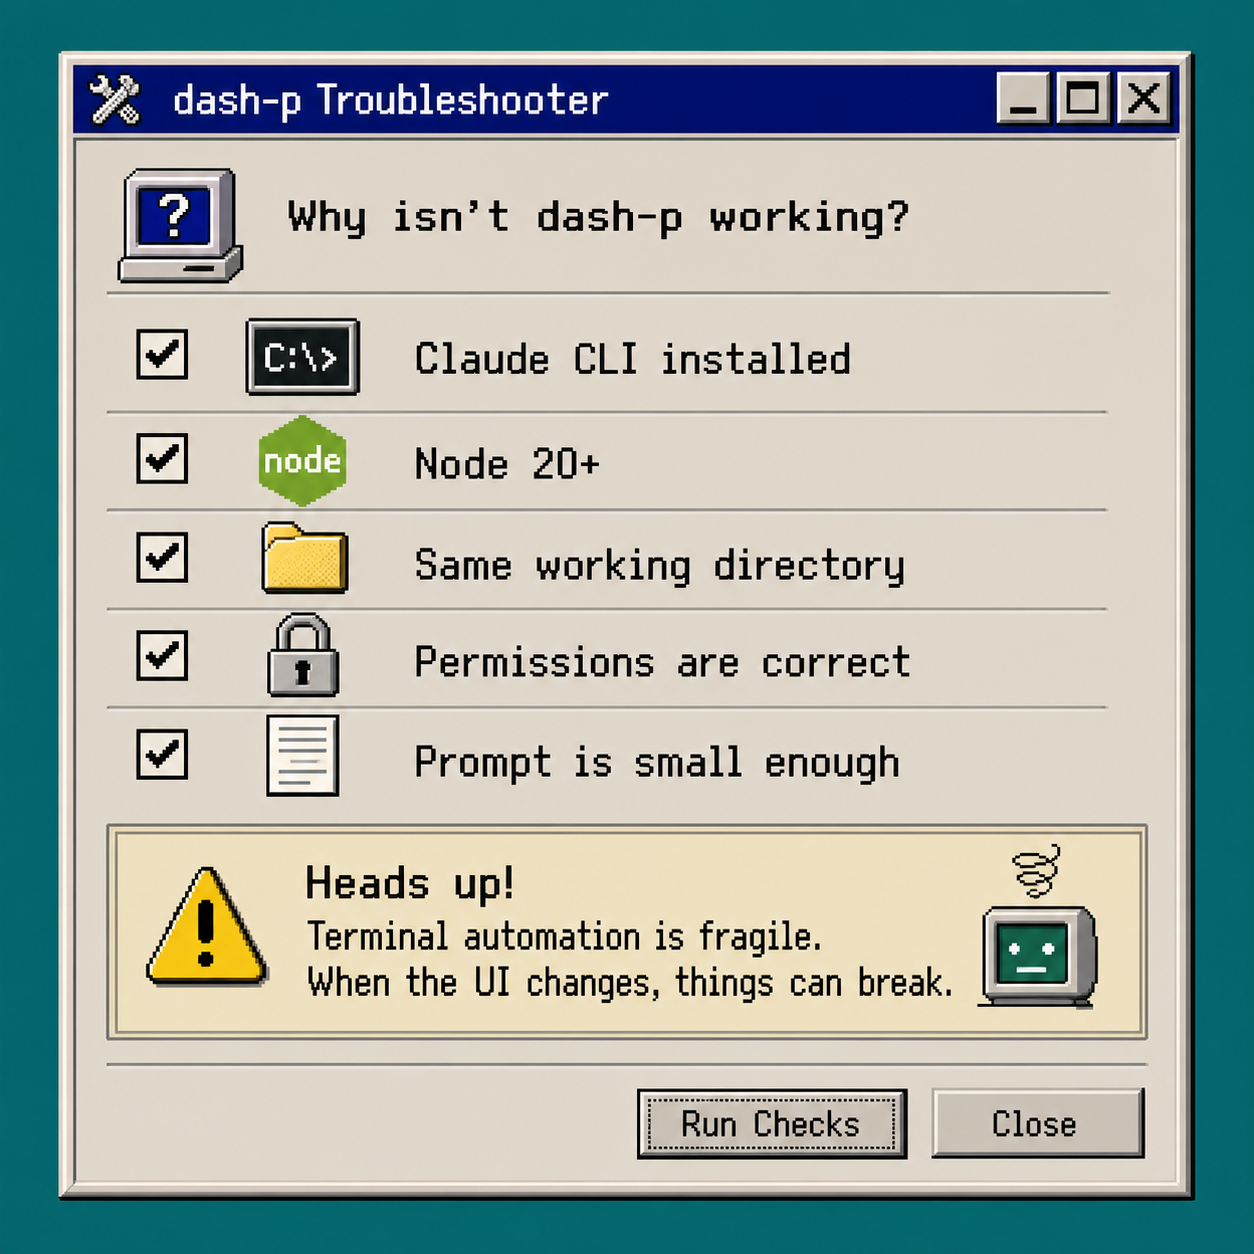
Troubleshooting
Claude never starts
- Make sure the official
claudeCLI opens interactively first. - Re-authenticate if the session is not logged in.
- Verify you are using the binary the tool expects.
The output is flaky
- Re-run from the same directory.
- Shorten the prompt.
- Check whether the terminal layout or TUI has changed.
TypeScript import fails
- Use Node 20 or newer.
- Install
@ybouane/dash-pin the project. - Fix
node-ptybuild tooling if your platform needs it.
The scraper broke after a Claude update
- Treat that as expected maintenance work.
- Update the wrapper against the current UI.
- Do not assume the problem is in your prompt until the terminal round-trip is healthy again.
Recap
dash-p is useful because it keeps the real Claude Code session in place and makes it scriptable from a shell or TypeScript. That is a clean fit when you want local automation, small workflows, and direct control.
If you want to try it, start with the GitHub repo or the npm package, run one small prompt, and only then decide whether to widen it into a bigger workflow.