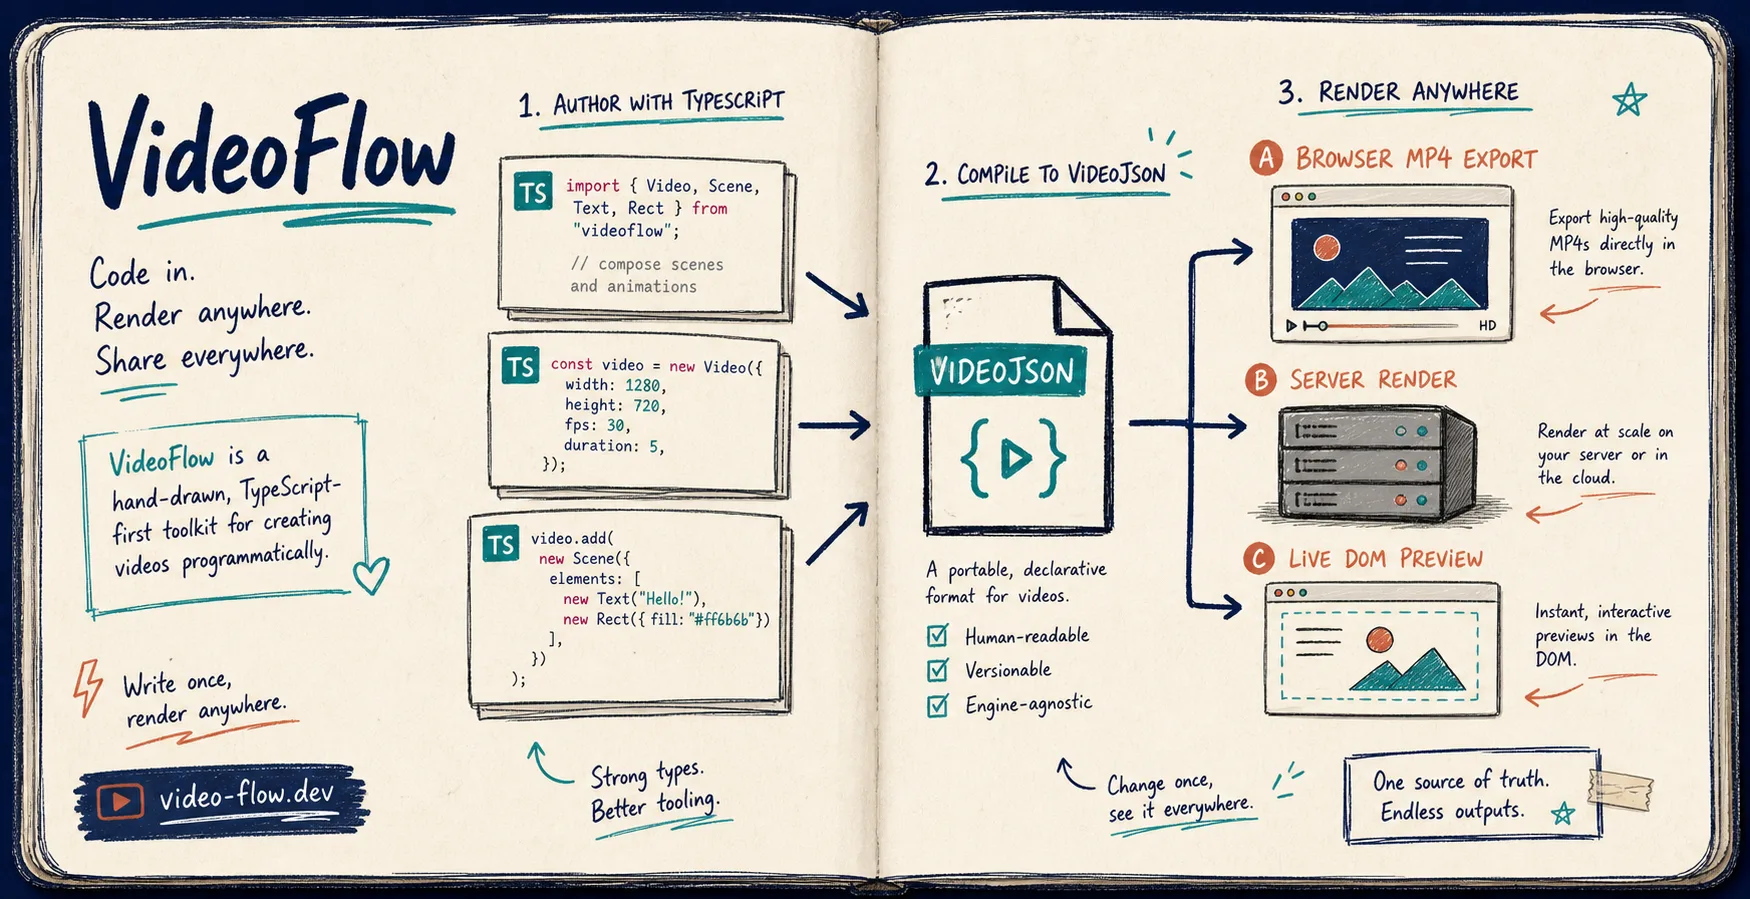
I use browser export when I want the fastest honest path from a template to an MP4. The clean setup is simple: write the scene once in TypeScript, compile it to VideoJSON, preview the same data in the DOM, and only then decide whether the browser or the server should render the final file. If you want the broader version of that loop, How I Build a Portable VideoJSON Workflow for Preview, Edit, and Export is the sibling post. This one stays focused on the browser export path.
You need three things before you start:
- A VideoFlow project with `@videoflow/core`
- One scene template that compiles cleanly
- A place to keep the generated VideoJSON beside the code
1. Author One Scene In TypeScript
I start by writing the video as code instead of trying to build the whole thing in a manual timeline first. That keeps the scene testable and gives me a portable artifact I can move between renderers later.
```ts import VideoFlow from “@videoflow/core”;
const $ = new VideoFlow({ name: “Promo Export”, width: 1920, height: 1080, fps: 30, });
$.addText( { text: “Launch day”, fontSize: 7, fontWeight: 800 }, { transitionIn: { transition: “overshootPop”, duration: “500ms” } } );
const videoJSON = await $.compile(); ```
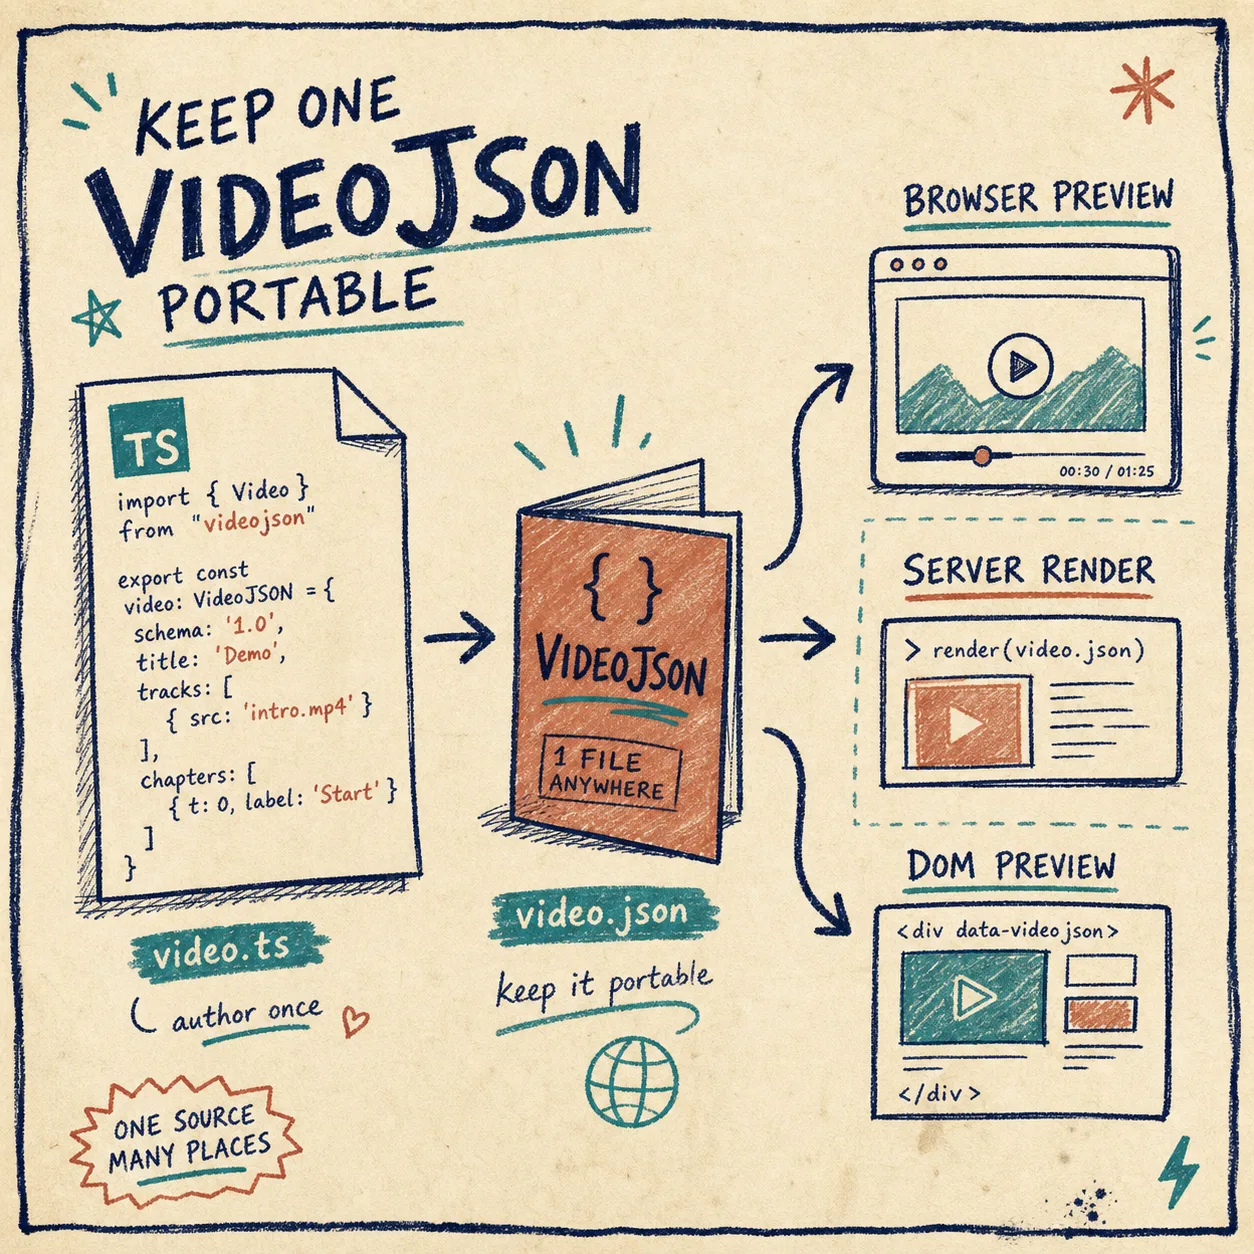
The important part is not the exact scene. It is the fact that `videoJSON` becomes the source of truth. From there, the renderer only has to do one job: turn the same data into output.
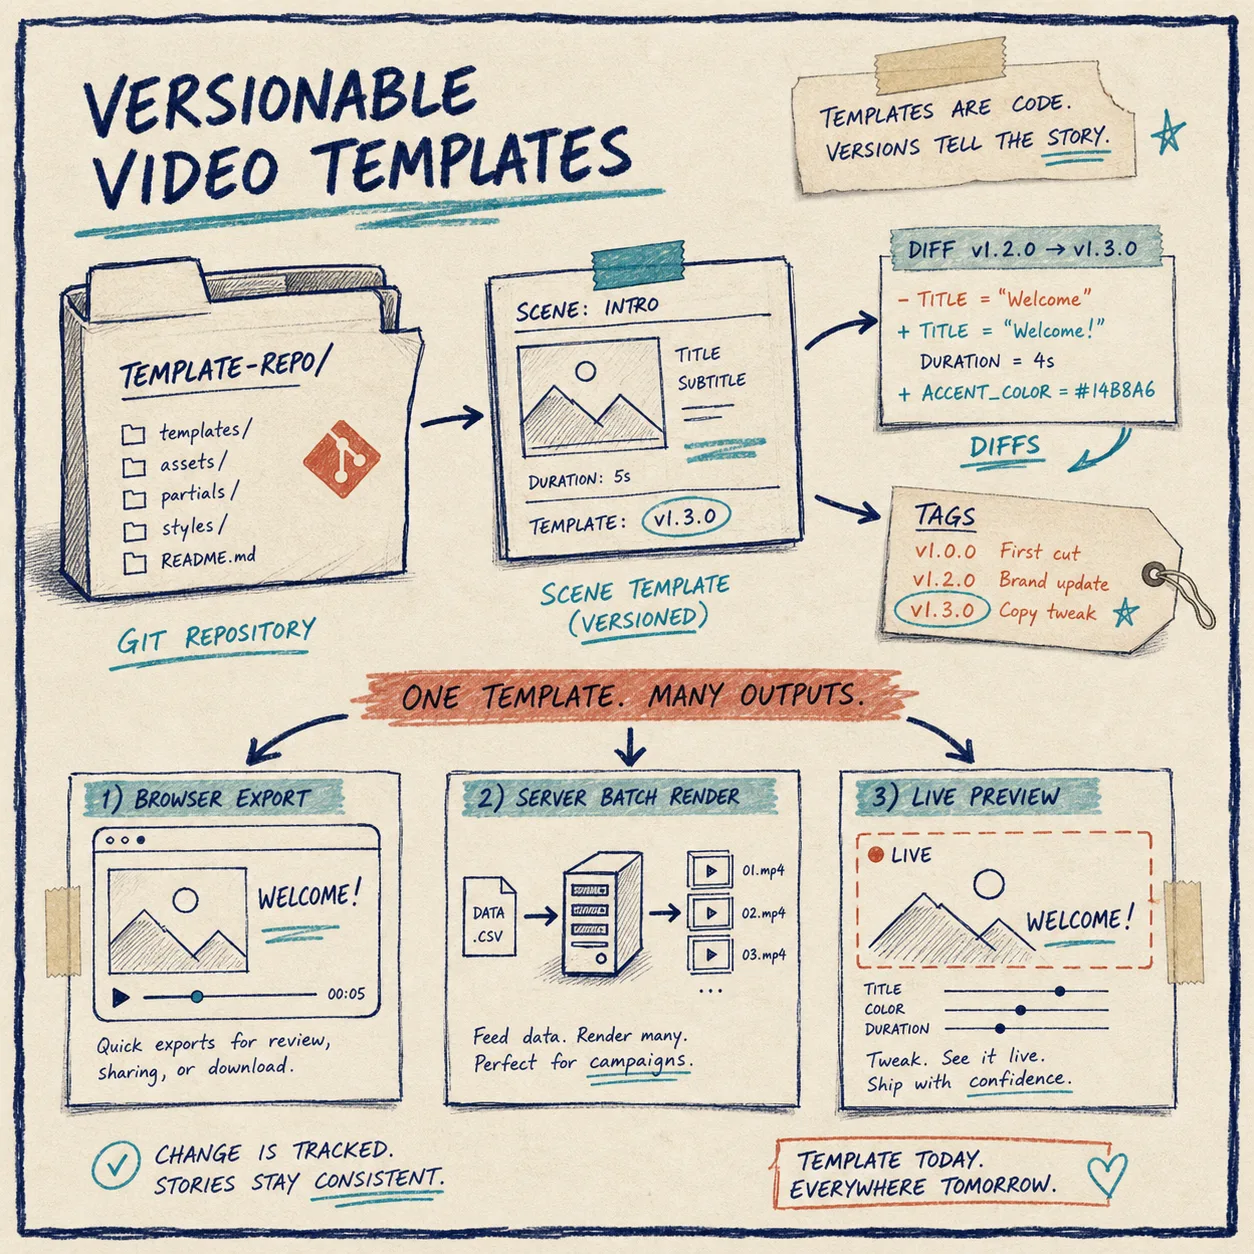
If your template repo is already growing, How I Keep Video Templates Maintainable Across Preview, Edit, and Export covers the versioning side of the same habit.
2. Keep VideoJSON Next To The Code
Do not treat the compiled JSON like throwaway build junk. Keep it beside the scene code or in a predictable output folder so diffs stay readable and the template stays portable.
A simple layout is enough:
- `video.ts` for the template
- `video.json` for the compiled scene
- `assets/` for the media the scene needs
- `exports/` for test renders and deliverables
That matches how VideoFlow is built: `@videoflow/core` handles authoring, the renderer packages handle output, and the middle layer stays portable enough to inspect, diff, and reuse. The docs at videoflow.dev/docs, videoflow.dev/core, and the playground are enough to get a first pass working without guessing.
3. Export In The Browser When The User Clicks Download
If the export is user-triggered, browser rendering is the cleanest first move. You avoid uploading the source project to a server, and you can still give the user progress callbacks, cancellation with `AbortController`, and worker acceleration while the file is being rendered.
That path is usually enough for:
- Short product clips
- Internal demos
- Simple marketing exports
- Report videos
- Preview files for a team review
The browser path does not have to be your whole architecture. It just has to be the fastest honest path for the first version. If you want the renderer decision tree, How I Pick the Right VideoFlow Renderer for the Job is the companion read.
4. Keep A Server Renderer For Long Jobs
I still keep a server path around, because browser export is not the right answer for every workload. Queue-driven renders, batch jobs, scheduled exports, and CI jobs belong on the server.
VideoFlow’s renderer docs explain the split well: browser for user-triggered export, server for scale, and DOM preview for interactive work. That same VideoJSON can feed all three, which is why the export logic stays small instead of sprawling into three separate pipelines.
If you want to see the three-renderer pattern in one place, How to Build a Three-Renderer Video Workflow With VideoFlow shows the same source of truth across browser, server, and preview.
5. Add The React Editor Only When Users Need To Edit
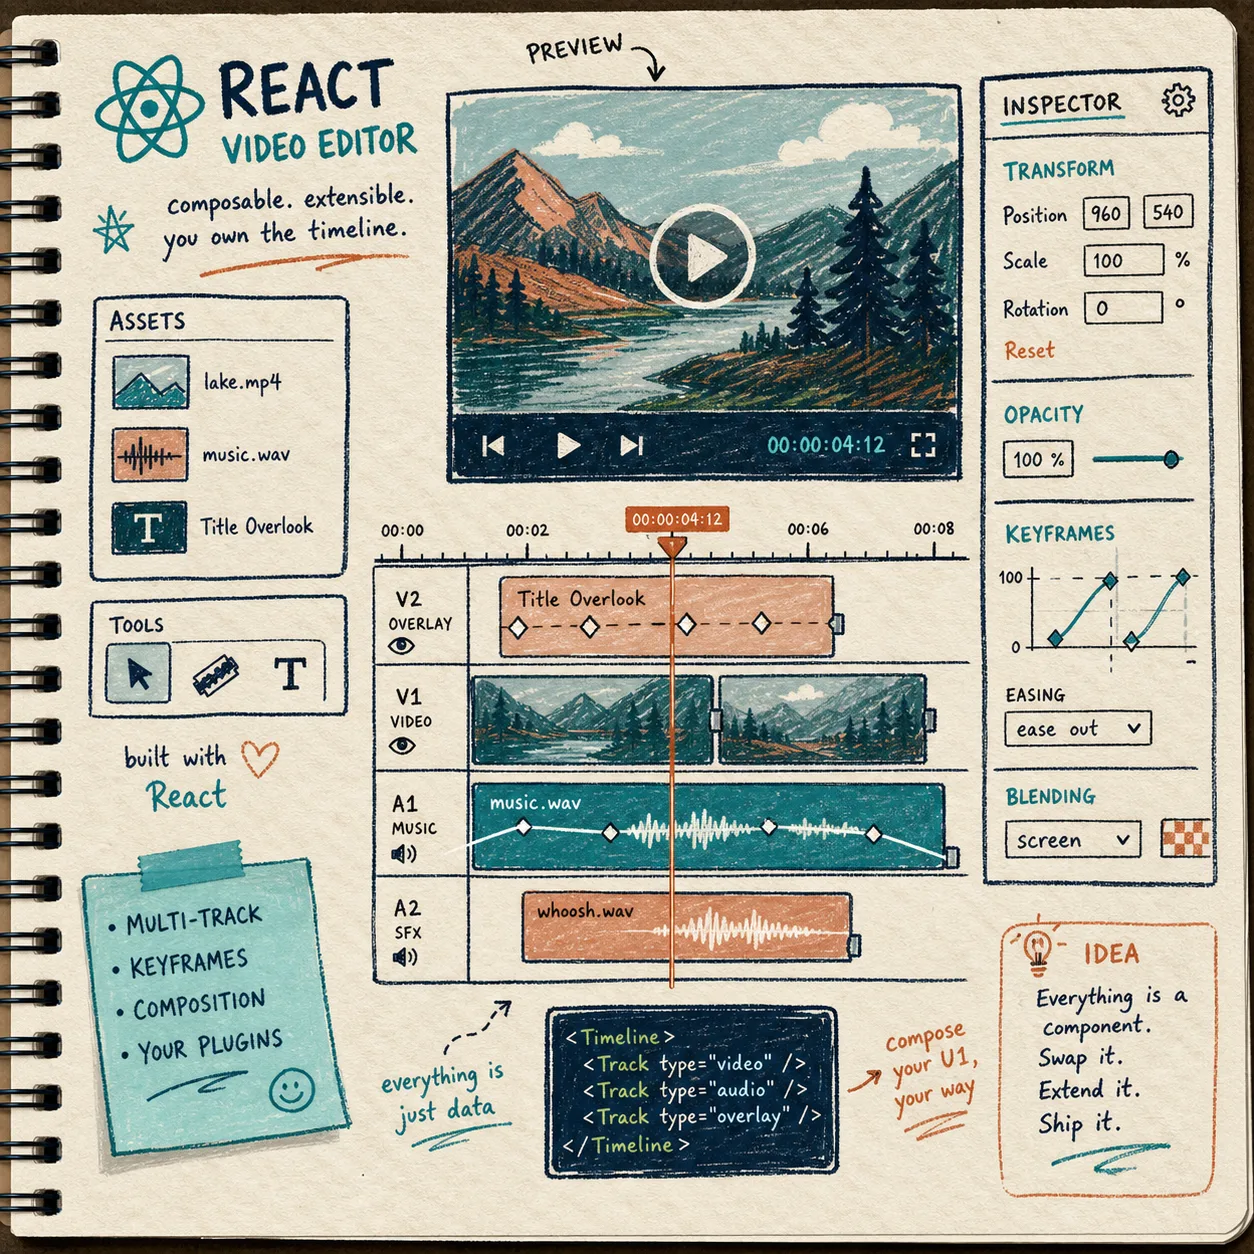
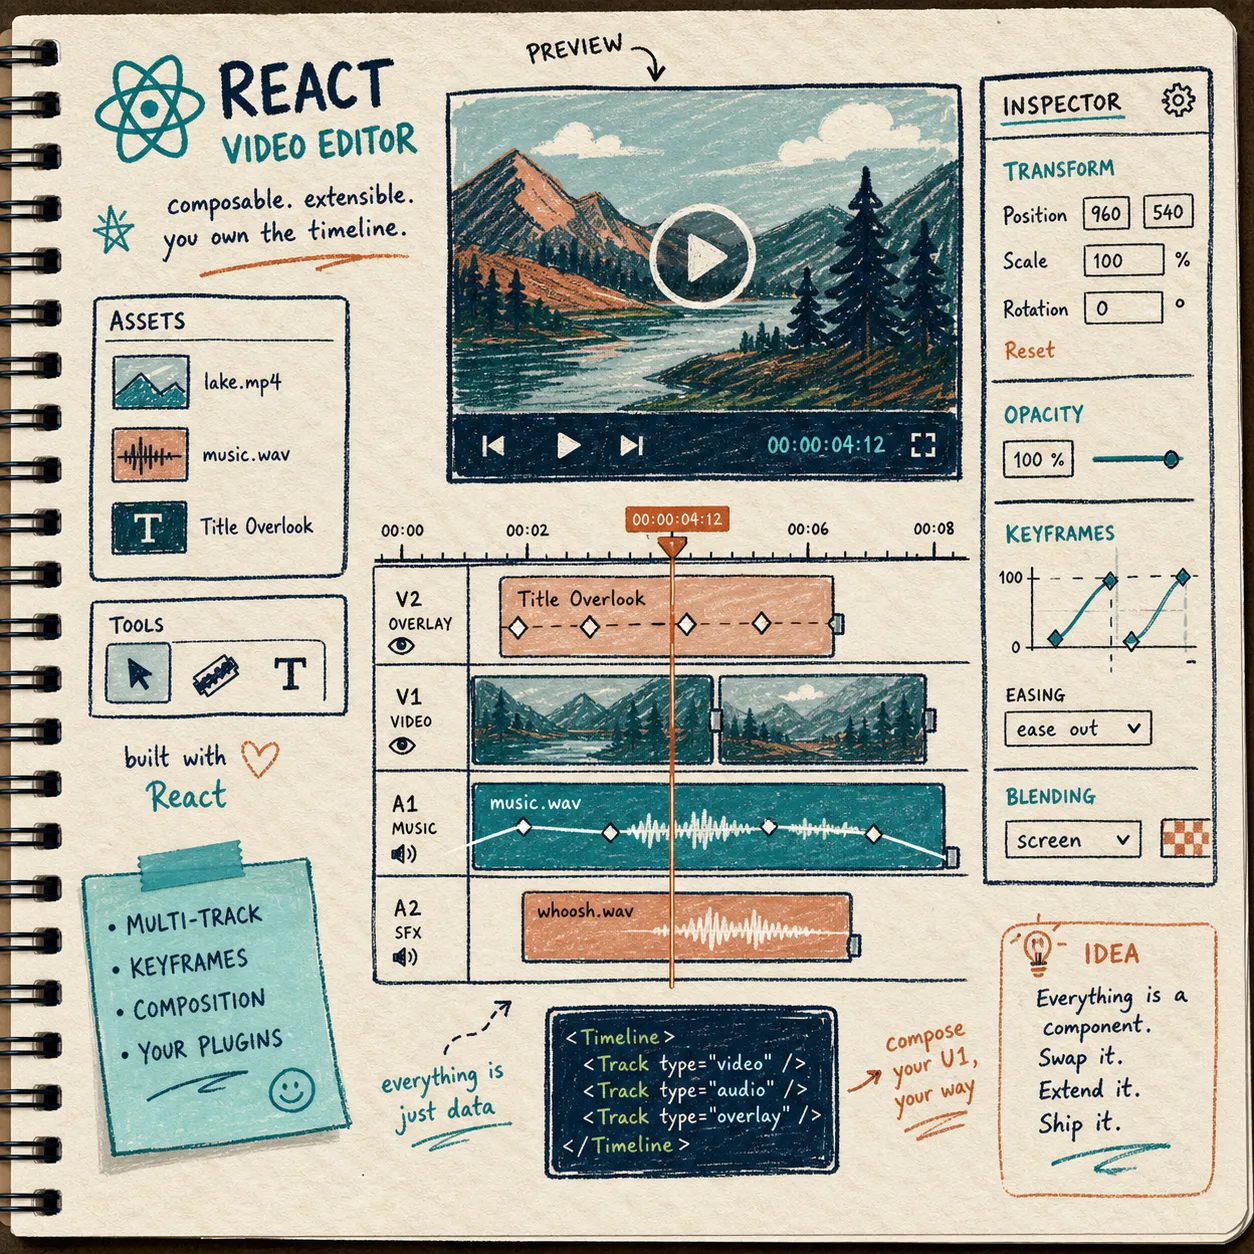
If the product needs more than a download button, the React editor is the next layer. It gives you the multi-track timeline, keyframes, transitions, effects, themes, and MP4 export without forcing you to rewrite the rendering stack.
That is the point where the workflow starts to feel like a product instead of a script. The same JSON still drives the render, but now users can trim, inspect, and adjust the template before they export it.
The editor package lives at videoflow.dev/react-video-editor. If you are building the app shell around it, the package is designed to slot into a React UI without forcing the rest of the system into React-only constraints.
Troubleshooting
- If browser export feels slow, test a smaller scene first and move heavier jobs to the server renderer.
- If preview and export do not match, make sure both paths use the same VideoJSON and the same asset URLs.
- If the browser tab cannot stay alive long enough, do not force it. Treat that as the signal to hand the job to the server.
- If the editor feels like overkill, skip it. The core plus browser renderer path is enough for a lot of products.
Bottom Line
The clean VideoFlow setup is one source of truth, one browser export path, and one server fallback. Author in TypeScript, compile to VideoJSON, and only add the React editor when the product actually needs it.
If you want to try the workflow, start at videoflow.dev/playground, check the renderer docs at videoflow.dev/renderers, and inspect the open-source repo at github.com/ybouane/VideoFlow. The quickest next move is to wire one export button to one scene and see whether the browser path is enough.