How to Choose the First Shopify Products for 3D Capture
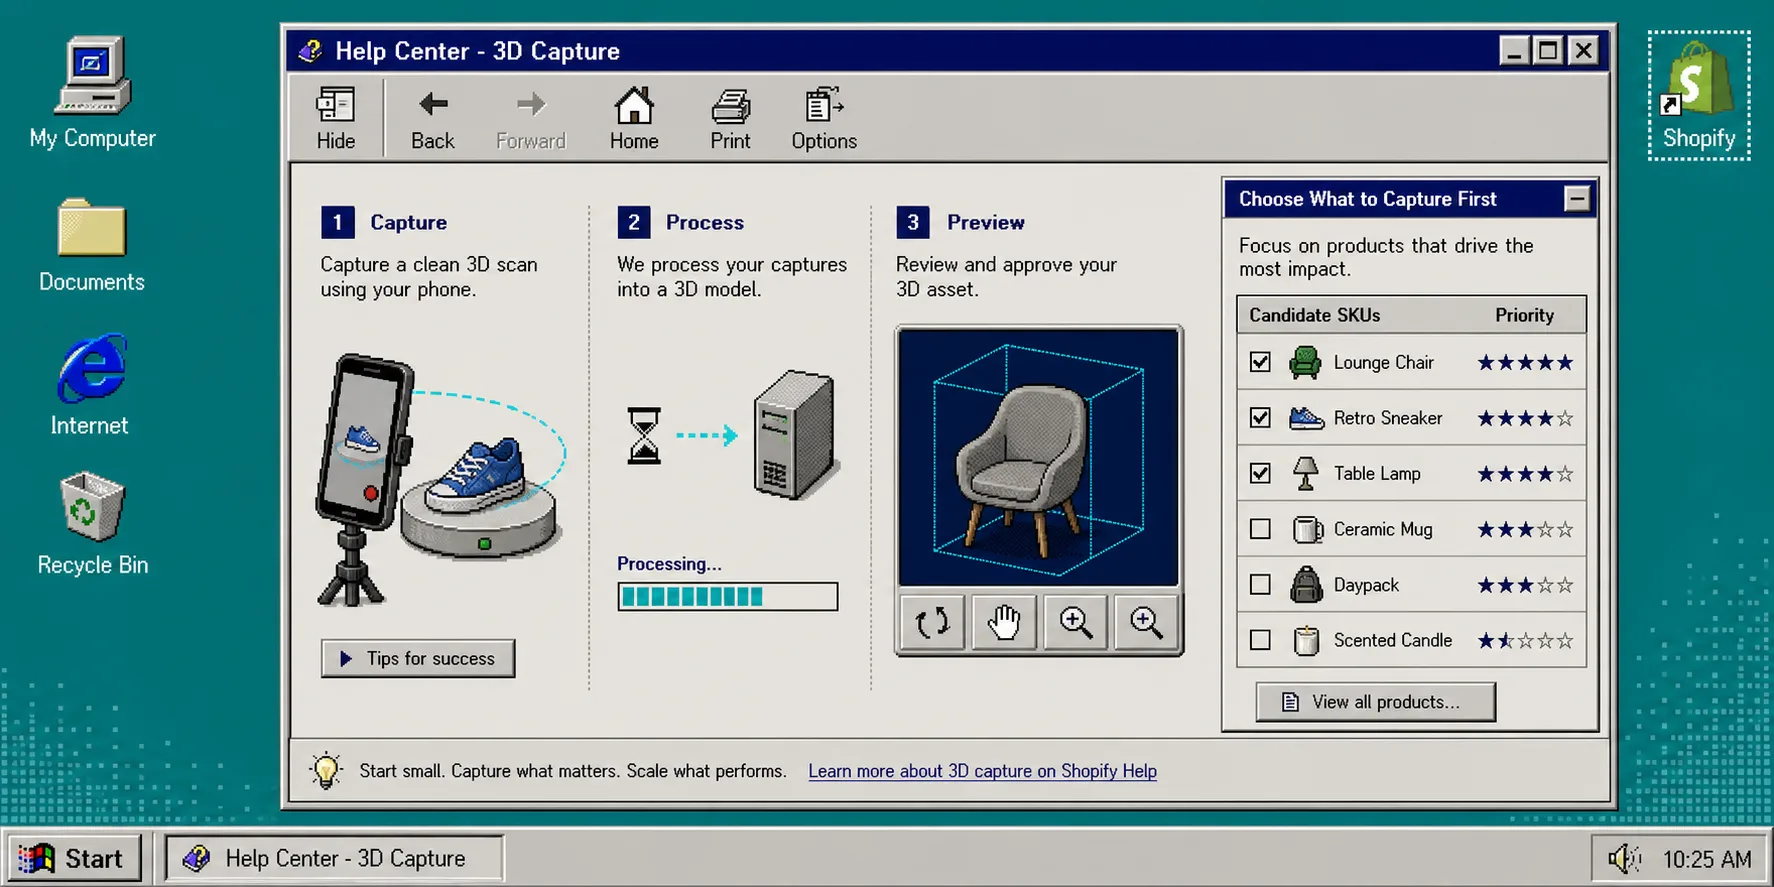
If you try to scan everything, you usually end up scanning nothing well. The better move is to choose a small set of products that are visible, valuable, and easy to capture cleanly.
Supra 3D Capture turns guided phone photos into a web-ready GLB you can publish into Shopify. So the real question is not whether 3D can work. It is which SKUs deserve the first pass. If you want the app-store version first, use the Shopify App Store listing.
1. Build a shortlist before you scan anything
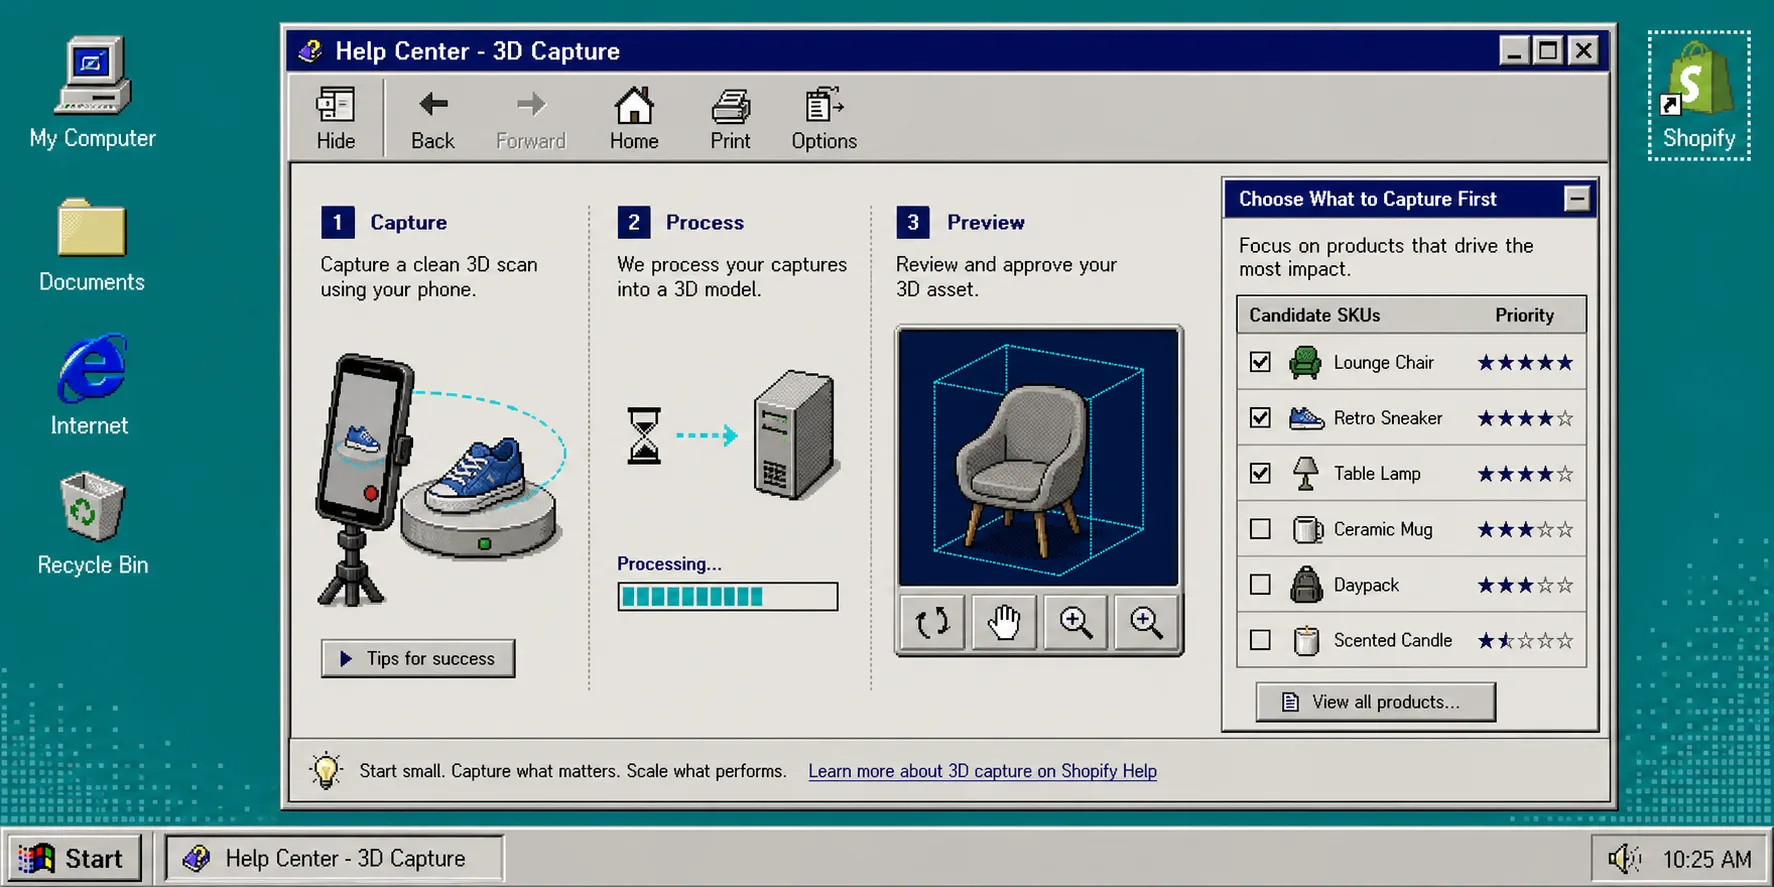
Start with a list of products that are already important to the business. I would not begin with the hardest object in the catalog. I would begin with the product that has enough shape to benefit from 3D and enough demand to justify the time.
For the first pass, I look for five things:
- Clear shape. The product should look meaningfully different from the front, side, and back.
- Real return risk. If shoppers often misunderstand size, depth, or proportion, 3D helps.
- Good margin. A product with more upside can justify the extra setup work.
- Reasonable prep time. If the item needs a lot of cleanup, save it for later.
- Stable surface. Matte, textured, or semi-matte products are easier than highly reflective ones.
If you want a more formal version of that approach, pair this article with How to Build a Shopify 3D Capture Scorecard That Works.
2. Score the products on what 3D actually changes
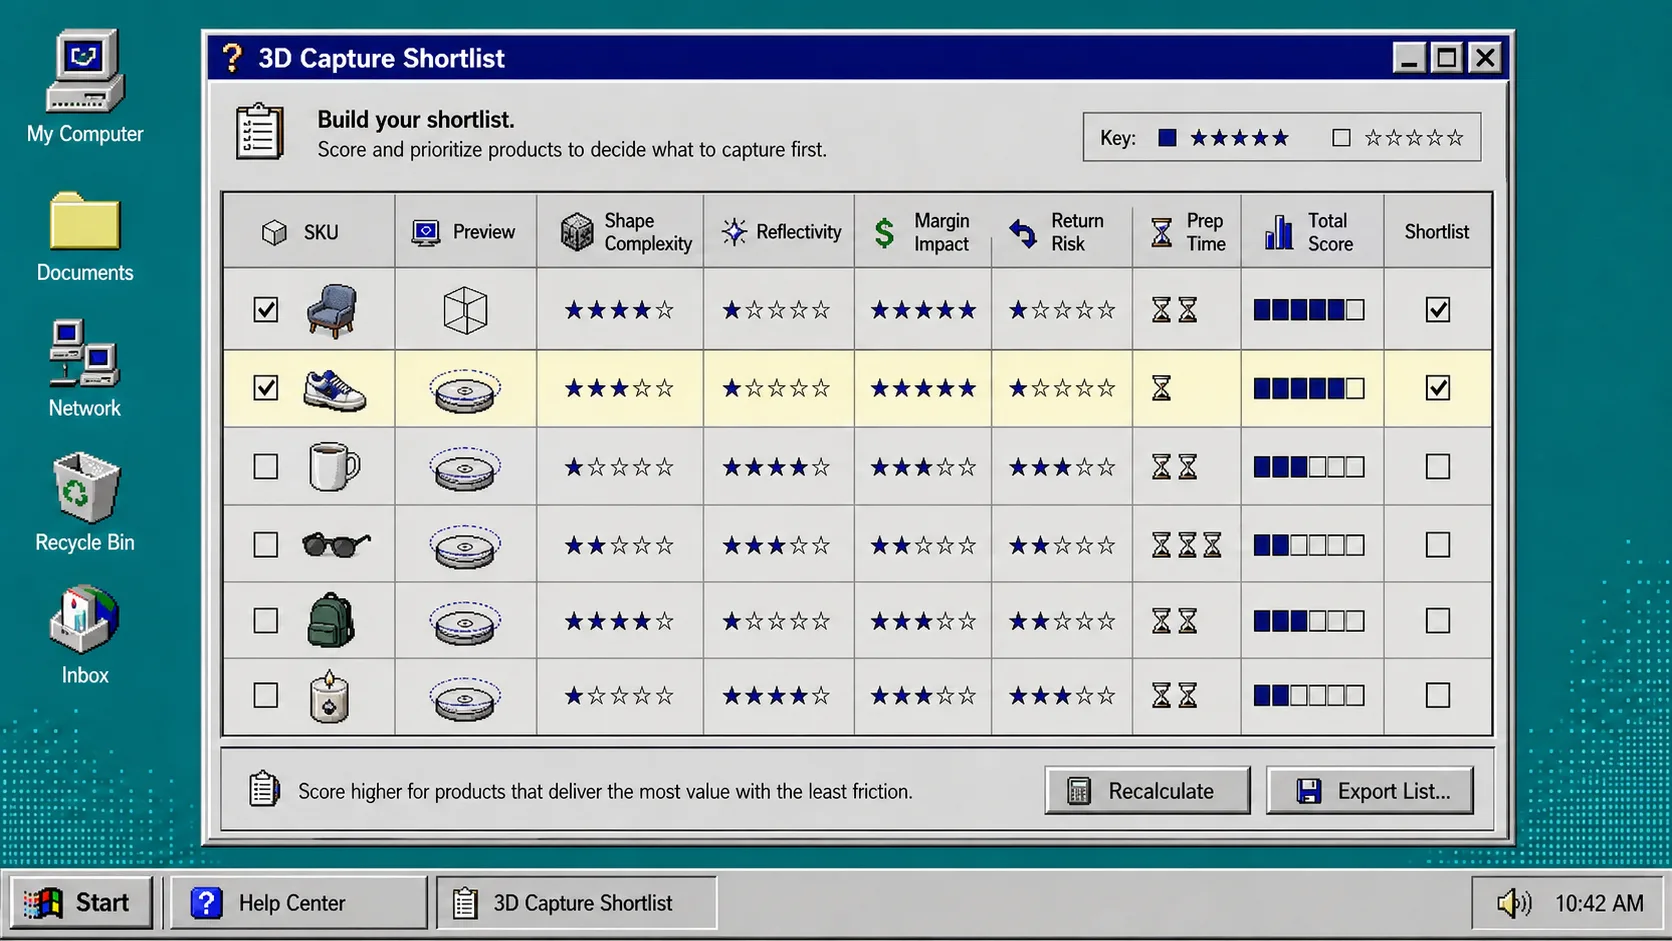
A product deserves 3D when the model gives the shopper information the photos do not. That usually means the item has volume, contours, texture, or details that are easy to misread in flat images.
I score each candidate on four practical signals:
- Shape complexity. Does the product have enough depth to reward rotation?
- Return risk. Would a better sense of size or form reduce surprises?
- Visual differentiation. Would a 3D view make the product page feel more complete than the usual gallery?
- Capture effort. Can I get a clean scan without turning the setup into a project?
That is also why How to Rank Shopify Products for 3D Capture by Return Risk is a useful companion read. If the model will not change a buyer decision, it is probably not the first SKU I would scan.
3. Skip the products that are likely to waste your time
Some products are technically possible to scan but not worth starting with. I would move these out of the first batch:
- Highly reflective items like mirrored finishes or polished chrome.
- Transparent or glass-heavy products.
- Very soft products that collapse or lose shape.
- Tiny items that are hard to frame consistently.
- Dark objects with almost no visual texture.
That does not mean they can never work. It means they are not the right first job when you are still learning the workflow. If you need a good way to prep the winners, How to Prep Shopify Products for Clean 3D Capture covers the setup side in more detail.
4. Pick three SKUs for the first pilot
I like a very small pilot. Three products is enough to show the pattern without creating a backlog.
My usual mix is:
- One obvious winner. This is the product most likely to look good in 3D.
- One borderline case. This tells you where the edges of the workflow are.
- One control SKU. This gives you a baseline for comparison.
That is close to the thinking in How to Start a Shopify 3D Capture Pilot With Three SKUs. The point is to learn quickly, not to prove that every product in the catalog deserves the same treatment.
5. Capture one product at a time with the guided phone workflow
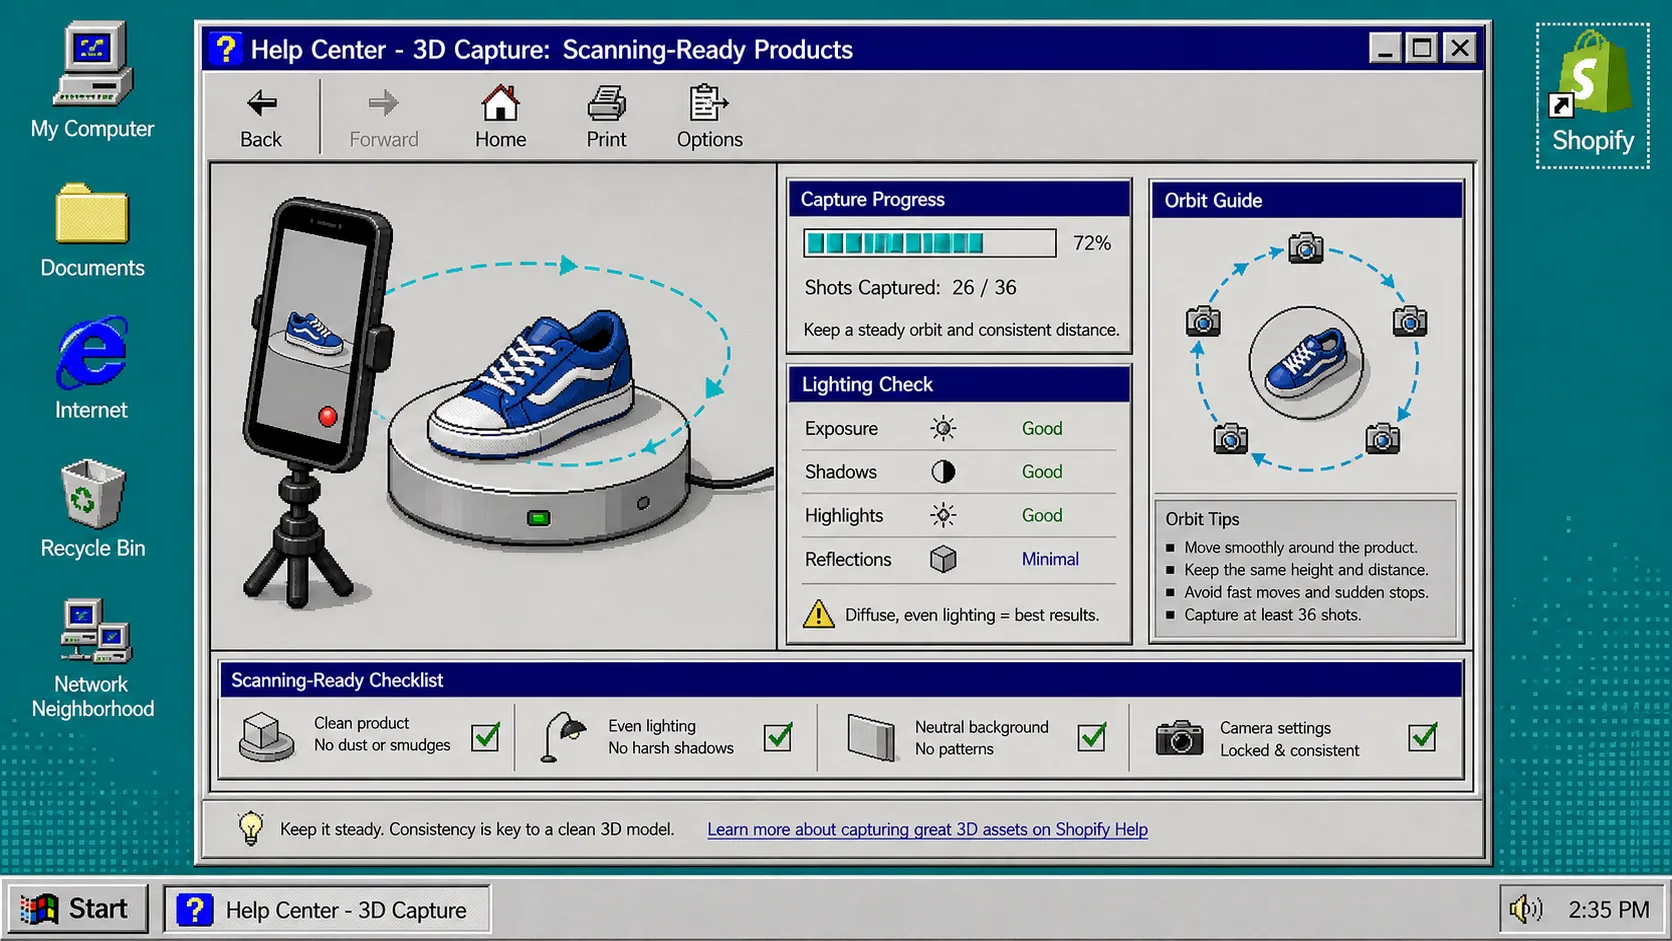
Once you have the shortlist, open a guided capture session on a phone and work around one product at a time. Supra 3D Capture is built around the idea that you do not need specialist gear or modeling software. You need a regular smartphone, good light, and enough photos for the photogrammetry pipeline to reconstruct the object cleanly.
A practical first capture looks like this:
- Put the product on a stable surface.
- Use even light and remove obvious glare.
- Orbit around the item and keep it centered in frame.
- Take the guided shots until you have enough coverage.
- Check the preview before you move on.
If the item looks wrong in the preview, fix the setup before you add more products to the queue. A clean first result teaches the process faster than a bigger batch of messy ones.
6. Publish the best model to Shopify and compare the page
Once the model processes into a GLB, attach it to the product and publish it into Shopify product media. That is where the value becomes visible to shoppers. The model can appear in Shopify’s native 3D viewer when the theme supports it, or you can place it with the Online Store 2.0 app block.
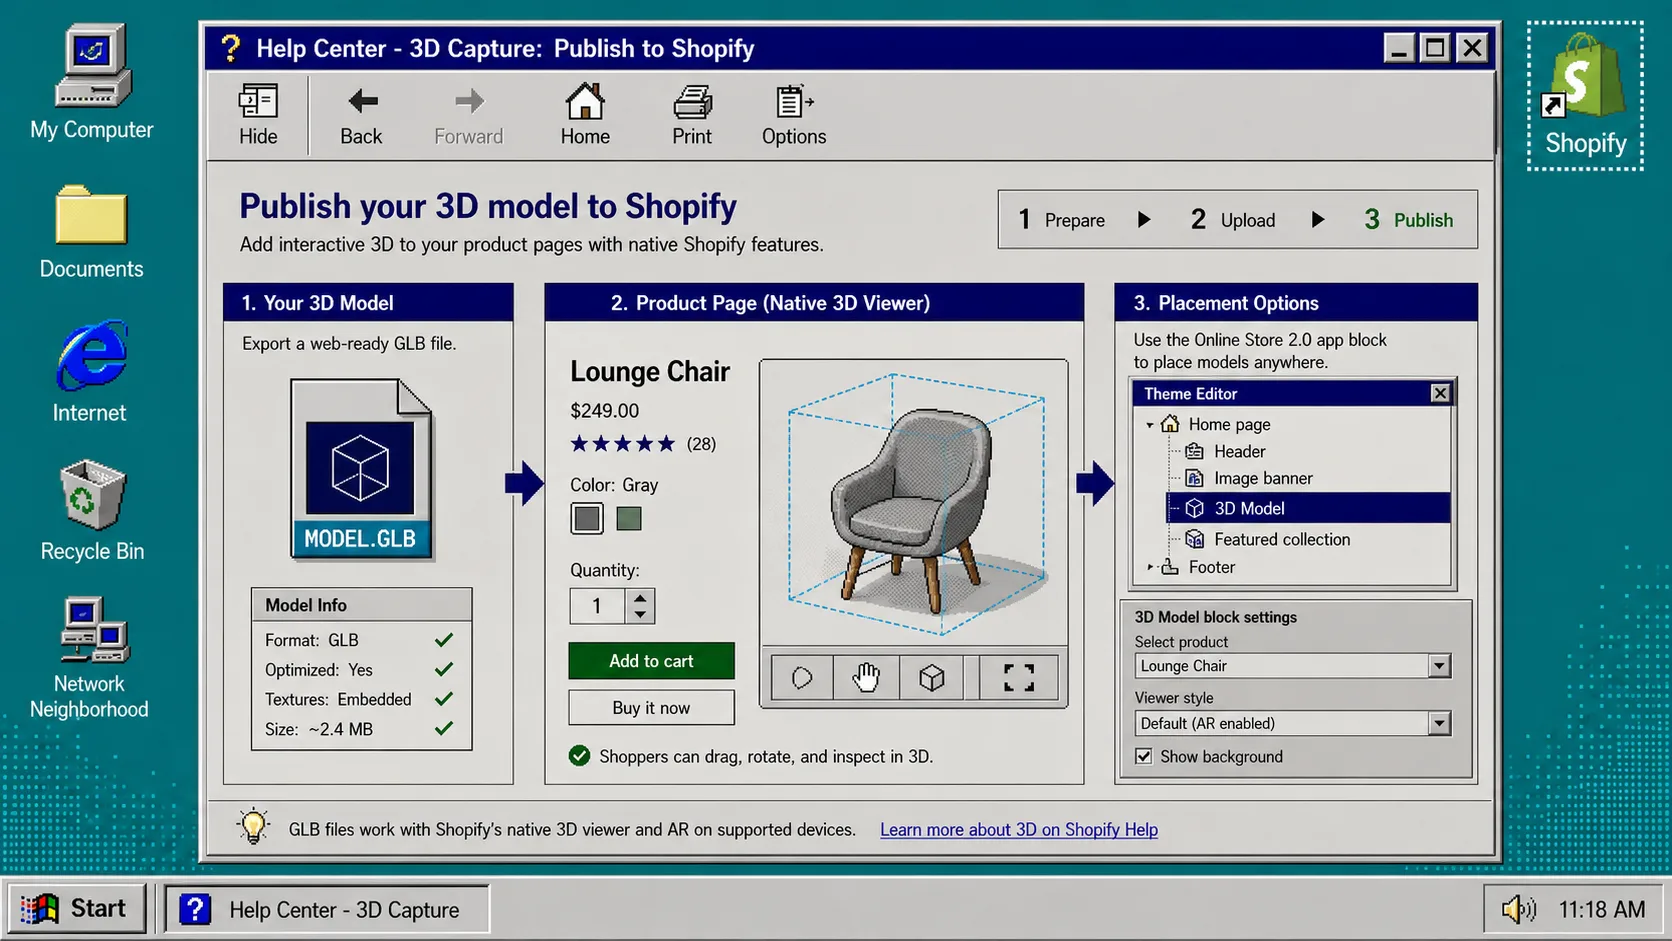
I would compare the 3D product page against the original static gallery and ask one simple question: does the interactive view help the shopper understand shape and confidence faster? If the answer is yes, the SKU earned its place. If not, you learned something useful without overcommitting.
Troubleshooting the first batch
The first batch usually fails for a predictable reason, and most of those reasons are fixable.
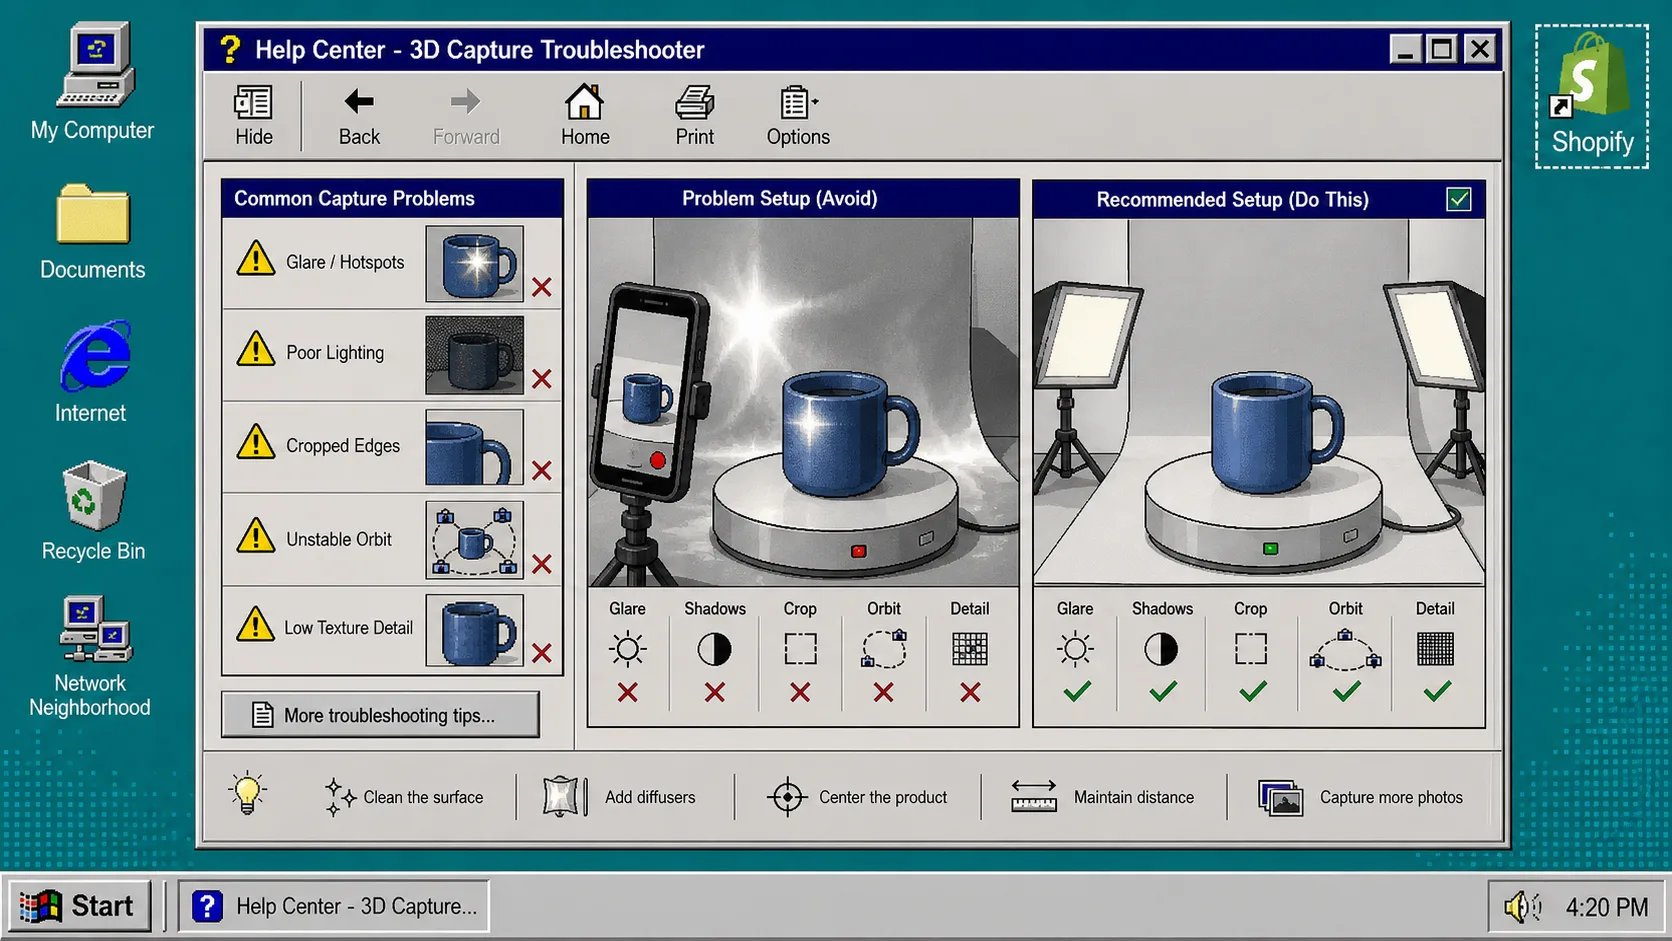
- If glare shows up, soften the light and move the source off-axis.
- If edges disappear, add more orbit coverage and keep the object centered.
- If the model feels noisy, choose a product with more surface texture next time.
- If the item is too fragile or soft to hold shape, move it out of the first pilot.
- If the capture takes too long, your shortlist is too broad.
The safest habit is to keep the first run small and review it after every model. That is why I like a shortlist approach before I think about scale.
Conclusion
Do not start with the product that is hardest to scan. Start with the product that will teach you the workflow fastest and give shoppers a real reason to spin the model.
If you only do one thing today, pick three SKUs, score them for shape and return risk, and capture the strongest one first. Once that model is live, the rest of the catalog is easier to judge.