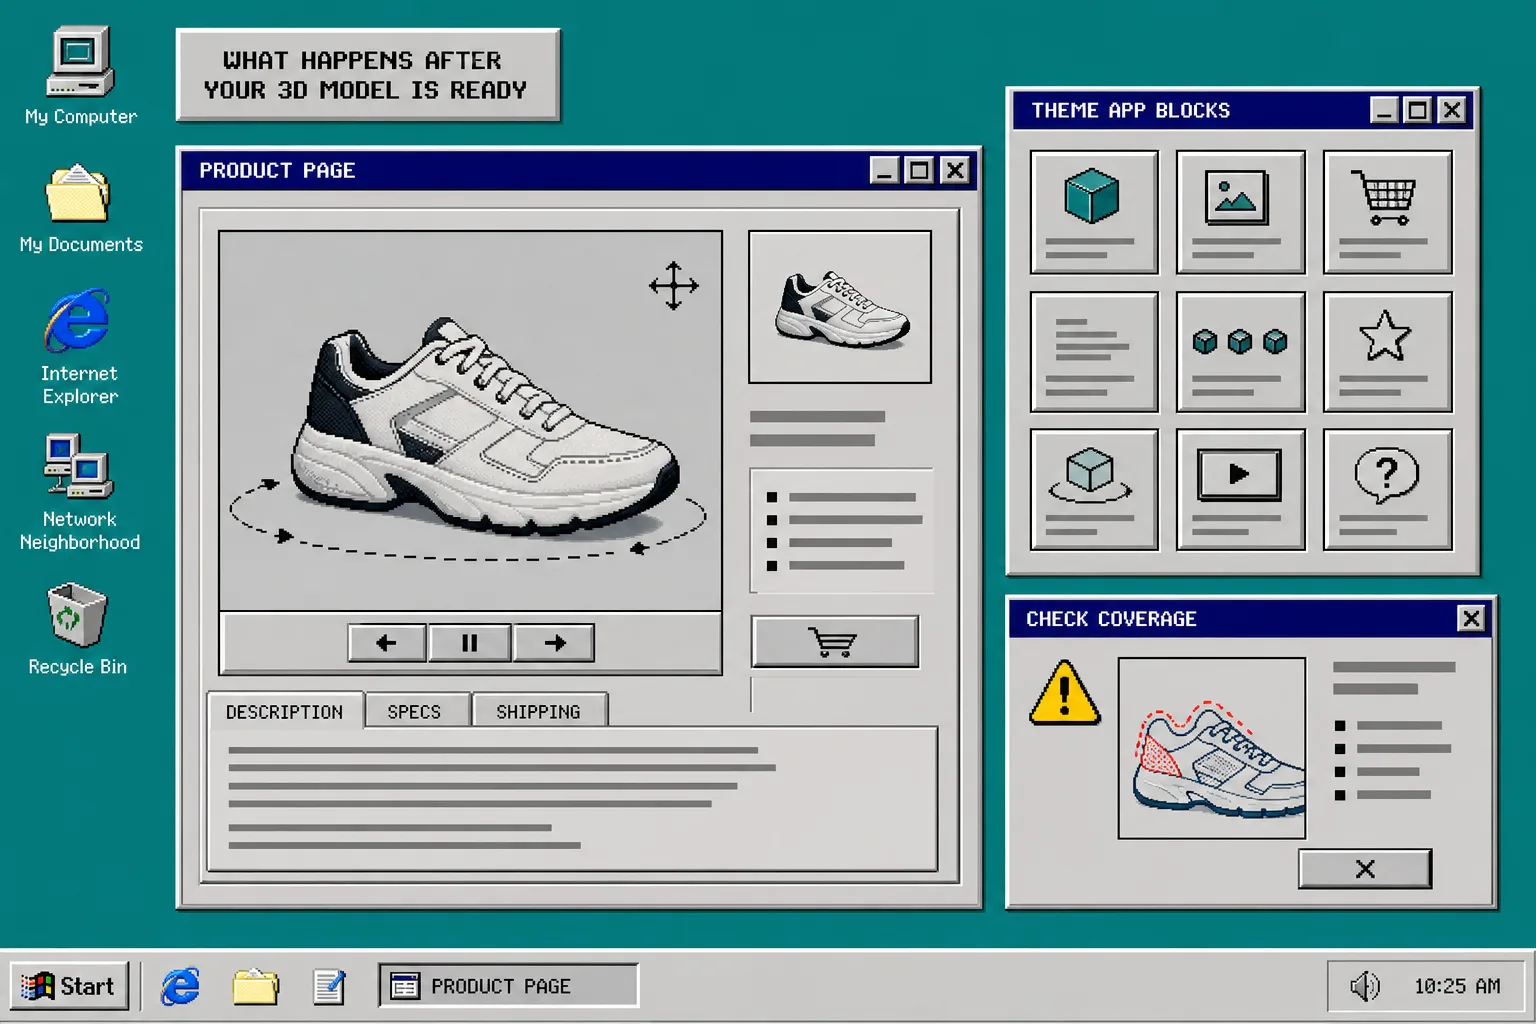
I usually see the same mistake with 3D: merchants try to scan everything, then the first few captures teach them that not every SKU deserves the same effort.
If you want the fast version, use a scorecard. Supra 3D Capture turns a short set of guided phone photos into a web-ready GLB you can publish as native Shopify 3D media or place with an Online Store 2.0 app block. It does not ask for LiDAR, fancy gear, or 3D software. That makes it useful if you only want to spend your one free saved model, or if you just want a cleaner way to decide which product gets the first scan.
Before you score the list, it helps to read What Makes a Shopify Product Worth Scanning in 3D and How to Build a Shopify 3D Capture Shot List That Actually Works. One is about choosing the right SKU. The other is about capturing it cleanly once you commit.
1. List the products that are actually worth scoring
Start with a short working list, not your whole catalog. I like products where shape, depth, texture, or proportion matter enough that flat photos can confuse a buyer.
Good candidates are usually:
- Products customers need to inspect from multiple angles.
- Products where size or silhouette drives confidence.
- Products that sit in a higher price band or have a noticeable return risk.
- Products that are visually simple in flat photos but clearer when you can rotate them.
Bad candidates are usually the opposite: tiny items, cluttered bundles, or products whose main job is to communicate copy, not form.
2. Score shape before you score beauty
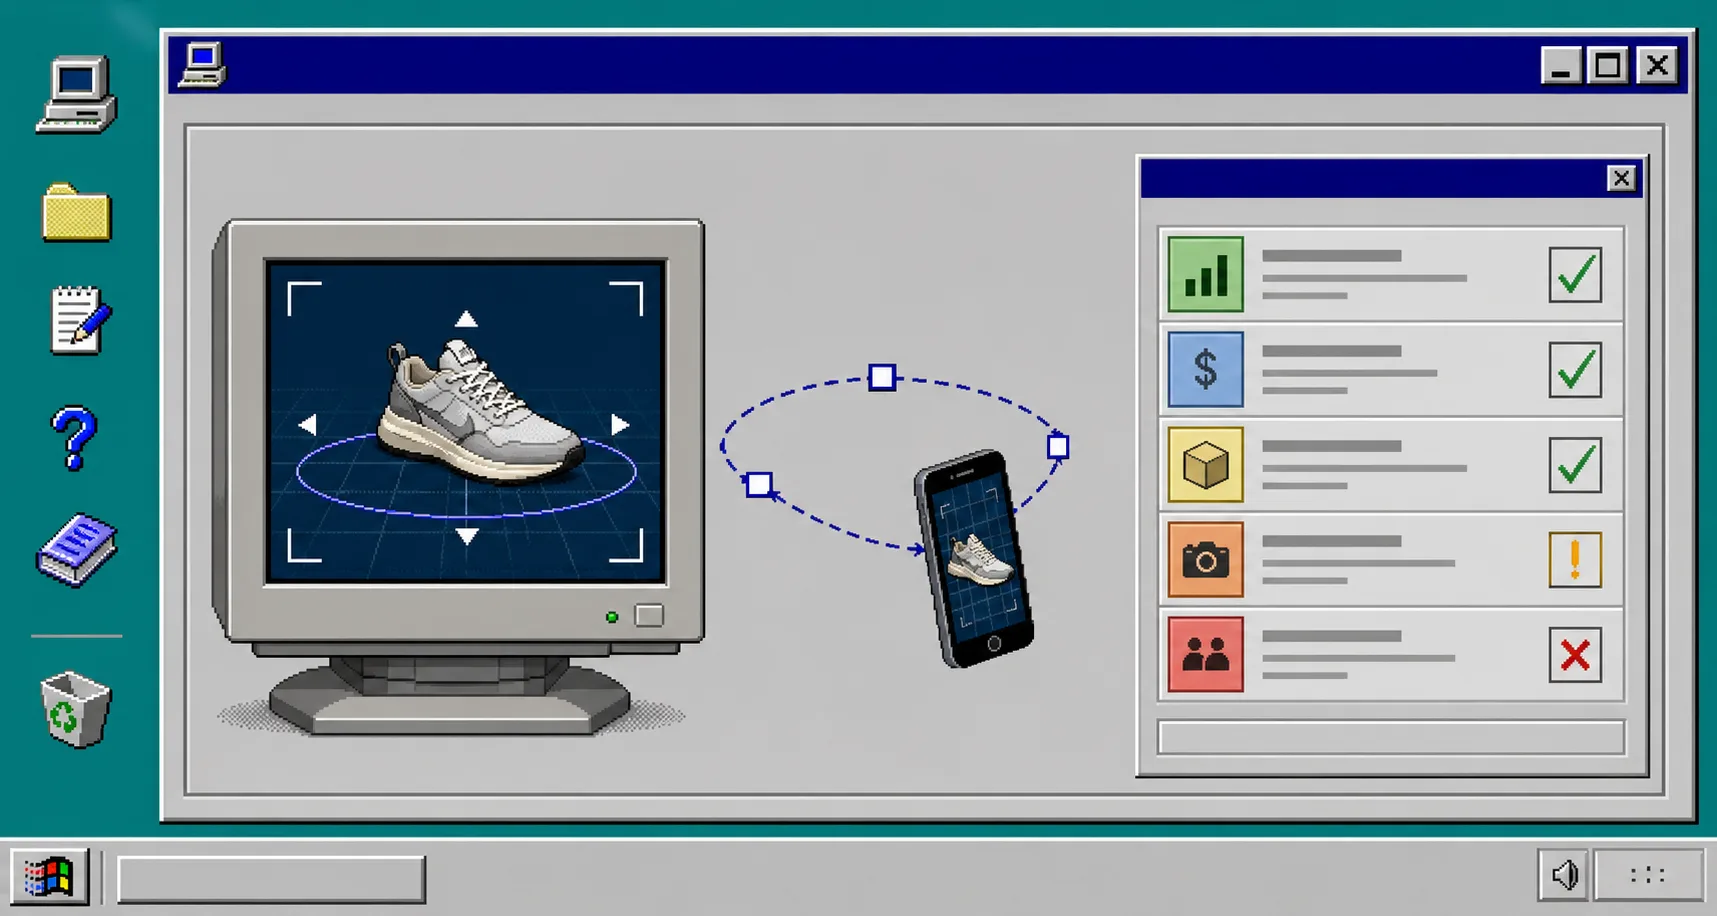
The first question is not whether a product looks cool. It is whether the product gets misunderstood when shoppers only see one or two angles.
Score the shape questions first:
- Does the product have a front, back, side, and top that matter?
- Does proportion matter more than styling?
- Would a customer buy with more confidence if they could rotate it?
- Does the item have a form that is hard to explain with still photos alone?
That is the logic behind How to Build a Shopify 3D Capture Queue Around Return Risk as well. A good 3D candidate is usually a product where misunderstanding costs more than the time it takes to scan it.
3. Check whether the product is easy to capture cleanly
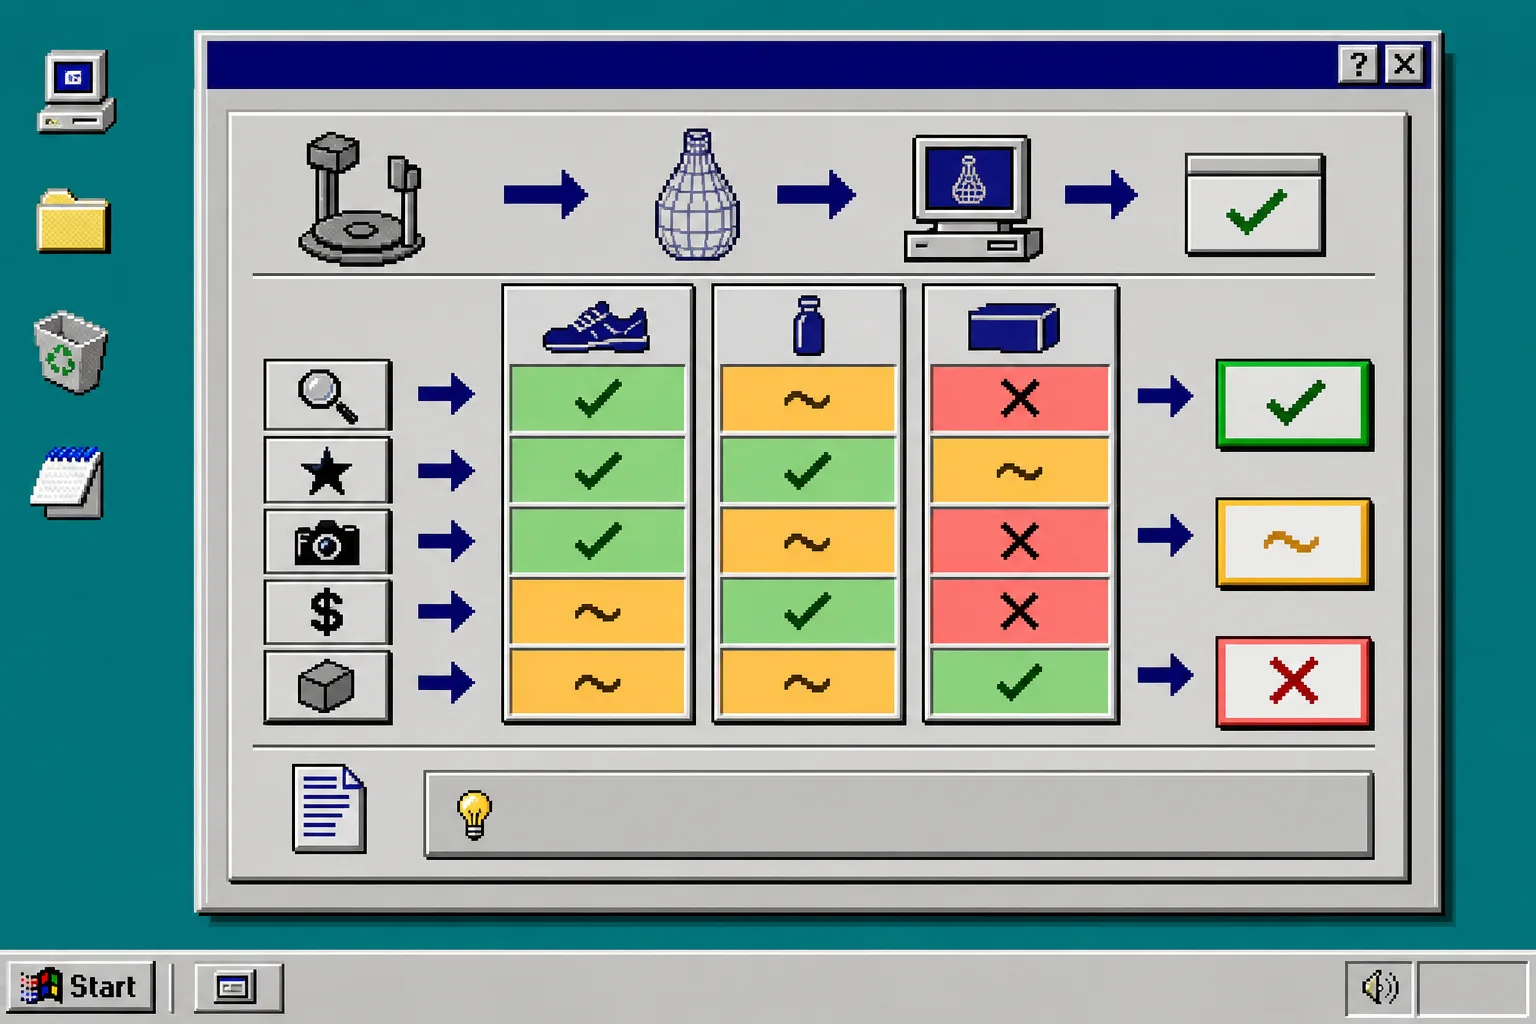
A product can deserve 3D and still be a bad first pilot if the capture will be messy.
Use this quick filter:
- Keep it if the surface is reasonably stable under normal light.
- Keep it if the product can sit still on a clean surface.
- Keep it if you can photograph it from a smooth orbit without constantly hiding important details.
- Skip it if glare, transparency, fur, loose parts, or extreme gloss are going to dominate the work.
This is where a product like Supra 3D Capture earns its keep. The app is built around guided phone capture, so you can stay inside a repeatable process instead of improvising every scan. If you want the downstream version of this logic, How I Build a Shopify Product Page Around a 3D Model shows what the finished placement looks like.
4. Favor products that can earn back the effort quickly
I would rather scan one expensive or high-friction SKU than three low-value ones that nobody shops carefully.
The scorecard should lean toward products that:
- Drive more support questions when shoppers cannot judge shape.
- Have enough margin to justify the extra production step.
- Are common enough in the catalog that the same capture method will repeat later.
- Give you a visible merchandising upgrade on the product page.
If you are unsure, compare the candidate against What Makes a Shopify Product Worth Scanning in 3D. That article and this one work together: one defines the shape of the opportunity, the other helps you rank the queue.
5. Pick one pilot SKU and make it a real test
Do not try to prove the whole program with the first scan. Pick the highest-scoring item, capture it, publish it, and inspect the page like a buyer would.
The workflow should be simple:
- Capture the product with a regular phone.
- Let the photos process into a web-ready GLB.
- Attach the model to the Shopify product.
- Check whether the native 3D viewer or theme app block actually improves the page.
- Decide whether the result justifies the next scan.
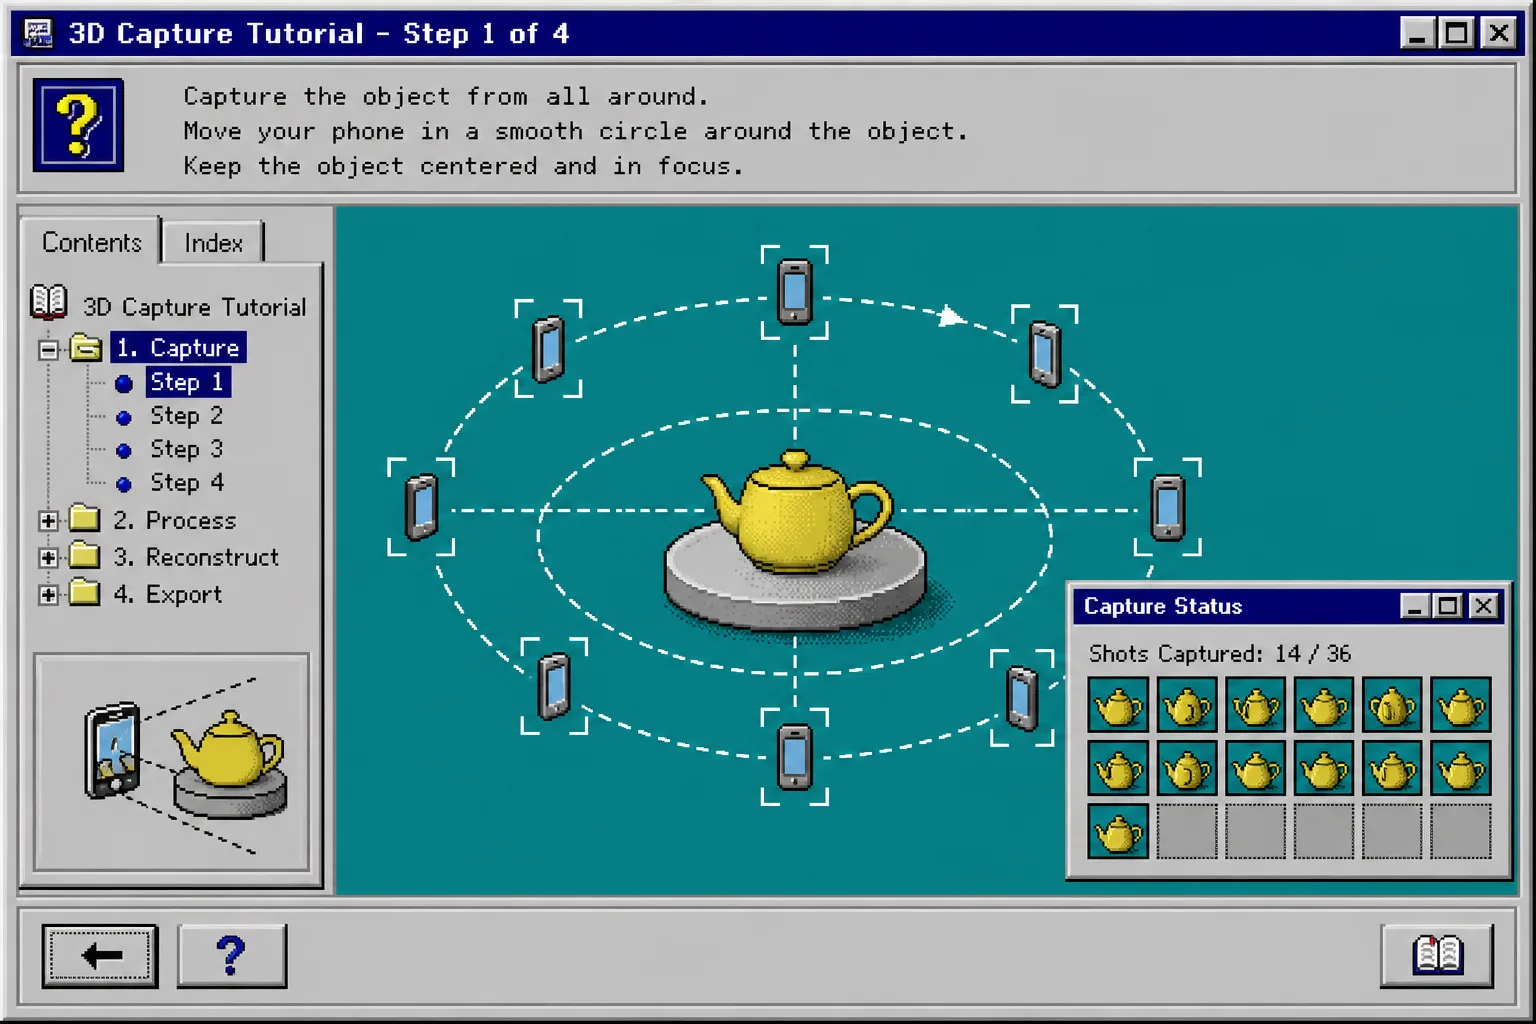
That last step matters. A model is not useful just because it exists. It is useful when the product page gets easier to understand.
Troubleshooting
A few common mistakes show up fast:
- If you pick a product with mirror-like surfaces, expect extra cleanup and a longer first pass.
- If the product is tiny, the capture may be harder than the benefit is worth.
- If the product only looks good from one hero angle, a 3D model may not change much.
- If the product already sells well from flat photography alone, spend the 3D budget elsewhere first.
When that happens, step back and re-rank the list. The goal is not to force 3D onto every SKU. The goal is to find the few products where 3D makes the page more honest and more useful.
If you want another useful companion, How to Build a Shopify 3D Capture Shot List That Actually Works covers the actual photo sequence, and How to Build a Shopify 3D Capture Queue Around Return Risk covers the business side of prioritization.
Recap
Build the scorecard around shape, capture fit, and return risk. Start with the SKU that has the most to gain from being inspected in 3D, not the one that is merely easiest to photograph.
If you only have room for one pilot, use it on the product that most often leaves shoppers guessing. Then publish that model, check the page, and use the result to decide the next scan.
For the app itself, see Supra 3D Capture or the Shopify App Store listing.