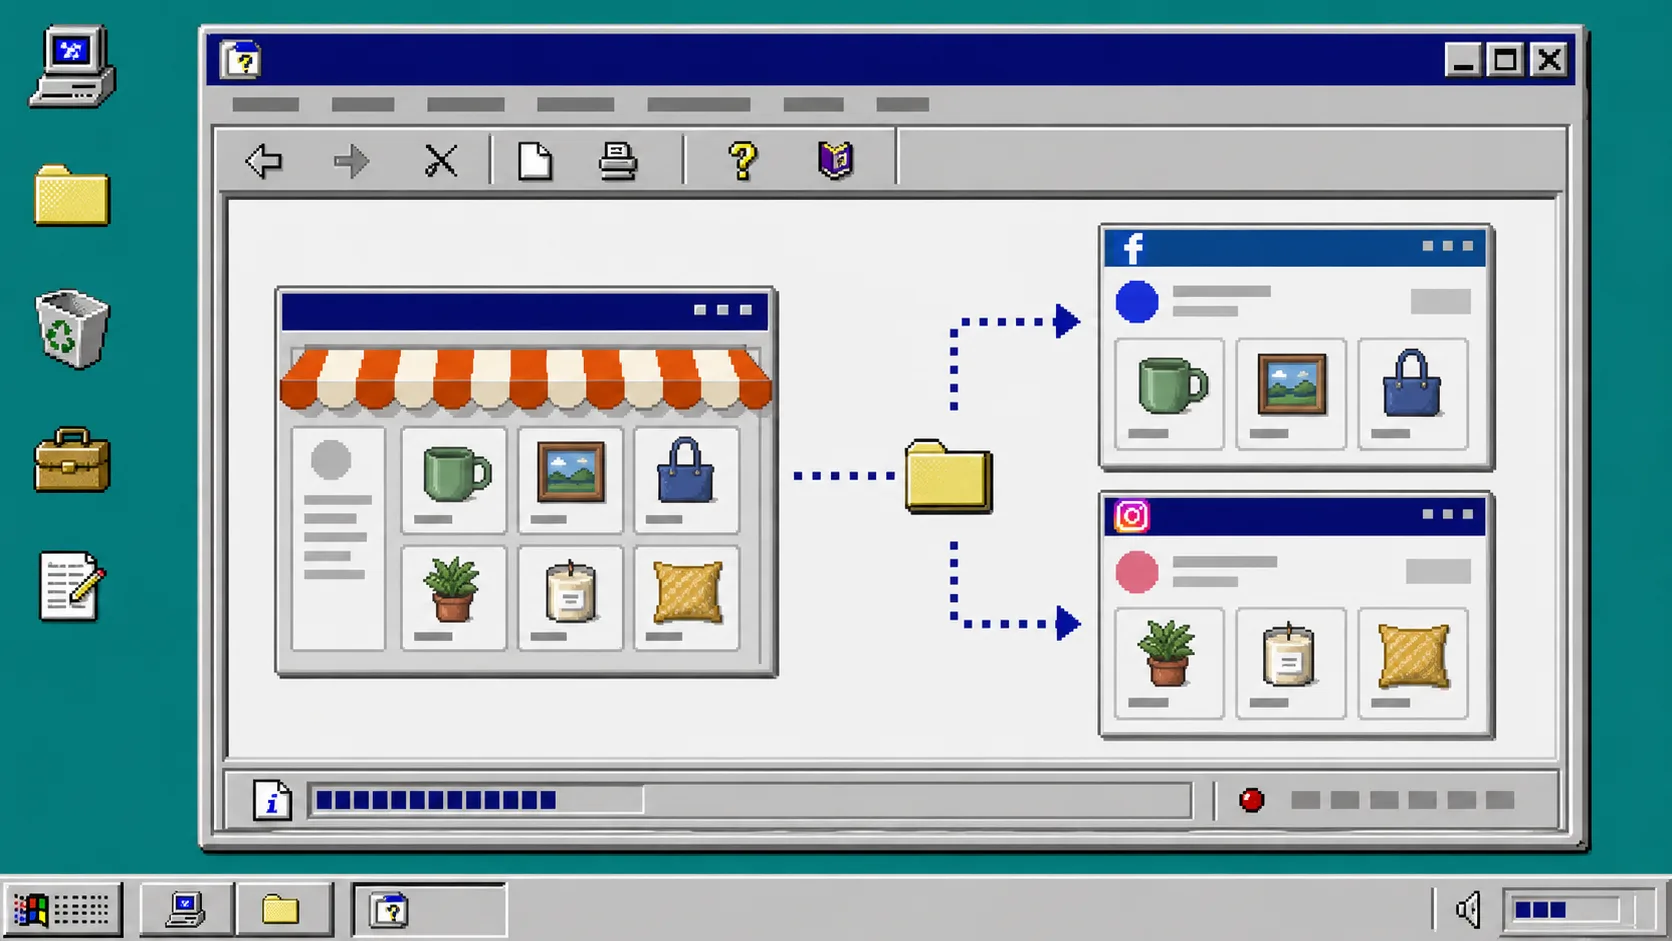
If you want to tag Etsy products in Instagram and Facebook posts, the reliable route is a catalog feed—not a hand-maintained upload. With Catalog Generator for Etsy, you get a feed URL that Meta can retrieve on a schedule. That means a listing you add or change in Etsy can flow into the catalog without rebuilding it one item at a time.
Before you start, have access to your Etsy Shop Manager, the Meta business account connected to your Facebook Page and Instagram account, and the email or login you will use for Catalog Generator. The setup has a few screens, but each screen has one job.
1. Prepare the Meta business connection
Open Meta Business Suite and make sure the Facebook Page and Instagram account you intend to use are connected to the same business. Your Instagram account should be a professional account so it can participate in shop and product-tagging workflows.
Do this before creating a feed. A catalog is only useful when the correct business, Page, and Instagram account can use it. If your listing data itself needs cleanup first, this companion guide on bulk editing Etsy listings without cleanup work is a useful place to settle titles, prices, and variation details.
2. Verify the Etsy shop domain
In Meta Business Settings, open Brand Safety or the domain-management area and add the Etsy shop domain that redirects to your storefront. Use the shop name from the Etsy URL followed by .etsy.com, then open that address in a browser to confirm it reaches the right shop.
Meta will provide a verification meta tag. In Etsy Shop Manager, open the Facebook Shops-related settings and paste the tag into the available verification field, then save or connect it. Return to Meta and run the verification check.
What you should see: the domain moves to a verified state. Do not skip this step; catalog approval and product tagging can stall when the storefront domain is not approved.
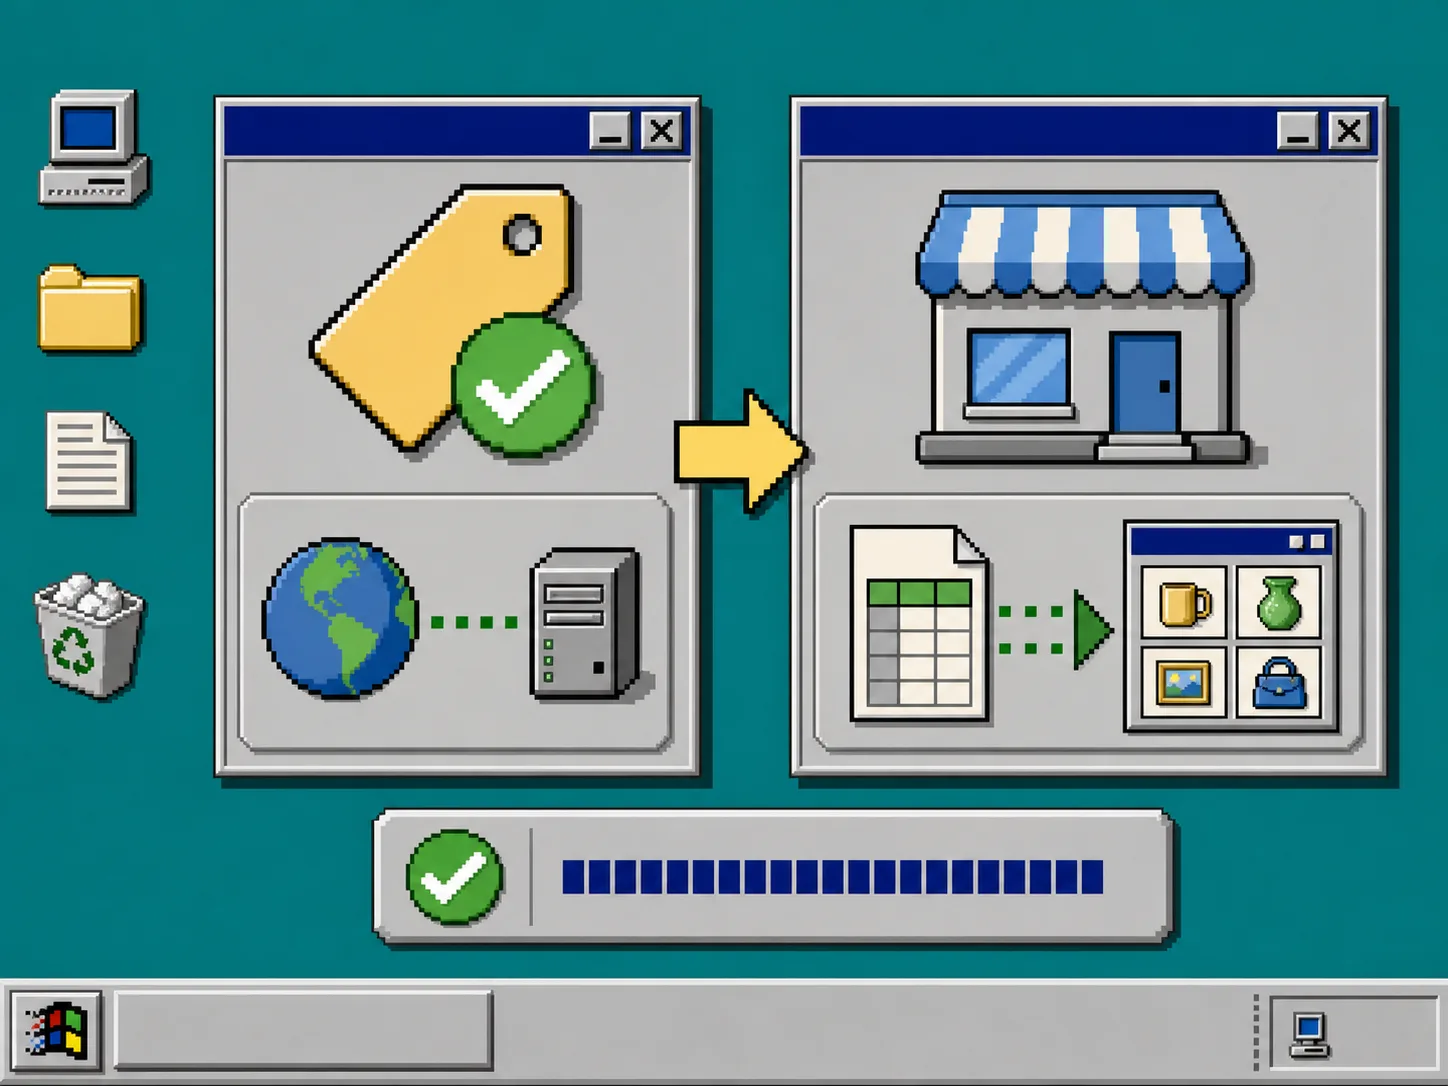
3. Create a catalog data source
Open Commerce Manager, choose the relevant commerce account, and find Catalog or Data Sources. Add items, choose a data feed, and select the option to use a URL rather than manually uploading a file.
The URL choice is the important part. A file upload is a snapshot. A feed URL gives Meta a source it can revisit, so changes to your Etsy inventory do not create a second manual process.
If you are unsure whether a change belongs in the main listing or in one of its variations, check how to tell whether an Etsy edit belongs in listings or variations before you sync. Clear source data makes catalog troubleshooting much easier later.
4. Get the Catalog Generator feed URL
Sign in to Catalog Generator for Etsy and connect the Etsy shop when prompted. The app provides a URL for the product feed. Copy that exact URL and paste it into the URL field in Meta Commerce Manager.
Leave optional fields empty unless your Meta account specifically requires them, then continue. Catalog Generator is designed to turn Etsy listings into a feed that Meta can fetch instead of asking you to export and re-upload product data.
For a screen-by-screen walkthrough, use the product team’s Etsy-to-Instagram and Facebook tutorial. Keep it open in a second tab if the labels in your account differ slightly.
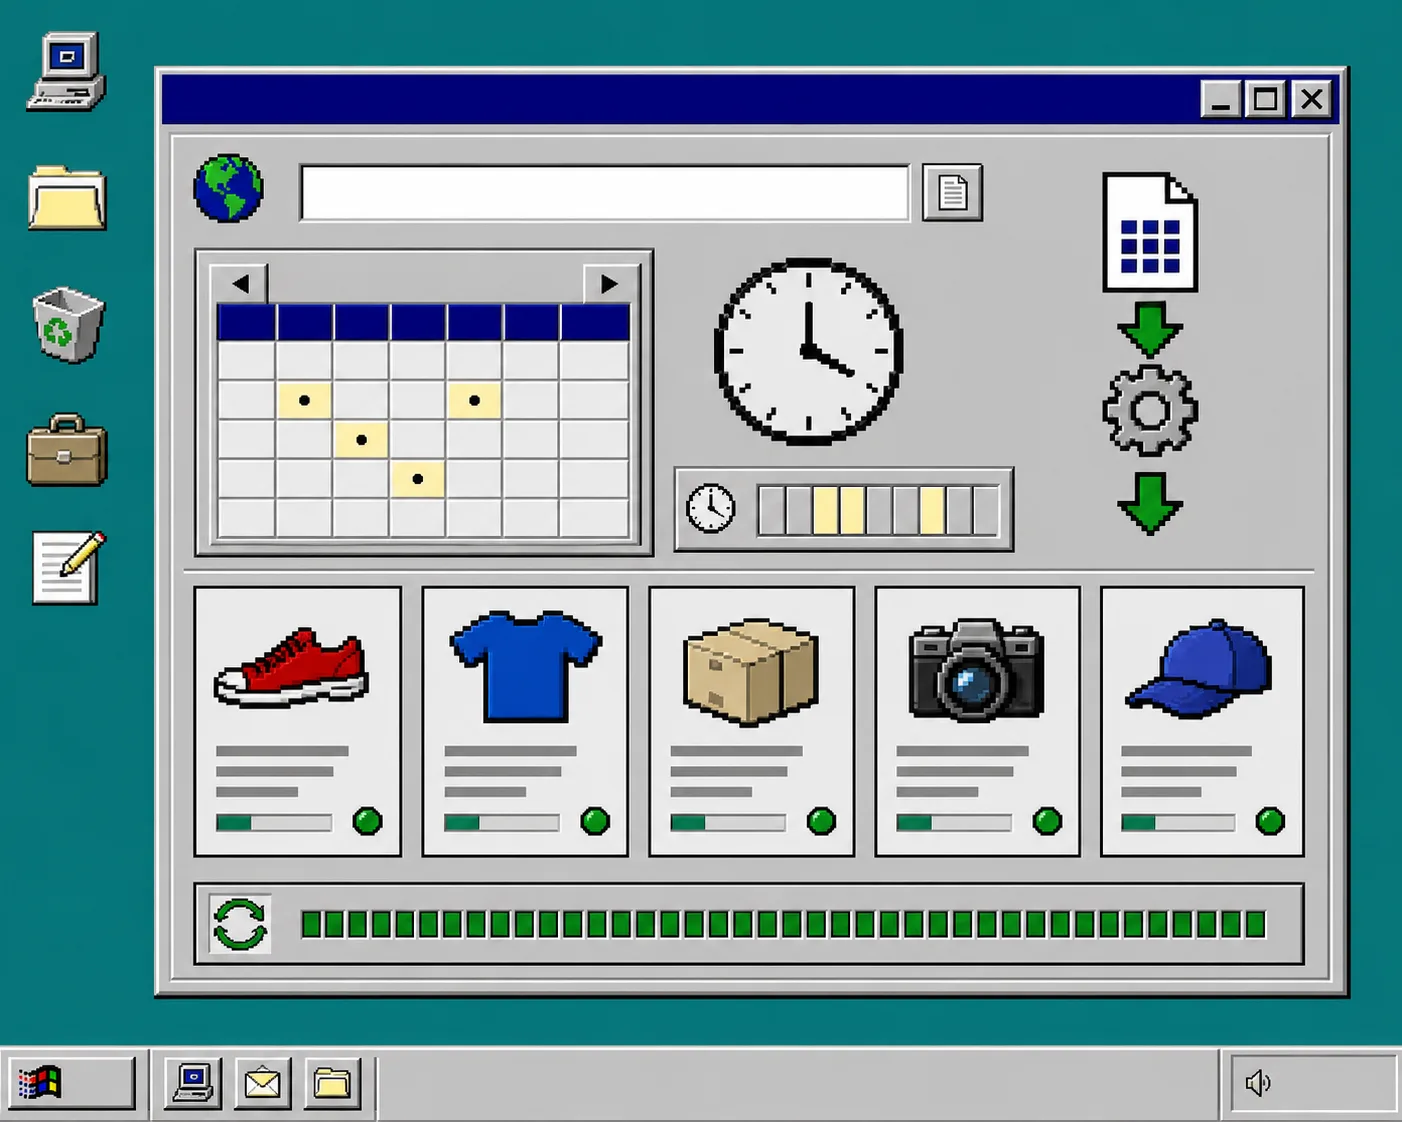
5. Choose a fetch schedule
Set a refresh schedule that matches how often your shop changes. Daily is a sensible starting point for most active Etsy shops: it keeps new listings and updates moving without requiring you to remember a manual catalog upload.
What you should see: a review screen with the feed URL and schedule. Confirm the URL belongs to Catalog Generator, save the feed, and let Meta retrieve it. The first import can take several minutes, especially for a larger catalog.
6. Review the imported items
When the fetch finishes, open the catalog’s Items section. Spot-check several listings: an older listing, a recently edited listing, and one with variations if you sell them. Confirm the product name, price, image, and destination are sensible before using the catalog in posts.
A quick review here is cheaper than discovering a mismatch after you have already planned a social campaign. When you change Etsy listings later, give the chosen schedule time to fetch the feed again before assuming something is broken.
7. Submit the domain for approval
In Commerce Manager settings, locate the domain or catalog approval area and submit the verified Etsy domain. Once it is approved, you can use the catalog for product tagging and send shoppers from social content to the corresponding Etsy listing.
This is the moment to treat the setup as an operating workflow, not a one-time project: keep product details tidy in Etsy, let Catalog Generator maintain the feed, and let Meta refresh from that stable URL.
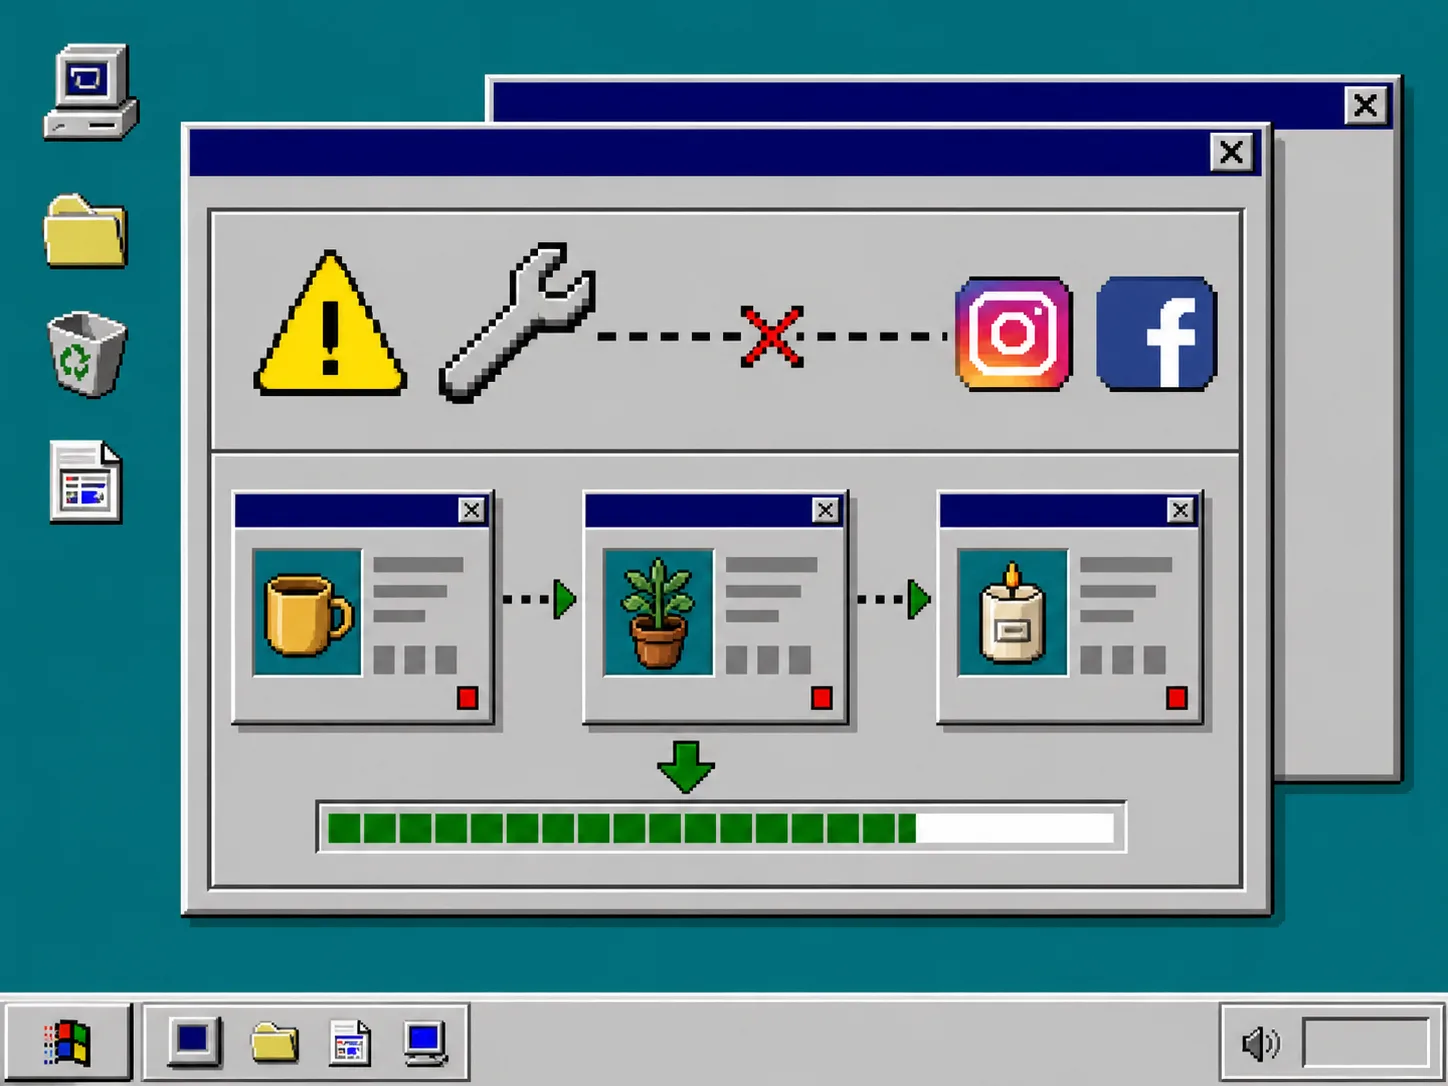
Troubleshooting common catalog-feed problems
The domain will not verify. Recheck that the domain is the Etsy storefront domain that redirects to your shop and that the Meta tag was saved in the correct Etsy setting. Then retry the verification in Meta.
The catalog has no items. Confirm that the feed URL was pasted completely and that you chose a URL-based data feed. Wait for the initial retrieval to finish before creating another feed.
A recent Etsy change is missing. Check the refresh schedule first. If the schedule has not run yet, wait for the next fetch; avoid patching the same product manually in multiple places.
Products cannot be tagged. Confirm that the correct Instagram account and Facebook Page are connected to the business, then check the domain approval status in Commerce Manager.
Recap
To sync Etsy listings to Instagram and Facebook Shops, verify the Etsy domain, create a URL-based catalog feed, paste in the Catalog Generator feed URL, set a schedule, review the imported items, and submit the domain for approval. Start your Catalog Generator for Etsy free trial when you are ready, then make one test product tag after approval to confirm the whole path works.