
I like Webflow for the part where a storefront goes from vague idea to a real page before the coffee gets cold. The awkward bit comes later: the site is ready, the CMS is full of useful product stories, and I want the files—and the hosting choice—to be mine.
That is when I stop treating a Webflow CMS to static export as a download button and start treating it as a small handoff. My rule: do not move a site until I can name what has to survive the move.
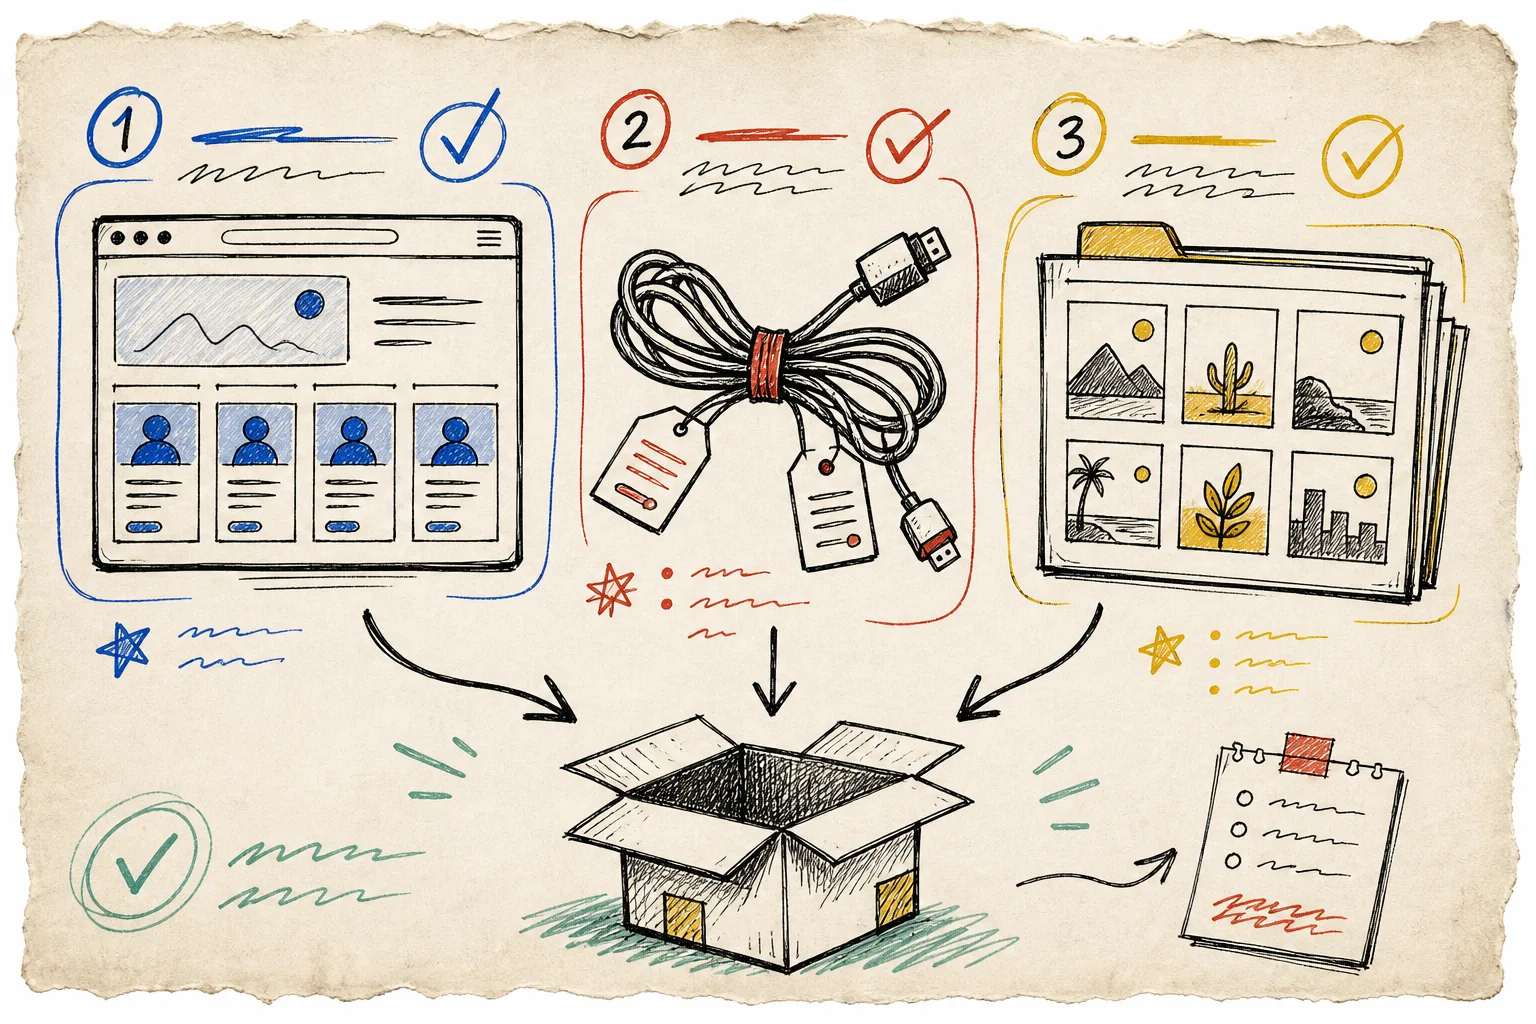
1. Count the pages that actually matter
Before exporting, I make a short inventory of the routes that create work if they disappear: collection-template pages, individual product or editorial entries, utility pages, and any campaign landing pages still getting traffic. A homepage that loads tells you almost nothing about whether the CMS made the trip.
For each collection, I check one ordinary item and one annoying item—the entry with the most images, a long rich-text section, or an unusual slug. That little sample catches assumptions early. If your goal is a static copy of a Webflow CMS site, the collection pages deserve more attention than the marketing shell around them.
This is also why I prefer an exporter built for the job. ExFlow accepts a Webflow site URL and can export pages, CSS, JavaScript, images, and media. Its all-pages option is the useful one here: it is designed to bring the CMS-rendered pages along rather than leaving you with only a pretty shell.
2. Choose the bundle, not just the HTML
A static launch fails in surprisingly unglamorous ways: an image path is missing, an interaction has no script, or a page has no .html file where the next host expects it. I set the export options with the destination in mind.
My baseline bundle is simple:
- export all pages, CSS, JavaScript, and images/media;
- use
.htmlpage extensions when the destination benefits from explicit files; - keep custom
script.jsandstyle.cssdeliberate, not accidental leftovers; and - download a copy even when a sync destination is configured.
That last point is less glamorous than automatic deploys, but it gives me a portable recovery point. If you are comparing destinations, my earlier notes on exporting Webflow sites to static HTML without losing CMS content cover the decisions I make before the handoff.
3. Separate the export from the credentials
ExFlow can sync an export to Git, S3, or FTP, which is handy when the same site needs repeated releases. The credentials for those destinations are sensitive, though, so I decide the owner and destination before anyone starts clicking around. The tool needs the relevant syncing credentials; that is a handoff detail, not something to improvise in a shared checklist.
For a simple version-controlled release, Git sync gives me a history of the site files and a reviewable change point. For a more traditional host, FTP may fit the team’s existing setup. S3 is a sensible option when the hosting plan already lives in AWS. The right answer is the one the next person can update safely.
If GitHub Pages is your destination, this companion guide on hosting a Webflow site on GitHub Pages is a good next read. If you are exiting a different visual builder too, the same ownership mindset applies to this Squarespace self-hosting plan.

4. Give the static copy a boring test pass
After the export, I open the files on a staging host and walk the sample routes I picked in step one. I am checking four ordinary things: pages resolve, images load, navigation stays inside the site, and the CSS/JS that makes the design useful is present. Then I repeat the pass on a phone.
A useful test is to start from a collection item, not from the homepage. Follow a card into the detail page, click back into its category, and open any image-heavy or embedded section. That path makes missing assets and broken internal links much easier to spot.

5. Make the next export cheaper than the first
Once the staging copy is clean, I write down three things: the source URL, the chosen export settings, and the destination. That note is enough to make the next change repeatable. ExFlow also offers hosting and custom-domain support on applicable plans, so it can be the direct hosting option when a separate destination would only add ceremony.
The best Webflow exporter workflow is not the one with the most buttons. It is the one where the CMS pages, assets, and destination are accounted for before launch. Start by inventorying one collection today, then run a complete export in ExFlow and test those real routes before you point a domain at the new home.
The small lesson I keep
A Webflow site is more useful when the team can decide where it lives next. Treat the CMS export as a release, keep the bundle intact, and give the static copy one intentionally boring test pass. That is usually enough to turn “we should have a backup” into a site the team can actually move.