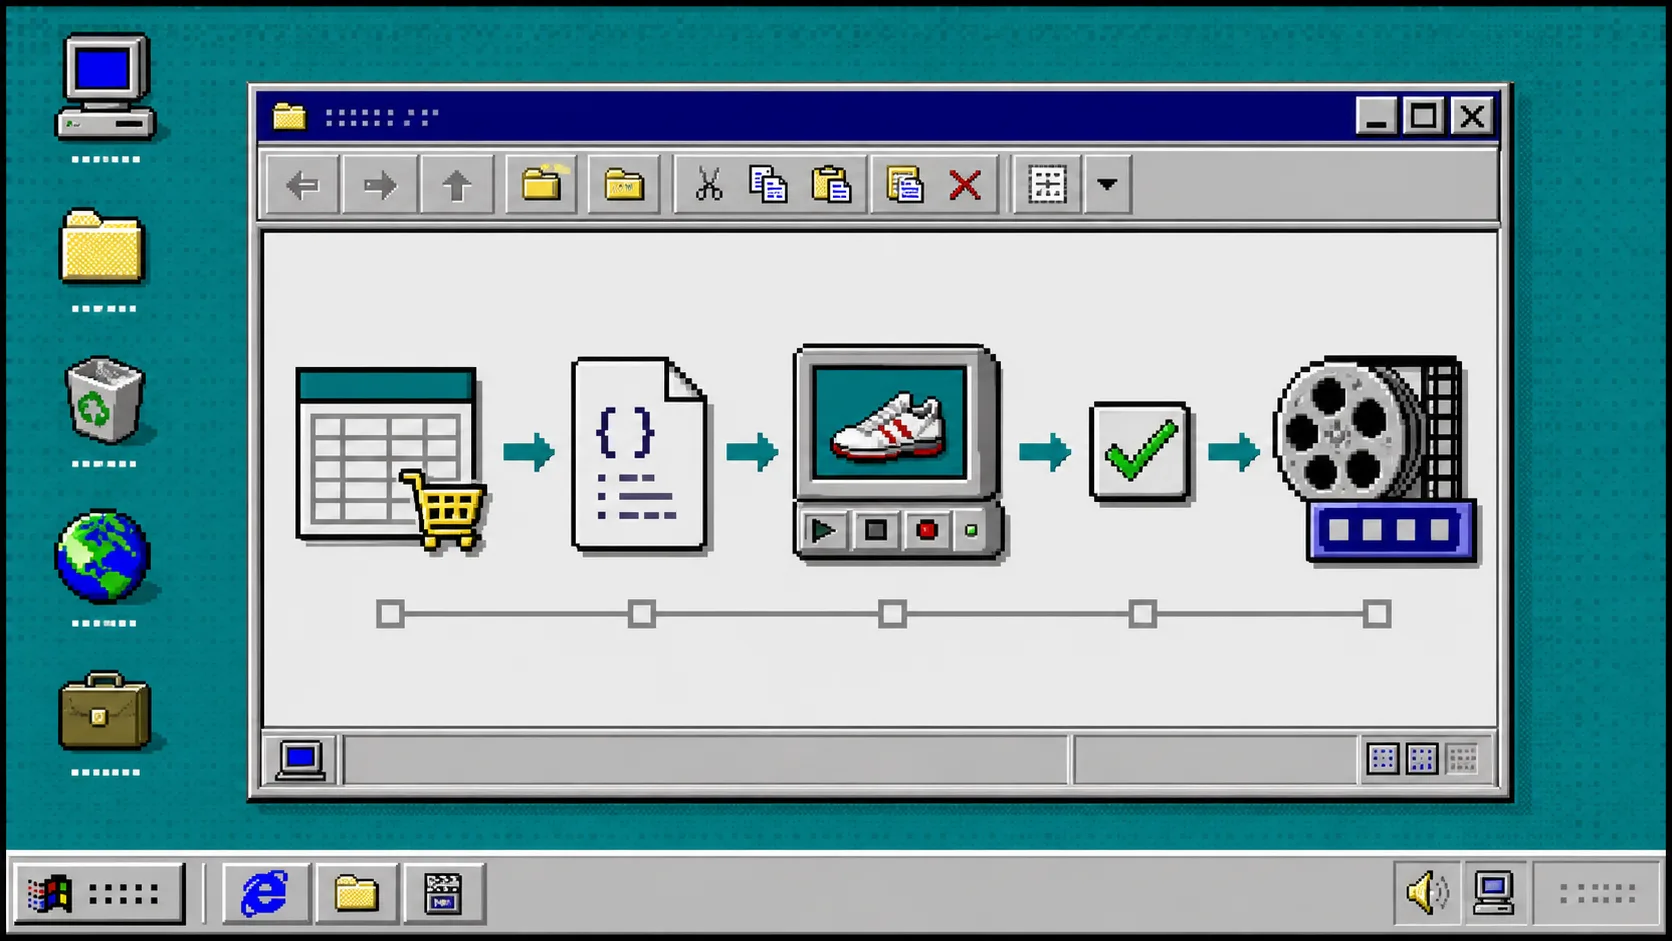
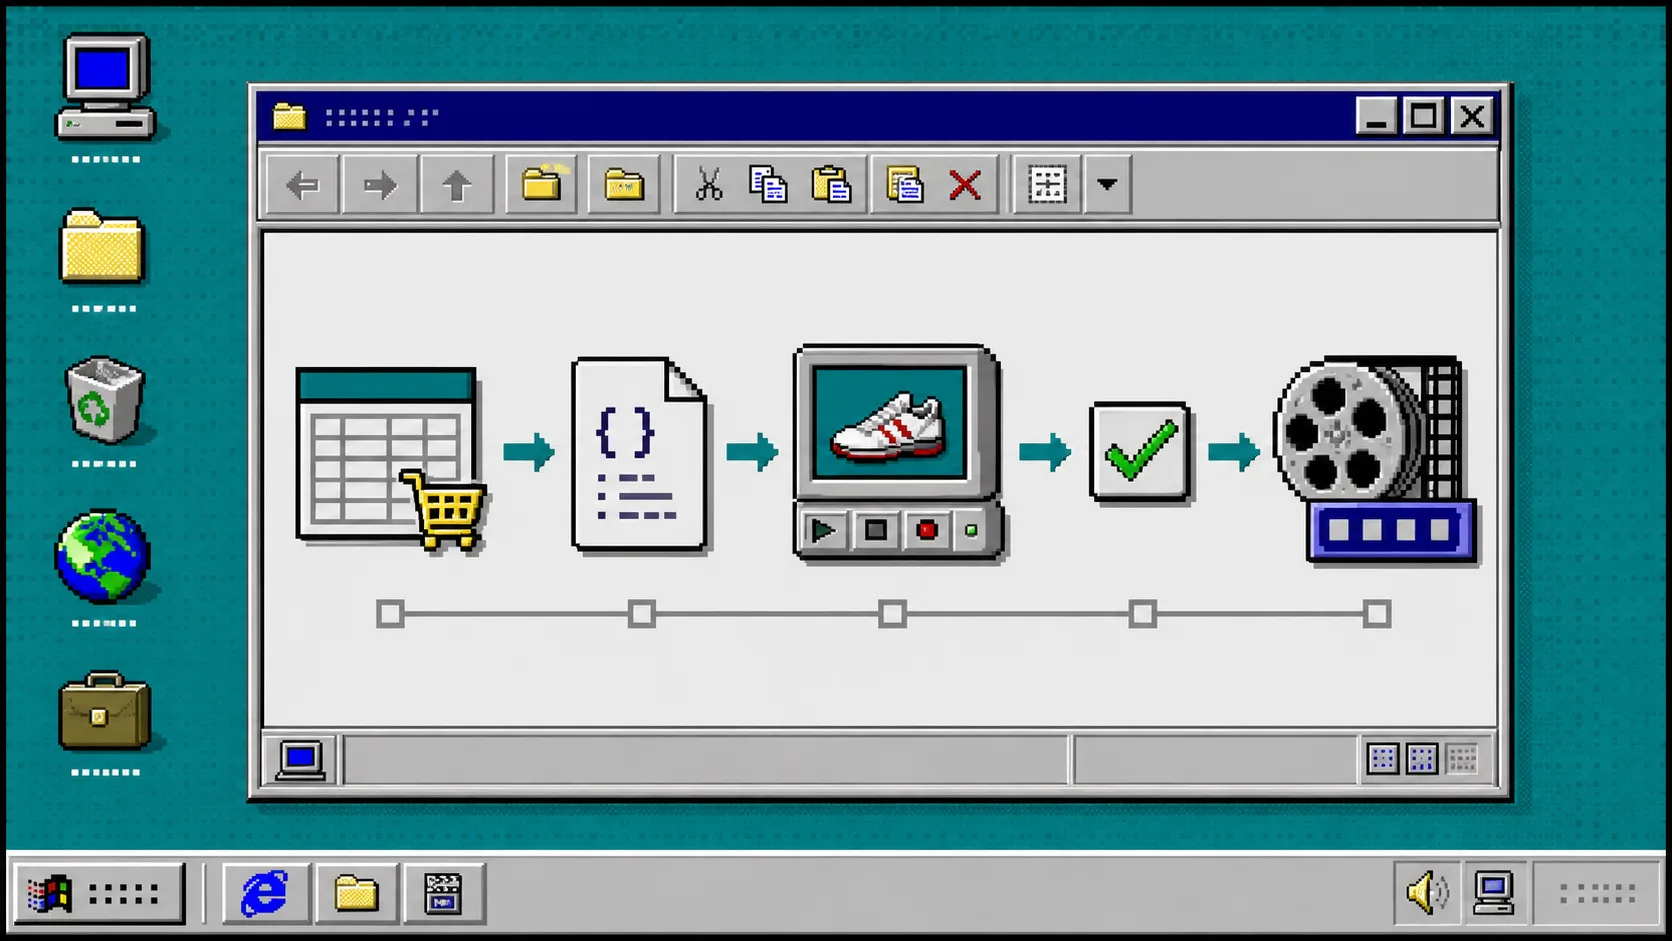
If you already have product titles, images, prices, and feature bullets in Shopify, you have enough material to make a useful first product video. The trick is not opening a timeline for every SKU. The trick is turning each product record into one structured video job that can be previewed, reviewed, and rendered the same way every time.
This guide uses VideoFlow to make that job portable. You will need a Shopify product feed (or any catalog export), Node.js, and a small TypeScript project. By the end, each approved row can become a repeatable MP4 without rebuilding the scene by hand.
1. Export only the product fields your template needs
Start small. Create a CSV or JSON export with a stable product ID, title, image URL, price, one short benefit, and destination URL. Do not begin with every catalog field; a video template becomes fragile when it depends on optional data you have not cleaned.
For a twelve-second product clip, I would use this shape:
type ProductVideoInput = {
  id: string;
  title: string;
  imageUrl: string;
  price: string;
  benefit: string;
  productUrl: string;
};
Validate the export before you generate anything. Require a public image URL, trim long titles, and send products with missing fields to an exceptions list. That small gate is what keeps a bulk run from turning one broken image into dozens of broken renders. If your catalog is already feeding a queue, the approval-gated pattern in How I Built an Approval-Gated Shopify Catalog Video Queue is a useful companion.
2. Install VideoFlow and build one reusable scene
Install the core package in your TypeScript app:
npm install @videoflow/core
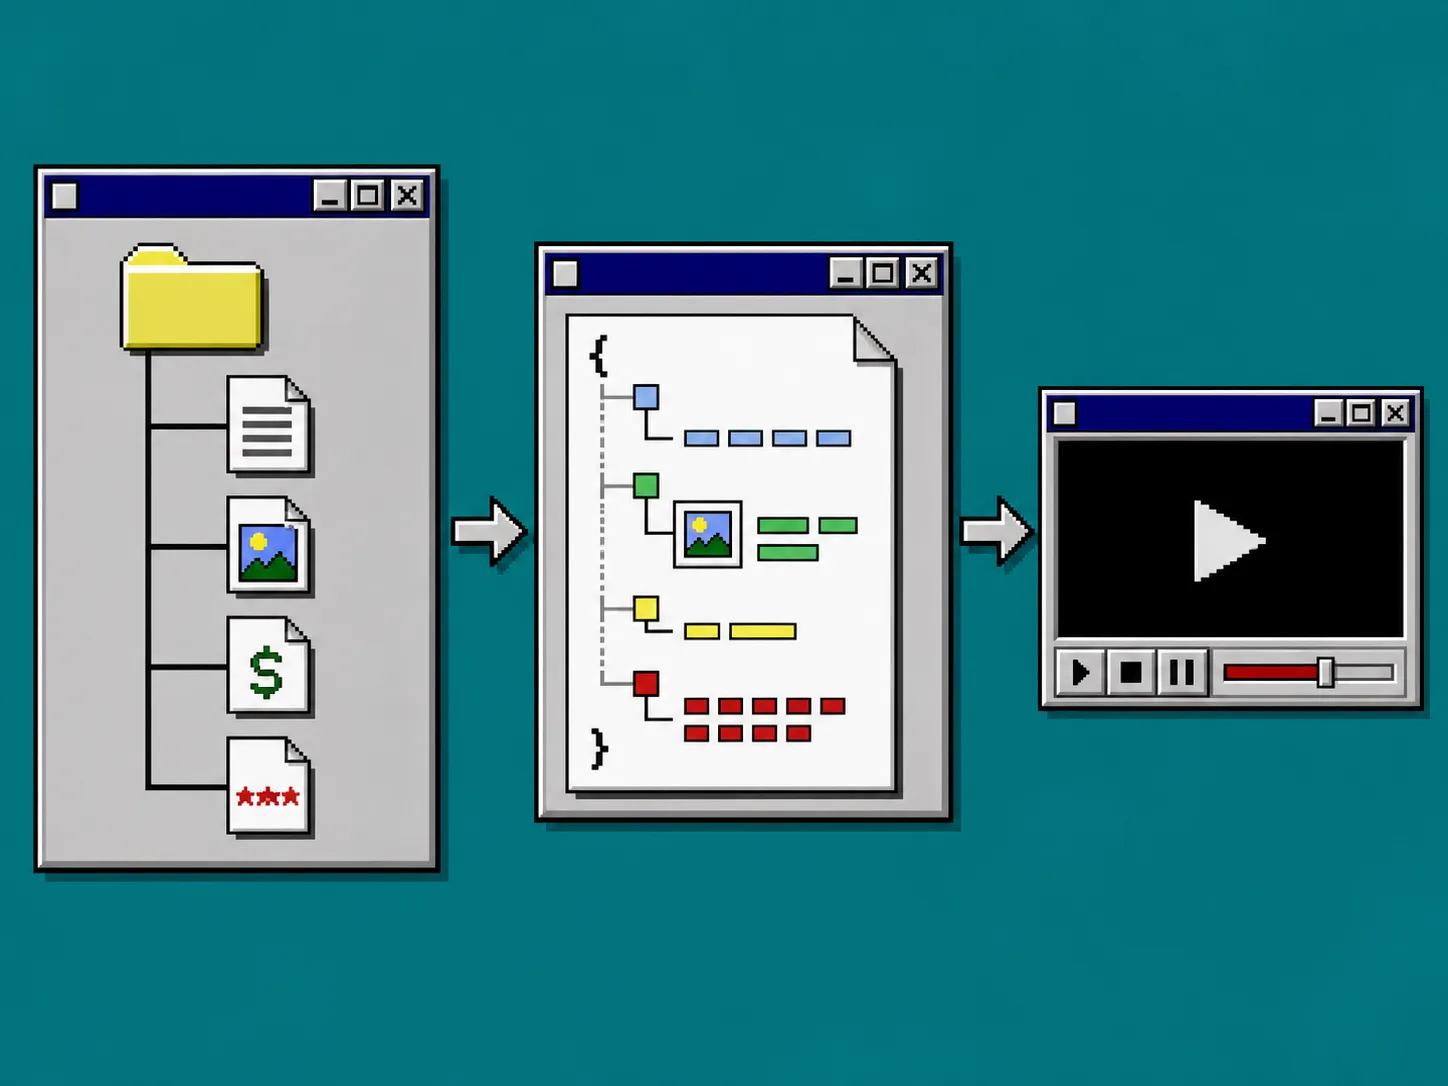
Use the VideoFlow core documentation to create a small scene function. Keep your design choices in the template: font sizes, timing, transitions, and the position of the product image. Keep catalog values in the input object. VideoFlow’s fluent API compiles the result into portable VideoJSON, so you can store the output beside the product ID instead of treating the first render as the only source of truth.
import VideoFlow from "@videoflow/core";

export async function makeProductVideo(product: ProductVideoInput) {
  const $ = new VideoFlow({ name: product.id, width: 1080, height: 1350, fps: 30 });
  $.addImage({ src: product.imageUrl, x: 10, y: 10, width: 80, height: 54 });
  $.addText({ text: product.title, fontSize: 6, fontWeight: 800 }, { x: 10, y: 70 });
  $.addText({ text: `${product.benefit} • ${product.price}`, fontSize: 3.5 }, { x: 10, y: 81 });
  return $.compile();
}
The exact API options will depend on your template, but the operating rule is simple: compile once, then pass the same VideoJSON to preview, review, and render. That is safer than creating separate browser and server projects that drift apart. For a deeper example of treating that JSON as a project contract, see How to Build a Video Workflow Around a Single JSON Contract.
3. Preview the JSON before you queue an MP4
Do not let a batch renderer be the first person to see a video. Send each generated JSON object to a live preview using VideoFlow’s DOM renderer, or open it in the optional React editor when a teammate needs to change copy, timing, or media. The React video editor is useful here because it can edit the same JSON the generator made.
Add a simple review status next to each catalog row: draft, needs-revision, or approved. A reviewer should check three things: the product image matches the variant, the benefit still fits on screen, and the CTA points to the right URL. This is the human check that prevents a fast system from publishing a fast mistake.
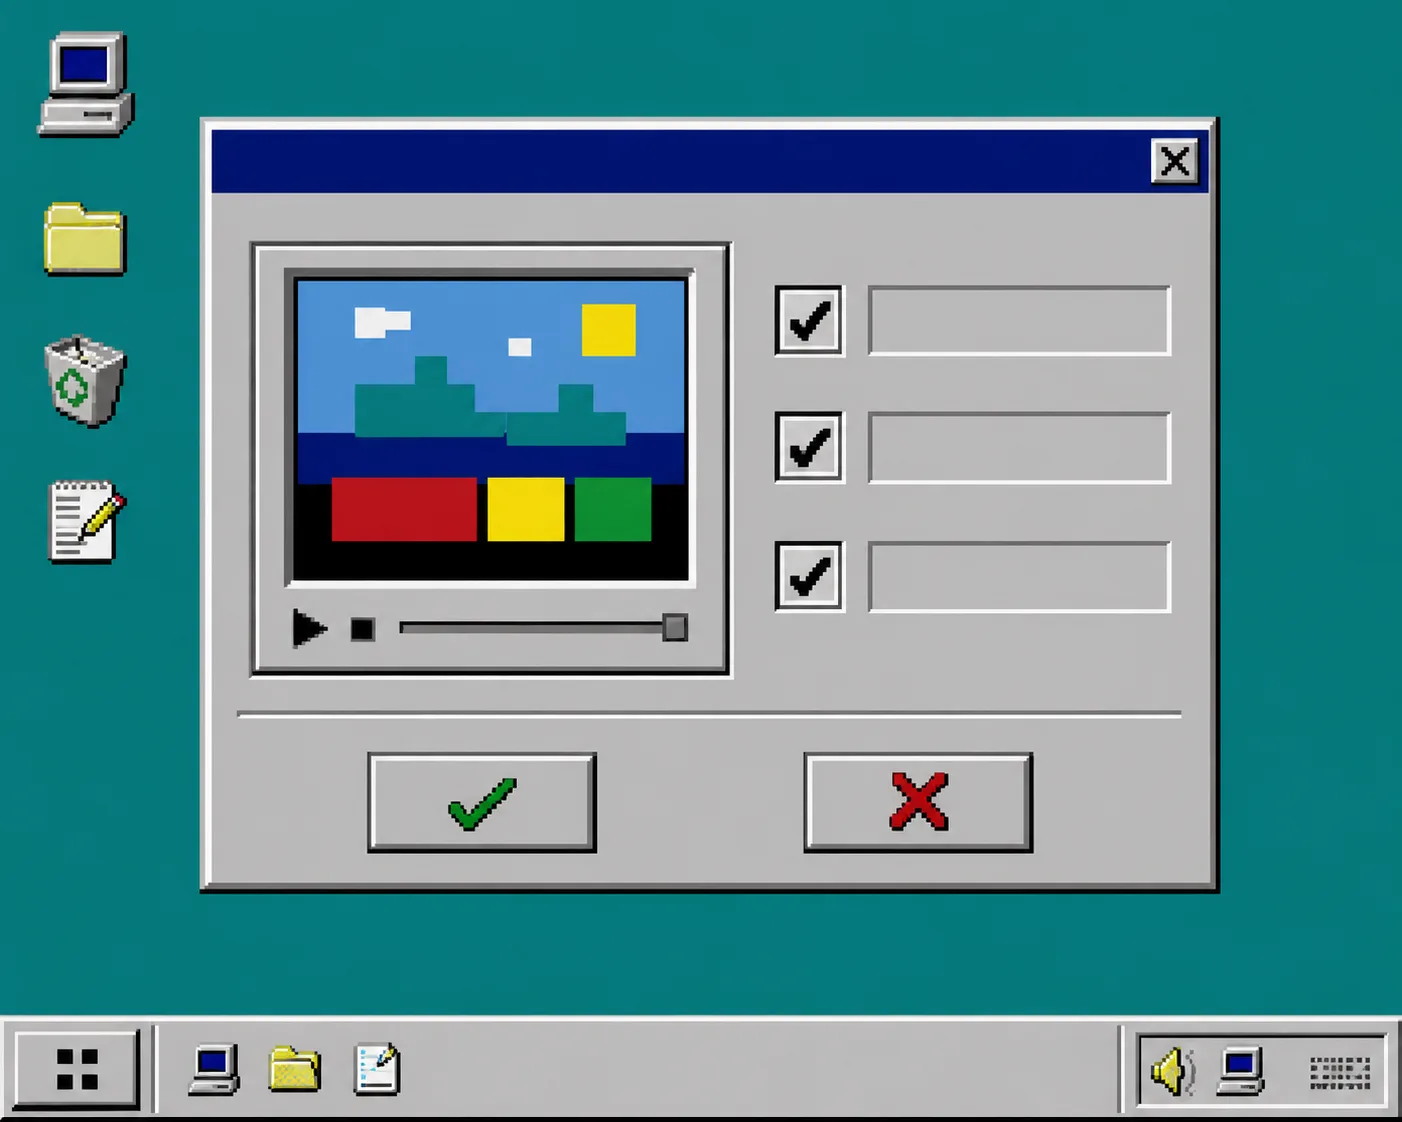
If you are adding review to an existing automation, How to Add Human Review to Shopify Product Video Automation shows why this gate belongs before rendering, not after delivery.
4. Choose the renderer that matches the job
Use the browser renderer when a person clicks Export and privacy or low server cost matters. Use the server renderer when you need scheduled jobs, retries, or a large catalog batch. Both can work from the same VideoJSON; the renderer changes, not the video definition. Review the VideoFlow renderers documentation before wiring credentials, storage, and queue handling.
For a batch, create a row per approved product with the JSON payload, renderer choice, render status, output URL, and error text. Retry failed rows individually. Do not rerun the whole catalog because one image host timed out. This is also how you keep a campaign reviewable when the marketing team asks for variants later. How I Turn Catalog Data Into Reviewable Product Video Variants has a practical variation-first version of that workflow.
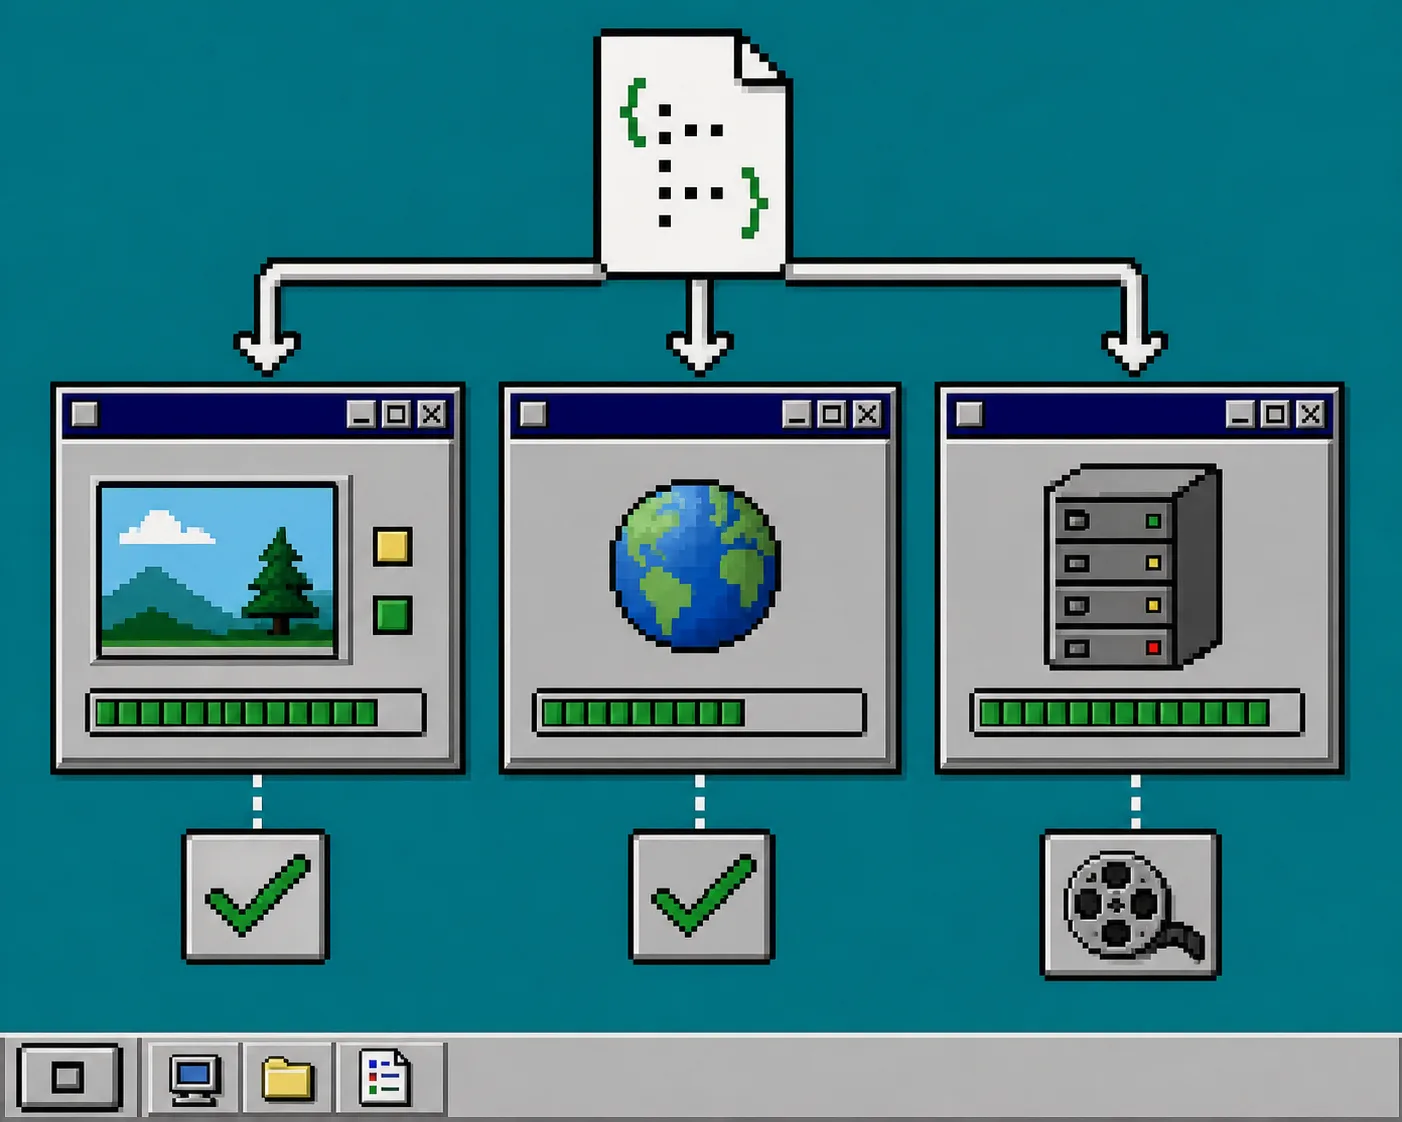
5. Save the source, not just the MP4
Store the VideoJSON, the input record, template version, reviewer, and final MP4 URL together. When a price changes or a seasonal campaign starts, you can regenerate the video from the exact source instead of editing an old export. Put templates in Git and give each schema change a version number. Your future self will be able to answer which template made a video and why.
Troubleshooting
The title overflows. Add a character limit in the feed and use a shorter display title field. Do not silently shrink every font until it is unreadable.
An image fails during rendering. Check that the catalog image URL is public and that your renderer can fetch it. Mark the row failed, fix that record, and retry only that job.
Preview and export look different. Confirm that both are using the same stored VideoJSON and media URLs. Avoid recreating a scene separately in each renderer.
The batch is expensive or slow. Start with ten approved products, measure render time, then scale a queue with concurrency and retry limits.
One good next step
Create one square template, test it with five products, and save the resulting VideoJSON next to each product record. Once that round is reviewable, open the VideoFlow examples and add a second template for a different channel. You will have a catalog video system, not just a folder of one-off MP4s.