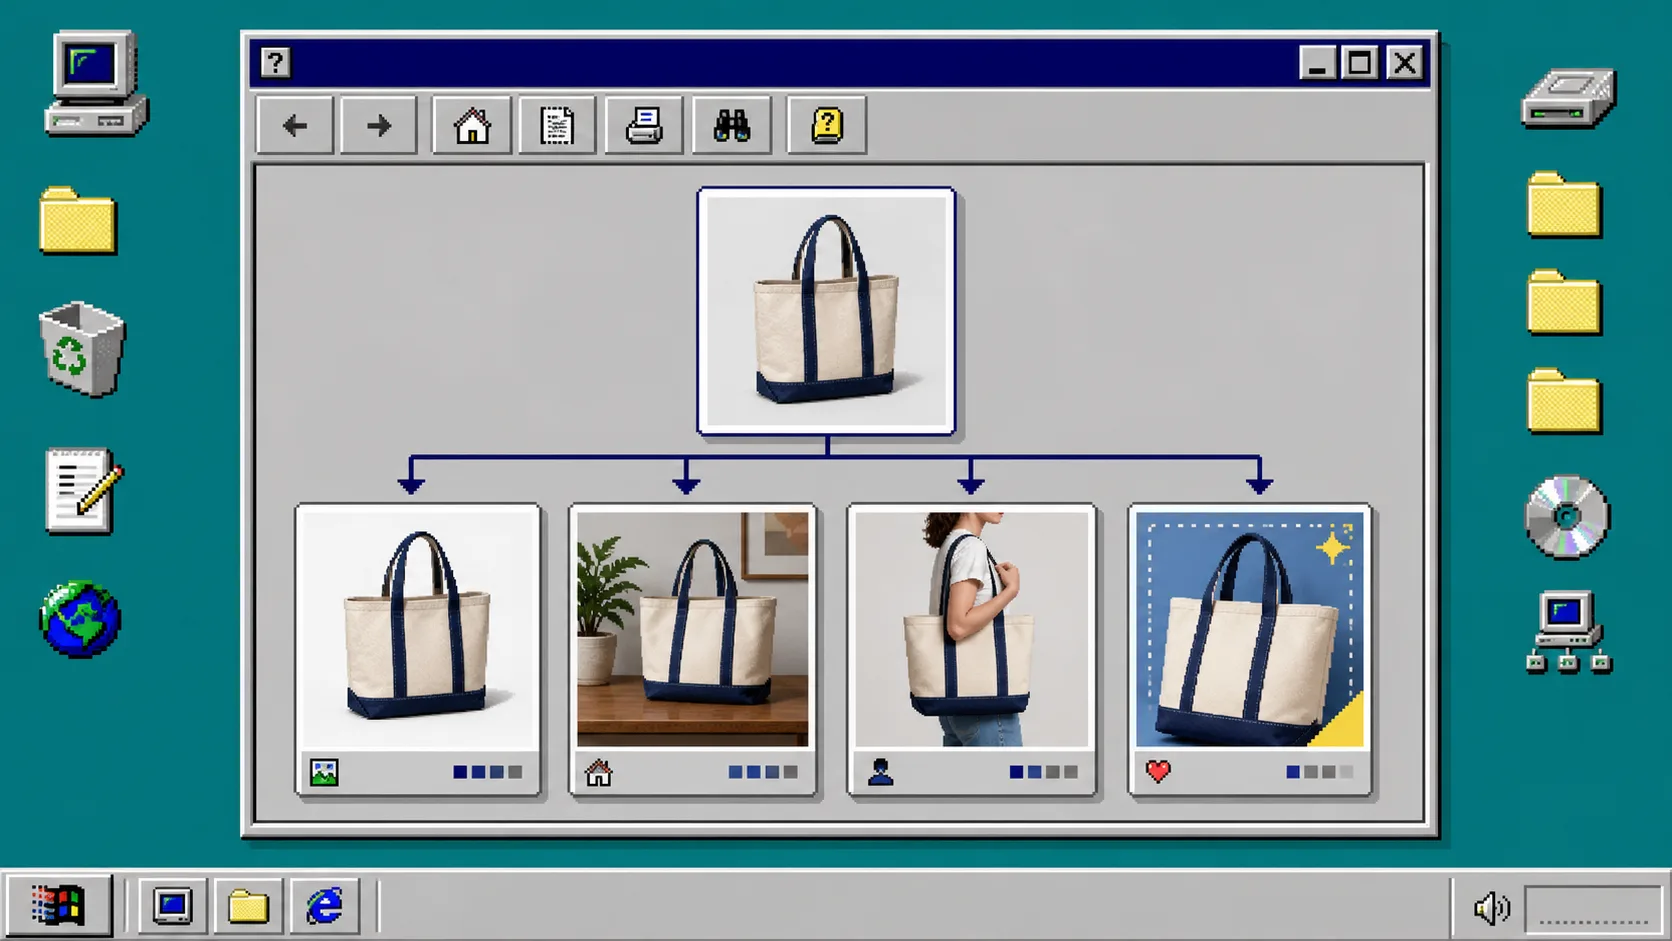
You do not need a separate photo shoot for every Shopify page, campaign, and collection. You need one approved source photo, a clear list of allowed variations, and a review step before anything reaches your storefront.
This guide shows how to turn one product photo into a reusable shot list with Supra AI Photo Studio. You will start with a clean image, map the views your store needs, create only the variations that serve a page or campaign, and check that the product still looks like the product you sell.
Before You Start
Open the product in Shopify and keep one source image that is already accurate enough to approve. It should show the current color, shape, material, and important details. Prepare a short list of where the image will be used: product page, collection page, landing page, email, or ad.
Install Supra AI Photo Studio and open its editor from Shopify. The editor lets you choose a product or upload an image, select an image from the product gallery, work from the canvas, and publish approved changes back to the product.
1. Check the Source Photo Before You Generate Anything
Start with the best existing product view instead of trying to repair a weak photo through many variations. Use a high-resolution image with visible edges and a recognizable product state. For clothing, make sure the cut, trims, and print are visible. For objects, make sure the visible side is the one your customer needs to judge.
If the background is distracting, use the app’s background-removal or isolation workflow first. That gives later tools a clearer product to work from. If the photo is soft, dark, or has an incorrect color, correct the source before asking for lifestyle placement or a try-on.
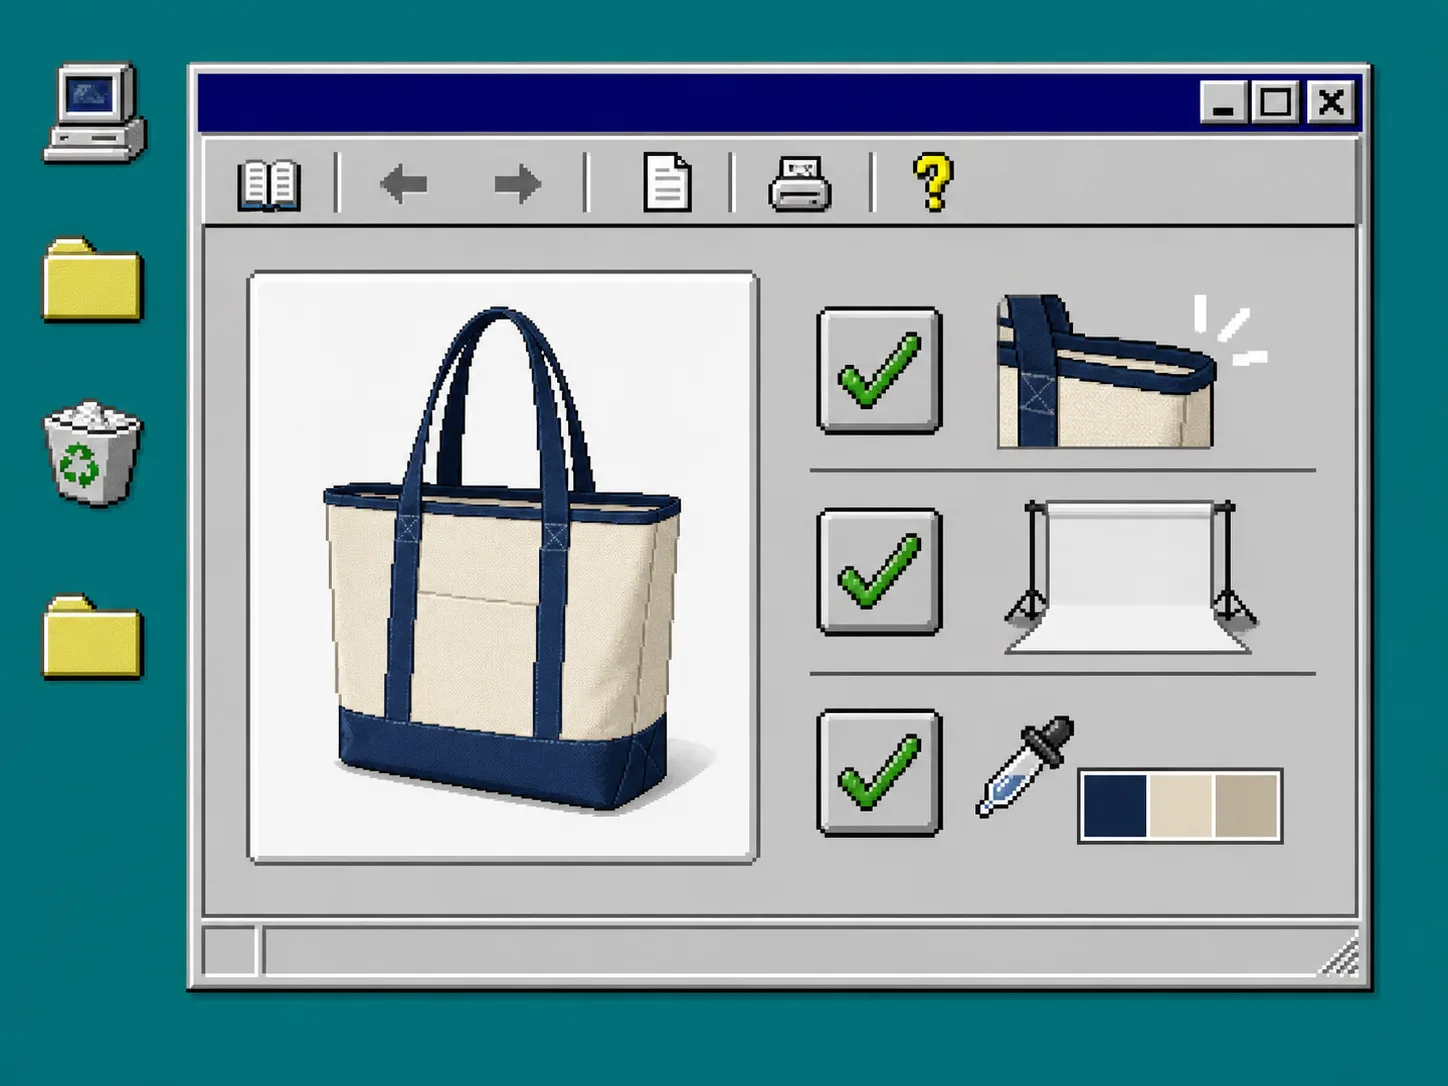
Write down three checks before you continue: the product color is believable, the outline is readable, and no important feature is hidden. If any check fails, find a better source photo. This small rule prevents a whole group of images from inheriting the same mistake.
2. Build a Small Shot List for One Product
Create a list of variations that map to a real page or campaign. For a typical Shopify product, start with four rather than trying to generate every possible scene:
- Catalog view: a clean, uncluttered version that helps a shopper inspect the product.
- Lifestyle view: the product placed in a believable environment that explains scale or use.
- Try-on or context view: for apparel, accessories, or items that benefit from seeing a person; use a model layout that keeps the product visible.
- Campaign crop: a focused composition for an ad, email, or collection banner.
This is a reusable plan, not a request to publish four new photos every time. Choose only the views that answer a customer question. A tote can need scale in a lifestyle image; a watch may need a close view of its face; a shirt may need a try-on.
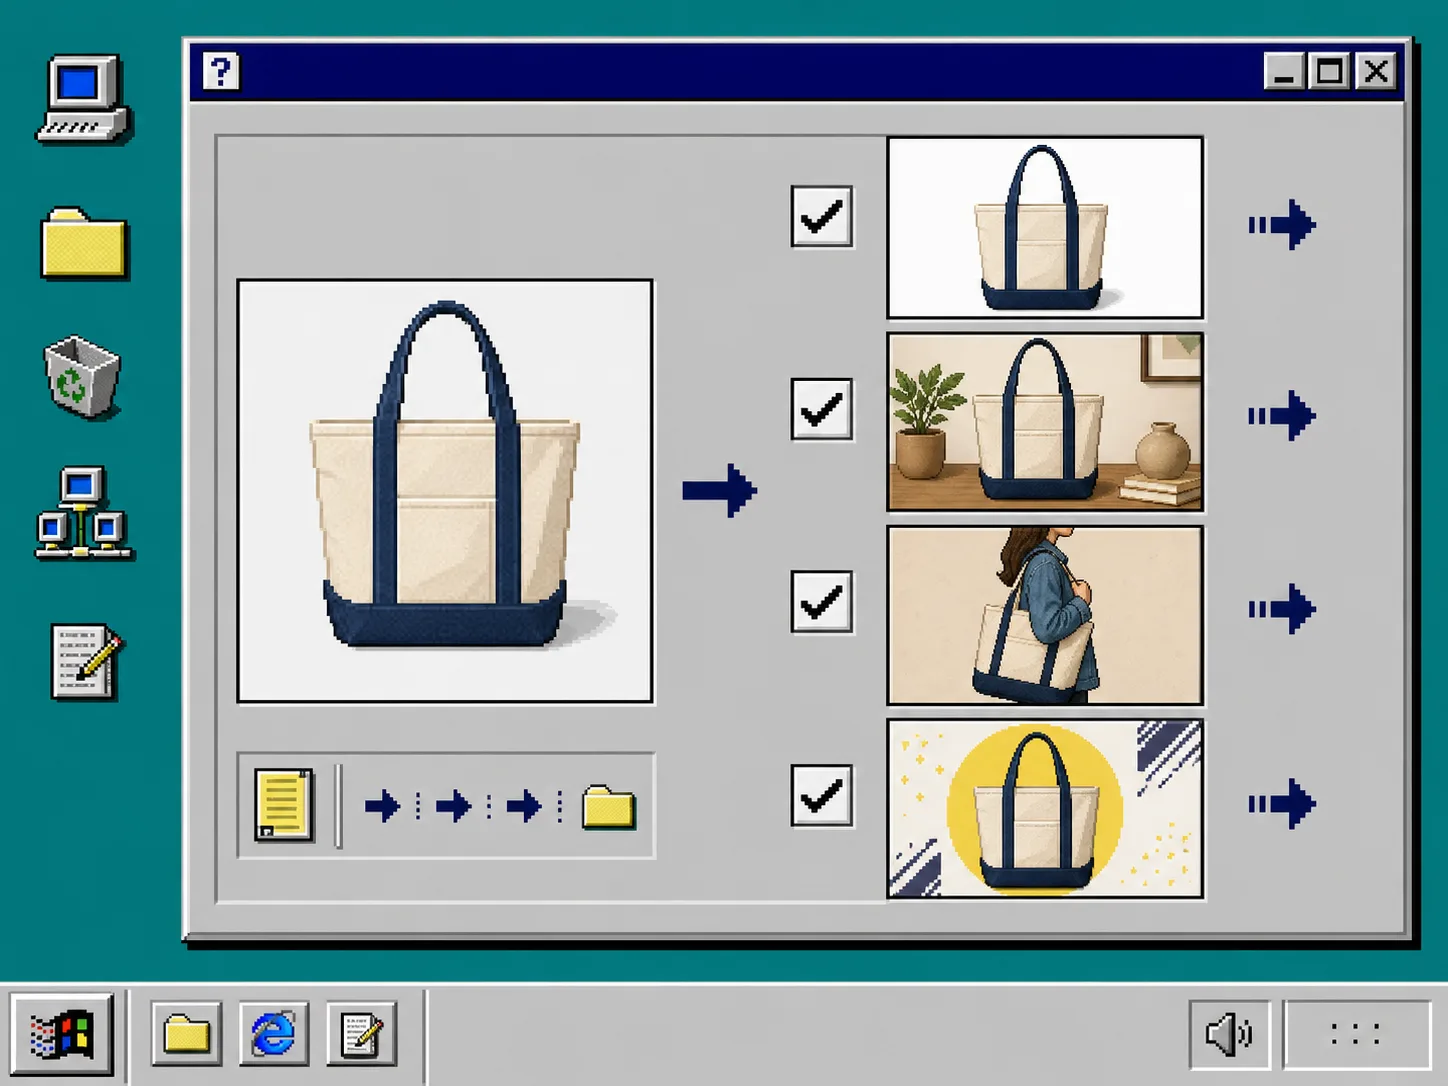
For each chosen view, record the intended location and one constraint. For example, a collection-page crop must show the whole product at a small size; a lifestyle image must not change the material; a try-on must keep a logo, pattern, and silhouette accurate. This is the same useful discipline behind a photo direction card, but here the output is a repeatable production list.
3. Generate One Variation at a Time
In the editor, select the approved source image and choose the tool that fits the specific view. Use object placement for a lifestyle setting, try-on for a model context, and enhancement tools when the task is clarity rather than a new scene. Keep the instruction short and concrete: describe the setting, the camera distance, and the product state that must remain unchanged.
Review each generated result before creating the next one. Ask three questions: does the product still match the source, does the scene make the product easier to understand, and does this view have a clear destination on the store? Reject a result that only looks novel.
If your team already uses a staged review process, add these variations to it instead of publishing directly. The workflow in How to Stage Shopify Product Photos Before You Publish Them is a useful companion: keep the original, put new candidates in a review set, and publish only the approved ones.
4. Run a Product-Accuracy Review
Compare each candidate beside the source photo. Check the color, print, hardware, proportions, and visible edges. Then check the crop at the size a shopper will actually see on the page. A good image can still be a bad collection thumbnail if the product becomes too small or if its important feature is cut off.
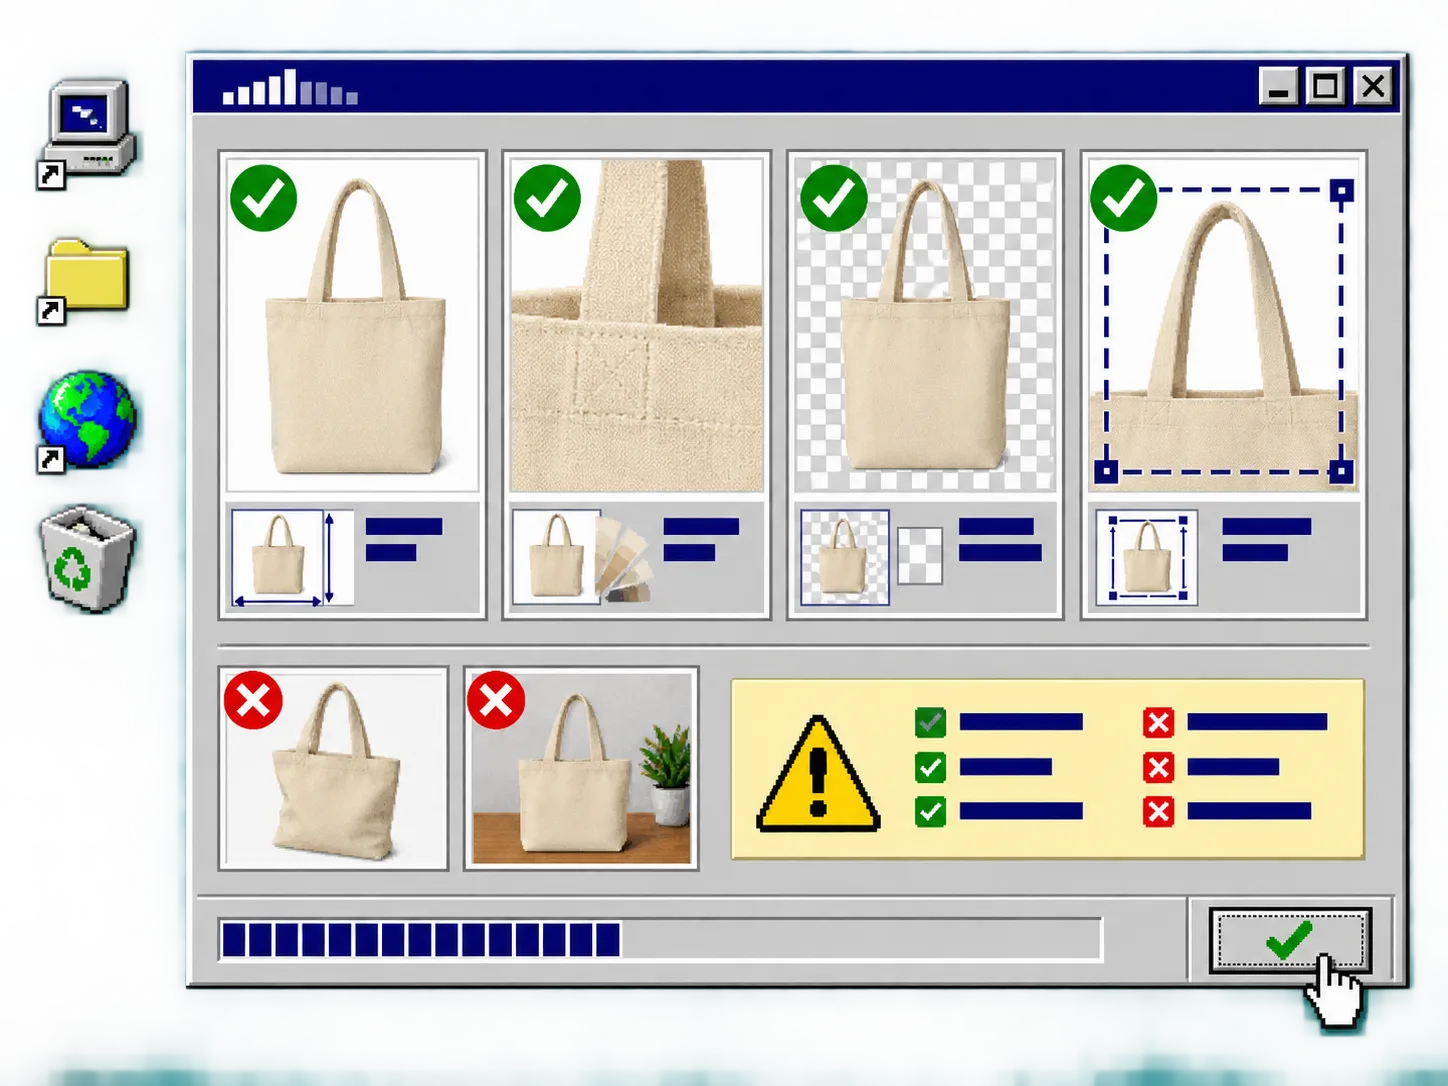
Keep this review separate from aesthetic preference. Your goal is not only to choose the prettiest scene. Your goal is to publish a visual that helps a shopper recognize the product when it arrives. For a broader operational check, see How I Built a Shopify Product Photo QA Pipeline Without a Studio and How I Build a Publish-Safe Shopify Photo Decision System.
Troubleshooting
The product changes too much. Return to the cleanest source view, isolate the product before creating a new scene, and state the product details that must remain unchanged. Do not keep editing an already inaccurate result.
The picture looks good but has no page to support. Skip it. Add a variation only when it has a clear job, such as clarifying scale, showing a use case, or creating a campaign crop.
The source photo is too weak. Use the app’s enhancement tools only for sensible corrections such as lighting, sharpness, or background cleanup. If the product details are missing, retake the source photo.
Too many photos reach review. Limit each product to the four-view list above, then build additional views only when a page or campaign requests them.
Keep the Source, the List, and the Review Together
One approved product photo can support a useful set of catalog, lifestyle, and campaign visuals when every view has a job and every result is checked against the source. Start with one product this week: write its four-view shot list, create the one or two views your current page needs, and review them before publishing.
Open Supra AI Photo Studio to build the first set, then keep the approved source image and shot list with the product so your next campaign starts from a working template.