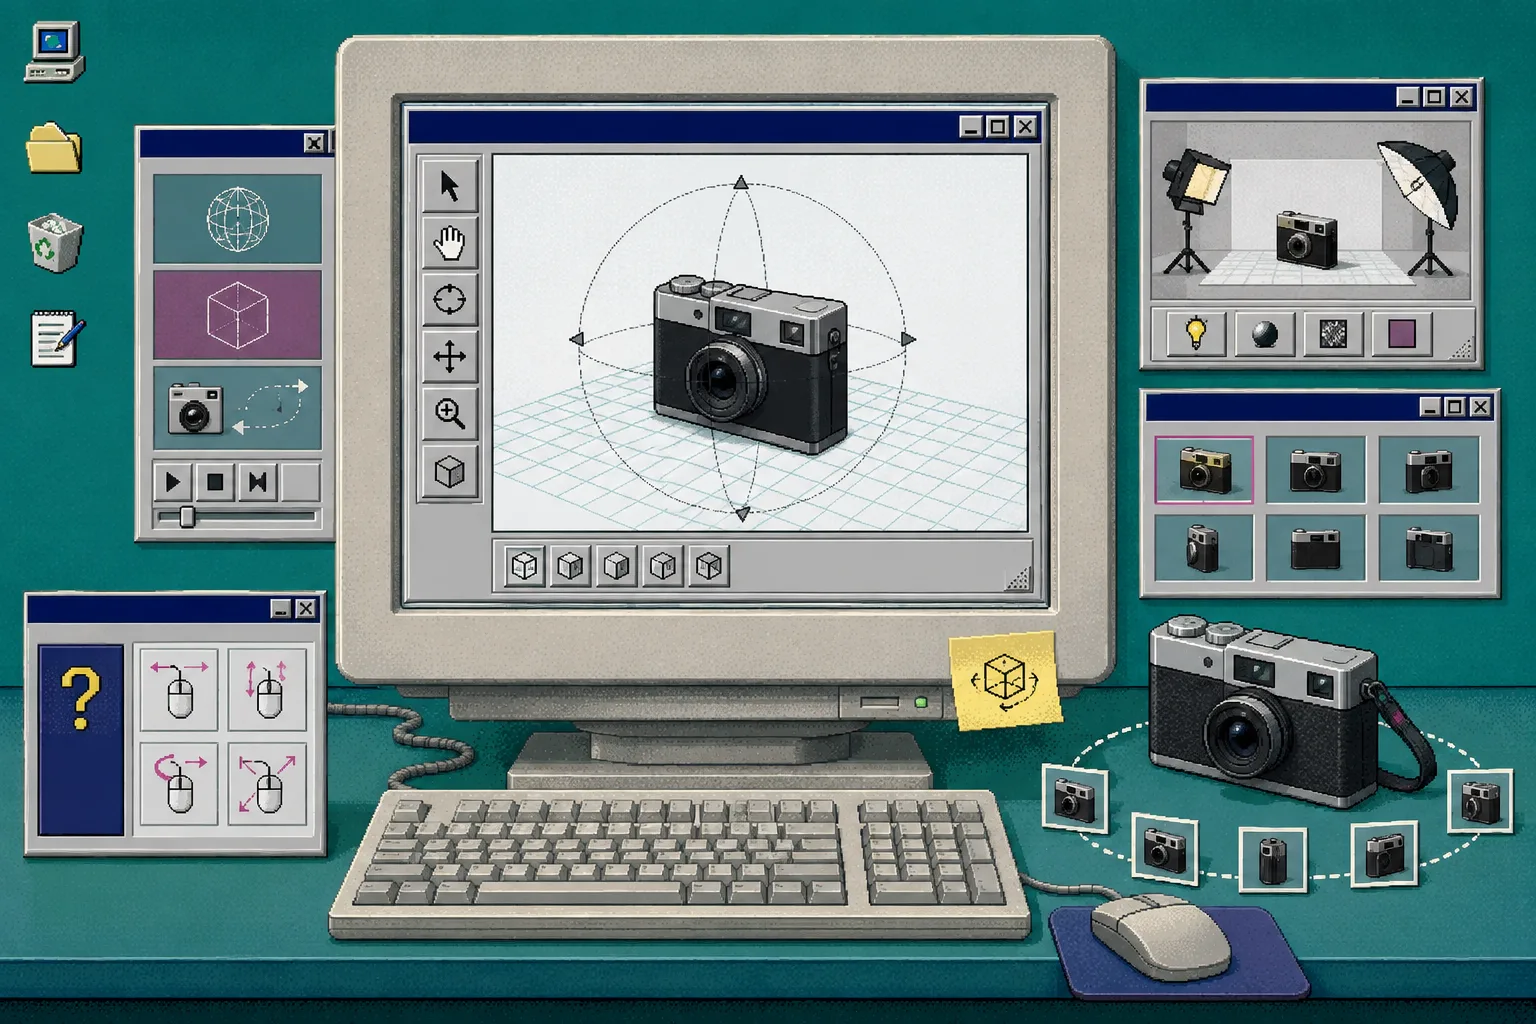
If a collection launch is close, do not start by trying to make every SKU 3D. Start with a short audit that identifies the products where a shopper can learn more by rotating the item than by clicking through another photo.
You need a Shopify store, a physical sample, a phone, clean product photos, and a theme that can show Shopify 3D media or an Online Store 2.0 app block. Supra 3D Capture turns a guided phone-photo orbit into a web-ready GLB model, then lets you attach it to Shopify product media. The goal here is to choose the right first candidates before you set up capture time.
1. List the products with a real viewing problem
Open the collection in Shopify and make a working list of products where flat photos leave a question unanswered. Good candidates have a shape that changes meaning from angle to angle: bags with depth, shoes with sole details, hardware with moving parts, textured home goods, or anything with a front and back that matter.
Skip products whose value is already clear in one front-facing image. A plain flat tee, a simple refill pouch, or a product that is mostly label copy is rarely the best first 3D test. You are looking for an expectation gap, not a reason to add a novelty widget.
If you have not done this sort of triage before, use the same selection mindset as choosing the first Shopify SKU for a phone-captured 3D model: begin with a product that is representative, in stock, and easy to inspect.
2. Score each SKU for shape, texture, and shopper uncertainty
Give every candidate a simple 1-to-3 score in three columns: shape, texture, and questions.
- Shape: Does the buyer need to understand depth, proportions, openings, or the underside?
- Texture: Would rotating the item help show stitching, material, hardware, or surface finish?
- Questions: Does support or the return queue show recurring uncertainty about scale or what the product includes?
A high total is a practical signal that interactive 3D may improve product-page confidence. It is not a promise of a particular conversion lift. It is a way to prioritize the pages where a customer-controlled view can close an expectation gap.
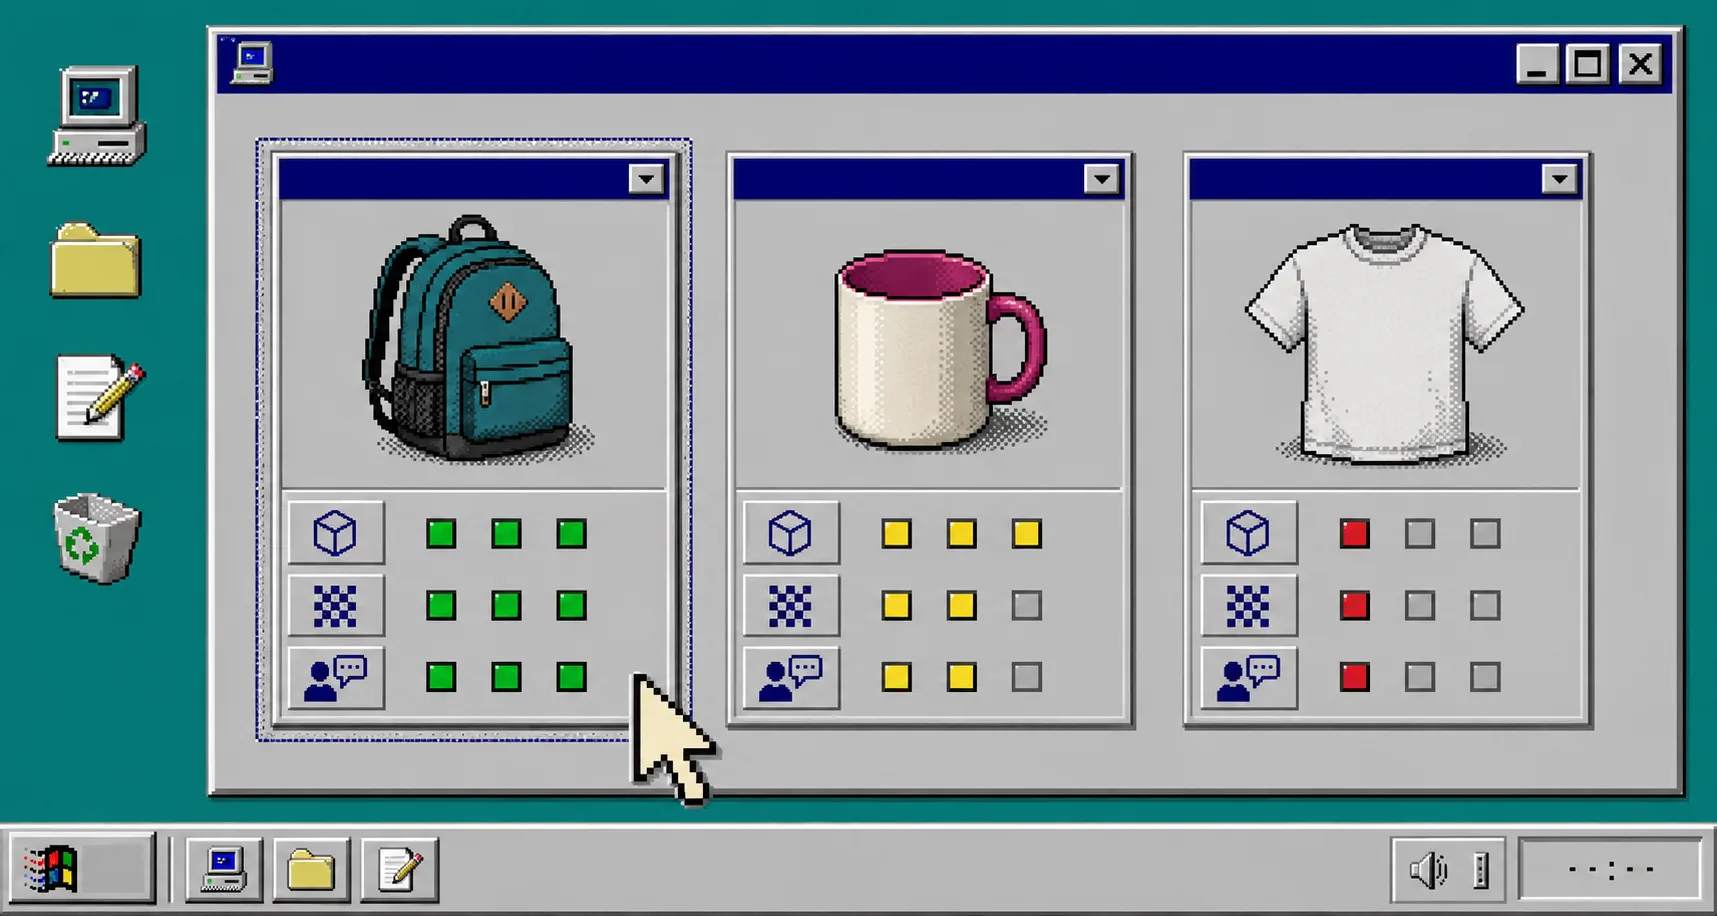
Keep this audit next to the launch brief. It gives the merchandiser, photographer, and developer one shared reason for why a product was selected. If your team needs a quick pre-publish handoff, this earlier guide on making a Shopify 3D model handoff card is a useful companion.
3. Check whether the product can be captured cleanly
Put the highest-scoring sample on a stable, well-lit surface. Walk around it before opening an app. Look for deep shadows, reflective metal, clear plastic, fuzzy material, or repeating patterns. These do not automatically disqualify a product, but they tell you where the capture needs more care.
Choose a product that can stay still and can be viewed from all sides. Remove loose packaging and temporary stickers. If the product has a lid, strap, or moving part, decide whether it should be shown open or closed; do not change its state during the orbit.
For a first collection test, avoid starting with the most difficult object. A clean, matte product with visible edges teaches the workflow faster than a shiny, transparent, or hairy item. You can tackle the specialist cases after the team has one published model to review.
4. Capture a consistent phone-photo orbit
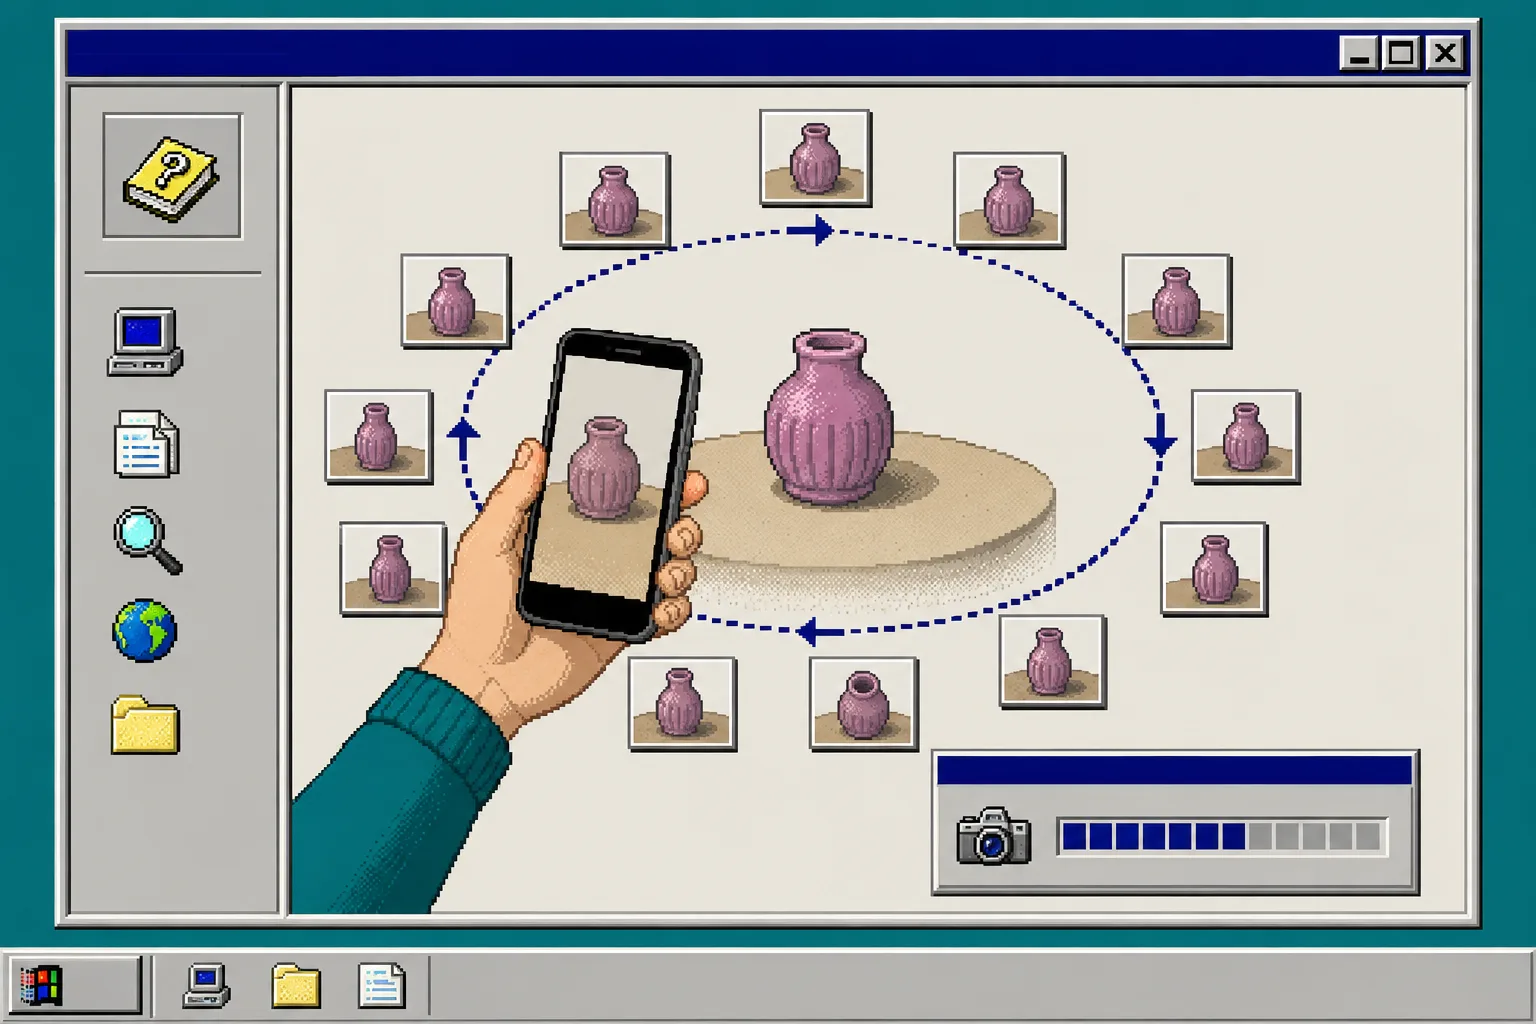
Open a guided capture session in Supra 3D Capture. Keep the product centered, then move around it in a smooth orbit while the app confirms each photo. The app is designed for a regular smartphone: it guides the capture, uploads the photos for photogrammetry processing, and produces a web-ready GLB. You do not need LiDAR or 3D modeling software for the basic workflow.
Take your time with the lower and upper angles. Those are often the details a normal gallery misses. Keep lighting steady and do not zoom, crop, or introduce new props halfway through the session. For a practical refresher, see how to capture your first Shopify 3D model with a phone.
5. Review the model before placing it on the product page
When processing finishes, rotate the model on a desktop screen and check the same things a shopper will check: silhouette, color, texture, openings, and the edges around handles or hardware. Compare it against the product sample and existing product photos.
Reject a model that creates a new ambiguity. A clean first 3D asset is more useful than a rushed asset that makes shoppers wonder whether the model matches the product. Record what needs changing, then recapture the item rather than trying to explain a bad model in product-page copy.
This is also the point to decide where the model belongs. Shopify-native 3D product media is usually the clearest placement because it sits with the gallery. An Online Store 2.0 app block can be useful when the collection page layout calls for a dedicated interactive section.
6. Publish the GLB and test the live product page
Attach the approved GLB model to the Shopify product media, or add the dedicated app block in the theme editor. Then test the page on a desktop browser and a phone. Confirm that the viewer loads, the model can be dragged and rotated, and the rest of the product media still makes sense around it.
Use the check from replacing a 360 spin GIF with a real Shopify 3D model to keep the distinction clear: a model should let customers choose the angle, not just replay a fixed animation. Test the view with the product description, variant options, and buy button visible so the interactive media supports the purchase decision instead of interrupting it.
Troubleshooting
The model looks soft or incomplete. Recapture with steadier light and more overlap between angles. Make sure the product did not move during the orbit.
The product is hard to recognize in 3D. Start with a simpler SKU, then return to reflective, transparent, or fuzzy products once your team has a dependable capture routine.
The viewer is missing on the storefront. Confirm the model is attached to the intended product and test your Shopify theme’s native 3D media support. If you use a theme app block, confirm it is enabled in the correct template.
The team cannot agree on priorities. Return to the three scores: shape, texture, and shopper questions. Select one high-scoring product for the pilot instead of debating the entire catalog.
Next step
A good first 3D model is not the most expensive-looking SKU in the catalog. It is the product whose real shape and details are hardest to explain with flat images. Audit the next collection today, choose one clear candidate, and start a guided phone capture with Supra 3D Capture.