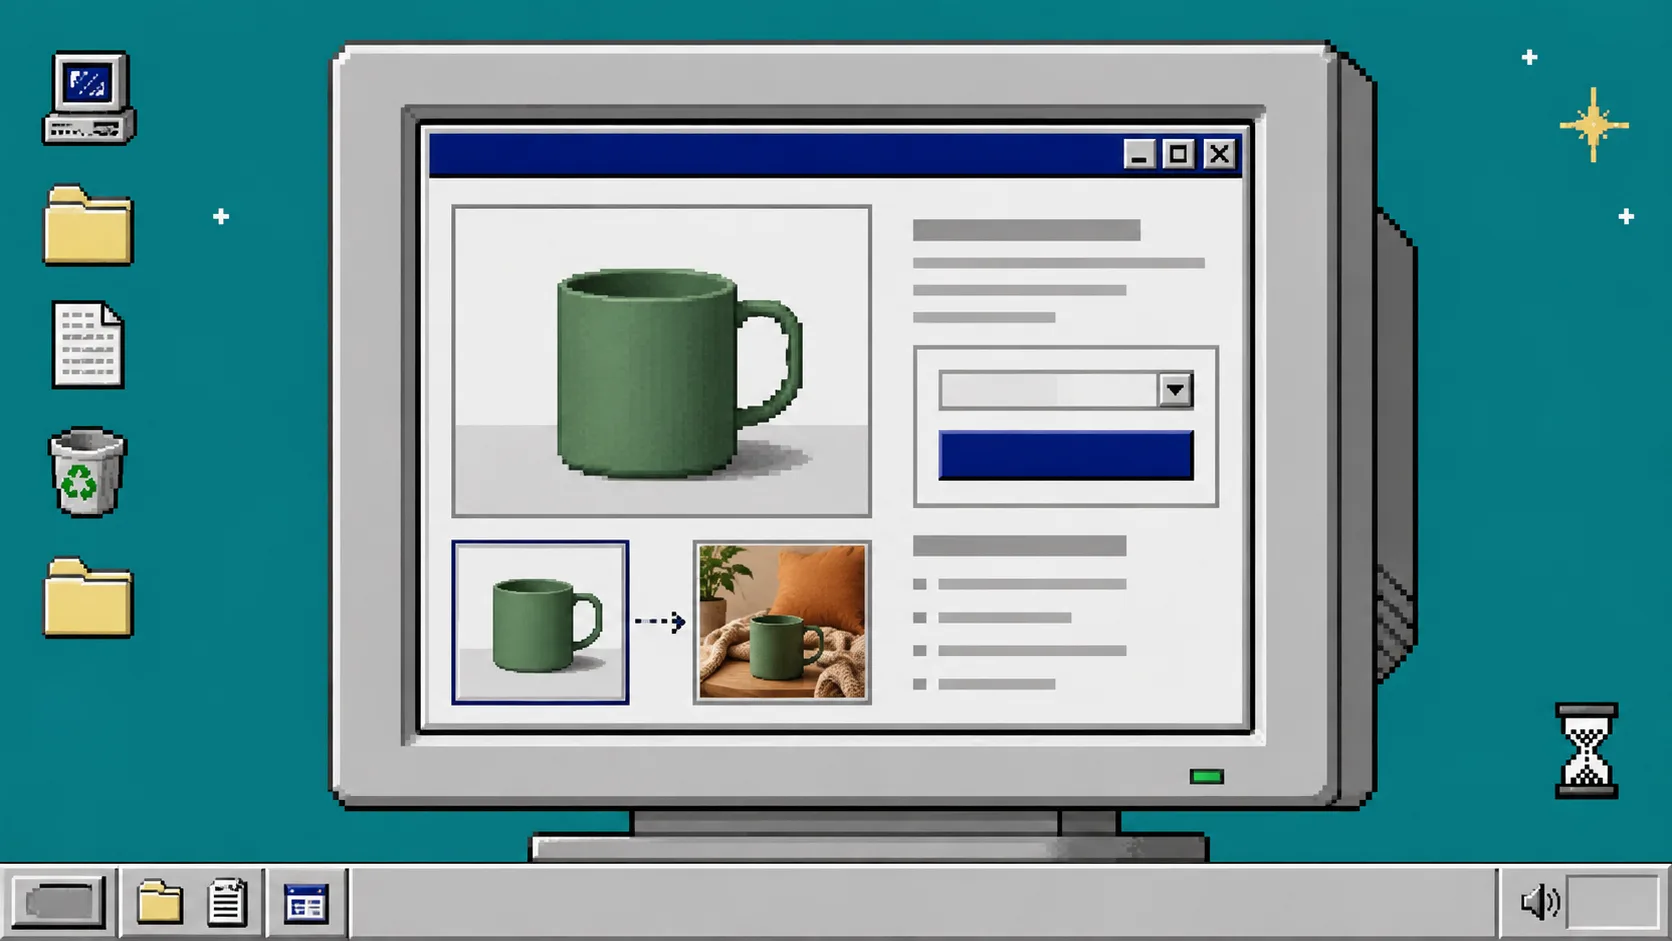
If you want Shopify product pages to feel less like a catalog and more like a real place, add lifestyle photos without demoting the image shoppers rely on most: the clean product shot. You need one approved source image, a clear thumbnail order, and a short review before you publish.
Supra AI Photo Studio is useful here because it can enhance a source image, remove or replace its background, and place a product in a lifestyle scene from the Shopify workflow. The goal is not to make every image flashy. It is to give shoppers context while keeping the first image honest and easy to inspect.
What You Need Before You Start
Use one high-resolution product image where the color, silhouette, material, and important details are already correct. Keep the original in the product media gallery. You will also need a short scene instruction: surface, setting, camera angle, and lighting. Do not begin with a blurry crop or a photo that hides the product’s main selling detail.
1. Keep the Clean Product Photo in Slot One
Open the Shopify product and look at the media gallery before opening an editor. Put the most useful clean packshot first: a front or three-quarter view on a plain background, with the entire product visible. This is the image that lets a shopper confirm what they are buying at a glance.
Treat the lifestyle image as a supporting view, not a replacement. Place it after the clean primary image and any essential angle or detail shot. A product that needs an on-model view, scale cue, or room context can benefit from a lifestyle image, but shoppers should not have to decode the item from props, shadows, or a distant crop.
If you are deciding which SKU deserves this effort first, use the same narrow test approach from How to Choose the First Shopify Product for a Lifestyle Photo Test: start with a product that is visually simple, already has a solid primary photo, and would genuinely benefit from context.
2. Prepare One Stable Source Image
In Supra AI Photo Studio, select the product from the app or upload the approved source image. If the source has a busy background, use background removal first so the product edge is clear. If it is slightly soft or unevenly lit, use enhancement before generating a scene. This order matters: scene generation has a better reference when the product is isolated and legible.
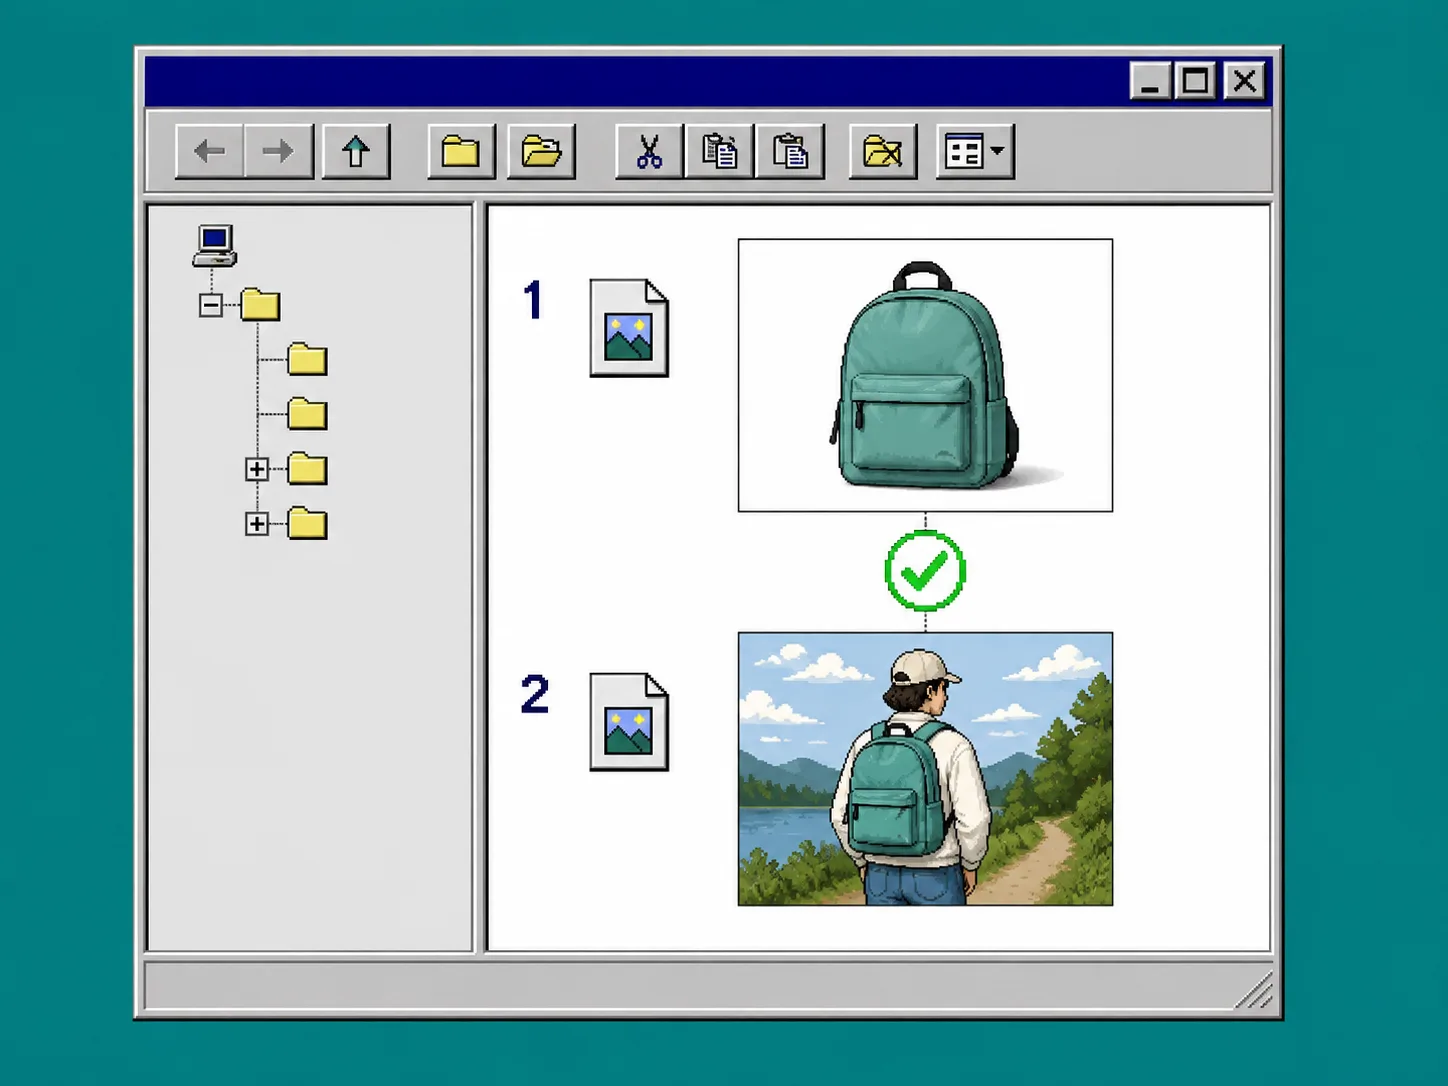
Write down the details that cannot change. For a backpack, that might be the fabric color, zipper count, logo placement, and strap shape. For skincare, it might be the label, cap, bottle silhouette, and fill color. This is your small product-detail checklist. It makes the review concrete instead of relying on a vague feeling that the output looks off.
A source image is not a permission slip to skip QA. For a fuller pre-launch pass, follow the checks in How to Build a Shopify Product Photo QA Checklist Before Launch.
3. Generate a Scene That Supports the Product
Choose object placement for a product that needs environmental context, or try-on for apparel and accessories. Give the scene a simple job. Examples: a ceramic mug on a breakfast table, a lamp on a bedside table, or a backpack on a person walking outdoors. Specify the surface, camera angle, and lighting, but do not request a scene so busy that it competes with the product.
The product site describes object placement as choosing the environment, surface, camera angle, and lighting style; that is exactly the level of direction to use. Start with one scene, inspect it, then make a targeted adjustment. Changing background, camera, styling, and product details in one retry makes it hard to tell what improved.
4. Check Product Truth Before Gallery Appeal
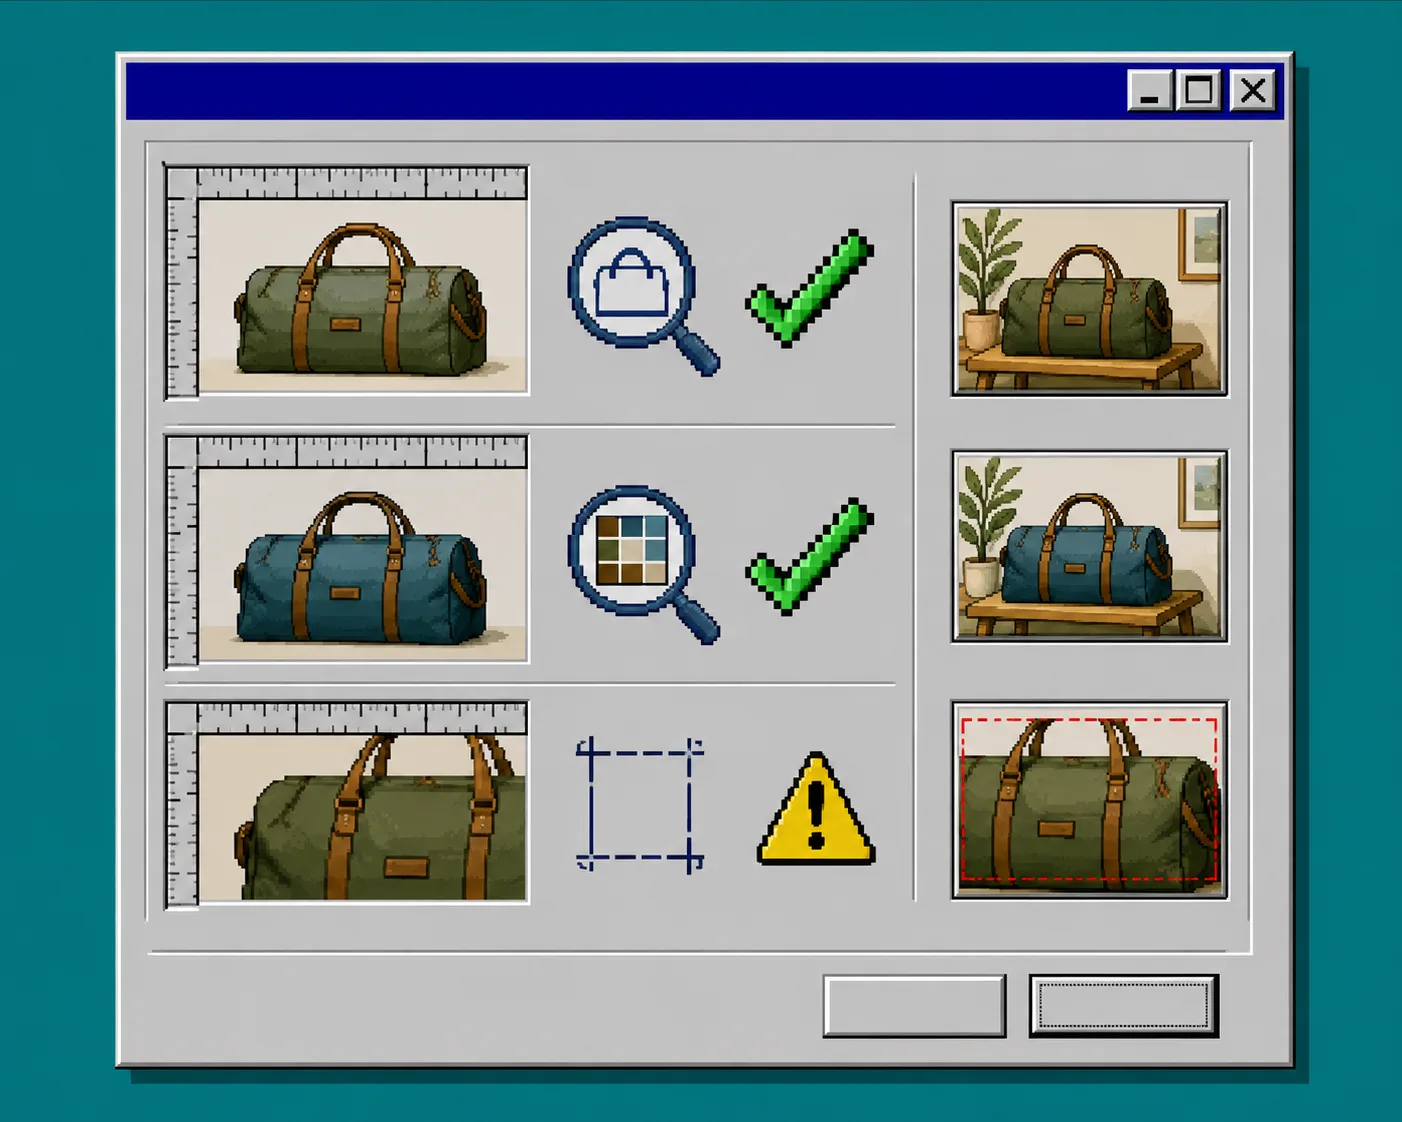
Compare the generated result against the clean source at 100% zoom. Check the product shape first, then color, closures, material texture, labels, and crop. Reject any output that changes a feature a shopper might use to decide. A polished scene is not useful if the bag loses a pocket or the sweater gains a different neckline.
Also check the gallery as a group. The new image should add a reason to keep scrolling: scale, use case, or atmosphere. It should not repeat the primary photo with a fancier background. The practical review trail in How I Keep Shopify AI Photo Edits Auditable Before They Reach Product Pages is a good model: keep the original, the selected result, and the decision behind the choice.
5. Publish the Image in a Deliberate Order
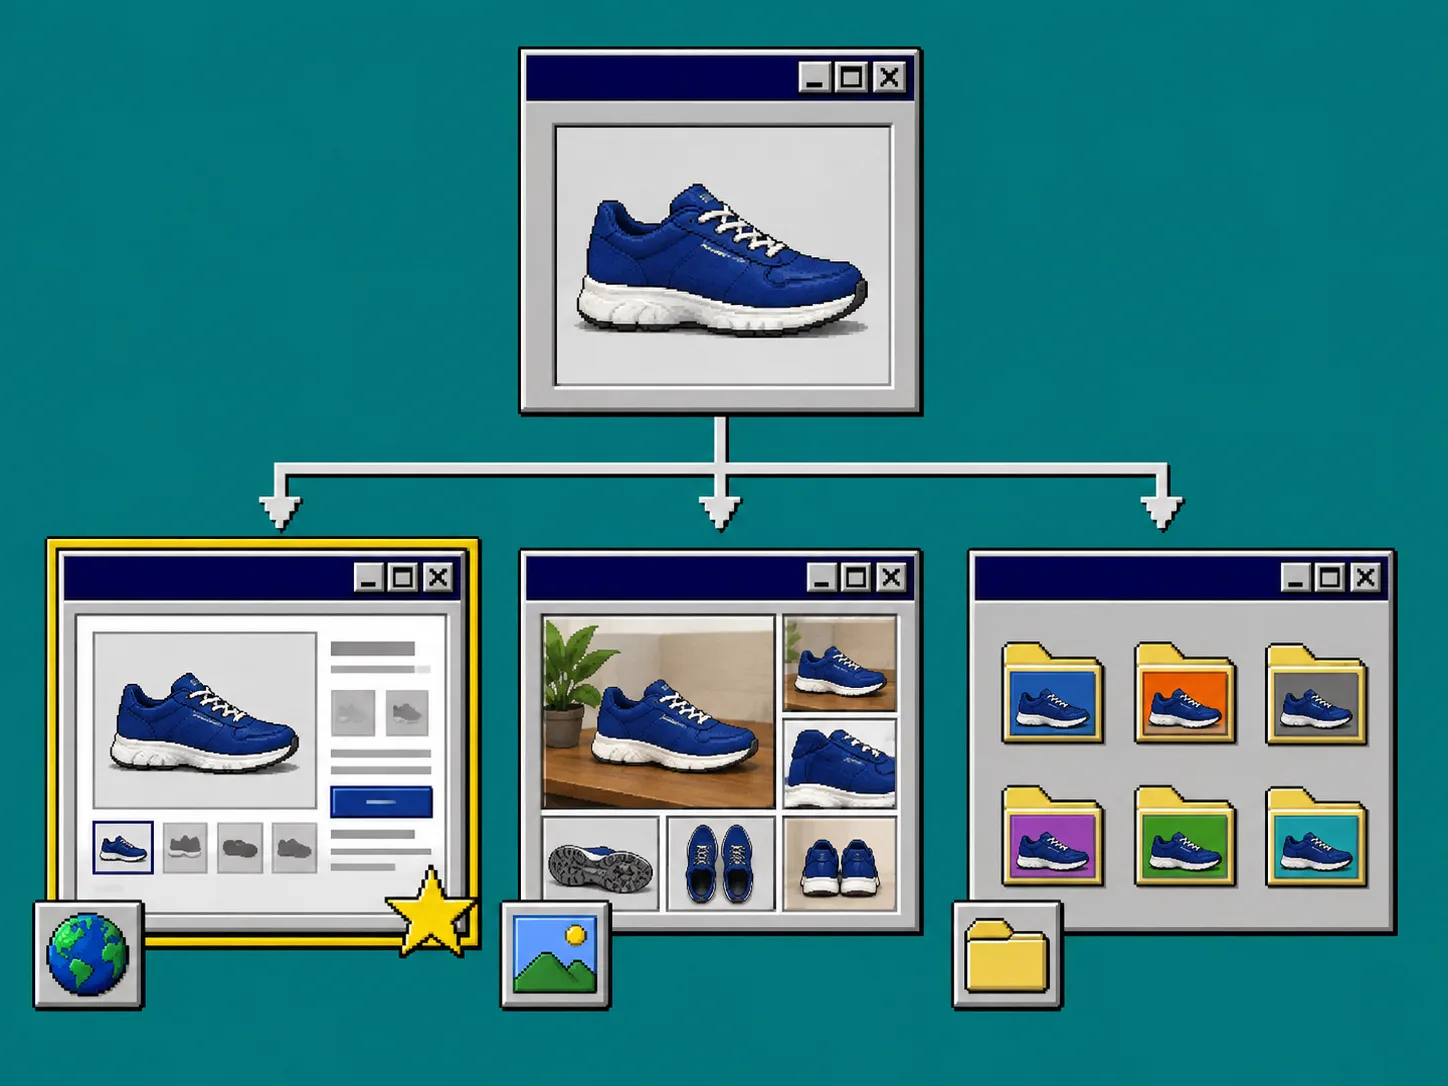
Return to the Shopify product media gallery and add the approved lifestyle image after the clean product photo. Review it on desktop and mobile product pages. On a narrow screen, make sure the product is still obvious in the thumbnail and that the crop does not hide the useful part of the scene.
Use the result in the right place after it passes the product-page check. The same approved scene can work as a gallery image, a collection card variation, or social creative, but do not assume every channel needs the same crop. How I Made a Shopify Photo Direction Card Before Generating Lifestyle Shots is a helpful reminder to decide the use and crop before you generate a batch.
Troubleshooting
The product looks different in the scene. Go back to the cleanest source image, isolate it, and retry with a shorter scene request. Review your detail checklist before adding the result to Shopify.
The lifestyle photo is doing too much. Simplify the setting and move it later in the gallery. The main image should still be the fastest way to identify the product.
Every product page now looks the same. Vary the scene job, not the product truth. Some products need an on-model view; others need scale or a room setting. Keep the same approval rules across the catalog.
The Short Version
Keep the clean packshot first, generate one useful supporting scene, check the product against the source, and then publish it where that context helps. That workflow gives you more persuasive product pages without turning the gallery into a guessing game.
Start with one product and a single scene in Supra AI Photo Studio, then use the approved result as the pattern for the rest of the collection.