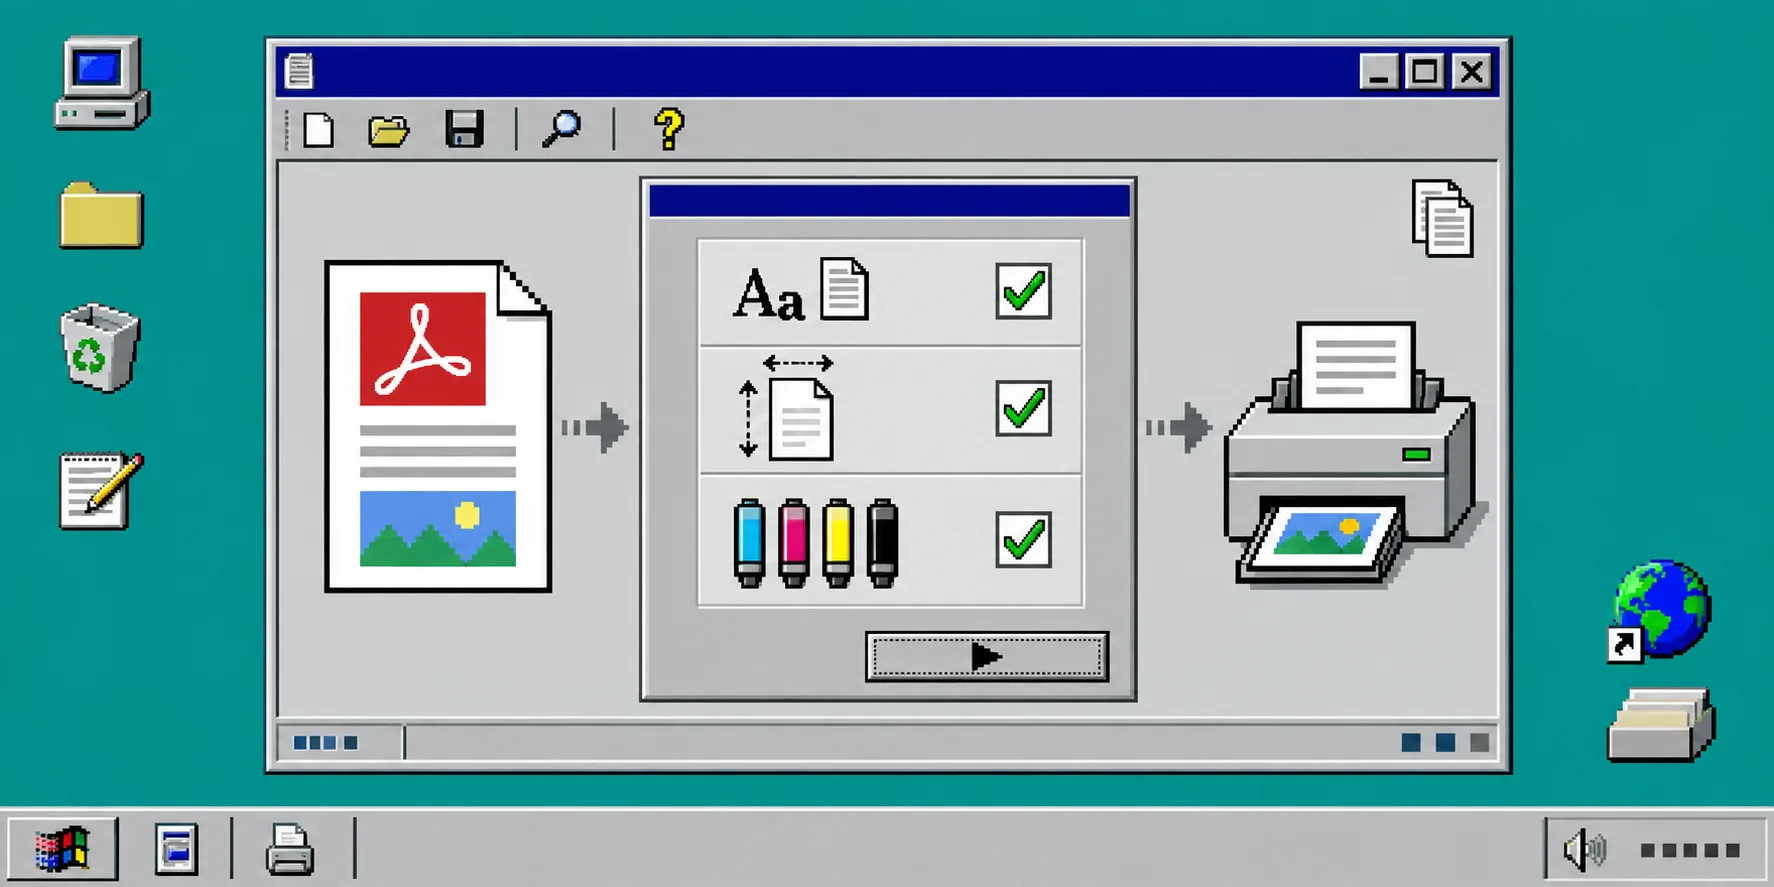
If a PDF looks fine on your screen but fails at the printer, the problem is usually hiding in the file: a font is not embedded, one page is Letter while the rest are A4, an image is too small, or the job is still RGB when the printer expects CMYK. You can catch those problems before a print shop has to call you back.
You need the final PDF, a browser, and the print requirements from the person who will run the job. This guide uses Tiny Online Tools’ PDF Print Preflight Checker, which runs the inspection in your browser.
1. Save the final PDF before inspecting it
Export the exact version you plan to send. Do not preflight a design source, a preview PDF, or a file that you will edit again afterward. Put the file in one clearly named folder, such as client-name/print/final/, so you do not accidentally upload yesterday’s version.
Before you begin, ask the print provider for the target page size, bleed, color expectations, and delivery profile. “PDF is ready” is not a specification. A postcard, a product insert, and a digital proof can each have different requirements.
If the PDF includes customer details, pricing, or an unreleased campaign, this browser-based workflow is a useful fit: Tiny Online Tools describes its utilities as privacy-friendly and no-upload. Still follow your organization’s handling rules for sensitive material.
2. Open the PDF Print Preflight Checker
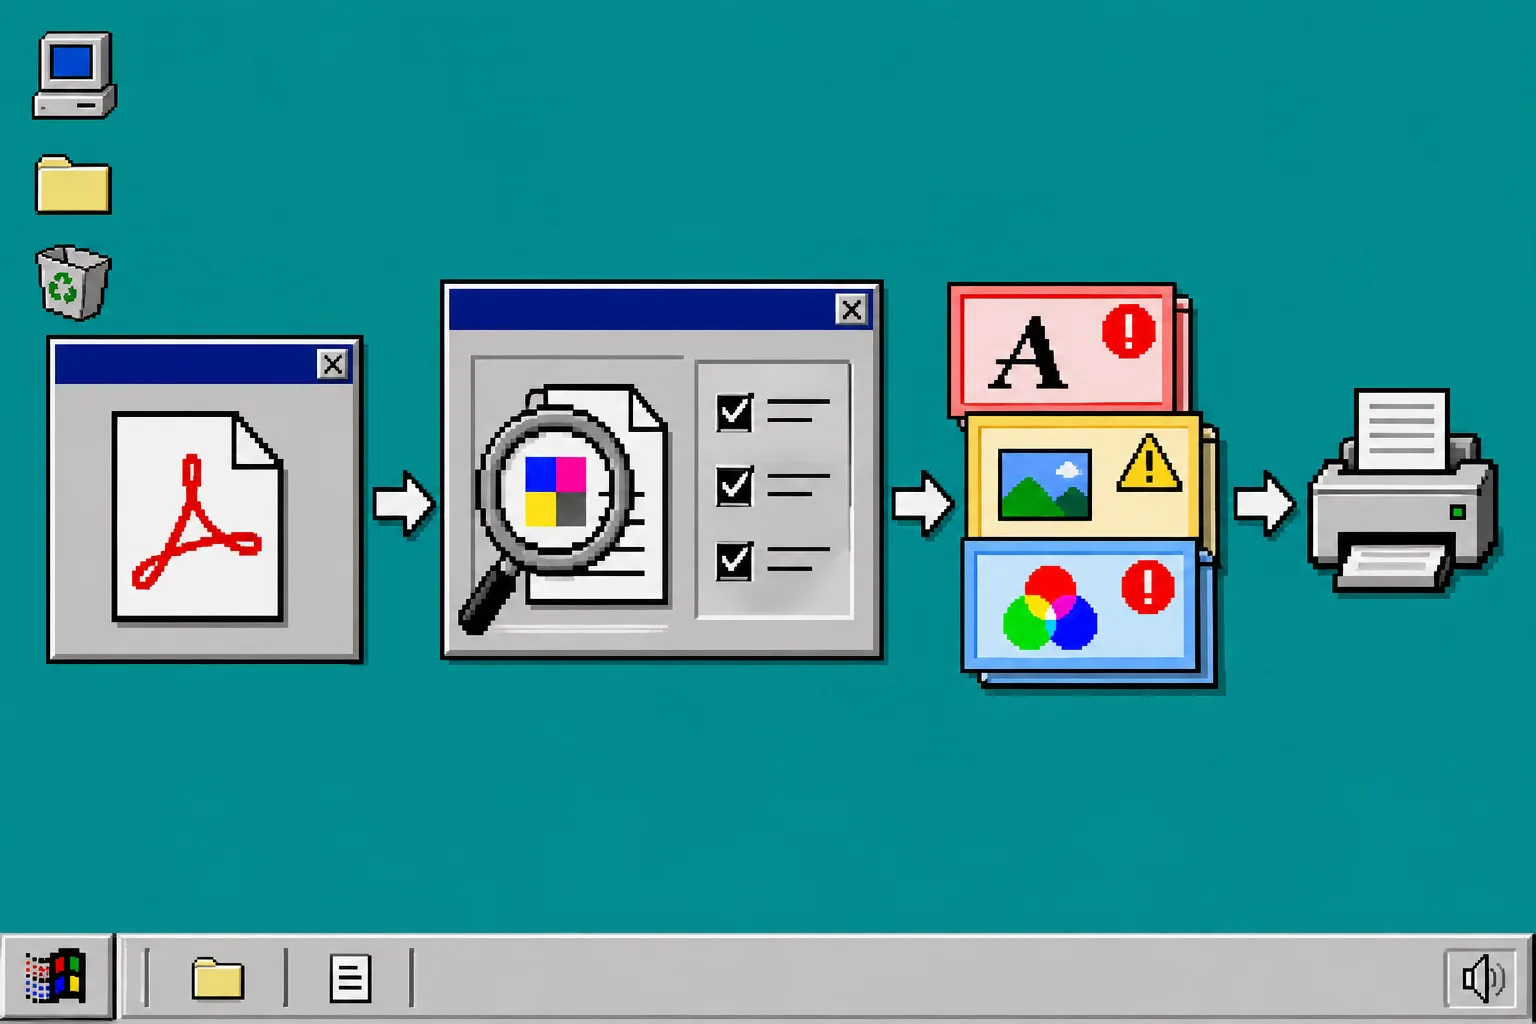
Go to the PDF Print Preflight Checker, choose your final PDF, then select the profile closest to the job: digital, offset, newsprint, PDF/X-style, or a custom set of thresholds.
The checker looks for issues such as unembedded fonts, low-resolution images, RGB content in a CMYK job, missing TrimBox or bleed, live transparency, thin lines, annotations, and excessive ink. What matters is not merely the total count; it is the severity and page number attached to each finding.
3. Sort the findings before trying to fix them
Start with errors that can change the printed result. An unembedded font can substitute unexpectedly on another system. A low-resolution image may look acceptable in a browser but break down on a large printed surface. RGB artwork may not match a CMYK expectation.
Then review warnings. Some are intentional: a digital-only proof may not need bleed, and a simple one-color document may not need every offset-print check. Treat the profile as a conversation with the job requirements, not as a game where every warning must vanish.
Write down each page number and issue in a short handoff list. Fix the source file when possible, export a fresh PDF, and run the check again. Avoid editing the output PDF as a substitute for correcting the source unless you know exactly why that is safe.
4. Confirm every page has the intended size
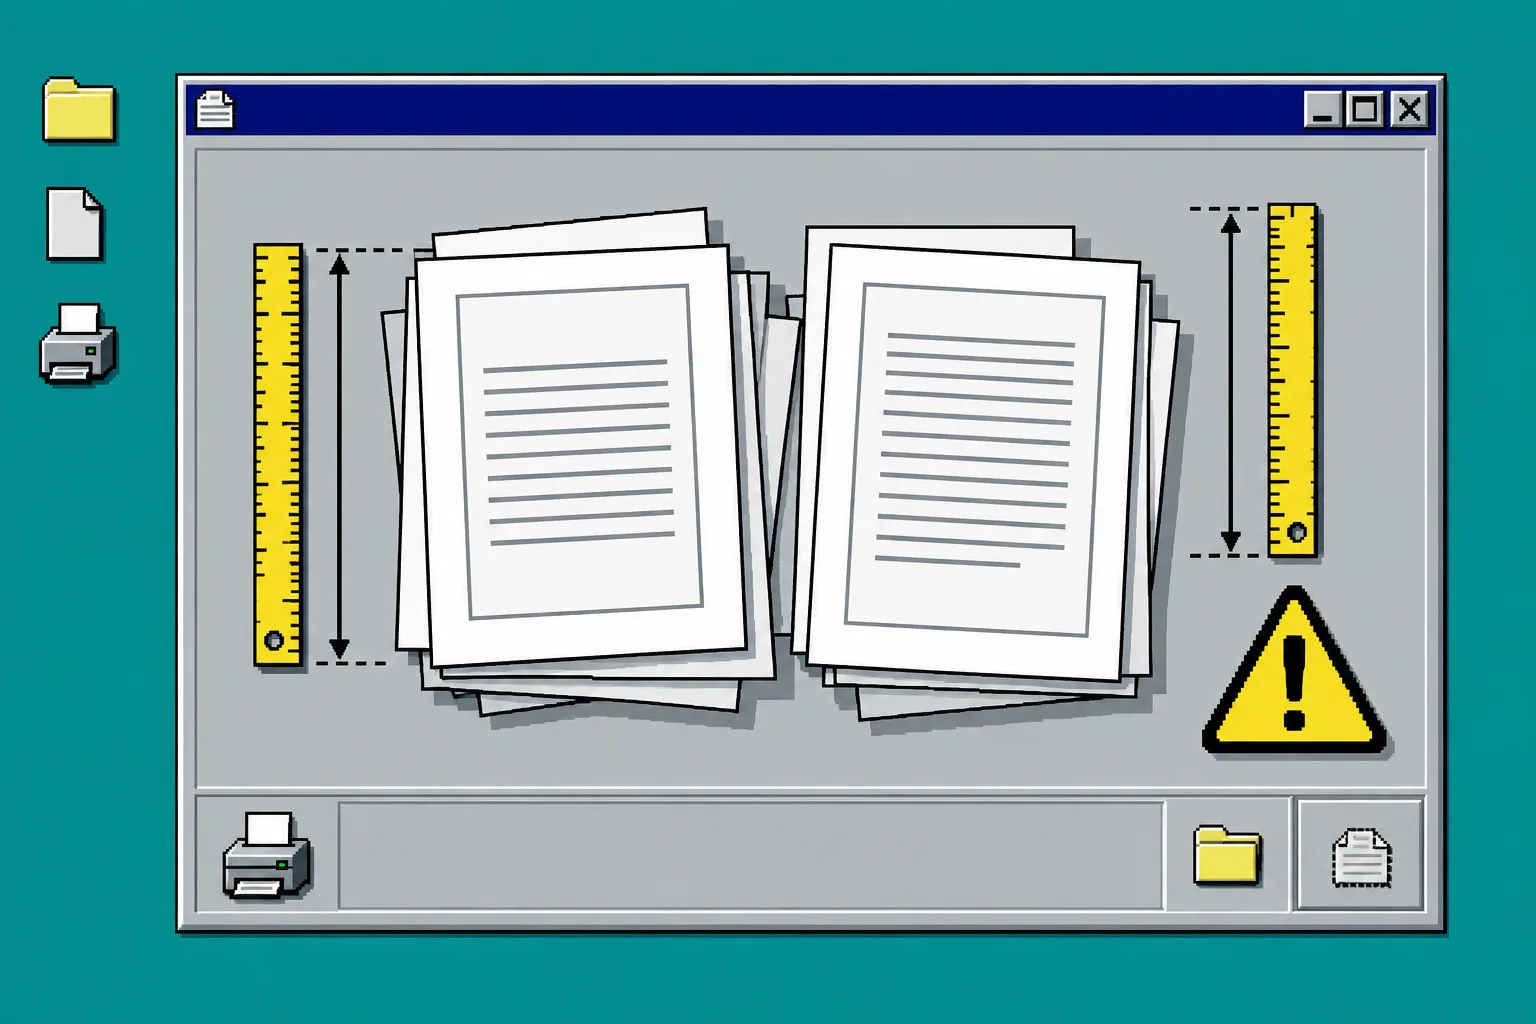
Use the companion PDF Page Size Analyzer when the file contains many pages or came from several contributors. It reports MediaBox, CropBox, TrimBox, BleedBox, and ArtBox, normalizes rotation, identifies common paper sizes, and groups matching page ranges.
This is where you catch a stray Letter page inside an A4 document, a landscape page rotated only visually, or a missing trim definition before it becomes a production surprise. Compare the report to the printer’s specification, not to what seems normal on your own computer.
For digital files you are sharing rather than printing, use the same disciplined last-mile habit from How to Build a Safer Client PDF Handoff Checklist: inspect first, clean deliberately, then check the recipient-facing result.
5. Check fonts instead of trusting the layout
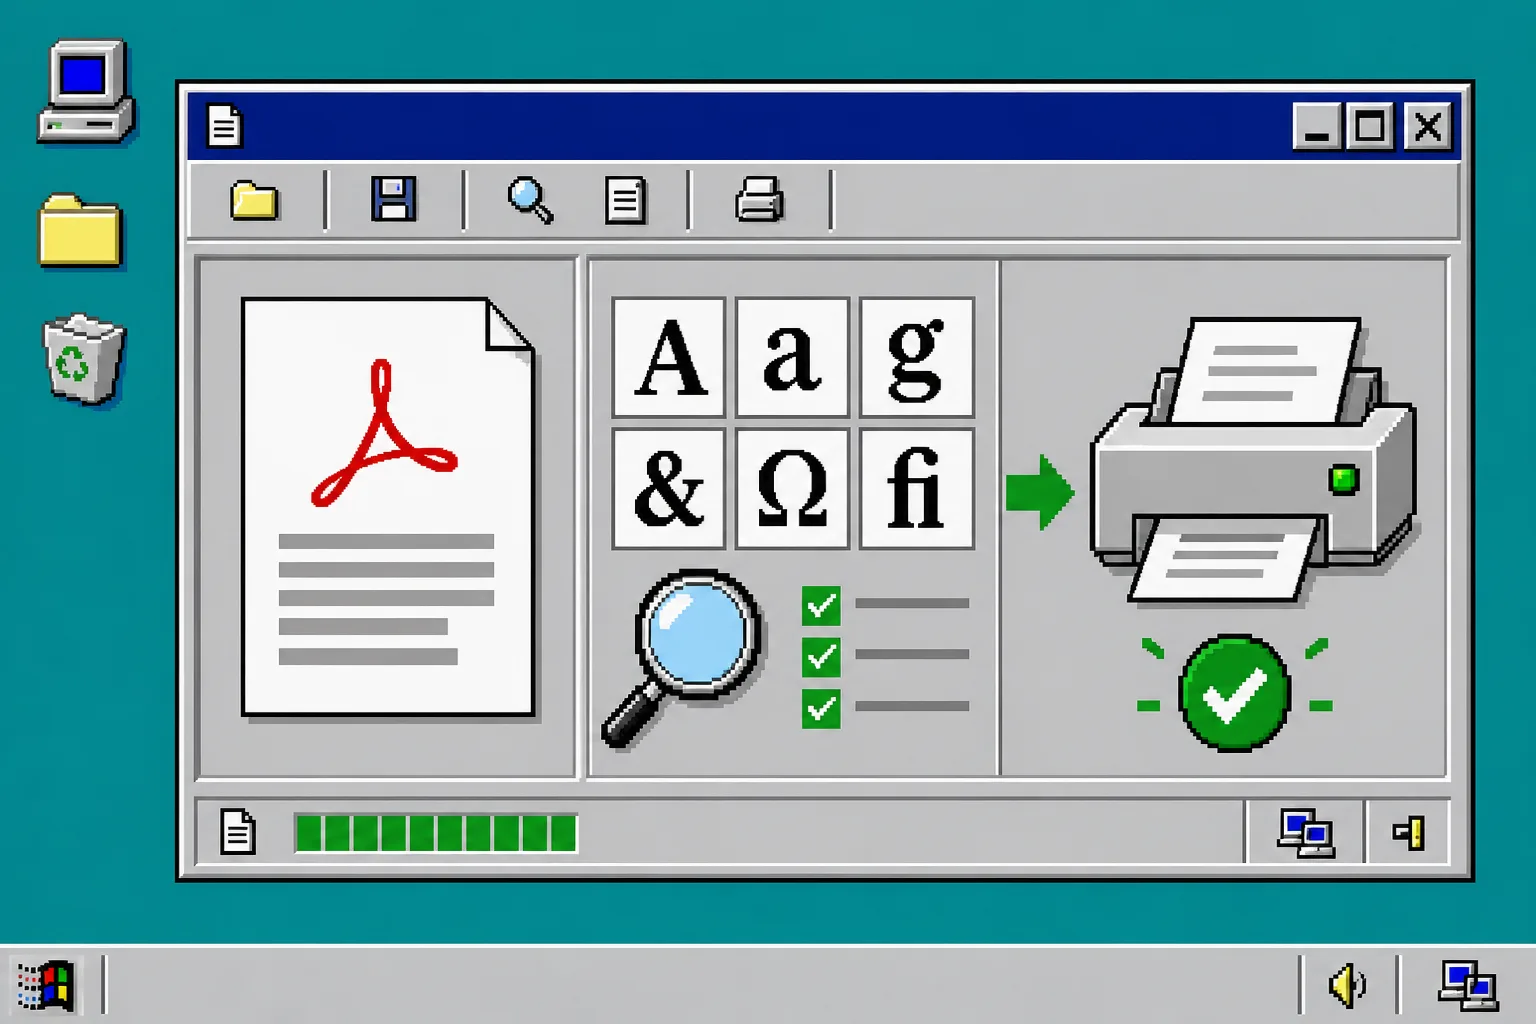
Open the PDF Font Inspector and load the same final PDF. Look for fonts that are not embedded, unexpected Type 3 fonts, or font entries that appear only on a suspicious page. The inspector also reports font subtype and the pages where a font is selected.
If a required font is missing, return to the original layout application, resolve the font or outline requirement with the print provider, re-export, and inspect again. Do not assume a font is safe because your own workstation has it installed.
6. Make a small go/no-go decision
Use this final checklist before sending the file:
- The PDF is the final exported version, not a proof or source file.
- The selected preflight profile matches the printer’s requirements.
- Errors are fixed or explicitly accepted by the print provider.
- Page size, trim, and bleed match the job.
- Required fonts are embedded or handled according to the provider’s instructions.
- The file name makes the version and delivery purpose obvious.
This is the same principle that makes a Shopify product-demo video preparation pass useful: inspect the artifact that will actually be delivered, rather than assuming the source project tells the whole story. It also pairs well with checking hidden PDF data before sharing when the recipient does not need internal metadata.
Troubleshooting
The checker reports RGB content, but the printer has not specified CMYK. Ask for the delivery profile. Do not convert blindly; color conversion choices can alter a brand color or photograph.
One page is a different size. Check whether it is an intentional insert. If not, repair the page dimensions in the source document and export the entire PDF again.
A font is flagged even though the page looks correct. Verify whether it is embedded and whether the print provider accepts its subtype. A correct local preview is not proof of a portable file.
The report shows a low-resolution image. Replace it with a higher-resolution source at the intended print size, then re-export. Enlarging the finished PDF will not add detail.
Send a file you can stand behind
A preflight is a short, repeatable pause between “exported” and “sent.” Run the Print Preflight Checker, confirm page size and fonts with the companion tools, then send the final PDF with a clear version name. Start the workflow now at Tiny Online Tools and make the next printer handoff less surprising.