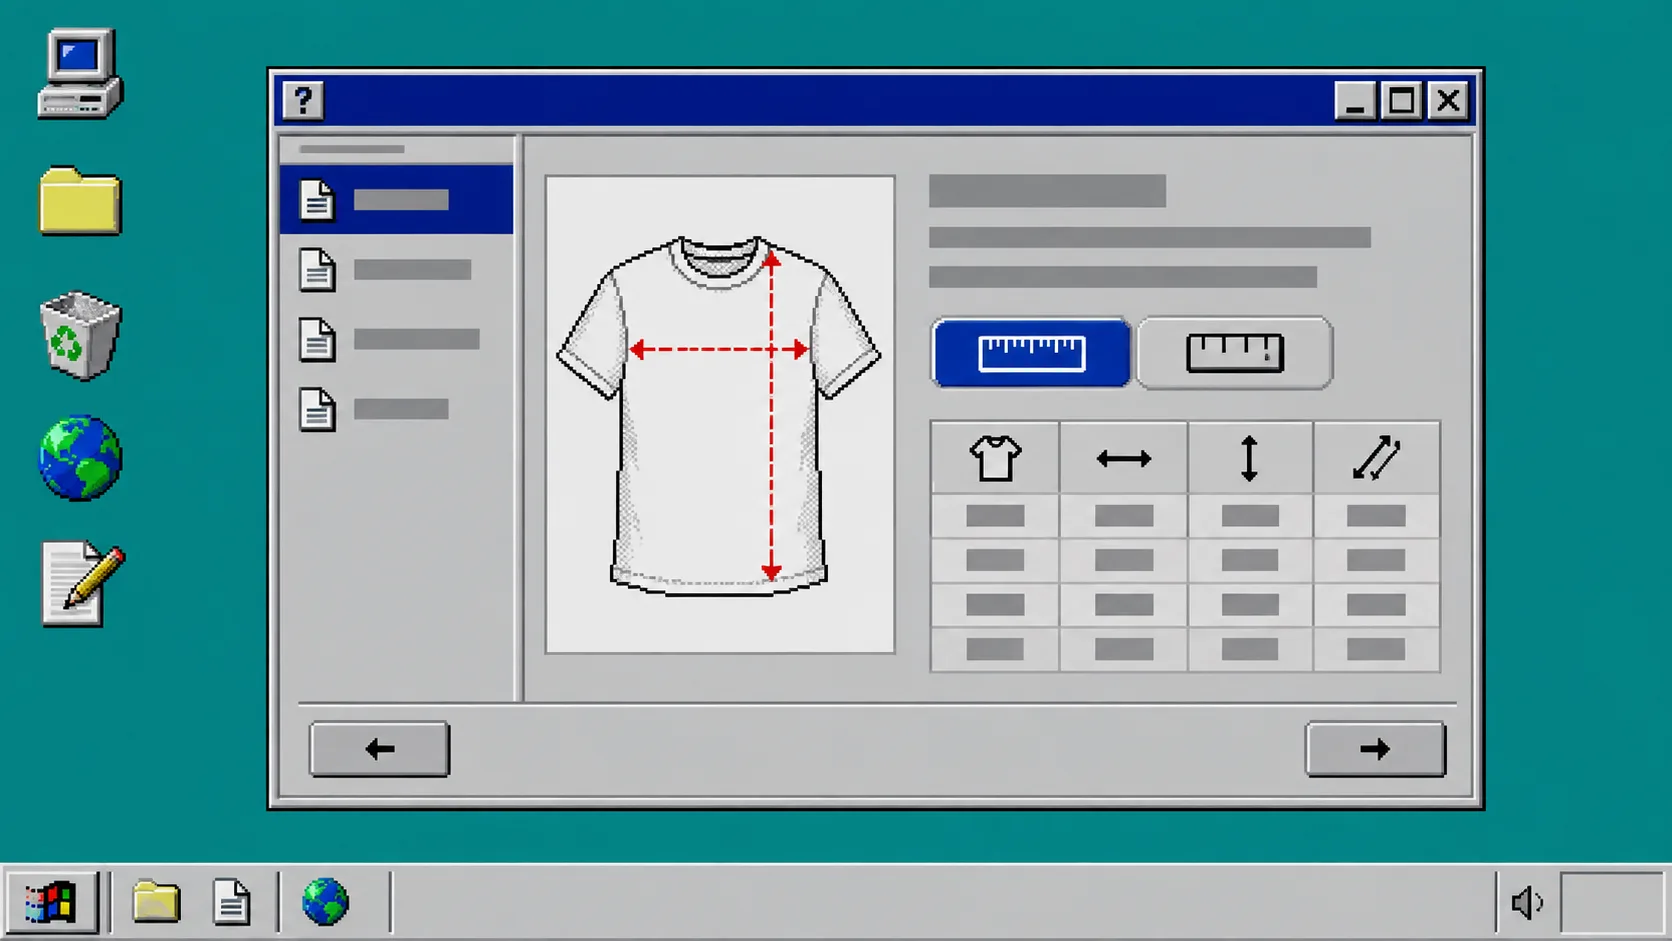
A size chart only helps when a shopper can read it in the units they use. If a person thinks in centimeters and sees only inches, or measures in inches and sees only centimeters, the chart creates one more conversion step at the moment they are trying to decide whether to buy.\n\n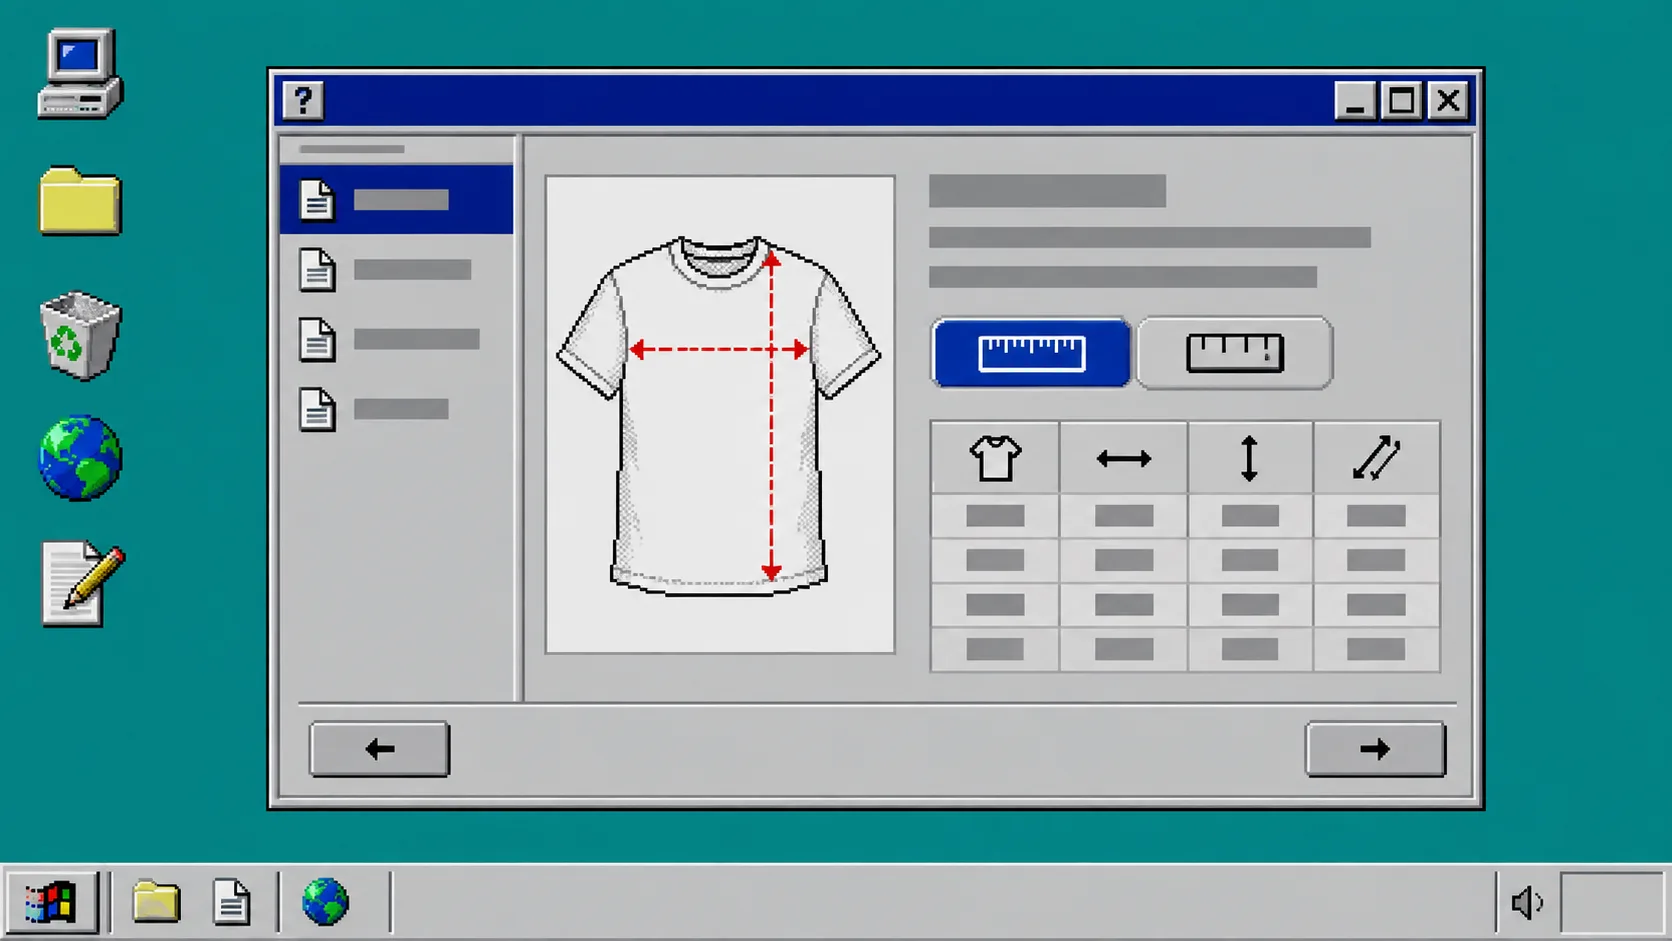 \n\nThis guide explains how to set up a Shopify size chart with clear units, a measurement guide, and an optional shopper-facing unit toggle. Supra Size Chart stores charts as Shopify metaobjects and can show a metric/imperial switch without requiring product-by-product HTML edits.\n\n## Before you start\n\nDecide what your chart measures. A garment measurement is taken from the item laid flat. A body measurement is taken from the person. These are not the same thing, and the chart should say which one it uses.\n\nPrepare:\n\n- The source measurements from the product team or manufacturer.\n- The unit used in the original data.\n- The columns shoppers actually need to make a choice.\n- A note about fit, stretch, or tolerances when relevant.\n- A simple visual guide showing where each measurement is taken.\n\nDo not add both units until the base measurements are verified. A clean conversion cannot repair a chart that started with the wrong garment width or length.\n\n## 1. Create one clear base chart\n\nOpen Supra Size Chart and create a chart in the spreadsheet-style editor. Add the sizes as rows and the measurements as columns. For a t-shirt, that might be chest width and body length. For trousers, it may include waist, hip, rise, and inseam.\n\n
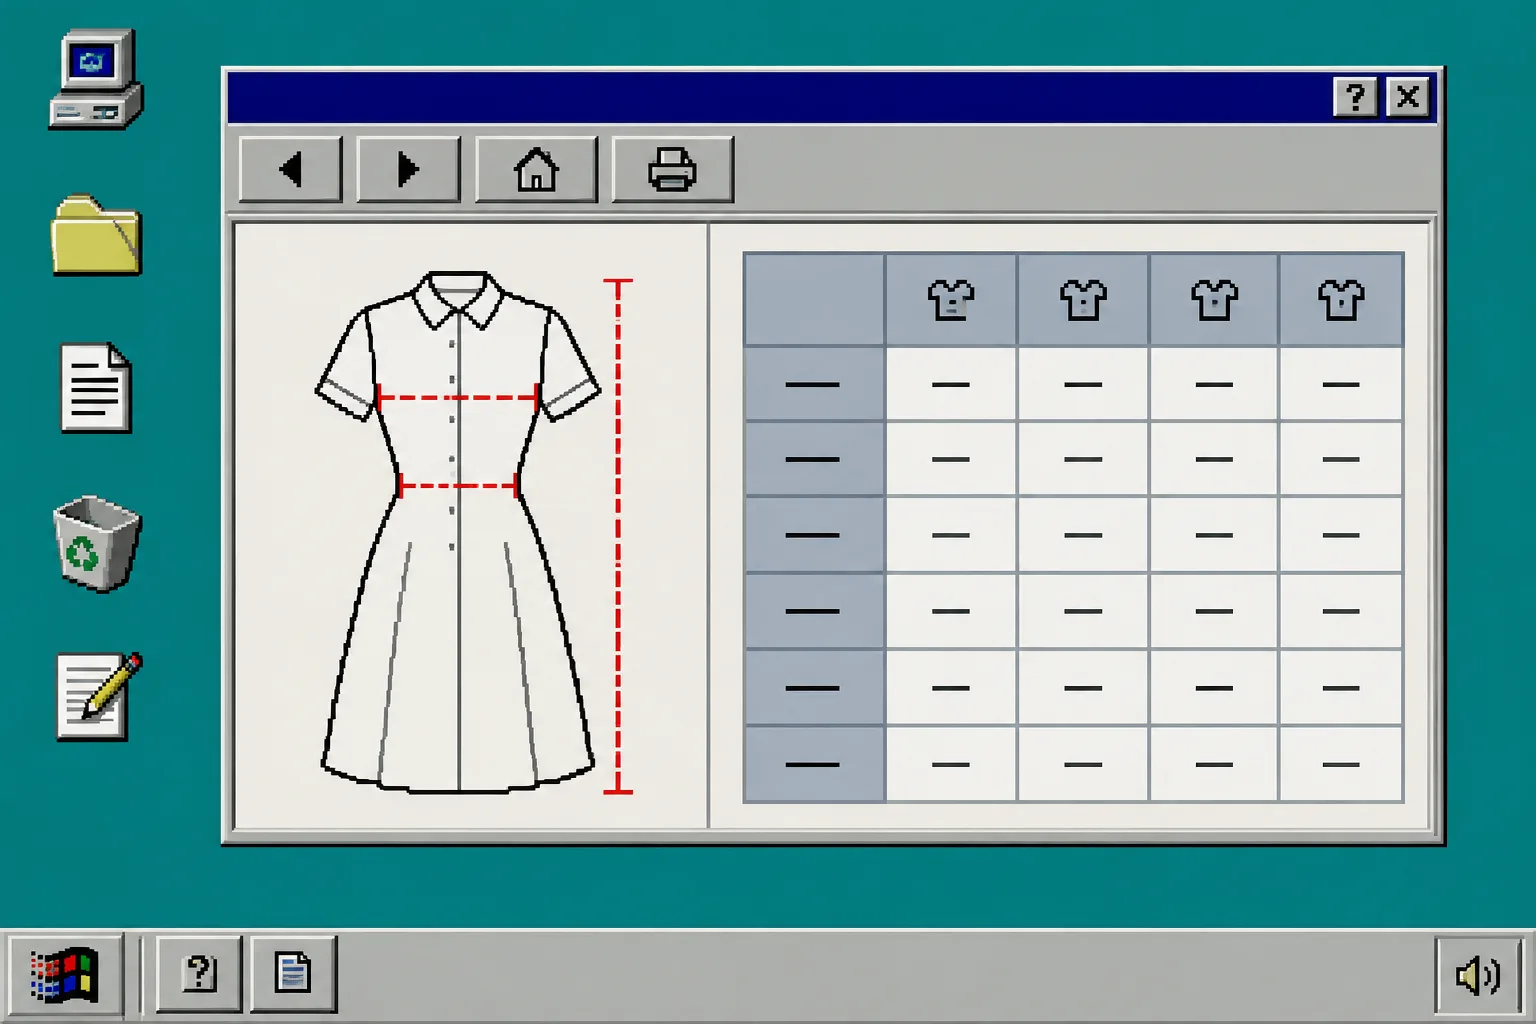 \n\nUse the original unit consistently in the source table. If the production specifications are in centimeters, keep centimeters as the base instead of mixing units row by row. Add a label such as “Garment measurements, taken flat” near the chart so shoppers know how to compare their own reference item.\n\nWhat you should see: a complete chart with units clearly attached to every measurement column.\n\n## 2. Add a measurement guide that uses the same words\n\nA grid of numbers does not tell a customer where to place a tape measure. Add a measurement guide that matches the product type, then label the measurement lines using the same names as the columns in your chart.\n\nIf the table says “Chest width,” do not label the illustration “Bust” unless the two values are genuinely the same in your method. Consistent wording is a small detail that prevents a shopper from comparing the wrong measurement.\n\nSupra Size Chart supports reusable guides with garment silhouettes and labelled lines. The guide can be shared by more than one chart, which helps when several products use the same measurement method.\n\n## 3. Enable the metric and imperial option\n\nFor international stores, give shoppers a way to switch from the base unit to its counterpart. A customer in one market may naturally compare centimeters; another may expect inches. The goal is not to fill the table with duplicate columns until it becomes difficult to read.\n\nSet the unit for each measurement column, then enable the shopper-facing metric/imperial toggle where it makes sense. The conversion should apply to equivalent scales, such as centimeters and inches.\n\nCheck a few values manually after enabling the toggle. Pick one small, one medium, and one large value. Confirm that the rounding is sensible and that the converted number still reads clearly. A 76 cm chest measurement does not need an overly precise long decimal when a readable rounded value serves the shopper better.\n\n## 4. Assign the chart with a rule instead of copying it\n\nOnce the chart is ready, assign it to the relevant part of the catalog. You can target a specific product, collection, product type, vendor, or tag. This lets one chart cover a group of products without pasting the same information into every description.\n\n
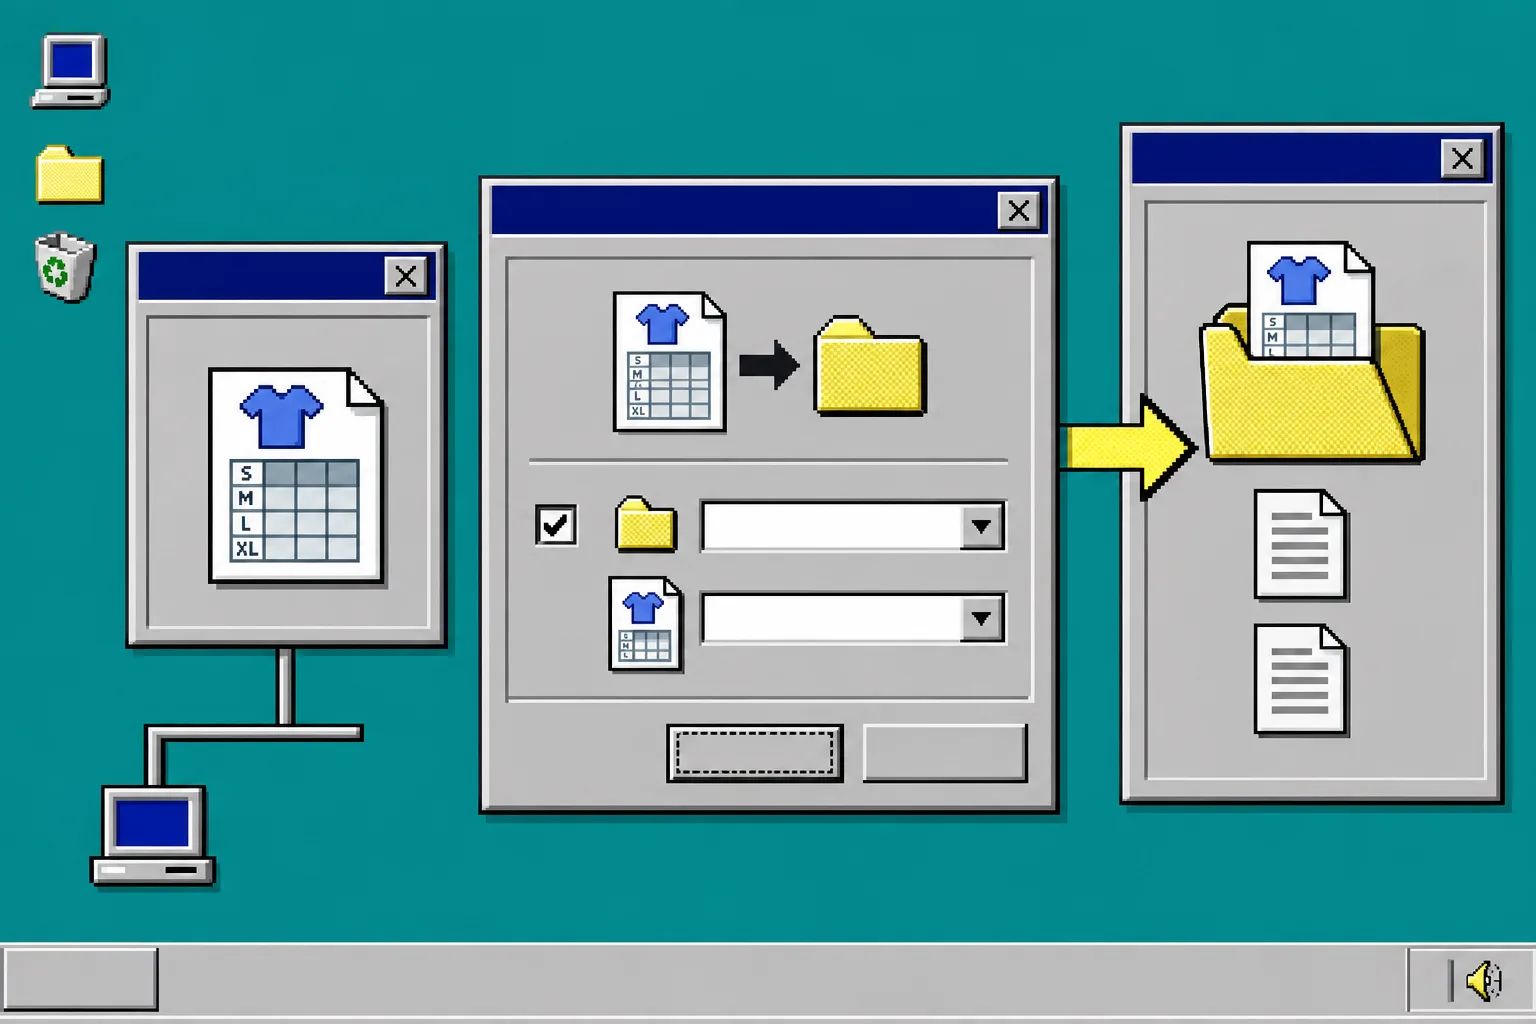 \n\nUse the broadest rule that is accurate. A shared shirt chart can apply to a whole shirt collection. A fitted cut, special fabric, or product with different proportions may need its own chart. The most specific matching rule should win, with a store-wide default available if you need a fallback.\n\nWhat you should see: the intended products display the correct chart automatically, including products you add to the matching collection later.\n\n## 5. Place the chart near the size decision\n\nIn Shopify Theme Editor, add the Supra Size Chart app block to the product template. Put it near the variant picker or size selector, not at the end of a long description. A shopper should be able to open the guide without losing the context of the size they are considering.\n\nChoose the display that best fits the page: inline table, accordion, or modal trigger. An inline table is useful when measurement comparison is central. An accordion keeps a compact page tidy. A modal is helpful for a guide that needs more room for a diagram.\n\n
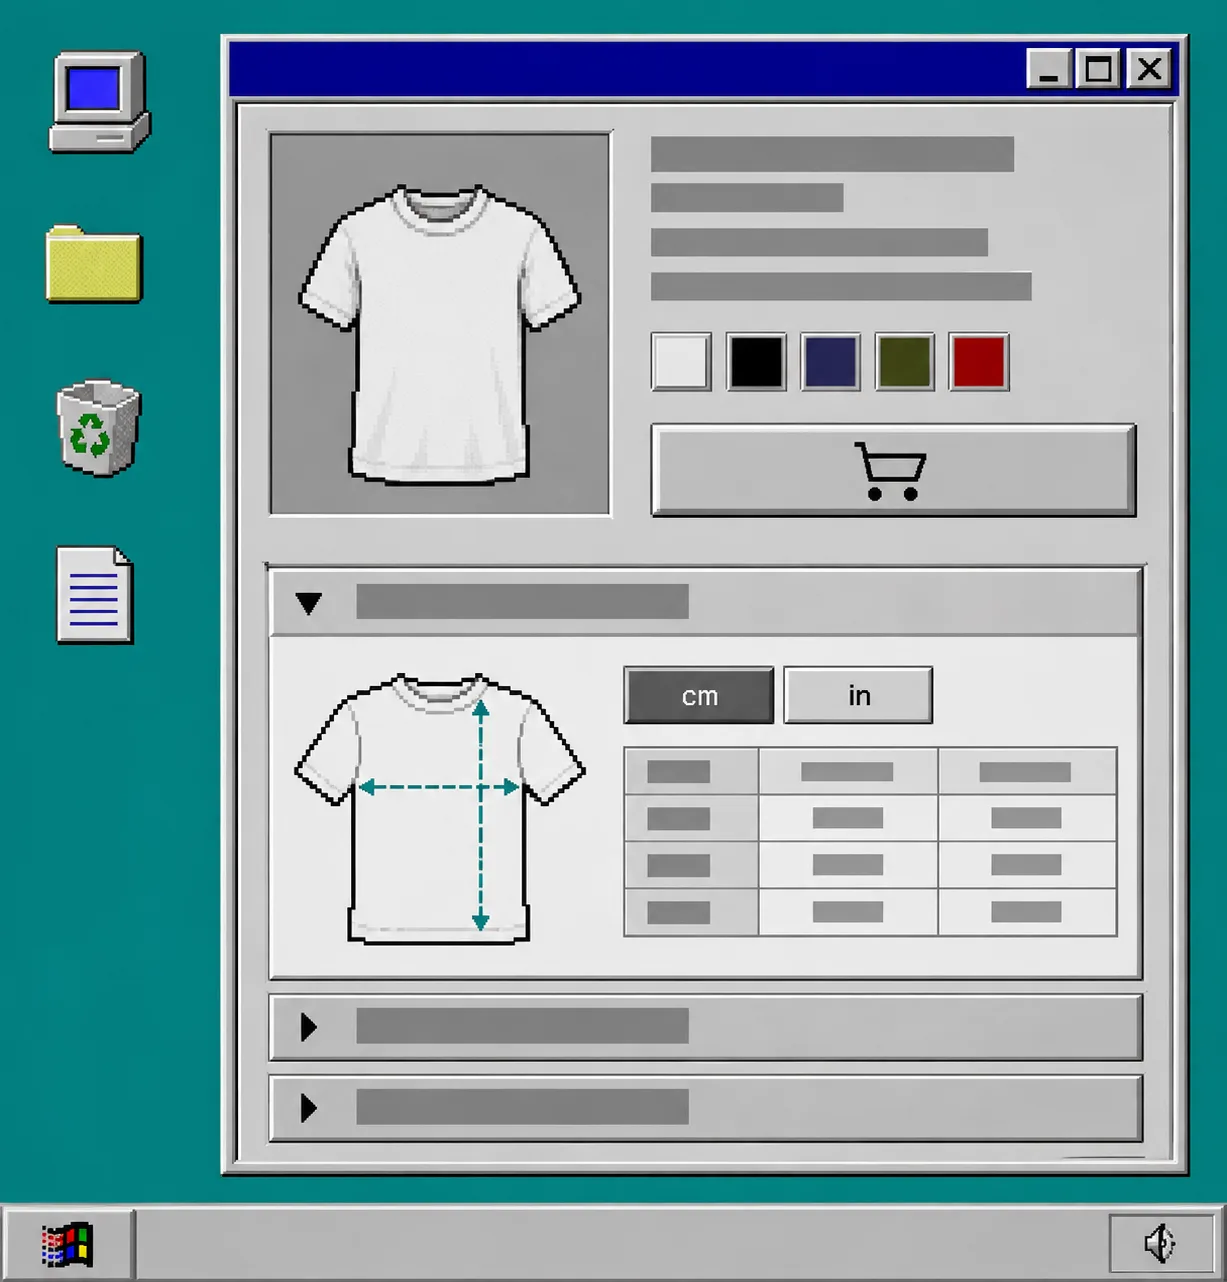 \n\nTest the product page on a phone. Check that the toggle is easy to use, the selected unit is obvious, and the table can be read without awkward horizontal scrolling.\n\n## Troubleshooting\n\nThe units look inconsistent. Verify that every measurement column has a base unit configured before enabling the toggle.\n\nA customer is comparing the wrong values. Add a clearer note about garment versus body measurements and improve the visual guide.\n\nThe wrong chart appears on a product. Review the assignment rules and look for a more specific product, collection, type, vendor, or tag rule that is taking priority.\n\nThe chart is hard to find. Move the app block closer to the size selector and test the page at mobile width.\n\n## Final recap\n\nA good international size chart starts with verified measurements, a clear base unit, matching visual labels, and a simple way for shoppers to read the values they know. With Supra Size Chart, you can create the chart once, assign it through catalog rules, and give shoppers a metric or imperial view directly on the product page.
How to Show Centimeters and Inches in a Shopify Size Chart
A practical setup for giving shoppers measurements in the units they recognize while keeping size-chart data consistent across a Shopify catalog.