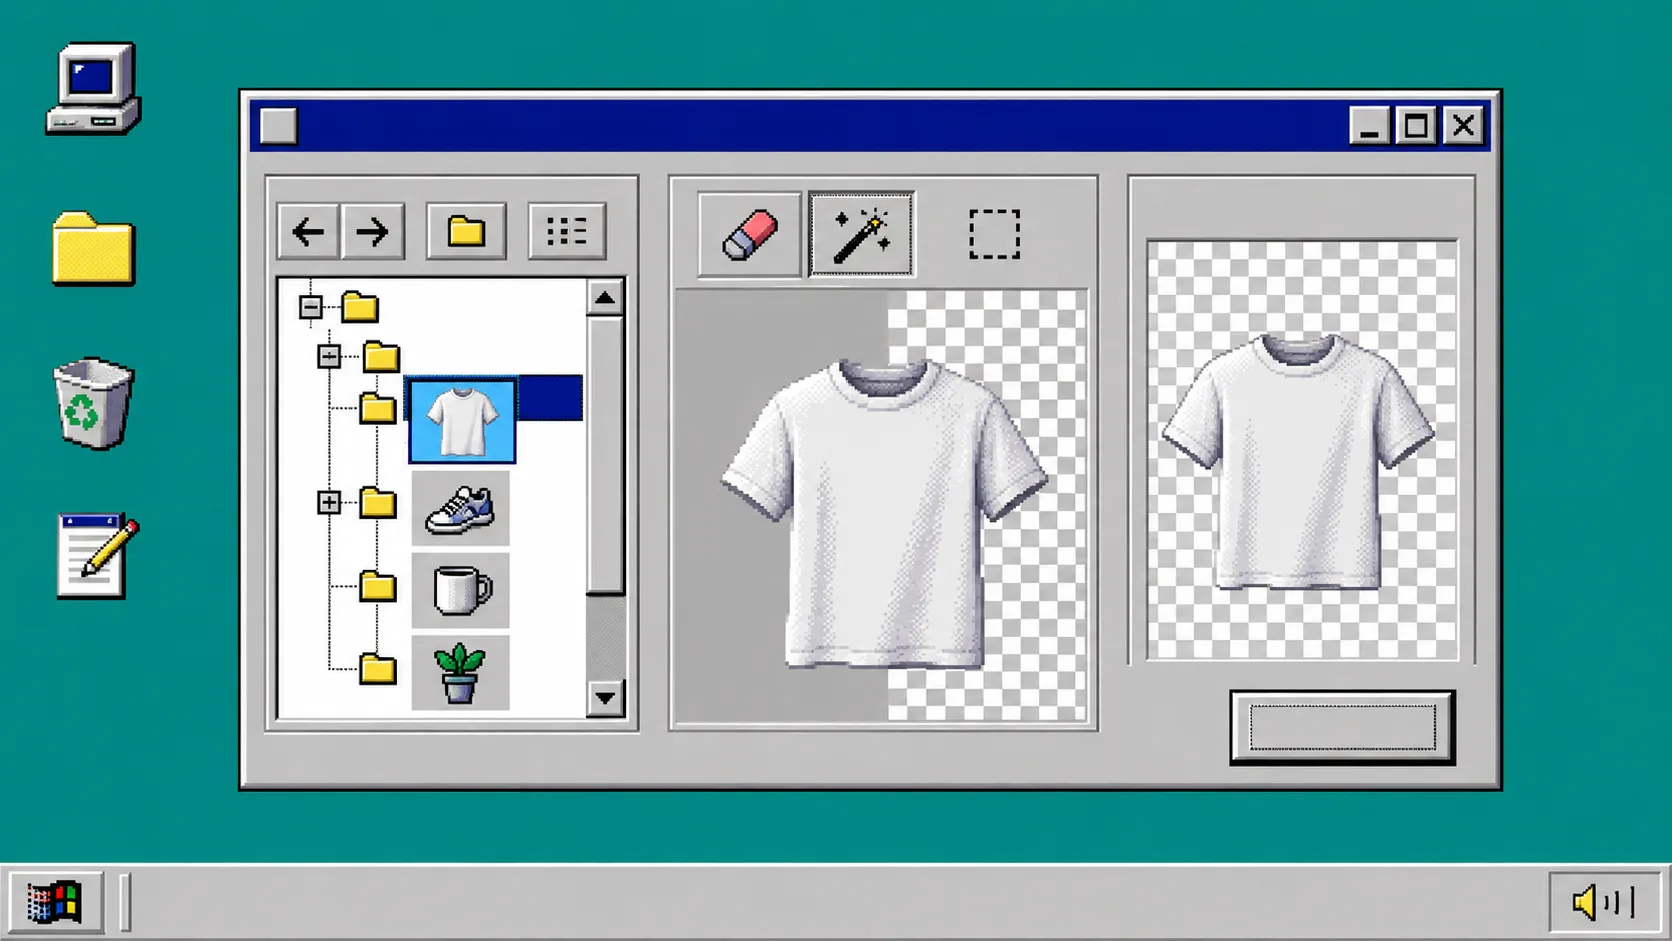
You get better AI lifestyle images when you prepare the Shopify product photo first. Start with the cleanest source image, isolate the product if the background is busy, then make one controlled transformation at a time. This avoids the most common failure: a generated scene that looks attractive but changes the item you are trying to sell.
What you need before you begin
Have one high-resolution product image, the correct Shopify product selected, and a clear answer to one question: what should this next image do? A fashion try-on, a lifestyle placement, and a product-page cleanup are different jobs. Do not ask one prompt to do all three.
Supra AI Photo Studio works inside Shopify for background changes, upscaling, lighting cleanup, object placement, model try-ons, and video creation. The workflow below focuses on getting an existing catalog image ready for an accurate lifestyle scene.
1. Choose the most reliable starting image
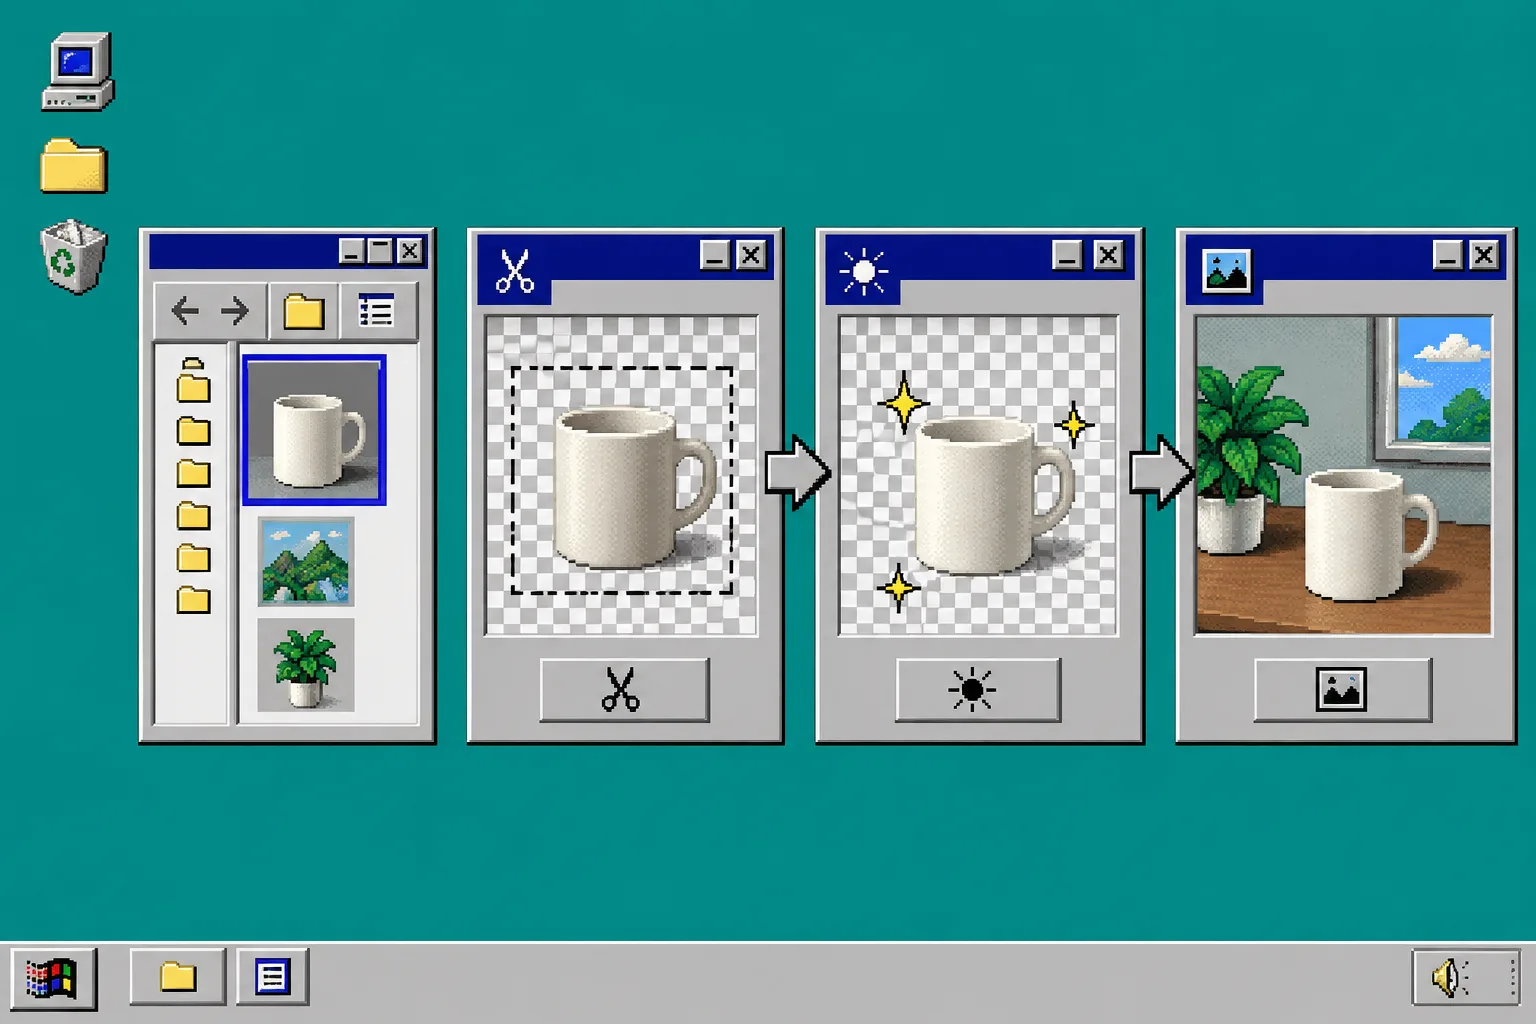
Open the product and choose an image where the item is large, sharp, and fully visible. Avoid a source that is already heavily filtered, cropped across an important edge, or covered by a badge. If the product comes in variants, verify that you picked the same color, material, and silhouette that the generated scene needs to show.
What you should see: one source image that a customer could use to identify the product without guessing.
2. Isolate the product first
Use the isolate or background-removal tool before asking for a new environment. This removes visual clutter and gives the generator a better boundary around the product. It is especially helpful for apparel, accessories, home goods, and packaged products photographed on inconsistent backgrounds.
Inspect the edge after the result appears. Look closely at handles, straps, fabric edges, transparent areas, and fine details. If the edge is wrong, repair that before moving to a lifestyle scene. A clean product cutout makes every later version more predictable.
3. Improve the source without changing the product
Use enhancement or upscaling only when the source is soft, dim, noisy, or too small for its destination. Keep the goal narrow: better clarity, cleaner lighting, and a more consistent catalog image. Do not use enhancement as a reason to change the product color, texture, logo placement, or proportions.
What you should see: the same product, simply easier to inspect. If it looks like a new SKU, go back to the original source.
4. Describe the scene like a photographer
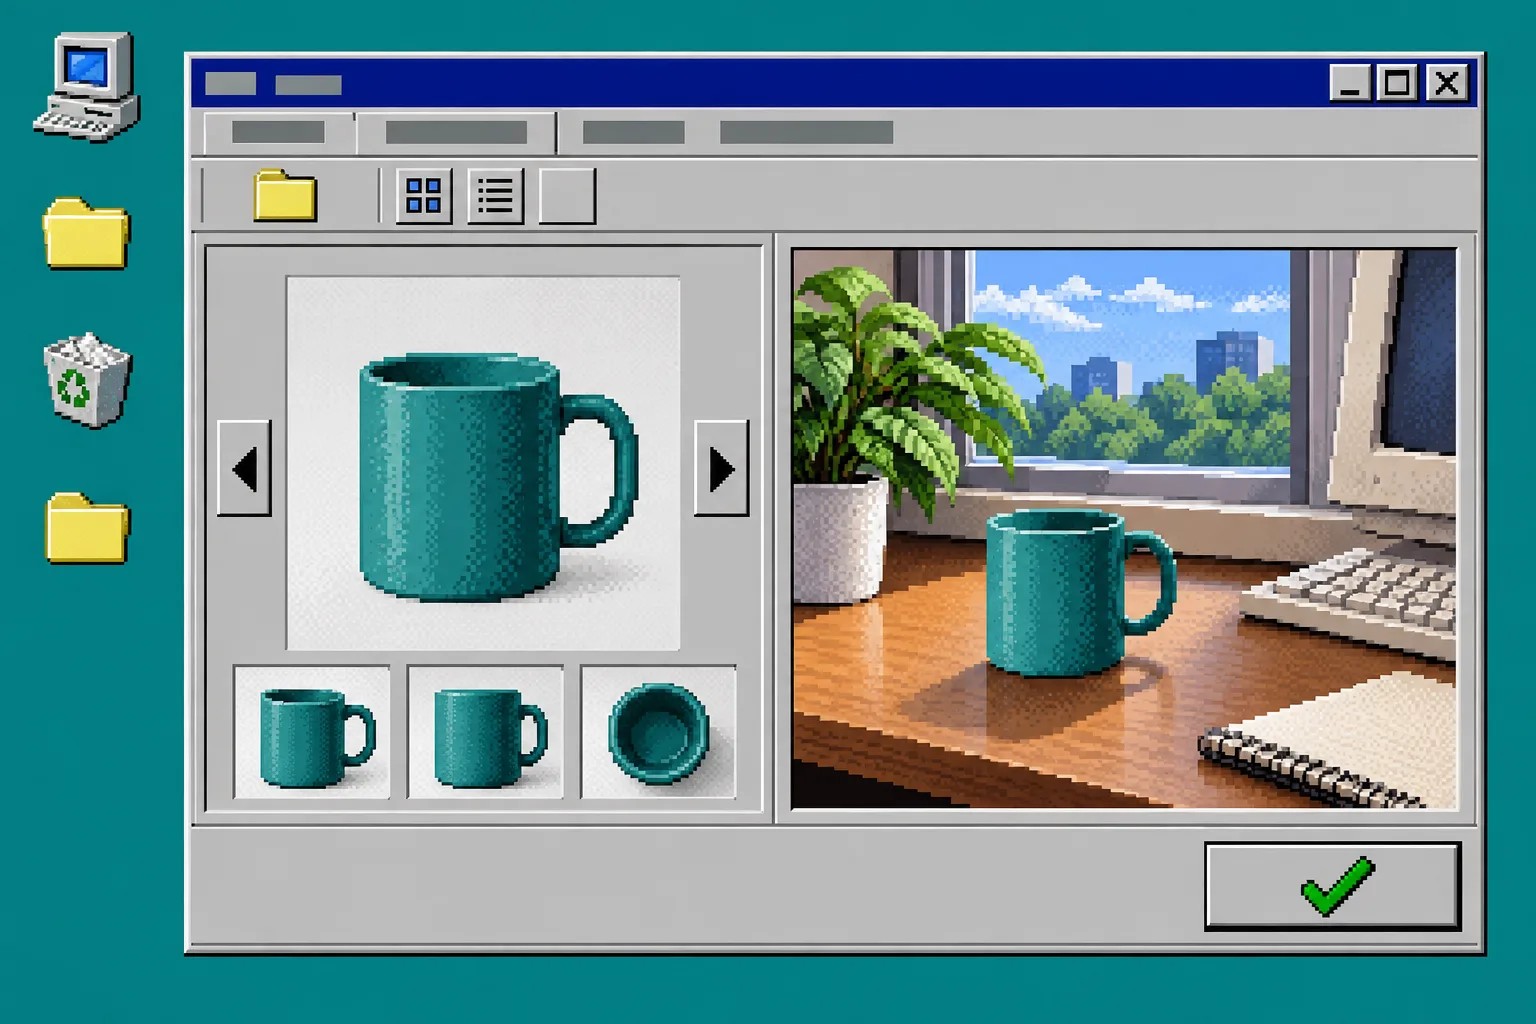
Open object placement and write a prompt that describes the setting, surface, camera angle, lighting, and mood. For example, say that a ceramic mug sits on a light oak desk in soft morning light, photographed at a three-quarter angle. Avoid vague instructions such as “make it premium.” Specific physical details are easier to review.
Keep one product fact outside the prompt too: the item itself must remain accurate. The scene can change, but the product cannot. Start with one scene variation instead of generating ten at once, then compare it against the catalog image side by side.
5. Check the result at product-page size
Zooming in is useful, but also view the candidate at the size customers will see on the product page. Check that the product is not too small, that the scene still supports the selling point, and that the first image and the lifestyle image tell a consistent story.
For a broader setup, this guide to keeping Shopify product photos consistent is a useful companion: visual coherence comes from a repeatable decision system, not only one attractive image.
6. Publish only the versions that pass a simple review
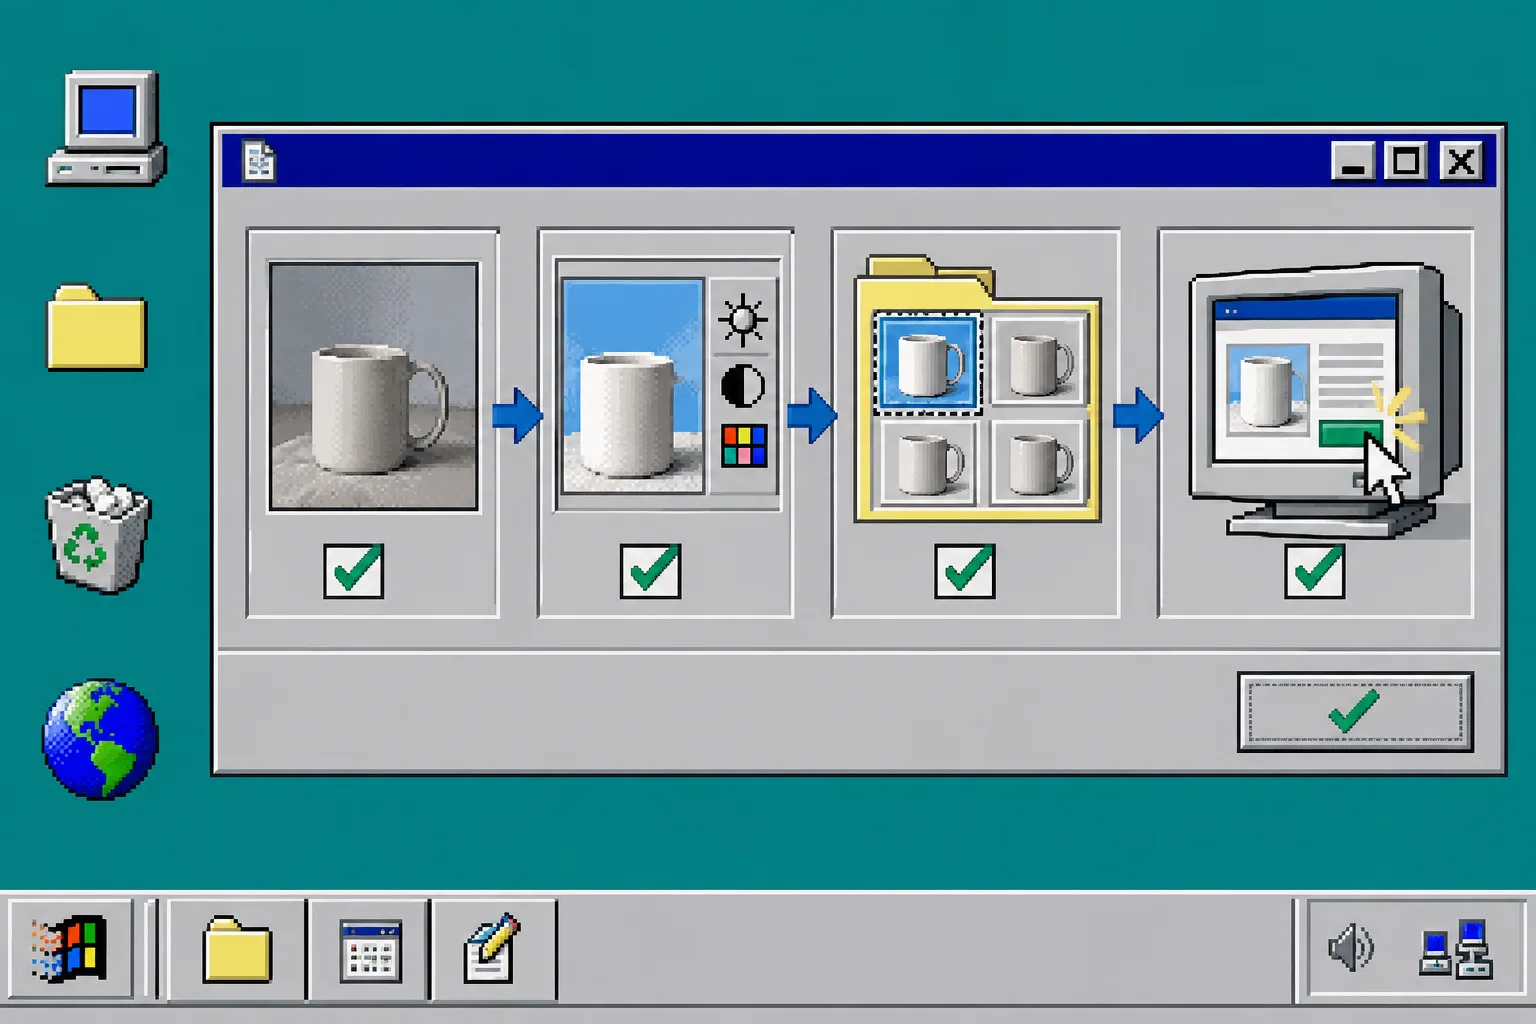
Before you add an image to Shopify, compare it against the original product photo. Confirm the variant, shape, material, label, and important functional details. Then check the crop on desktop and mobile. Save the approved version to the product gallery and keep the original catalog image available as a reference.
Troubleshooting
The product changed shape or color. Return to a cleaner isolated source and make the scene prompt less ambitious. Treat the original photo as the authority.
The background competes with the item. Simplify the environment, reduce props, and choose a calmer surface or light direction.
The result is sharp but still feels inconsistent. Define a small house style for camera angle, light, and background family, then apply it across the collection.
You need a marketing asset instead of a product-page image. Make a separate version for ads or social. Supra AI Photo Studio can also create UGC-style and b-roll video assets, but do not replace a clear product-page image with an ad-style scene.
Next step
Prepare one product photo, create one controlled lifestyle scene, and run the comparison before you publish it. Once that flow is reliable, repeat it for the product families where better context will help a shopper decide.