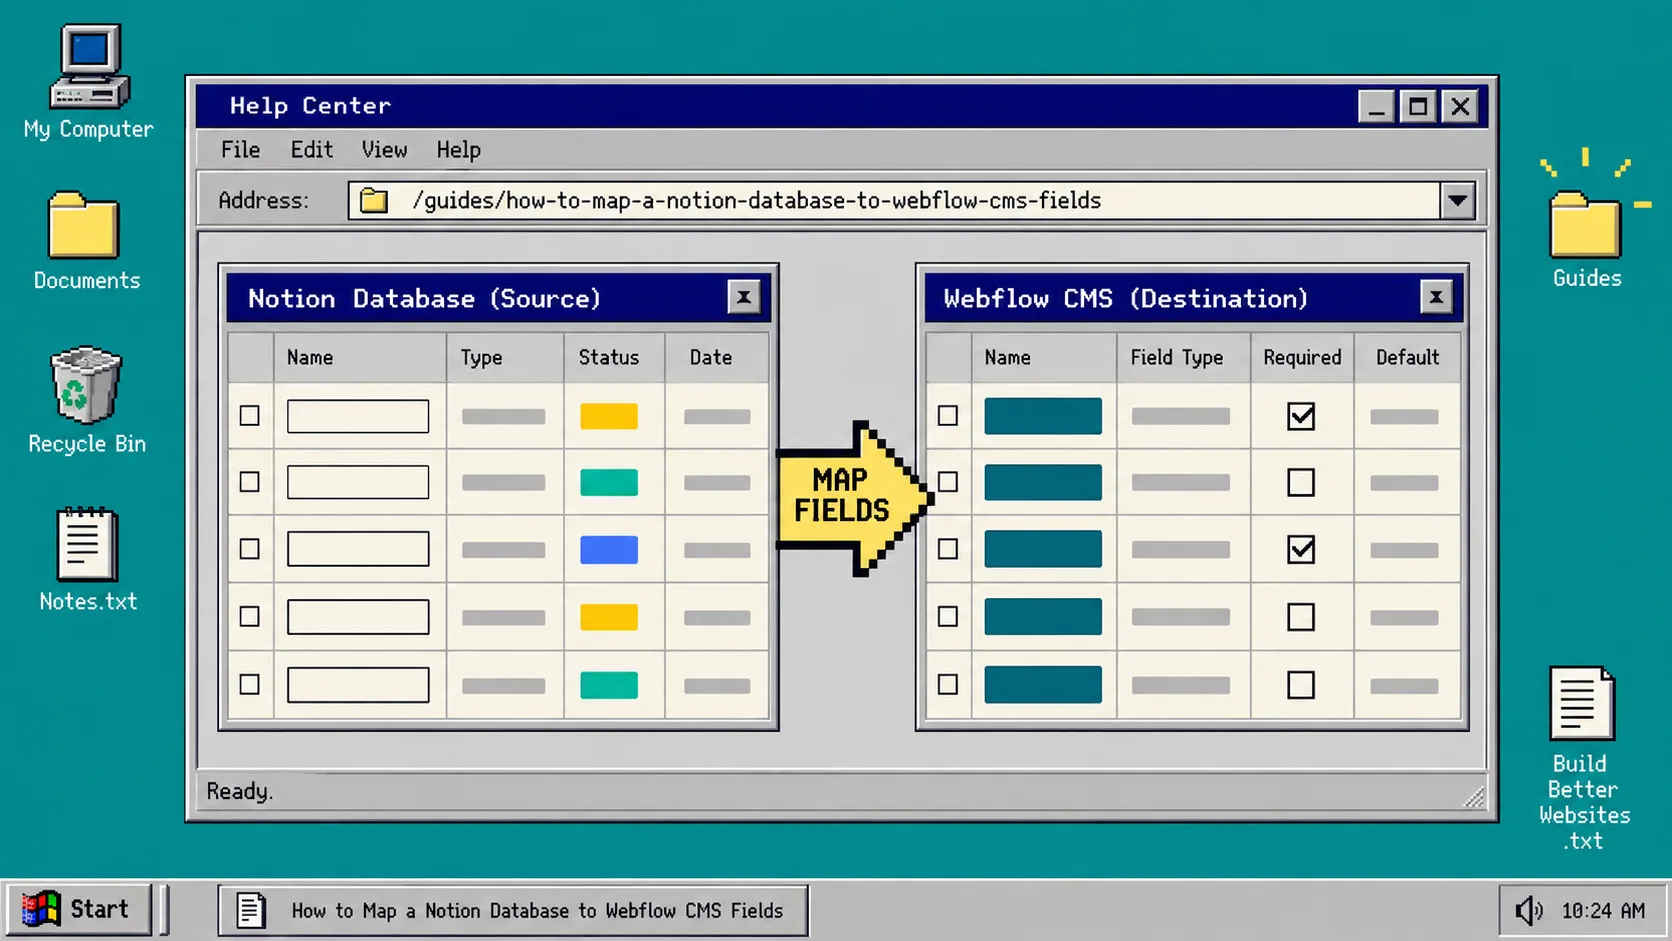
If your writing team works in Notion but your public site runs on Webflow CMS, the hard part is not typing the article. It is making sure every field arrives where it belongs. A bad map can turn a headline into a slug, omit a cover image, or publish a half-finished draft.
This guide sets up a cautious first connection with SyncFlow: one database, one collection, one test item. You need editor access to the target Webflow site, access to the Notion database, and a Webflow CMS Collection with the fields you want to fill.
1. Prepare one source database and one destination collection
Open the Notion database that will hold your posts. Add a small, deliberate set of properties before connecting anything: Title, Slug, Publish date, Status, Cover image, and the page body. Keep the first test simple. A property only needs to exist once; do not create parallel fields called Post Title and Title unless they genuinely serve different jobs.
In Webflow, open the matching CMS Collection and compare its field types. Plain text maps cleanly to plain text, dates to dates, URLs to URLs, and images to image fields. The rich body is the special case: SyncFlow can bring Notion content into Webflow while preserving inline styles or letting your Webflow classes control the presentation. If you are still deciding how the public template should work, this earlier guide on exporting a Webflow CMS site to static HTML is a useful reminder to treat structure and design as separate layers.
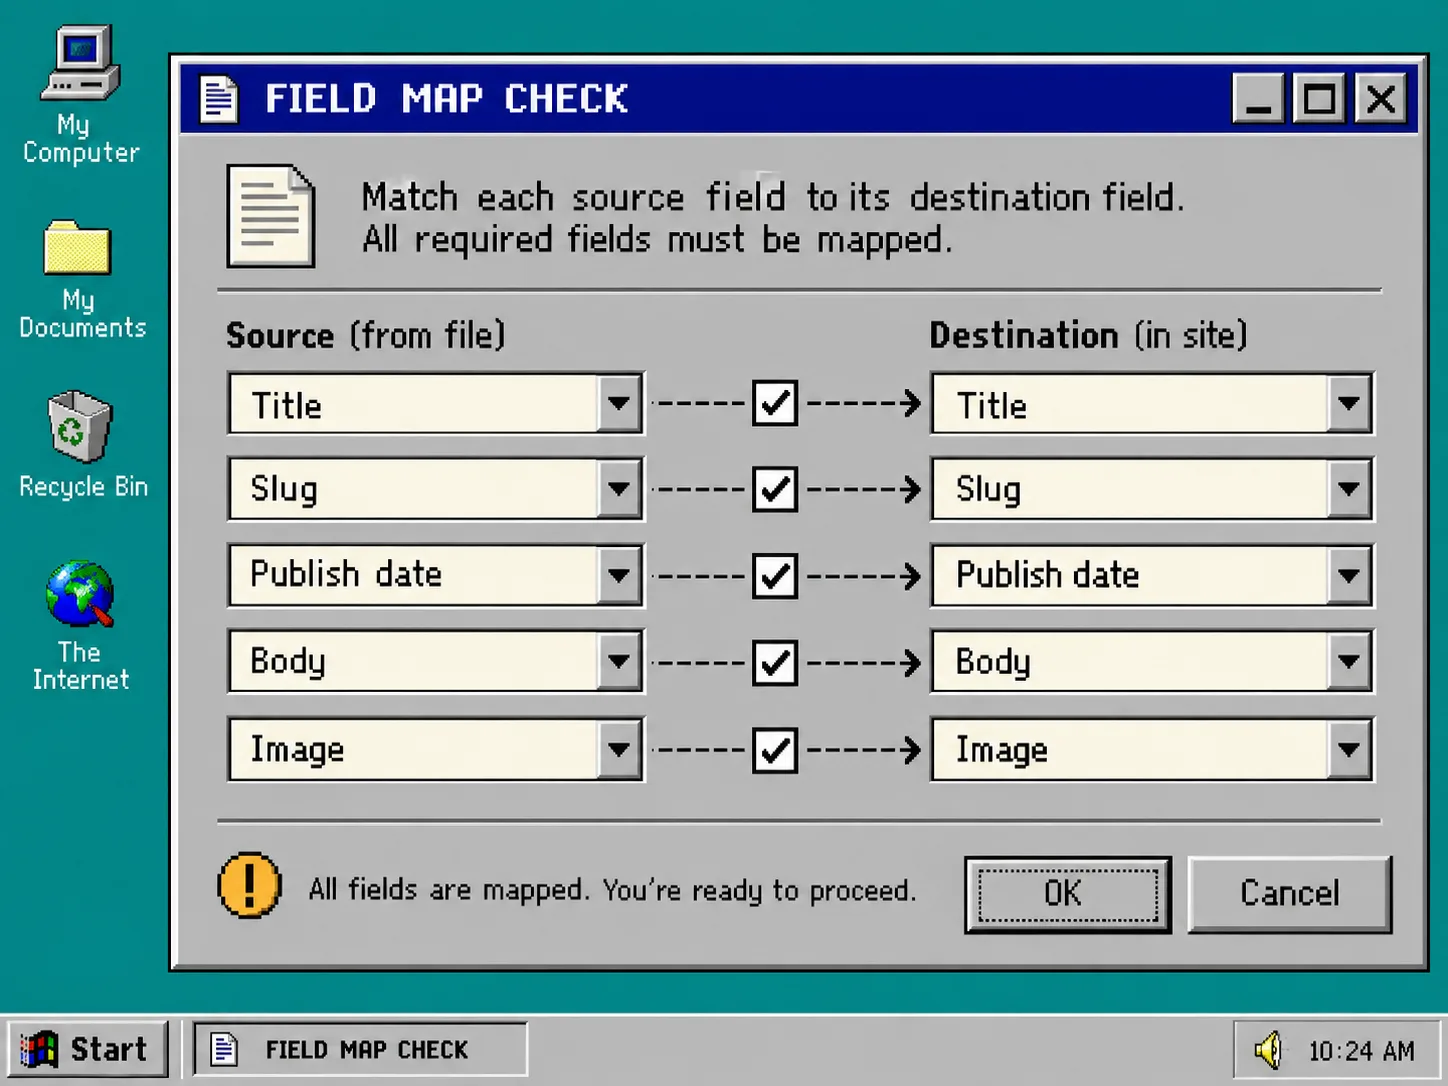
What you should see: a short list of source properties and a Webflow Collection whose required fields are known.
2. Connect both accounts in SyncFlow
Go to SyncFlow and choose Get Started. Authorize the Webflow site first, then connect Notion. In the SyncFlow app, choose Sync a new database, select the Webflow Collection, and select the Notion database.
Do this connection from an account that can edit the collection but does not have to be your personal owner account. That makes a future handoff less fragile. The same principle applies before a redesign: make a named copy and document the destination before changing it, as in this Framer staging-copy workflow.
What you should see: SyncFlow displays the database and Collection side by side, ready for field mapping.
3. Map fields by meaning, not by matching labels
Choose each Notion property and assign it to the Webflow field that represents the same thing. Start with the fields that make a post usable:
- Map Title to the Webflow name/title field.
- Map Slug to the slug field, using a consistent lower-case, hyphenated value.
- Map Publish date to a CMS date field.
- Map Cover image to the Webflow image field.
- Map the Notion page content to the rich-text body field.
Do not assume a matching name means a matching type. A Notion URL belongs in a Webflow link field, not a plain-text field. A multi-select needs a destination that can accept the same kind of values. If a field is optional in Notion but required in Webflow, give your team a pre-publish checklist rather than hoping an empty value will work.
4. Choose styling and publishing settings deliberately
SyncFlow can import Notion elements with inline styling or with Webflow classes. Pick inline styles when preserving the author’s Notion formatting is more important than a custom site system. Pick Webflow classes when your site already has a maintained article template and you want the site to control the finished look.
Enable auto-sync only after the manual test works. Keep auto-publish off for the first few runs if your editorial process includes review. This is especially helpful when a redesign is in motion; a documented recovery plan, like this Notion–Webflow refonte checklist, makes it clear which system is the source of truth.
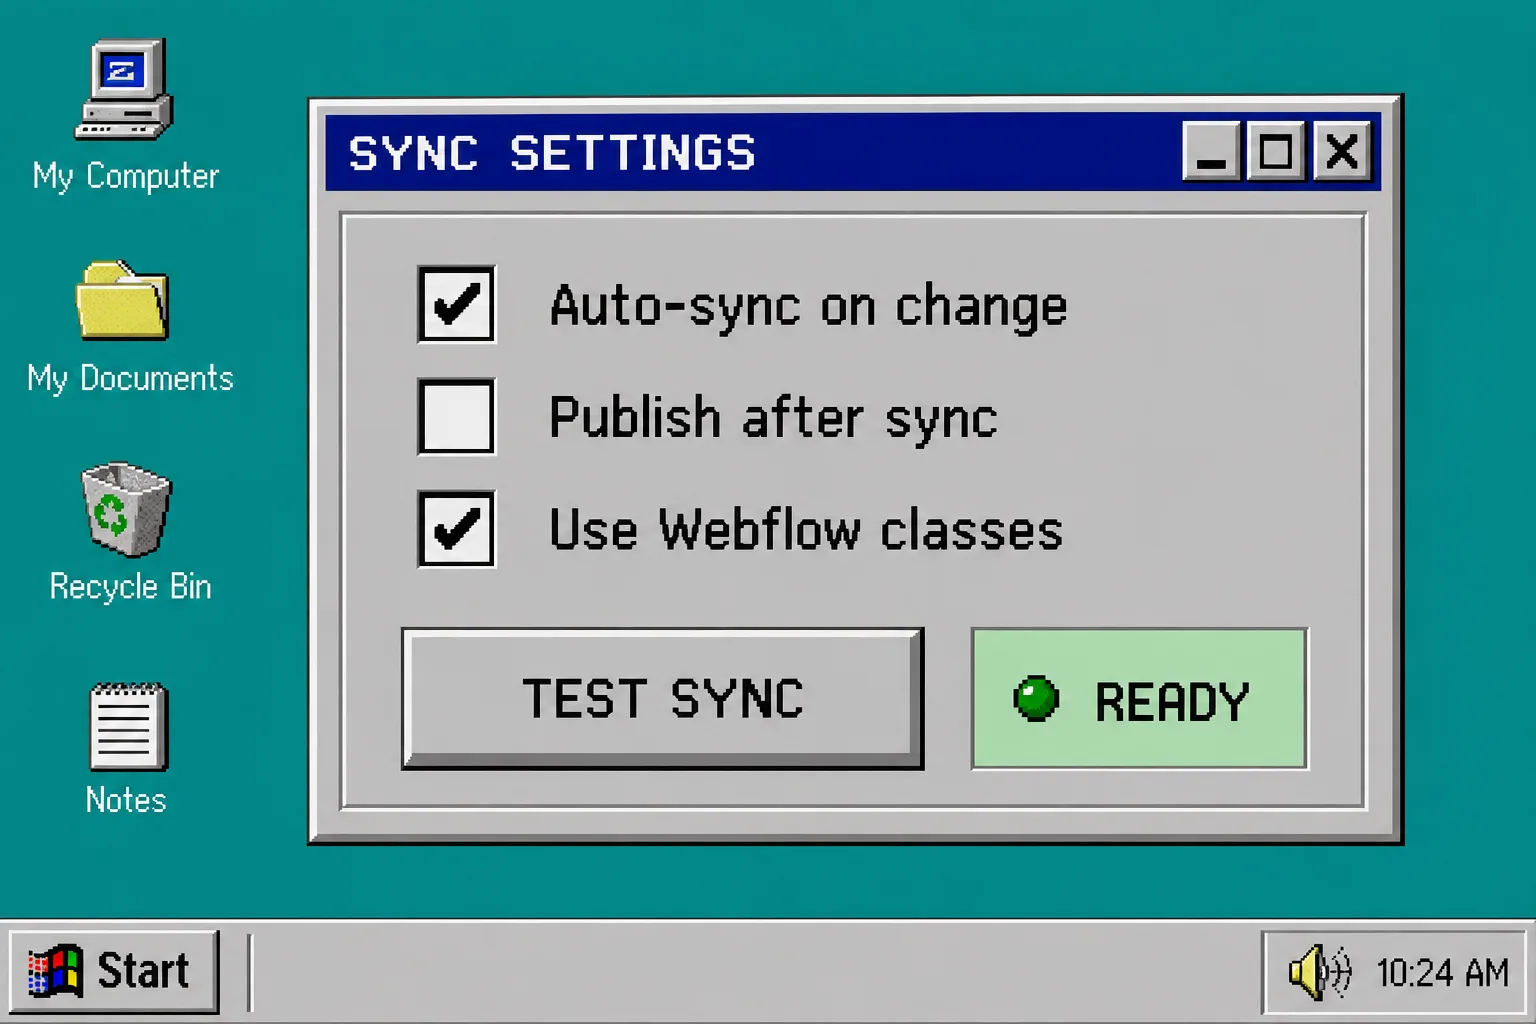
What you should see: a saved sync task with a clear decision about styling, auto-sync, and auto-publish.
5. Test one draft before syncing the whole database
Create one Notion page with an obvious test title, a real cover image, a short paragraph, and a status that will not confuse it with a live post. Run a manual sync. Then open the new Webflow CMS item and check the title, slug, date, body, image, and links.
If the page looks wrong, fix the field map first and re-run the test. Do not try to correct dozens of CMS entries by hand. For a detailed click-through, use the SyncFlow Notion-to-Webflow tutorial.
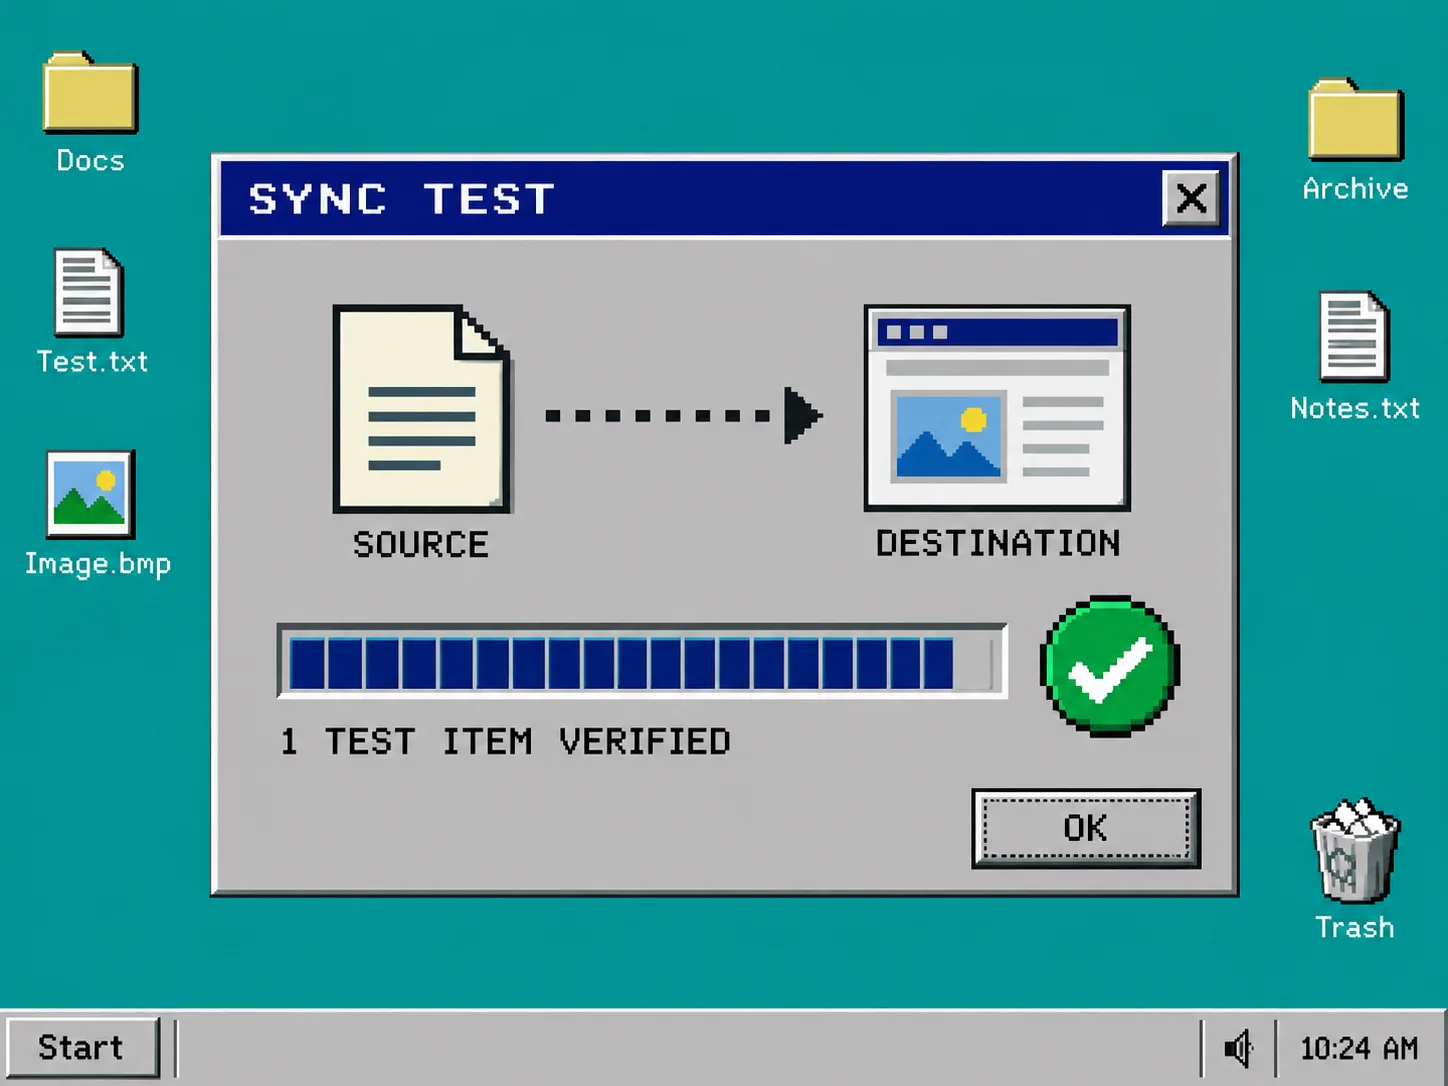
What you should see: one Webflow item that matches the Notion source field for field.
Troubleshooting: common setup mistakes
- The body imports without your site styling. Switch to Webflow classes and confirm the collection template has the classes you expect.
- A CMS item has no image. Check that the Notion property contains an image value and that it maps to a Webflow image field.
- The slug is unexpected. Make the Notion slug explicit; do not depend on a title that may change during editing.
- Updates appear too soon. Turn off auto-publish, keep auto-sync manual, and add a status field to your review process.
- Old and new content disagree. Pause broad syncing, identify the source of truth, and test a single item again.
Once your test item is correct, turn on the automation you actually need: manual sync for a careful launch, auto-sync for continuous updates, or auto-publish for a reviewed content pipeline. The next step is simple: map one database, verify one CMS item, then scale with confidence.