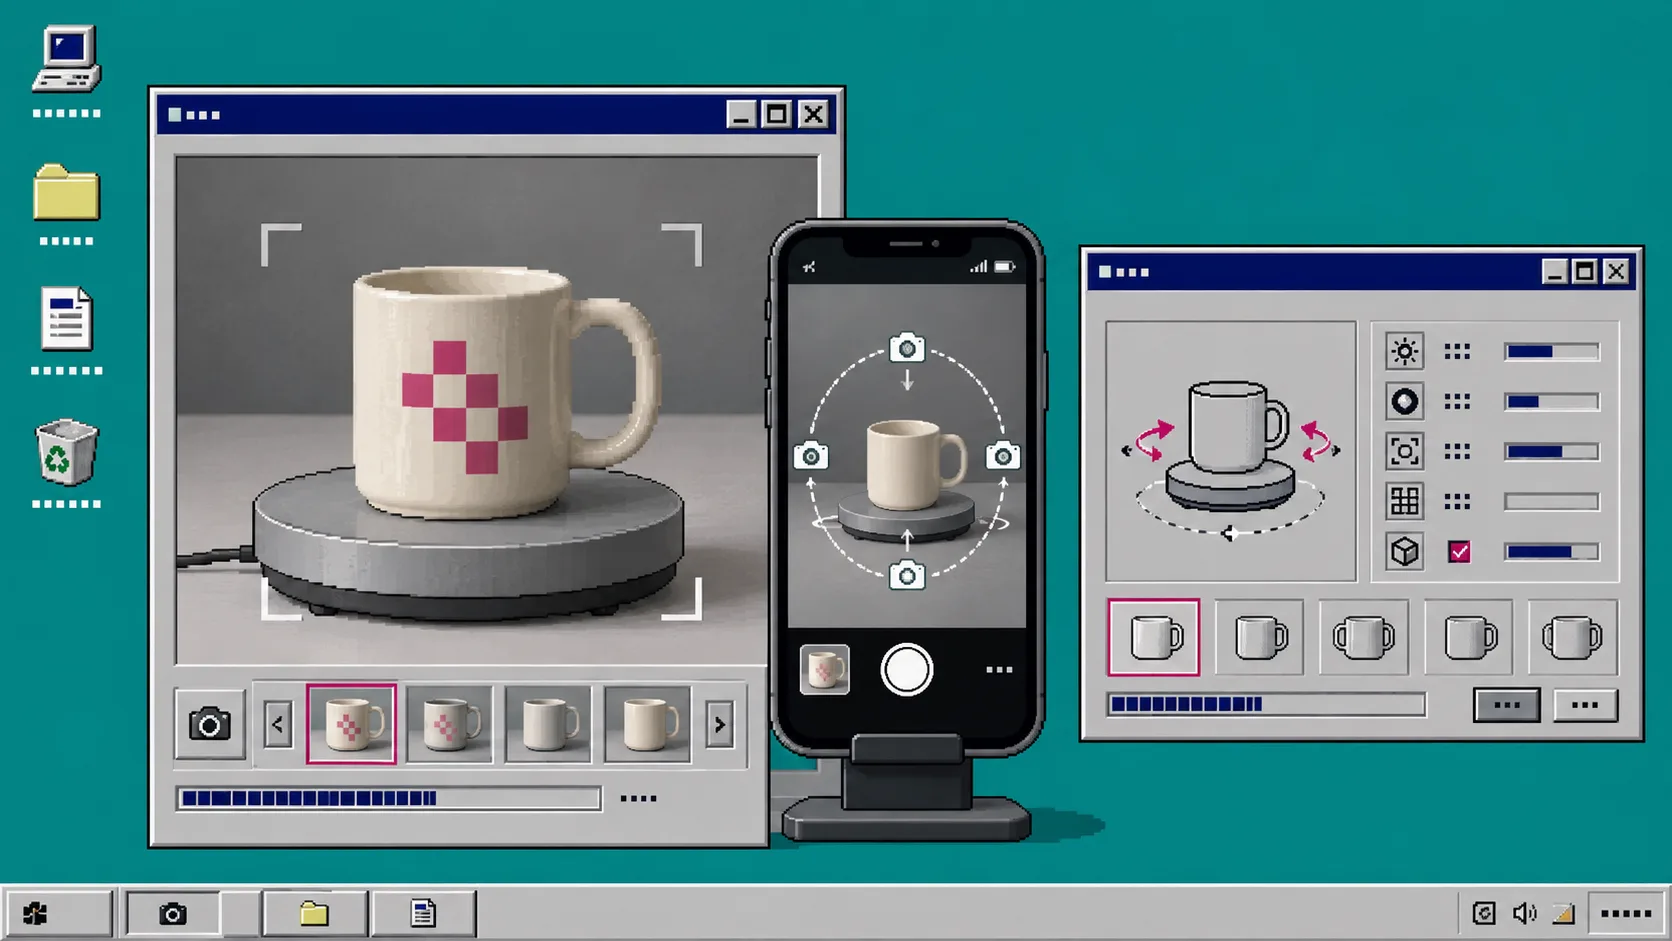
Getting a phone-captured 3D model right starts before you open the camera. A clean, evenly lit setup gives the reconstruction process usable detail from every angle; a dark corner, hard highlight, or shifting shadow gives it conflicting information instead. This guide shows a repeatable desk setup for turning one Shopify product into a capture-ready photo set. You need a smartphone, a stable table, a plain background, and a product you can walk around.
Supra 3D Capture turns guided phone photos into a web-ready GLB that you can publish as native Shopify 3D media or place with an Online Store 2.0 app block. Start with a product that already passes a quick 3D-readiness test so your first session is about the workflow, not an unusually difficult material.
1. Choose One Stable Product and a Clear Background
Pick a small or medium SKU that can sit still for several minutes. A matte mug, shoe, boxed accessory, or textured home item is usually easier than glass, chrome, or fuzzy fabric. If you are deciding where 3D should begin in a larger catalog, use a simple first-SKU scorecard before setting up the table.
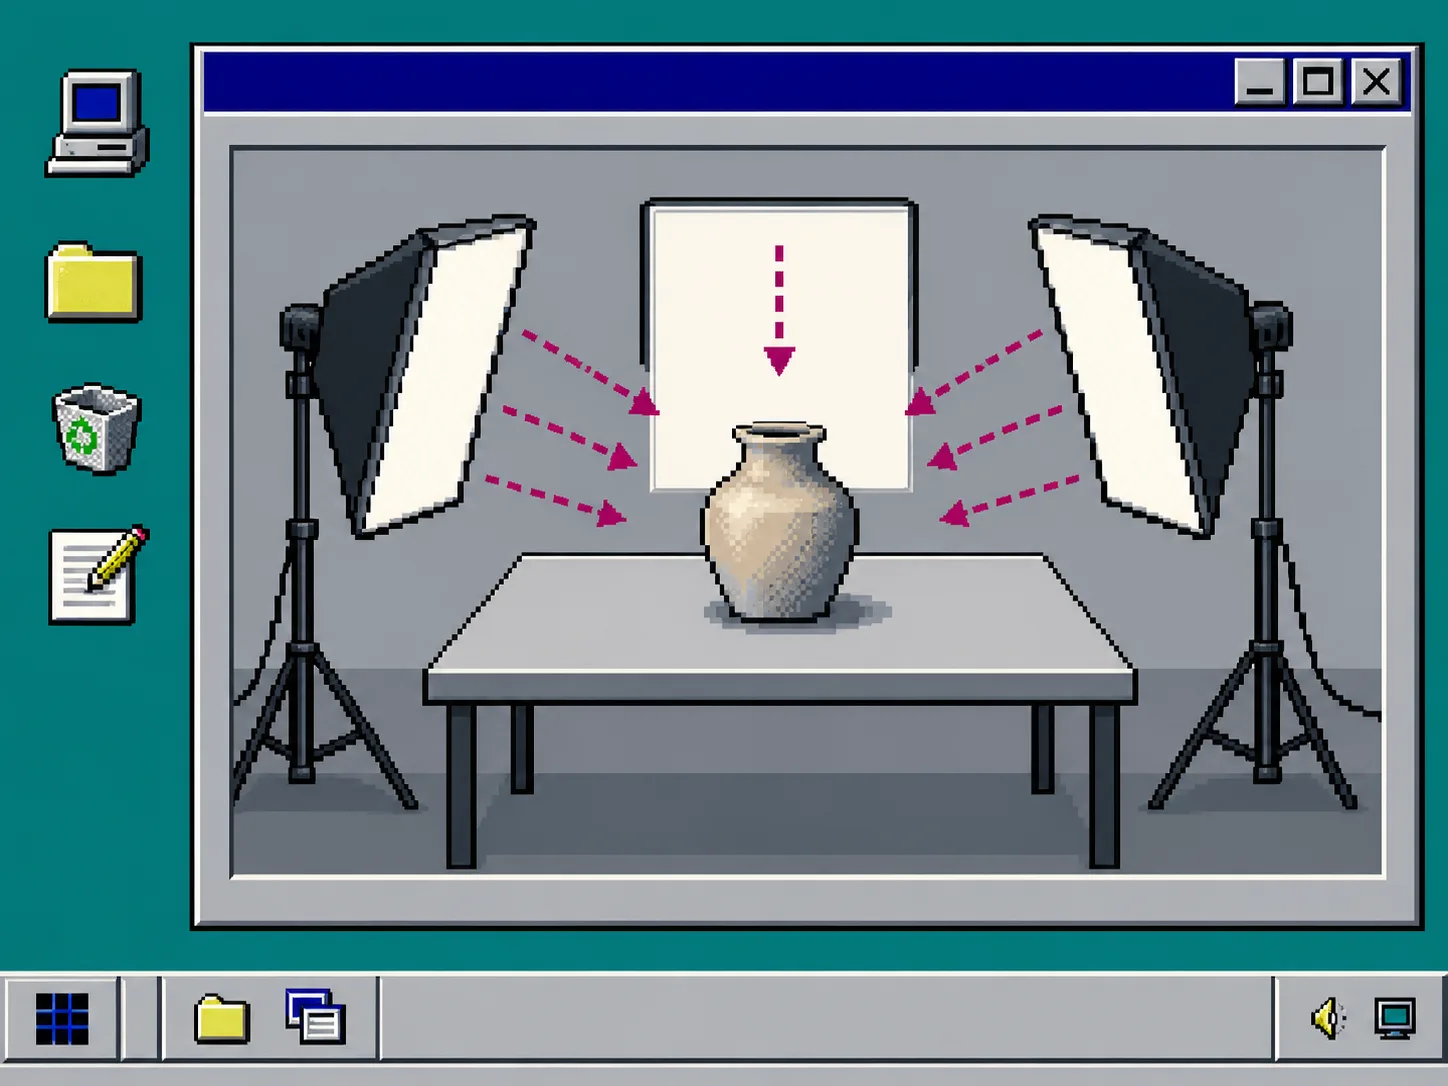
Place the item on a solid, non-reflective surface. Leave a hand-width of clear space around it. Put a plain card, sweep, or wall behind it; the background does not need to look expensive, but it should not contain a repeating print, a moving monitor, or a stack of packaging. You should see the product outline clearly from every side.
2. Build Soft, Even Light From Both Sides
Set the product near bright indirect daylight, or place two diffuse lamps at roughly 45-degree angles from the left and right. Aim both at the product rather than straight into the phone. Use a white sheet, foam board, or a softbox to spread a harsh light source. Avoid mixing warm room bulbs with blue daylight when possible.
Check the product by slowly walking around it. The brightness should stay broadly consistent as your viewing angle changes. Tiny shadows are normal; a black side, blown-out glare, or bright reflection that moves across the surface is not. With shiny, clear, or hairy items, reduce the directness of the lights and expect to make a few test passes.
3. Lock the Table Before You Start the Orbit
Keep the product, background, and lights fixed after you begin. Do not rotate the product halfway through unless the capture workflow explicitly asks you to. The goal is to give the reconstruction process a continuous view around one object, not a mix of separate mini-shoots.
Wipe the camera lens, set the phone to its normal photo mode, and turn off effects that alter the image from shot to shot. Keep the item fully in frame with a small margin around it. If the product has a lid, strap, or loose cable, decide its final position now. This is the same small planning habit used in a 3D capture brief: settle the product state before the camera creates evidence you will have to reconcile later.
4. Walk a Slow, Overlapping Phone Orbit
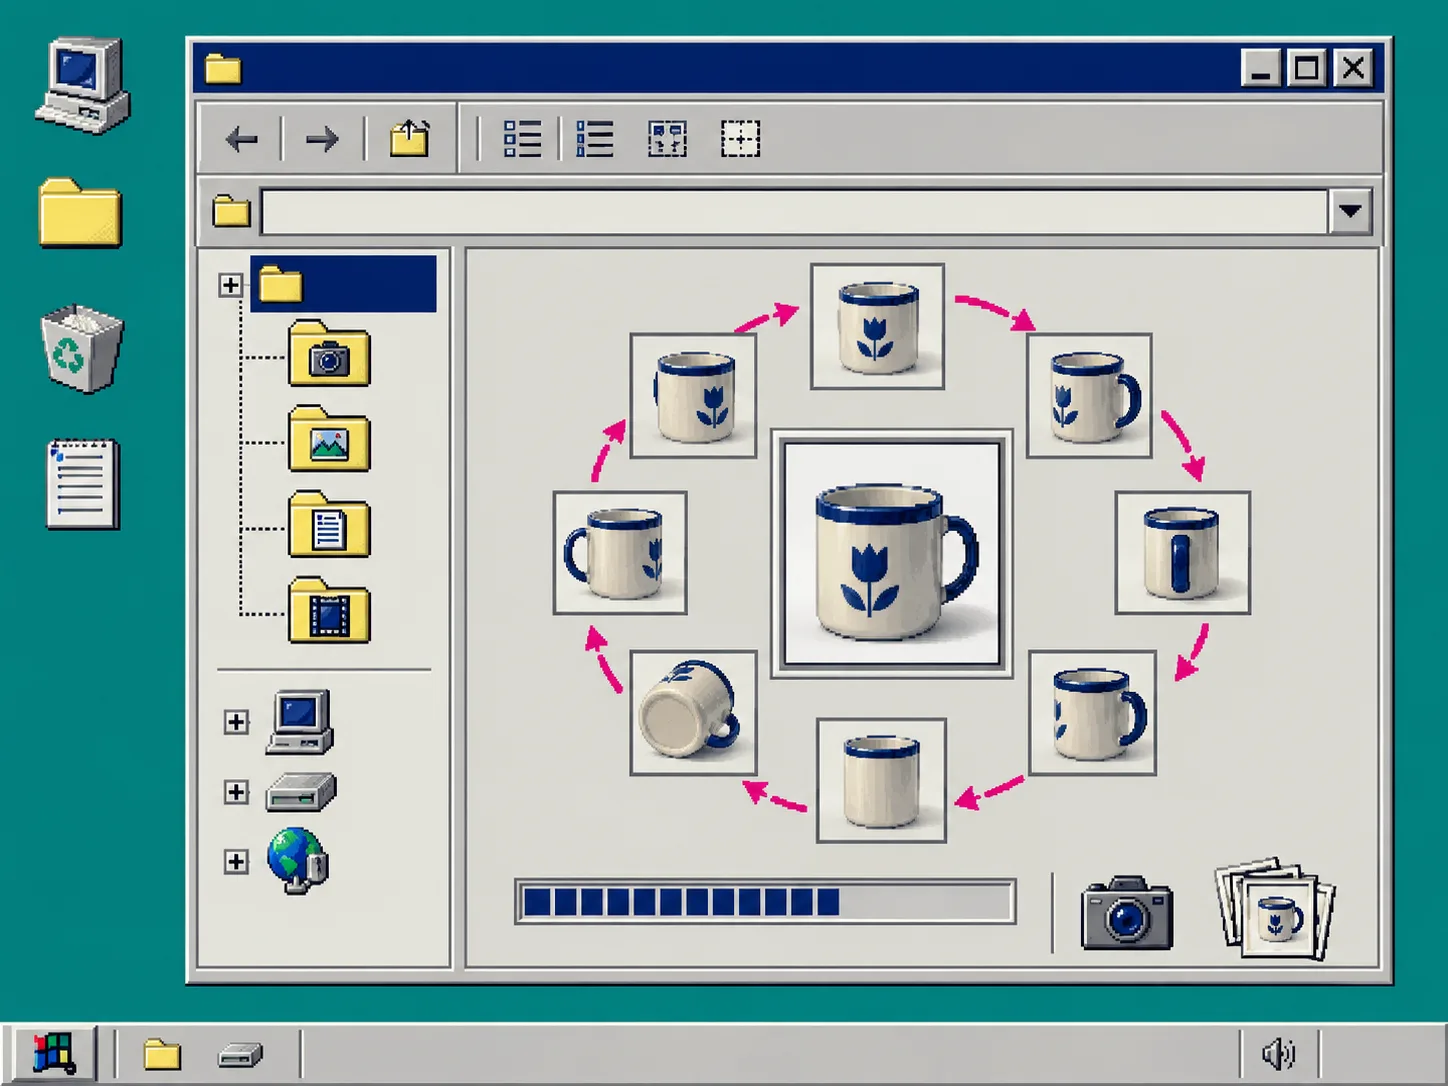
Open a guided session in Supra 3D Capture and follow its framing prompts. Move the phone around the product in small steps instead of standing still and zooming. Keep roughly the same distance, overlap each view with the one before it, and capture the front, sides, back, upper edge, and lower edge.
Think of the sequence as a ring of connected photos. Each image should share visible detail with the next one: a seam, label edge, texture, or corner. If a side is hidden by shadow, pause and improve the light rather than hoping later photos will fill the gap. After the first orbit, review the thumbnails for missing faces and obvious blur. You should be able to mentally trace a complete circle without jumping from one unrelated angle to another.
5. Process the Set and Inspect the First Model
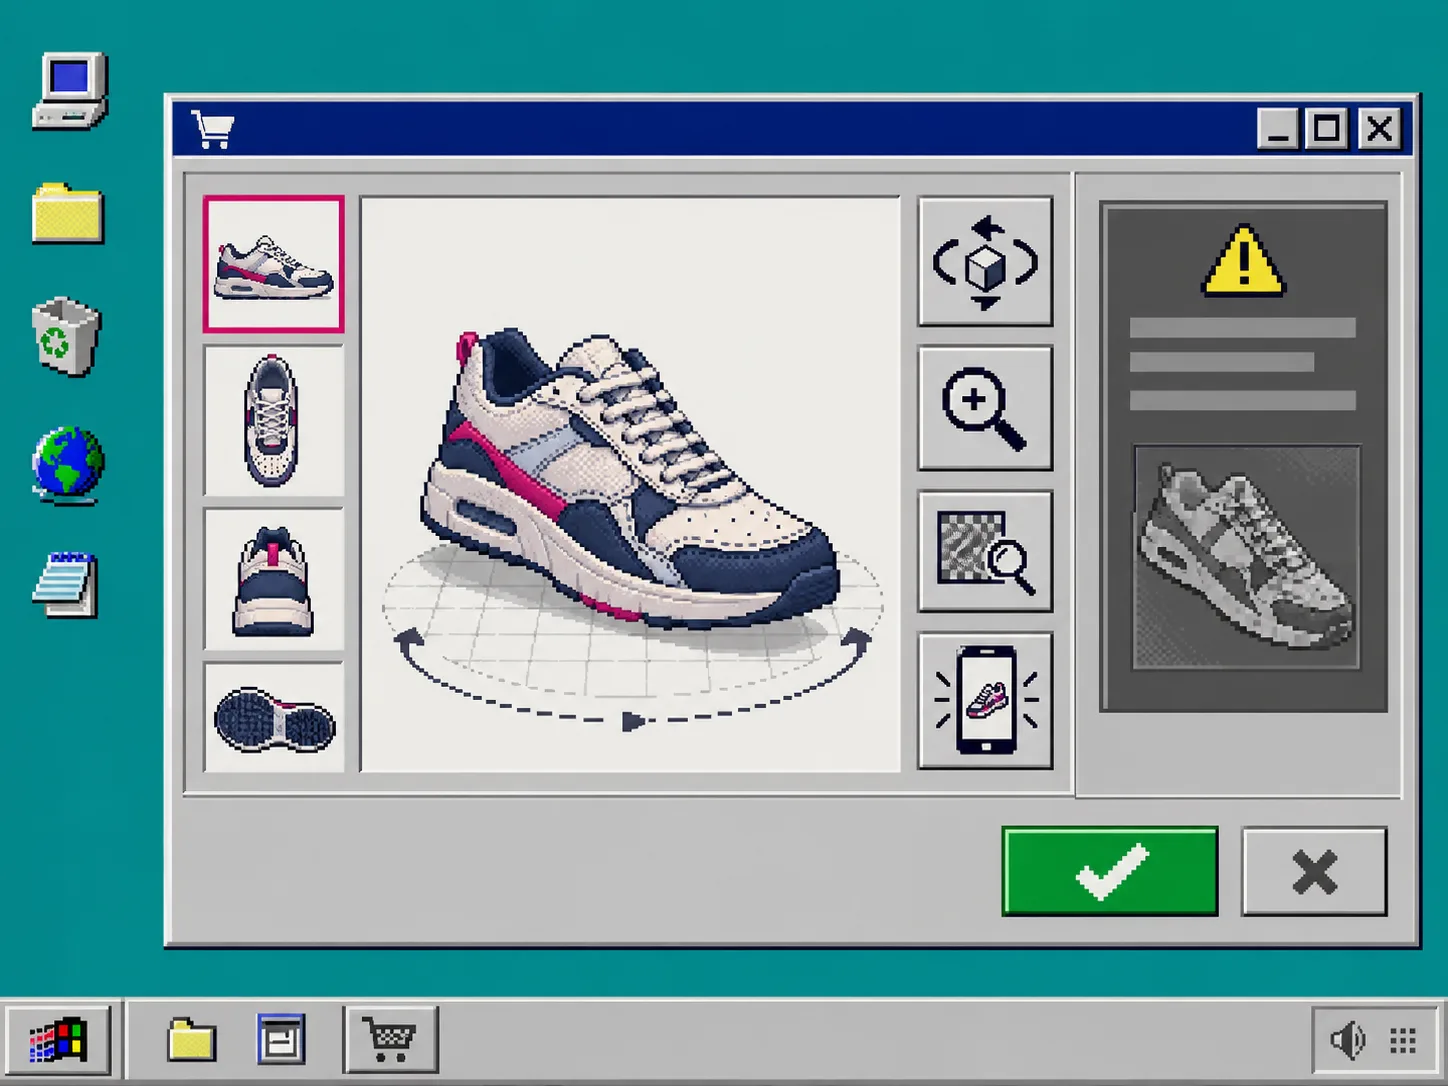
Send the capture set through Supra 3D Capture’s processing pipeline. It reconstructs the photos into an optimized GLB for the web. When the model is ready, rotate it slowly on a desktop and then on a phone. Check the edges, openings, labels, texture transitions, and any part shoppers will expect to inspect closely.
Do not judge the result only from the hero angle. Look for a missing patch, soft geometry, or a background artifact that appears when the model turns. If you find one, return to the setup that caused it: improve the background separation, soften glare, add coverage to that side, and recapture. A short controlled retry is faster than publishing a model that makes the product look less trustworthy.
6. Publish Only After the Product Page Check
Attach the approved GLB as Shopify product media or add it with the Online Store 2.0 app block. Then run the product-page check on a real mobile device: load the page, open the model, rotate it, and make sure it does not crowd the purchase controls. For the final handoff, follow this companion guide on publishing a phone-captured 3D model to Shopify.
Troubleshooting
- One side looks dark or noisy: Move a diffuse light or white reflector toward that side, then retake the orbit instead of editing individual photos.
- The model has a floating artifact: Simplify the background and keep nearby objects outside the frame.
- A glossy surface loses detail: Make the light larger and softer, then change the light angle before changing the phone angle.
- The product looks correct on desktop but awkward on mobile: Check the native viewer and app-block placement separately; the model and page layout are two different checks.
The practical rule is simple: control the light, hold the setup still, and capture one continuous orbit. That gives Supra 3D Capture the raw material it needs to make interactive product media without specialized 3D equipment. When you are ready, start a first model with Supra 3D Capture on Shopify, then repeat the same desk recipe for the next qualified SKU.