Your Webflow redesign should not be the only copy of your current site. Before changing collections, replacing components, or handing a project to a new team, make a static snapshot you can open, test, and keep. This guide walks through exporting a published Webflow CMS site to static HTML and checking the result before the redesign begins.
You need the URL of the published site, access to its important CMS routes, and a place to keep the exported files. If the live site is already changing, record its current URL list first.
1. List the Pages and CMS Routes You Must Keep
Start with the parts of the site that would hurt to lose: the homepage, main navigation, collection templates, a few representative CMS items, contact pages, legal pages, and any campaign landing pages. Open the published site in a private browser window so you see what visitors see.
Make a simple list of URLs. For CMS content, include more than one item from each collection. A blog archive can look correct while an individual article, author page, or category route is missing. If redirects already exist, record both the old and destination URLs. This is the same kind of rehearsal that makes a Webflow static deployment safer before a domain move.
2. Export the Published Site With a Webflow-Aware Tool
Use the ExFlow Webflow exporter to export the published URL. Its job is to collect the site pages, CSS, JavaScript, images, media, and CMS-style pages into static files you can download or deploy. That is more useful than a loose content backup when your real goal is to inspect a working site outside the original platform.
Enter the public URL, choose the output settings you need, and run the export. If your workflow needs file-like paths, enable .html extensions where that suits your host. When the export finishes, download the ZIP or send the output to a Git, S3, or FTP target.
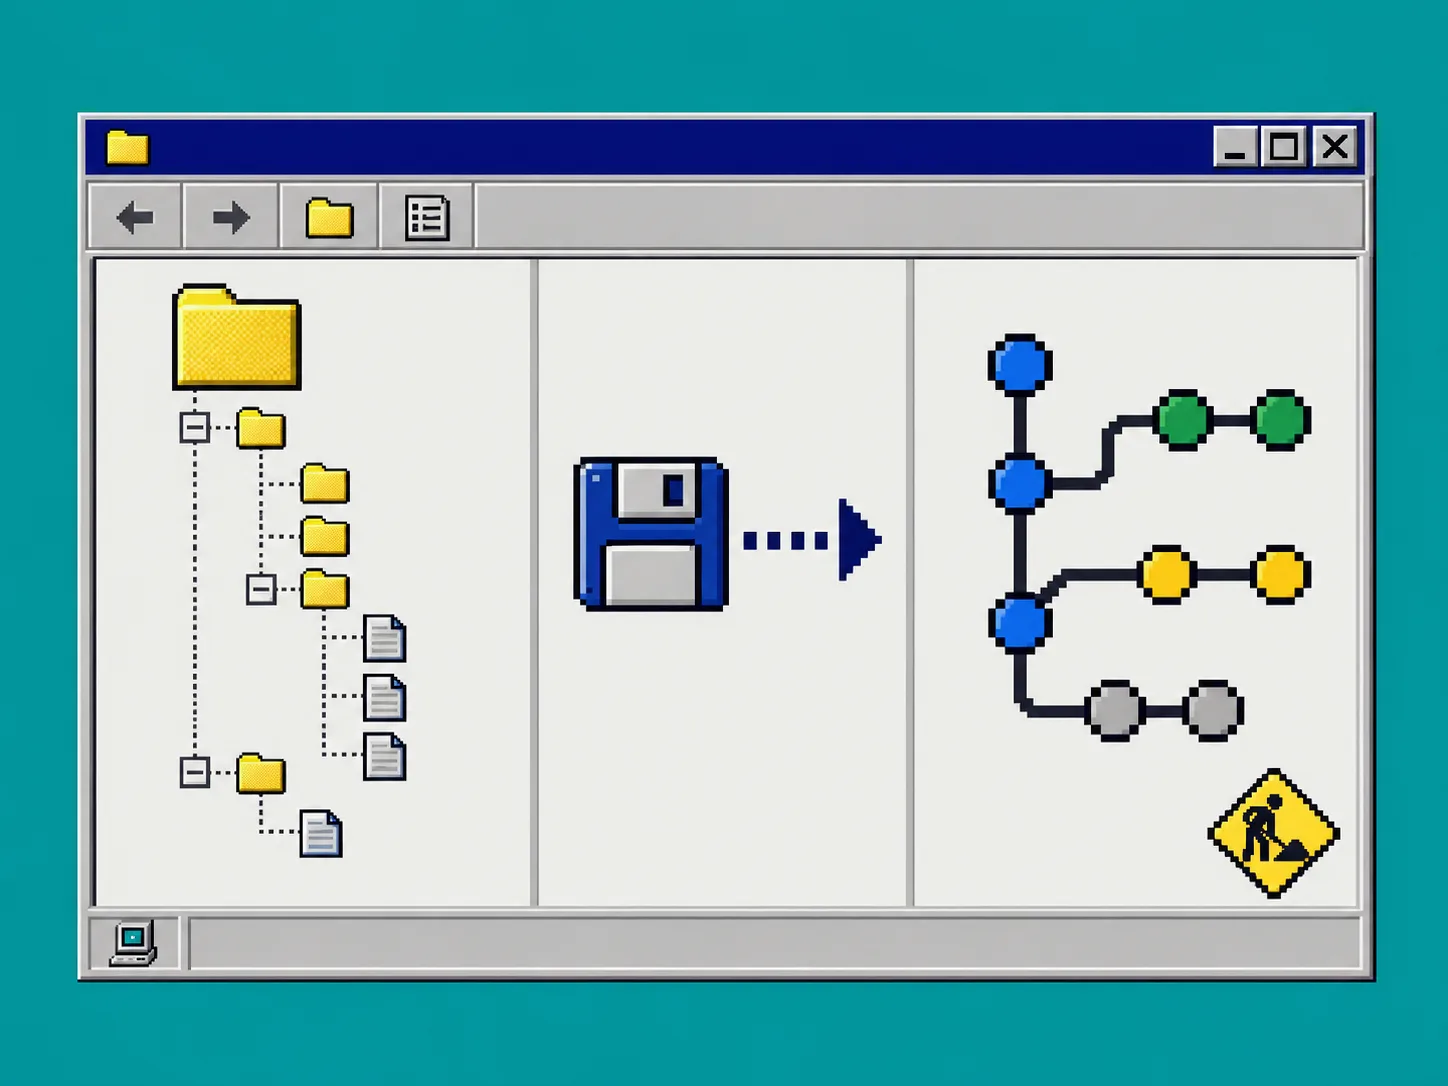
What you should see: a folder structure containing HTML pages plus separate assets, rather than one screenshot or a collection of copied text. Keep the untouched download as your baseline backup.
3. Check the Export Before You Call It a Backup
A successful download is not yet a successful export. Open the static copy locally or on a staging host and compare it with the live site. Check the following in order:
- Open the homepage and every top-level navigation link.
- Open representative CMS items and their listing pages.
- Confirm images, fonts, styles, and scripts load without broken paths.
- Test interactions, embedded media, and responsive breakpoints.
- Inspect page titles, meta descriptions, canonical settings, and redirect behavior.
Pay special attention to collection routes. Webflow sites often look fine on the front page while a nested CMS route reveals a missing asset or an unexpected relative link. For a broader migration drill, use the same mindset as this guide on testing a Squarespace static export before calling it portable.
4. Put the Static Copy Somewhere Reviewable
Do not leave the only export in a downloads folder. Put the ZIP in a named backup location and deploy one copy to a staging address. Git is a practical option because it gives you a timestamped history and lets another person review exactly what was exported. S3 or FTP can fit an existing hosting setup; ExFlow Hosting is the simpler managed route when you do not want to wire up a target yourself.
Treat this as a checkpoint, not a one-click migration. A portable static copy lets you compare the redesign against the site you actually shipped. It also makes client handoff less fragile, which is why the same workflow helps when you need to hand off a Framer site without hosting lock-in.
5. Separate Static Pages From Features That Need Replacement
Mark anything that is not purely static: form submissions, search, login areas, ecommerce checkout, scheduling widgets, and third-party embeds. The static export preserves the public front end, but these features may need a new backend or a deliberate replacement after you move hosts.
Write down the owner and next action for each one. For example: “contact form: test delivery on staging,” or “newsletter embed: replace provider snippet after launch.” This prevents a redesign team from discovering a missing workflow on launch day.
Troubleshooting
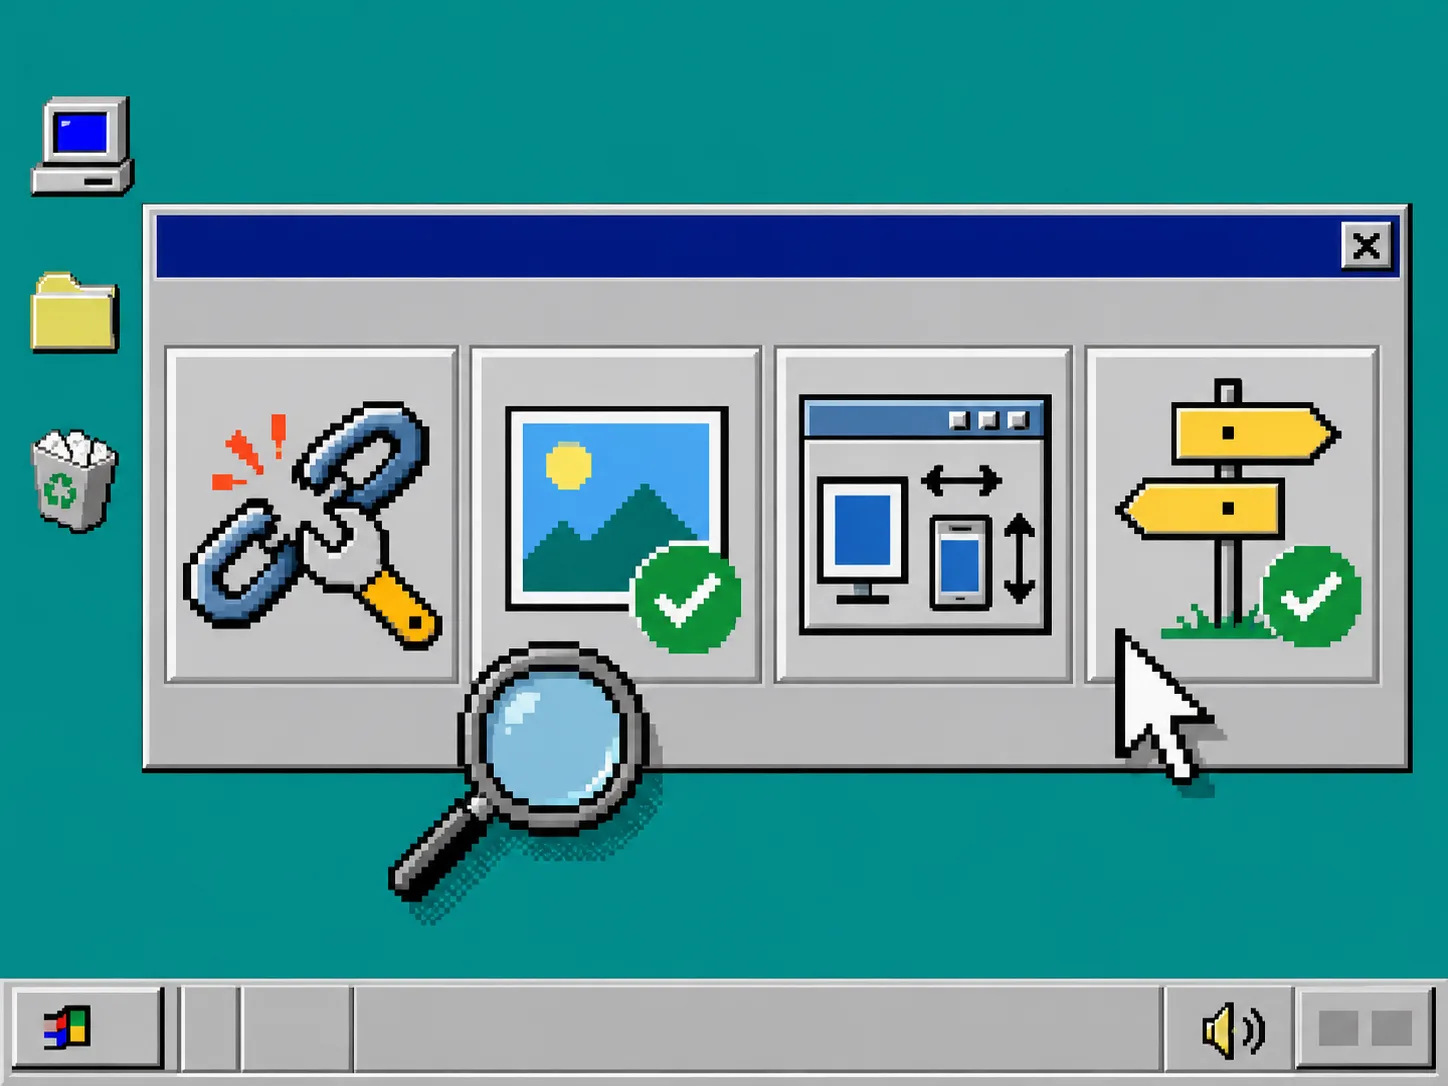
A CMS item returns a 404. Check whether that specific published item was reachable during export, then compare its live URL and the exported path. Test another item from the same collection before rerunning the full job.
Styles or images are missing. Look for absolute URLs, relative paths, and lazy-loaded assets. Open the browser network panel on the staging copy and identify the first failed request.
A form looks right but does nothing. That is expected until you reconnect or replace the form handling. Test the complete submission path, not just the layout.
The static site works on desktop but not on mobile. Check the same breakpoints you use during normal Webflow QA. Responsive behavior, menus, and interactions deserve a separate pass.
ExFlow also has dedicated exporters for Squarespace and Framer, so the same backup habit can carry across a mixed client portfolio. If you are moving a Framer site, start with this companion checklist for checking Framer forms before static hosting.
Recap
Export the published Webflow site, test actual CMS routes and assets, stage the static copy somewhere reviewable, and document the features that need replacement. Your next action is simple: open ExFlow’s Webflow exporter, export the current production URL, and test the copy before the first redesign change goes live.