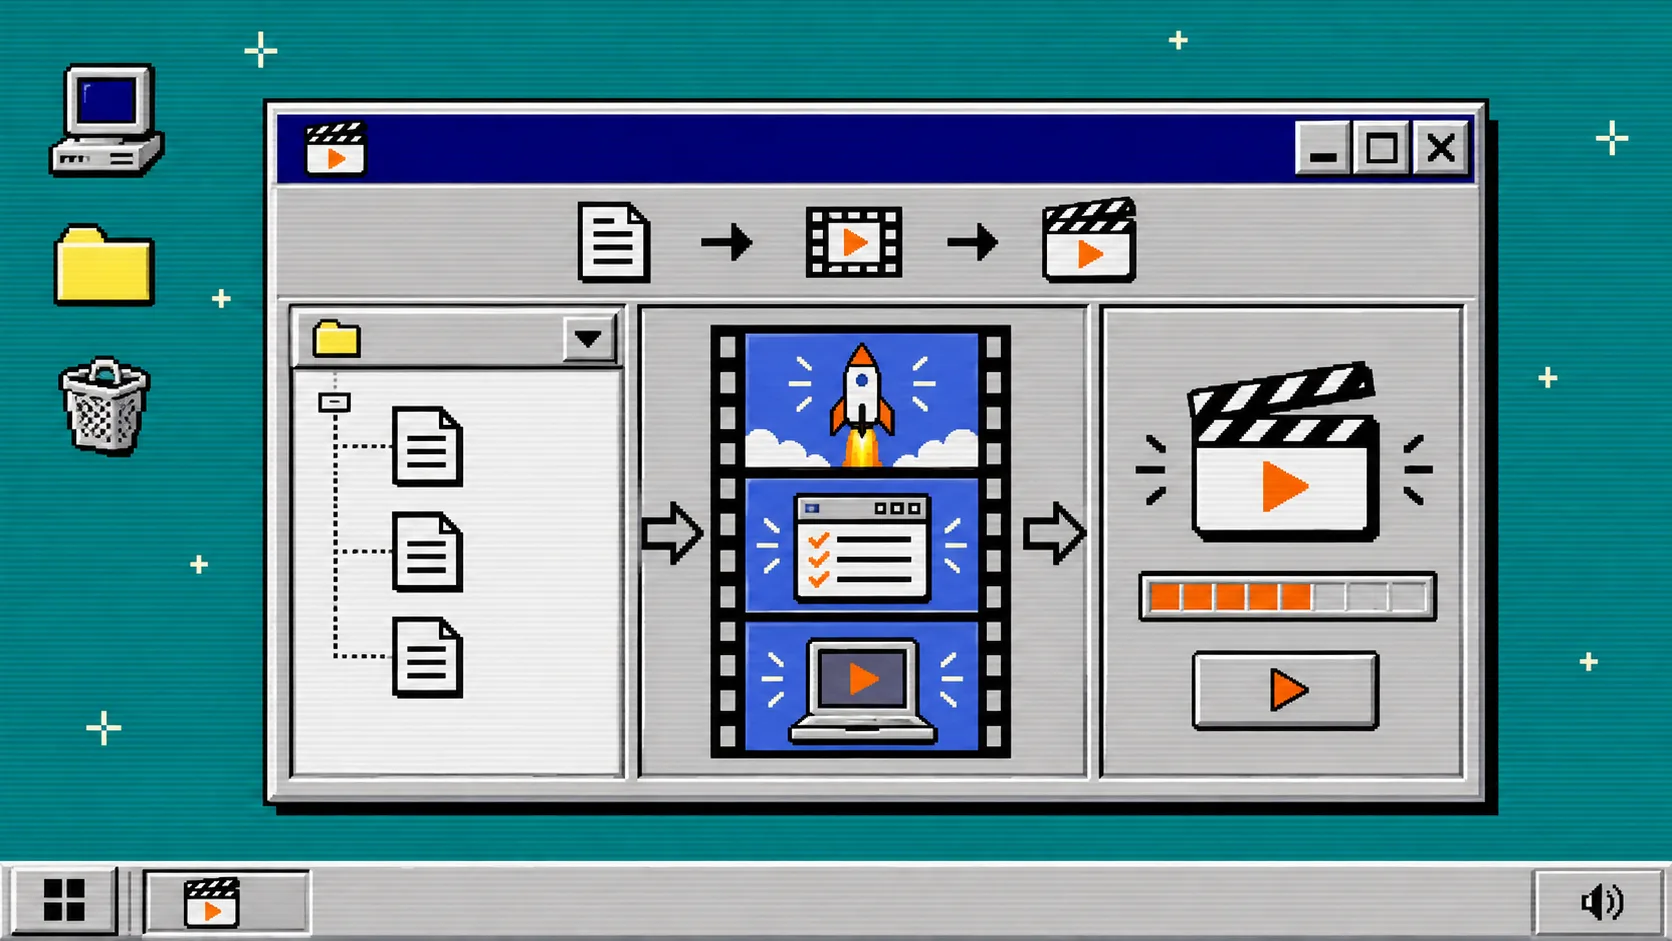
How to Turn a Product Changelog Into a 30-Second Startup Video
A changelog can become a useful 30-second startup video when you choose one user-visible change, show its before-and-after effect, and leave everything else for the release notes. You need a current changelog, access to the product site, and a short screen or product asset to show.
VideoFlow Studio is a practical fit for this job because it can start with a website URL, plan a structured motion-graphics film, and keep the result editable after the first render. Its terminal path currently runs with your own Claude Code or Codex subscription; check the current Studio page before depending on its stated monthly render allowance.
1. Pick one release outcome
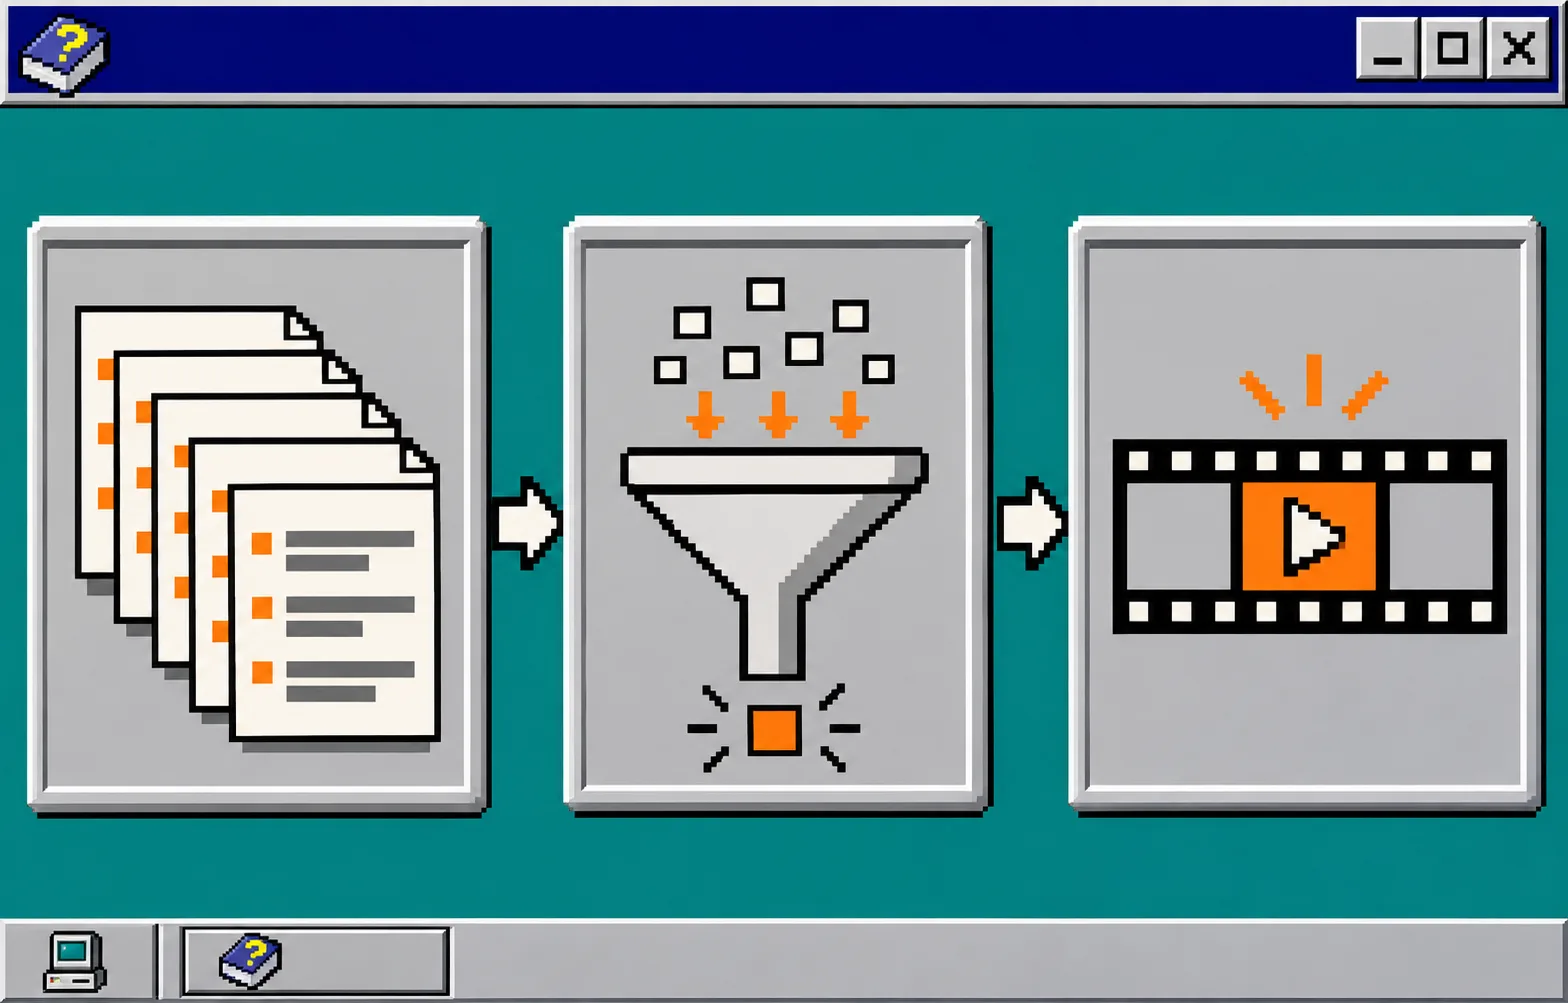
Start by copying the latest update notes into a scratch document. Do not turn every bullet into a scene. A 30-second video needs one job: make a viewer understand what changed for them.
Use this quick filter:
| Changelog item | Put it in the video when… | Leave it in the release notes when… |
|---|---|---|
| New capability | a customer can picture the result immediately | it needs setup detail to make sense |
| Faster workflow | you can show the saved step or wait | the gain is internal or unmeasured |
| Bug fix | it removes a visible, recurring annoyance | it only names an internal component |
| Technical change | it unlocks a customer-facing outcome | it is mainly infrastructure |
Write one plain sentence in this format: For [person], [new capability] means [visible outcome]. If you cannot write that sentence without using three features, the release is still a changelog, not a video idea. This is the same discipline used in a website evidence card: gather proof first, then pick the claim.
2. Build a three-scene spine
Turn the sentence into three short cards before opening a video tool:
- Problem (0–7 seconds): Show the old friction in one visual.
- Change (7–20 seconds): Show the new feature or workflow doing one concrete thing.
- Outcome (20–30 seconds): Repeat the benefit, then add one next action such as “See the update” or “Try it.”
Keep each card to one noun and one verb. For example, “sales team waits” becomes a slow-moving queue; “customer recap exports” becomes a completed report moving to a client folder. Avoid an opening card that lists the entire release. If you need help making one claim visual, use this guide on turning a startup claim into a video scene.
3. Give Studio the right source material
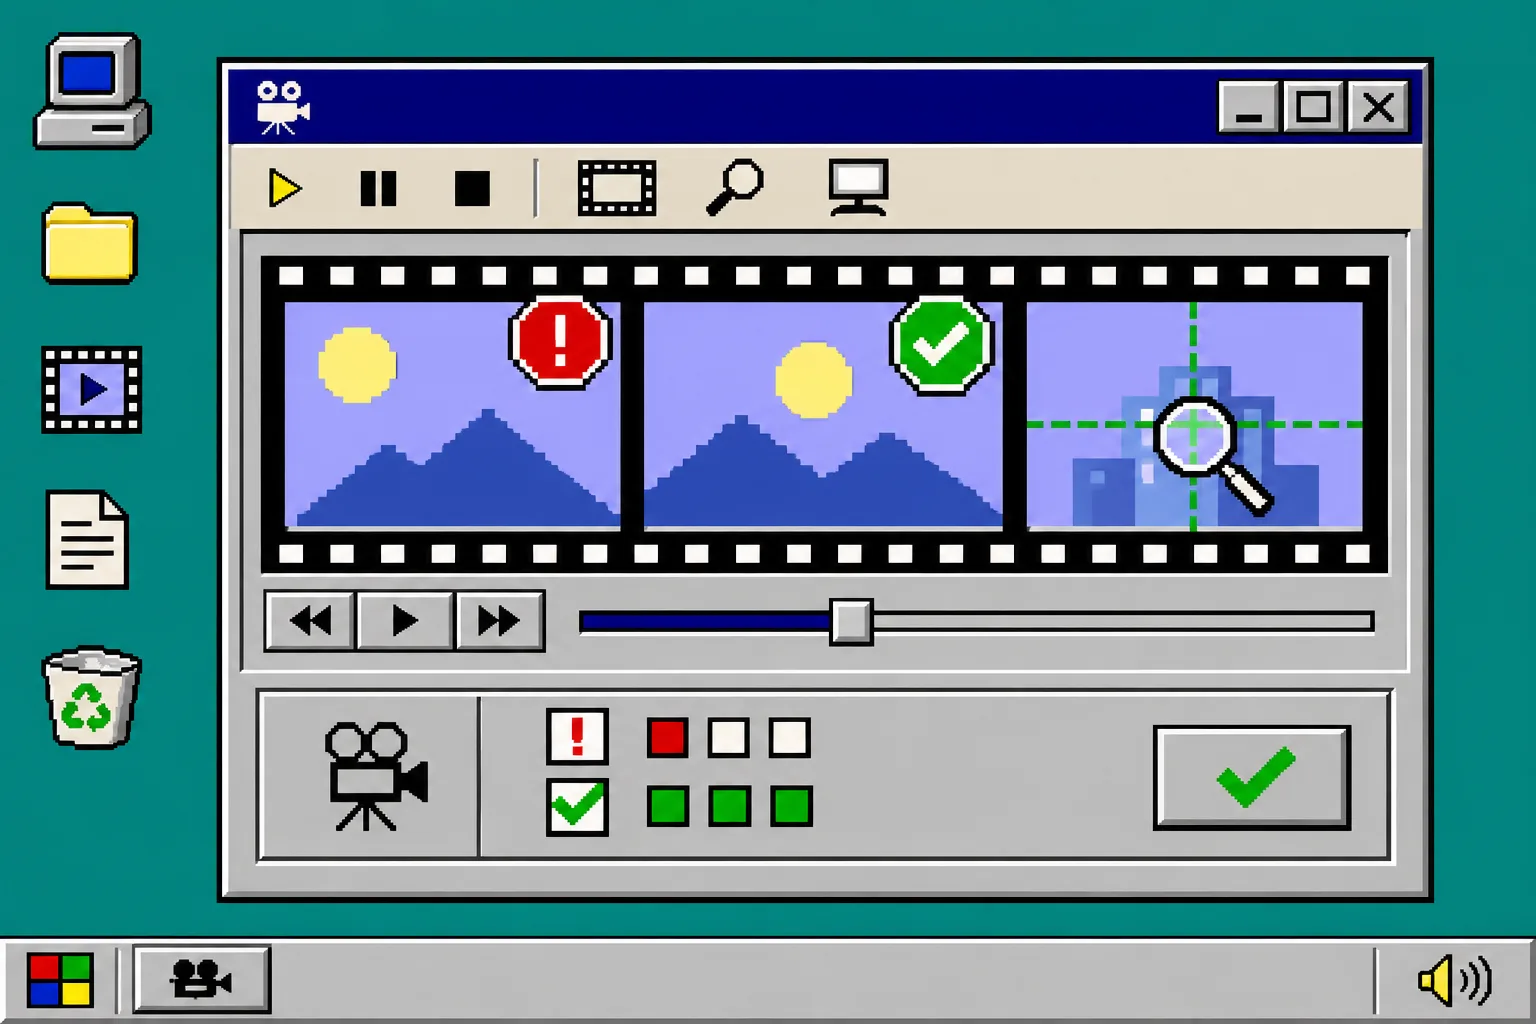
Open the current product page that best represents the release, not an outdated homepage capture. In VideoFlow Studio, provide the site URL and direct the agent with the three cards: the audience, the release outcome, and the scenes you want it to carry. The product describes a workflow that crawls and screenshots the site, identifies product and brand elements, directs scenes, then renders and reviews the result.
Be concrete in the request. Say: “Make a 30-second launch update for support leads. Show the old handoff delay, then the new shared inbox workflow, then the faster client reply. Keep the end card editable.” Do not say “make our changelog exciting.”
Studio is different from the open-source VideoFlow engine on GitHub: Studio is the agent-led URL-to-film product, while the engine is the underlying programmatic video system. That distinction matters when your goal is a reviewable first cut rather than a React video implementation.
4. Review the render like release material
Treat the first render as a draft. Check these four things before sharing it:
- Claim: Does every visible statement match the release notes and current product page?
- Sequence: Can a viewer name the change before the final card?
- Brand: Are logo, product names, colours, and screenshots current?
- Legibility: Can a viewer read the key line without pausing on a phone-sized preview?
VideoFlow Studio says it reviews encoded frames, including visual alignment and contrast issues, then can re-render corrections. That is useful, but still do a human release check: automated visual review cannot confirm that your marketing claim is current. For a fuller first-cut pass, pair this checklist with the startup launch video review workflow.
5. Keep the project editable after approval
Save the approved source alongside the changelog version and the release-date notes. This gives the next editor a clear record of what the video was meant to say. VideoFlow Studio describes each film as a portable, editable document; its built-in editor can change layers, timing, colours, and text, and the agent can work from those changes on another pass.
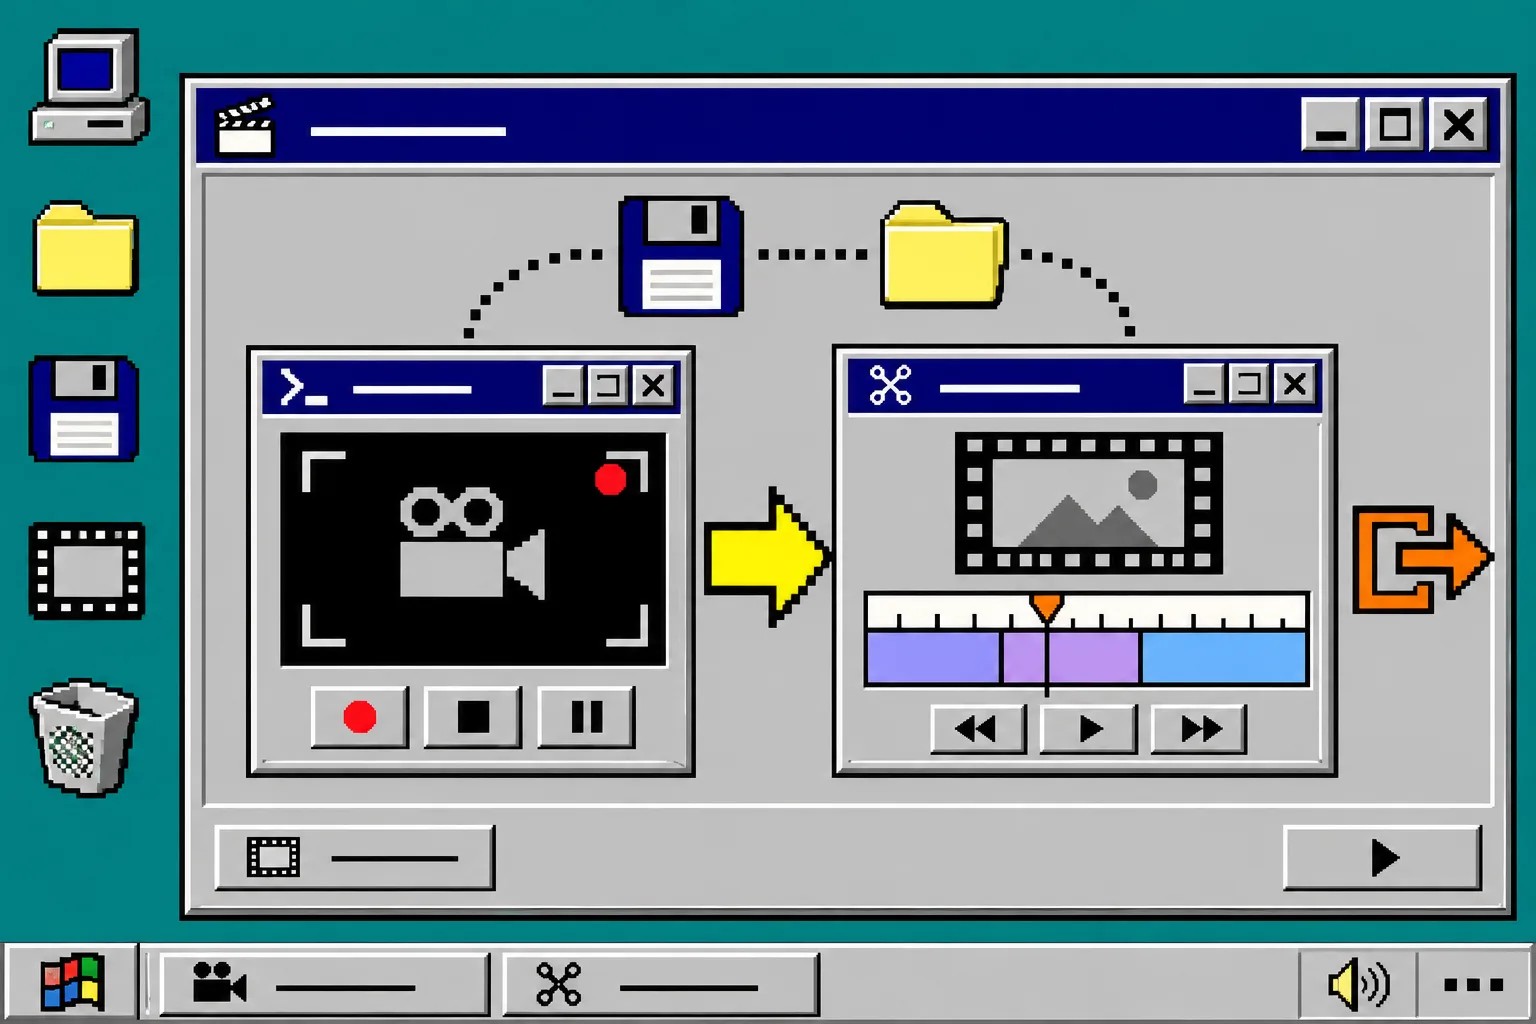
That makes a changelog video easier to repair when a shipping date moves or wording changes. Keep the original three-card brief with the project, then revise the one affected scene rather than rebuilding a generic feature montage. If the release is bigger than 30 seconds, make a second video for the next audience instead of cramming more cards into the first one; this three-scene message spine is a useful way to keep the first cut focused.
Troubleshooting
The video feels like a list of features. Remove every scene that does not prove the one release outcome. Put the leftover items back in the linked changelog.
The agent picked an old page. Provide the specific, current URL and identify the release name in your direction. Verify every on-screen claim before export.
The end card is vague. Replace “Learn more” with the actual release action: read the update, start a trial, or book a demo.
Ready to make the update move?
A short release video works when it makes one change easy to see—not when it recites a changelog. Pick one outcome, plan three scenes, review the first cut against the release notes, and keep the editable project with the launch record. Then open VideoFlow Studio and direct the first version from the current product page.