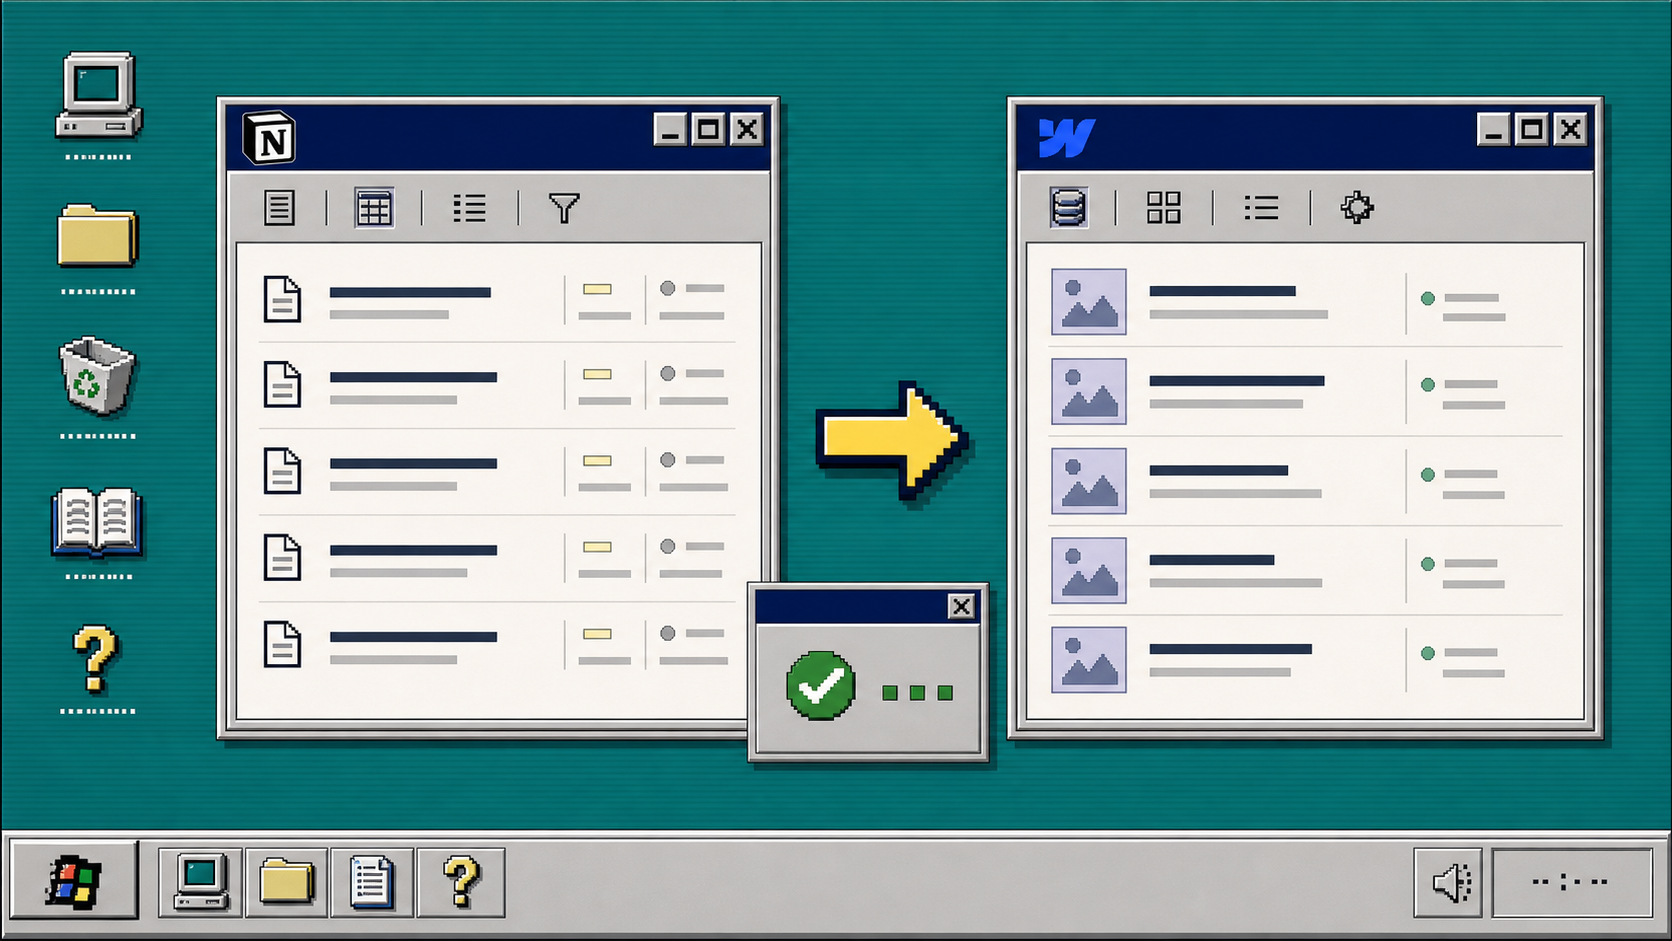
I keep seeing the same problem: people write in Notion because it is fast, then rebuild the same post by hand in Webflow because the site lives there. That works once. After the third update, it turns into busywork.
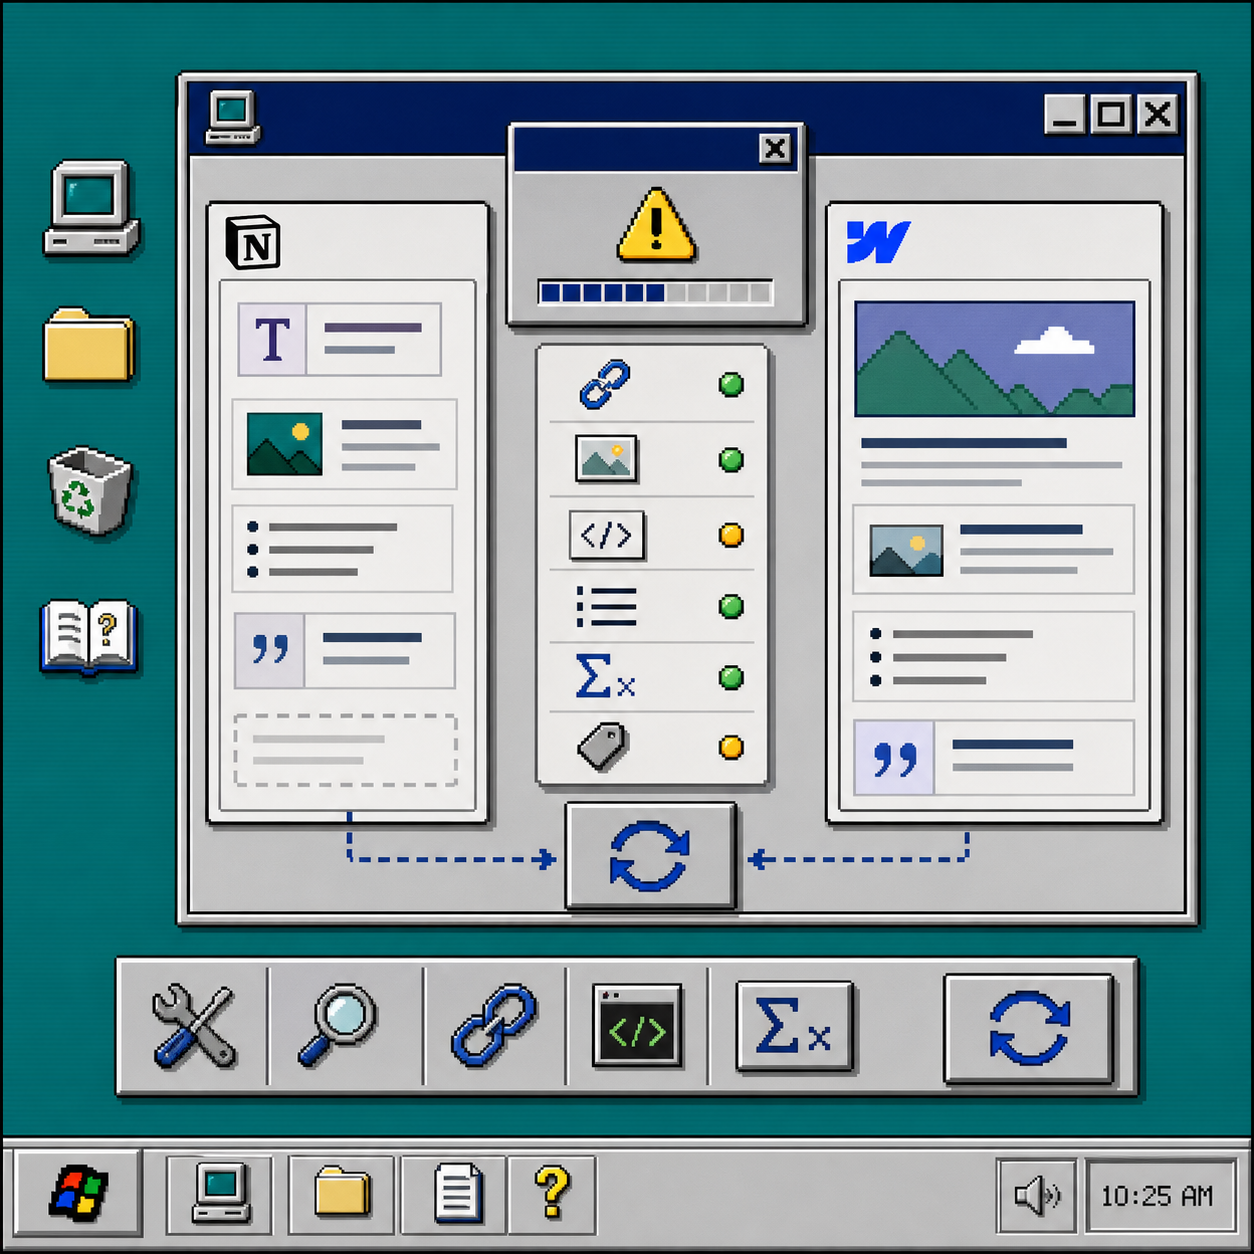
SyncFlow is the tool I would use when I want Notion to stay the writing surface and Webflow to stay the public CMS. It connects the two, maps fields between a Notion database and a Webflow collection, and can keep the sync running automatically. The Standard Plan starts at $8/month, which is reasonable if one site needs a repeatable publishing flow.
If you want the bigger picture first, I would compare this with the manual handoff in How to Sync Notion Pages to Webflow CMS Step by Step, then come back here for the part that removes the repetition. For sites that also need exports or hosting changes later, the same content discipline shows up in Webflow CMS to HTML: A Practical Export and Self-Hosting Checklist, How to Host a Webflow CMS Site on GitHub Pages with ExFlow, and How to Move a Webflow Site to GitHub Pages with ExFlow.
1. Install SyncFlow and connect both accounts
Start at the SyncFlow site and click Get Started. Then connect your Webflow account and your Notion account inside the plugin. The goal here is simple: give SyncFlow access to the specific site and database you want to keep in sync.
Once the connection is live, you should be able to pick a Webflow site and a Notion database from the same setup flow. If you cannot see the right site or database, stop here and fix the account permissions before moving on.
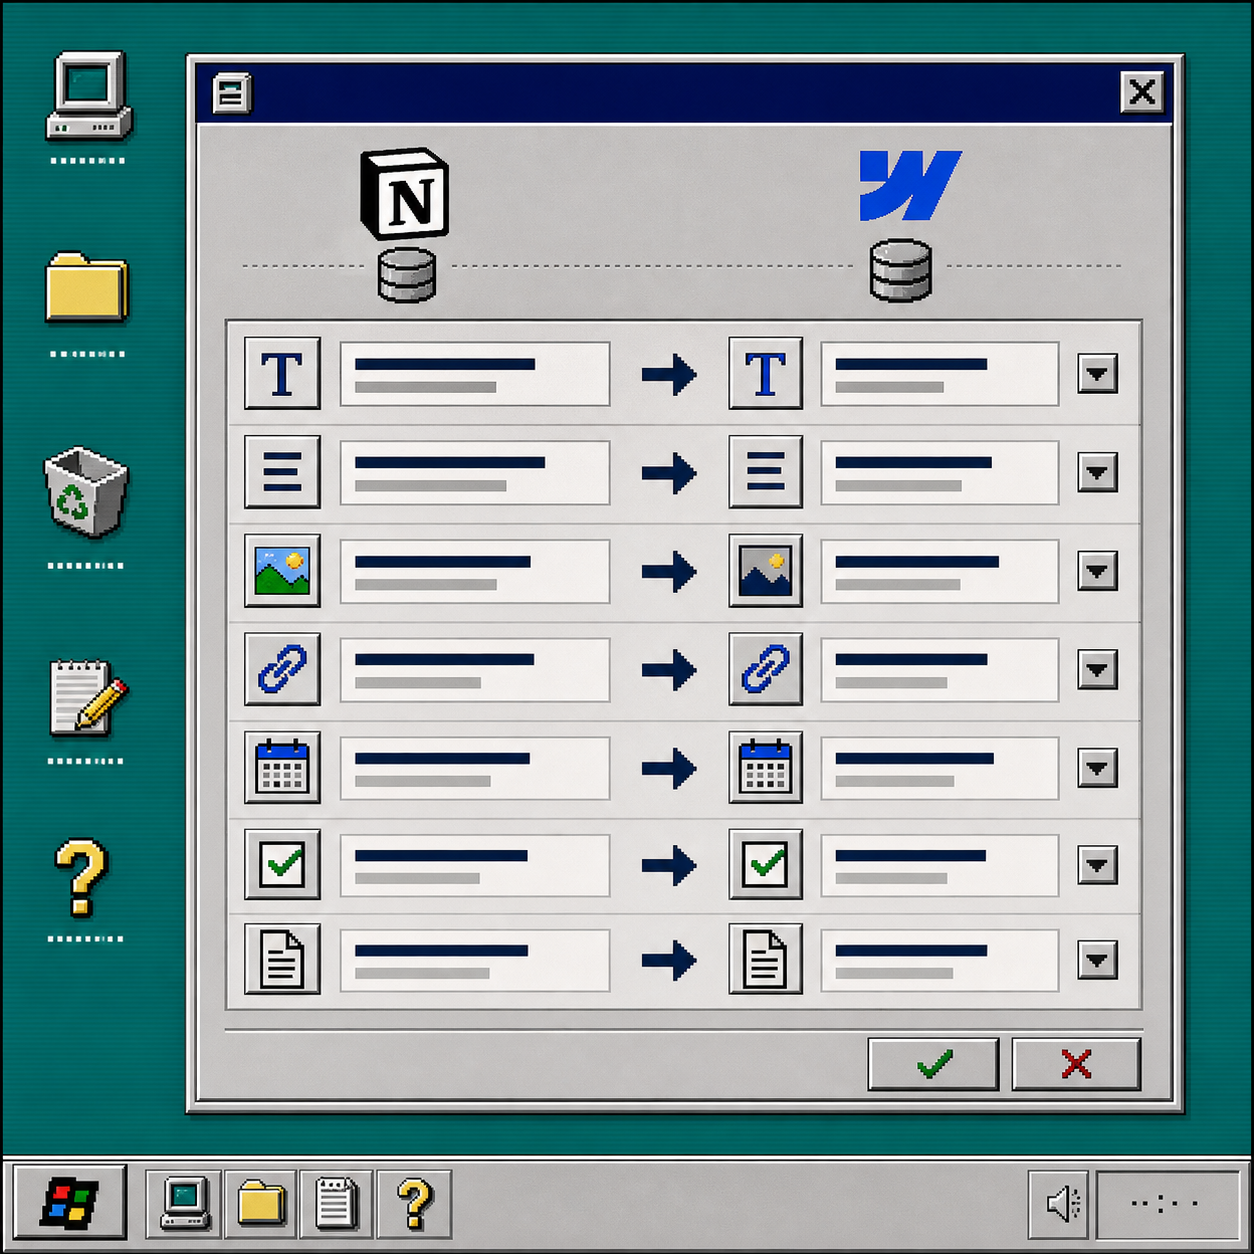
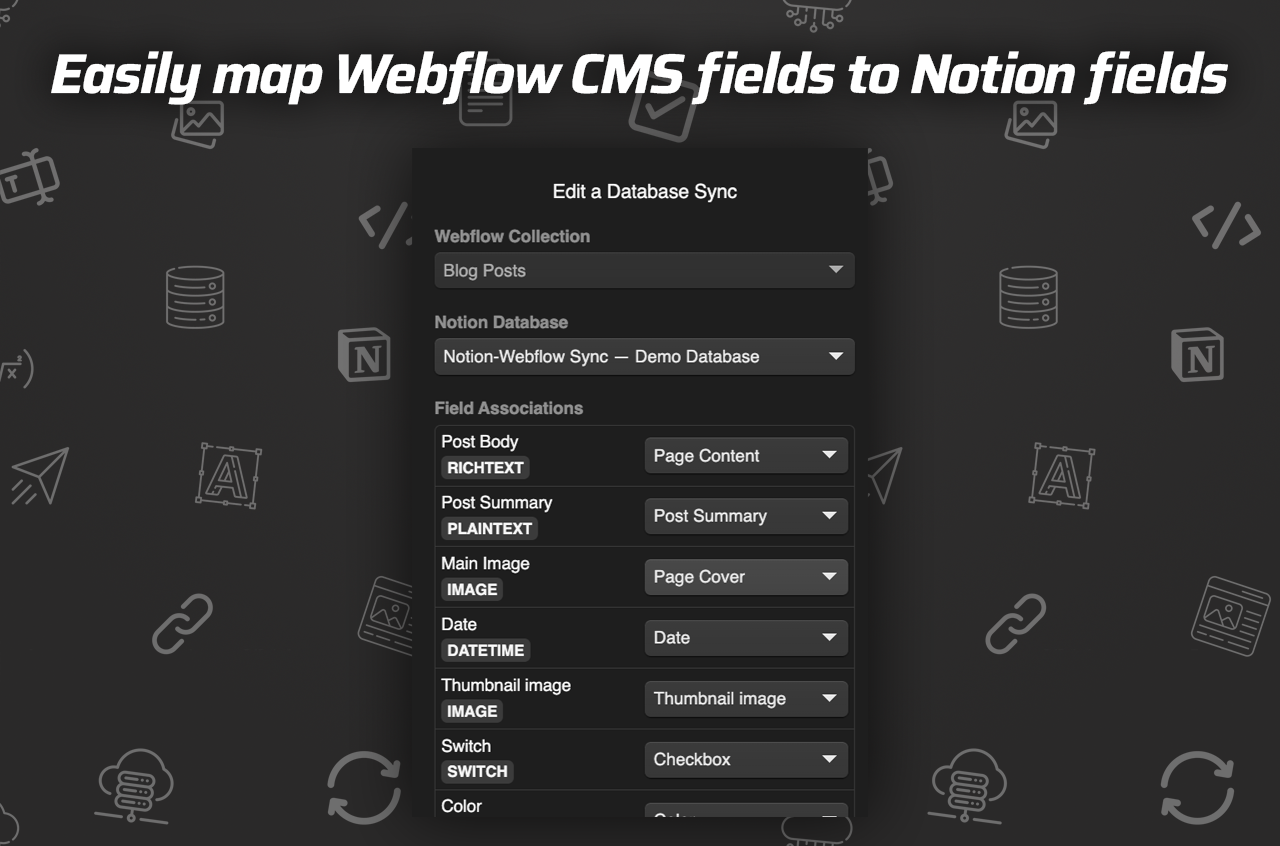
2. Map the fields before you sync anything
This is the step that saves you from messy CMS entries later. Match each Notion field to the right Webflow CMS field before you turn on automation.
I would map the essentials first:
- Title to title
- Summary to summary or excerpt
- Cover image to image
- Published date to date
- Slug or URL field to the Webflow slug
- Checkbox or status fields to workflow flags
SyncFlow supports text, images, checkboxes, dates, URLs, and more, so you can cover most blog-style collections without flattening the content model. If your Notion pages use blocks you care about, keep those in mind now, because later you want the imported result to feel native in Webflow, not like a stripped-down export.
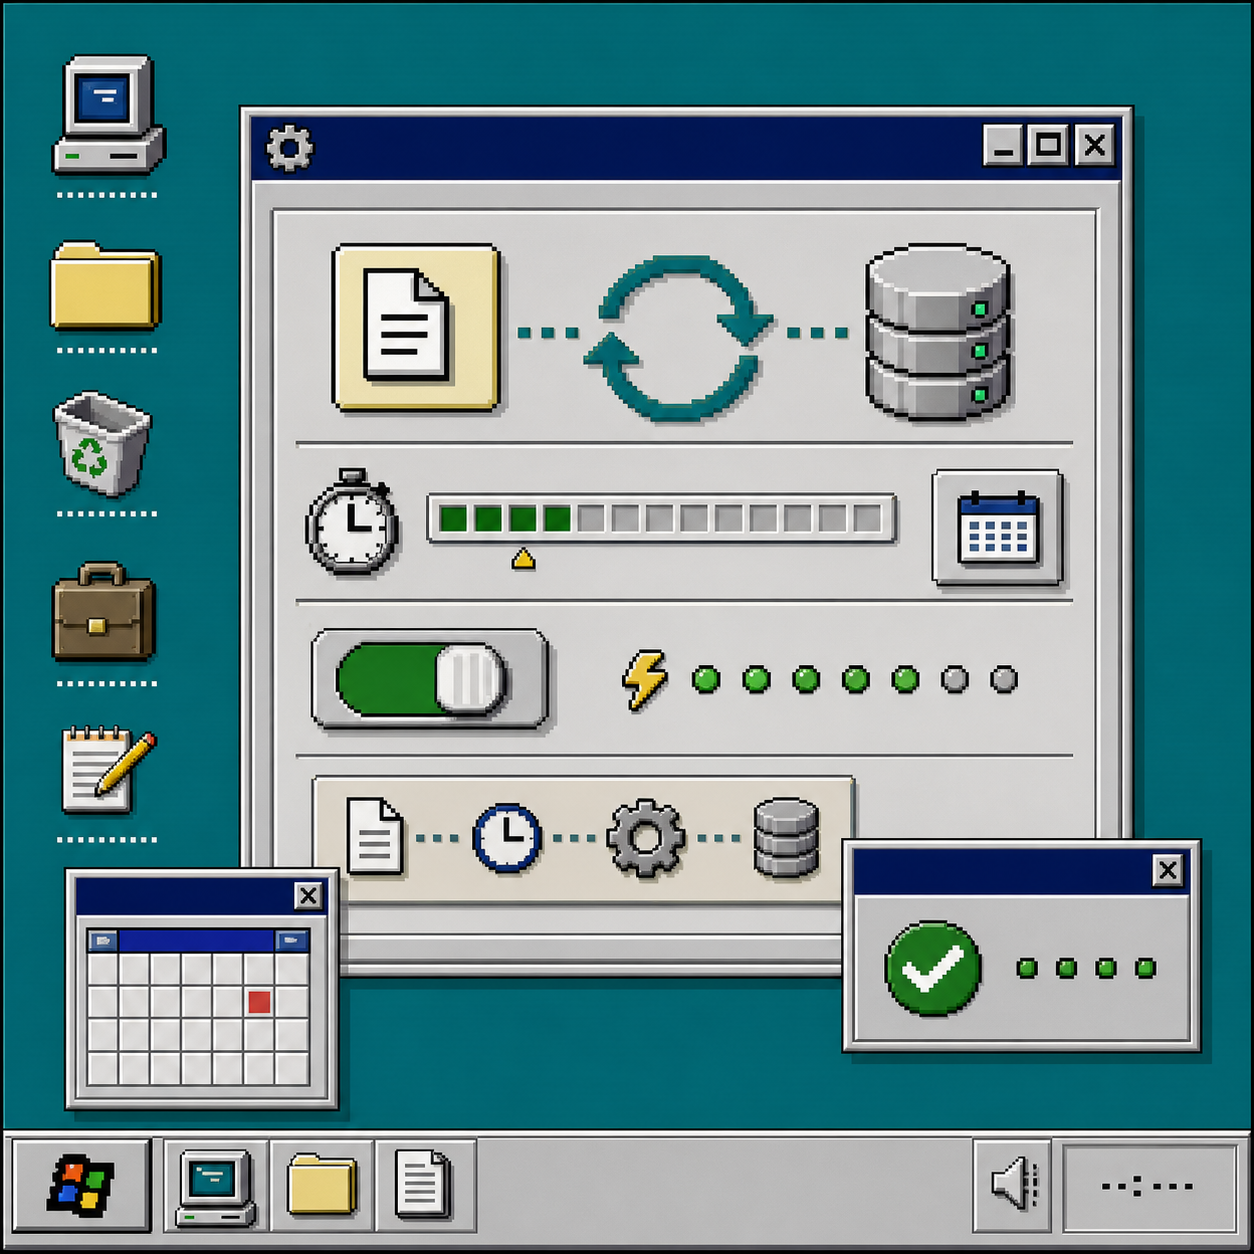
3. Decide what deserves auto-sync
SyncFlow gives you two basic modes: sync manually when you are ready, or let auto-sync run whenever the Notion page changes. I would not turn auto-sync on blindly for every collection.
Use manual sync first if:
- You are testing the field map
- The collection has sensitive content
- You want to review formatting before publishing
Turn on auto-sync when:
- The database structure is stable
- You know which edits should publish immediately
- The team understands that Notion edits now affect the Webflow site
I like the mental model here because it matches other content workflows I have used in Webflow. If you are already organizing your site around portability, the same habits help in How to Host a Webflow CMS Site on GitHub Pages with ExFlow too, because the source data has to stay clean before it can move anywhere.
4. Test with one post before you trust the whole database
Create one Notion page, fill in every mapped field, and sync only that record first. Then check the generated Webflow CMS entry and compare it to the original page.
What I look for:
- The title shows up exactly once
- Images arrive in the right slot
- Links stay clickable
- Code blocks and TeX render correctly if you use them
- Linked pages resolve to the right Webflow posts
SyncFlow says page links are converted automatically, code highlighting is preserved, and TeX is supported. That matters if your Notion content is not just plain text. A lot of CMS tools are fine with headlines and images, then fall apart the moment a technical block shows up.
5. Turn on auto-sync only after the demo post looks right
Once the test post is clean, switch on auto-sync for the collection. That is the point where the workflow starts paying for itself.
In practice, I would keep an eye on:
- Whether edits in Notion land in Webflow quickly enough
- Whether the CMS entry keeps the right formatting after repeated updates
- Whether the team has a clear rule for when to edit in Notion versus Webflow
If you are comparing this against broader content operations, the difference between a one-time import and a live sync is the same kind of decision you make when choosing a hosting or export path in Webflow CMS to HTML: A Practical Export and Self-Hosting Checklist and How to Move a Webflow Site to GitHub Pages with ExFlow. The safer the source model, the less pain you create later.
6. Use the demo posts and tutorials to verify the edge cases
The product page includes demo posts, a full tutorial video, and a trailer. I would use those before handing the workflow to anyone else. They are the fastest way to confirm how images, post bodies, and field mappings behave on real content.
For the walkthroughs, the product page links to:
Troubleshooting
If the sync looks wrong, I would check these first:
- The Notion field type does not match the Webflow field type
- The wrong collection was mapped during setup
- The page has a link or block type that you have not tested yet
- Auto-sync is on before the initial mapping is clean
- You need a full resync for an existing database
The product supports a full-resync option for existing databases, which is the right move when the collection already exists and you need SyncFlow to catch up with the current state instead of only future edits. The customization screen is also worth revisiting if you need inline styles or classes, because that choice affects how much freedom you have once the content lands in Webflow.
The short version
If you want Notion to stay the place where you write and Webflow to stay the place where the site publishes, SyncFlow gives you a clean bridge between them. Map the fields carefully, test one post, then let auto-sync take over only after the result matches what you expect.
If you want to see the product first, start at SyncFlow and check the setup flow against your own collection model.