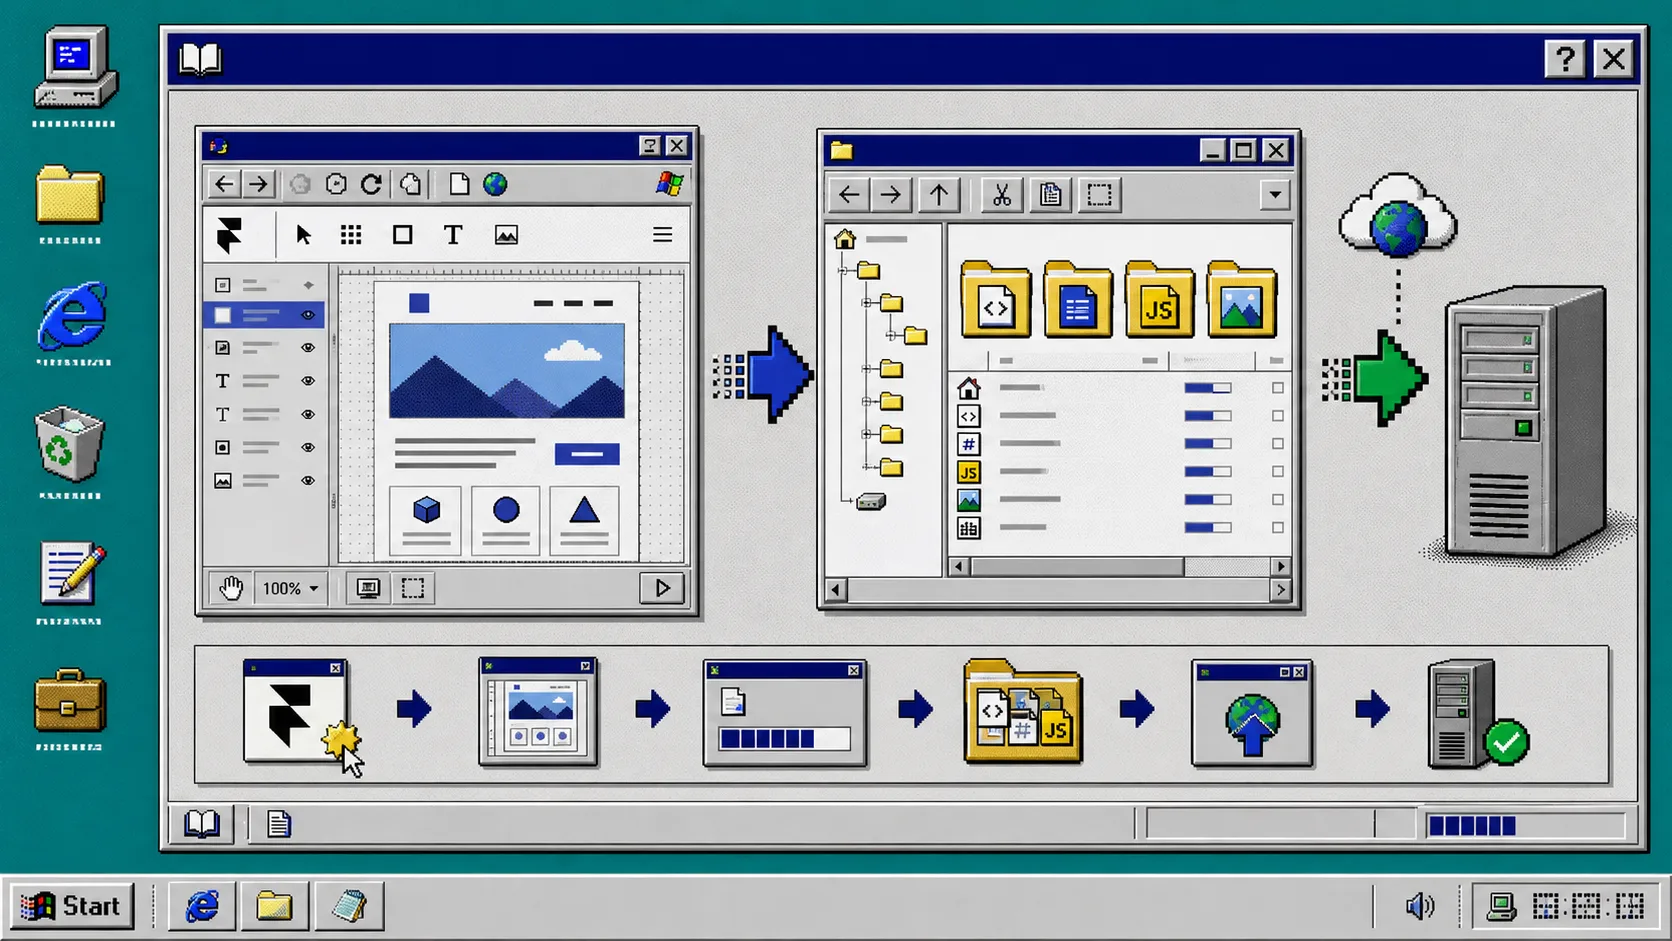
How to Self-Host a Framer Site After Exporting It to HTML
I keep running into the same Framer decision: the design is done, the site looks good, and then the hosting model starts to feel like the lock-in point. ExFlow is useful because it gives me a way to pull a Framer site out into static files and then choose where it lives next.
If I want more control, a simpler deployment path, or just a downloadable copy I can inspect, I start with one rule: export the whole site first, then decide where to host it. That keeps me from guessing about layout, assets, or routes.
What I want from the export
Before I touch anything, I want the same basic outcome every time:
- the Framer URL is the only input I need;
- the site exports with CSS, JS, images, media, and every page I expect;
- the html files are easy to host somewhere else;
- the “Made with Framer” badge is removed when I am shipping independently;
- the final output still feels like the original site, not a broken snapshot.
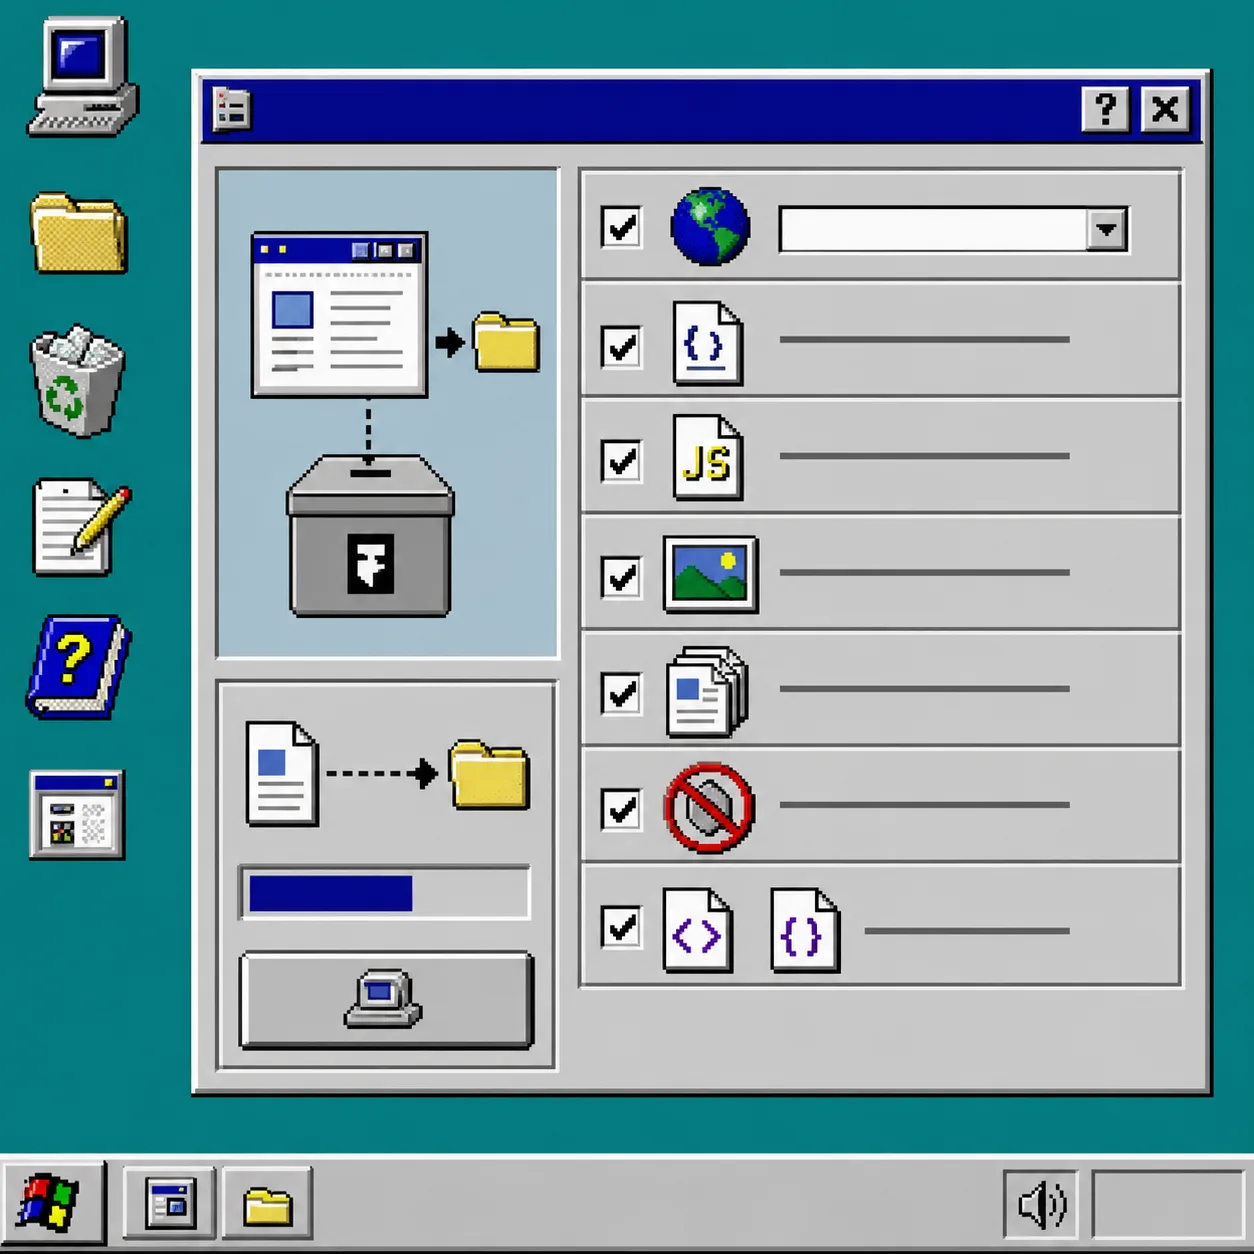
That is why I like starting with a settings pass instead of jumping straight to hosting. If the export is incomplete, the hosting choice does not matter yet.
1. Open ExFlow and paste the site URL
I use ExFlow.site as the starting point. The workflow is simple: paste the Framer URL, decide what should be exported, and let the tool build a static version of the site.
The first pass is not the time to get clever. I want a full export that I can check by hand. If the site has multiple pages or custom bits of layout, I prefer to see the entire file set before I think about deployment.
2. Turn on the settings that matter
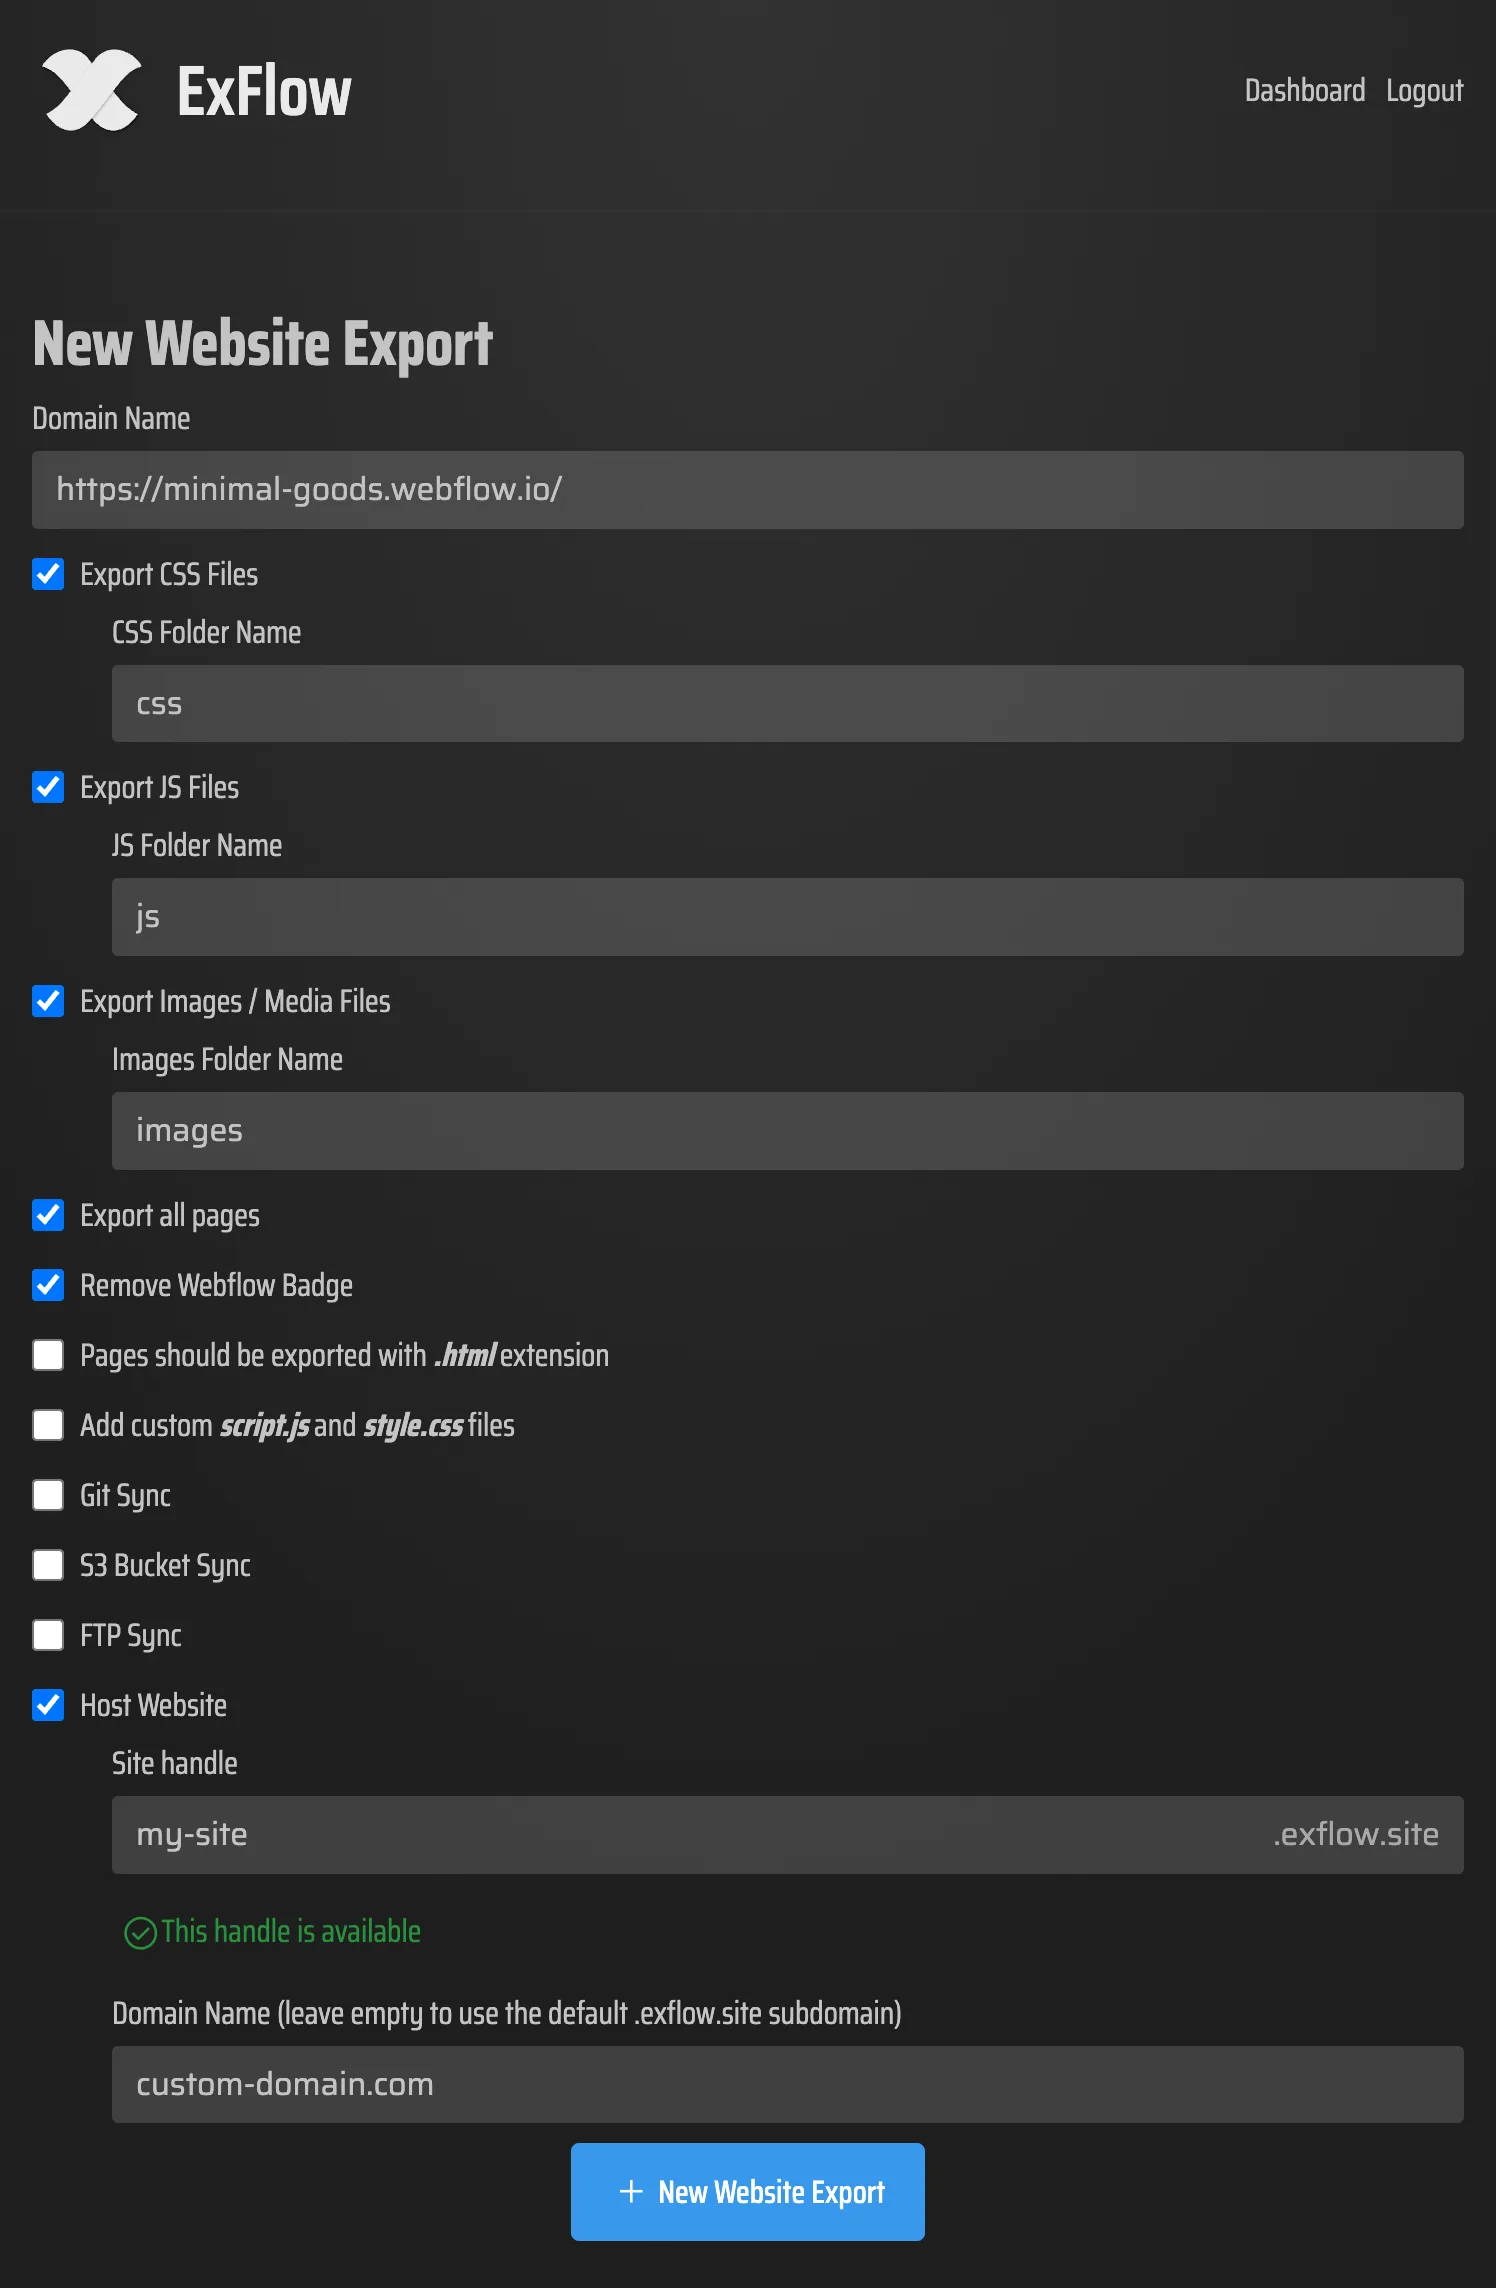
This is the checklist I keep coming back to:
- URL
- Export CSS Files
- Export JS Files
- Export Images / Media Files
- Export All Pages
- Remove “Made with Framer” Badge
- Add custom script.js and style.css
If I am exporting for a real migration, I want all of the content assets and page files together. The CSS and JS switches matter because Framer sites usually depend on both for the layout and the interactions. The media export matters because an empty shell is not a usable export.
If I plan to sync the export instead of downloading it manually, I only pick Git, S3, or FTP after I already know where the site is going. That keeps the sync step from becoming the place where I make the actual deployment decision.
3. Export once, then inspect the file set
I do not trust a success message on its own. I want to see the files.
After the export finishes, I check for:
- page files with .html extensions;
- CSS files that match the site output;
- JS files for the interactions;
- images and media files that were part of the original build;
- a folder layout that makes sense if I need to upload it somewhere else.
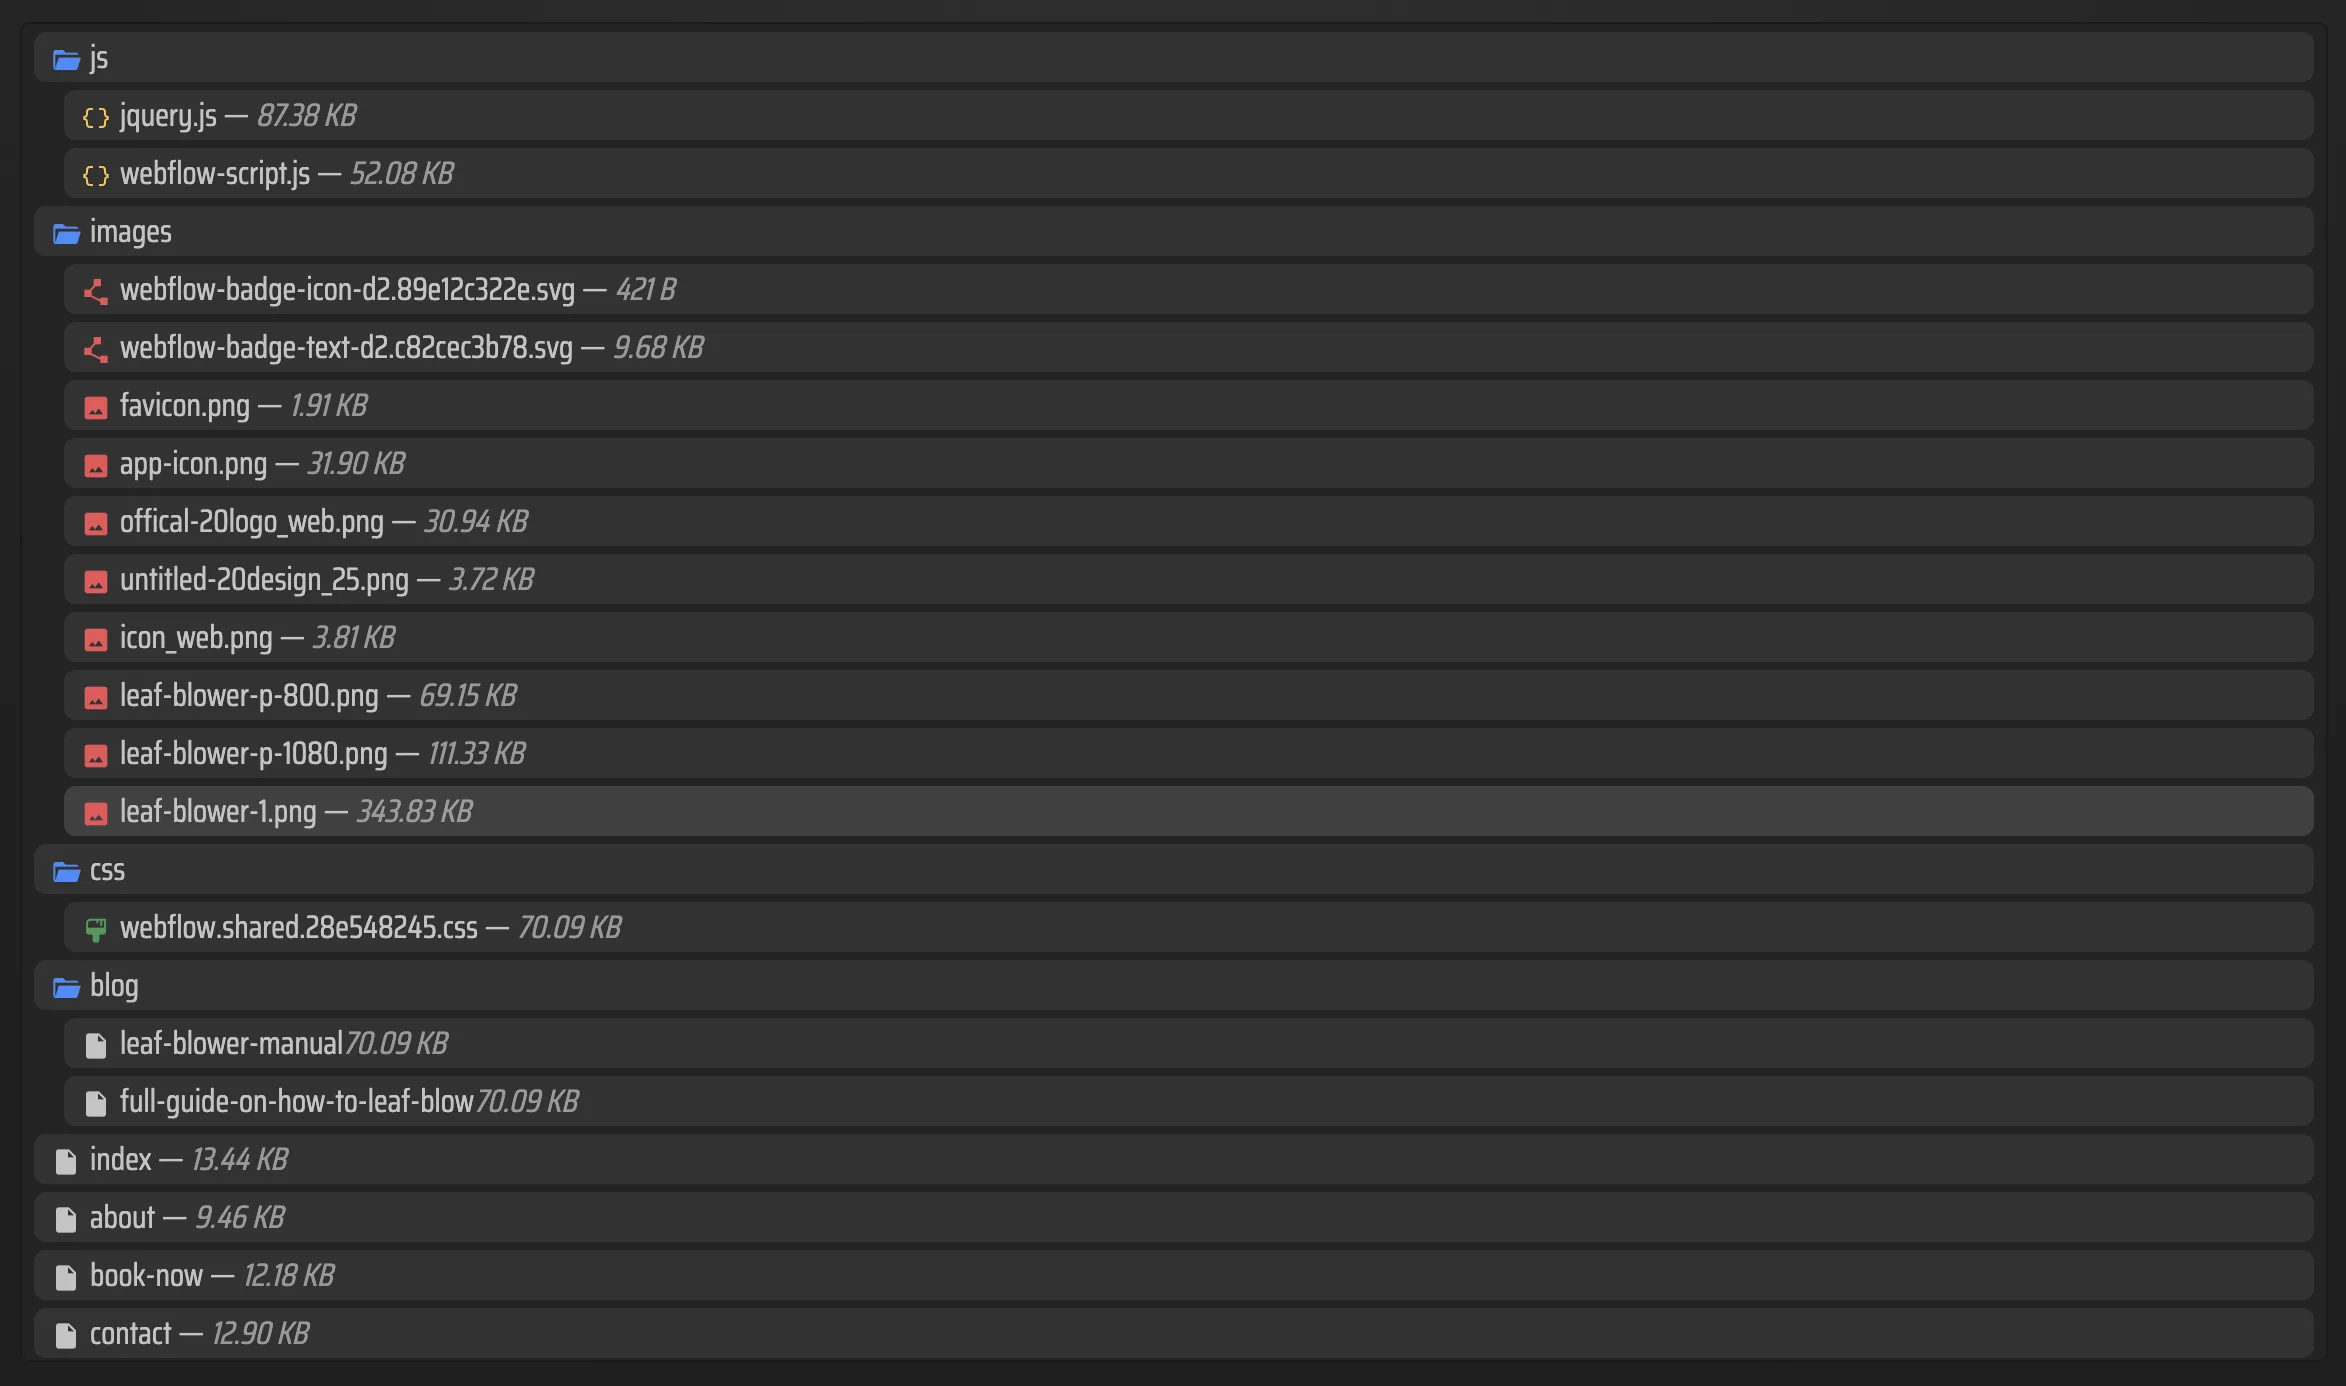
If the output looks thin, the fix is usually not on the hosting side. It is usually one of the export toggles that needs to be turned on and rerun.
4. Pick the hosting path that matches how you work
This is the part where I stop thinking like a designer and start thinking like someone who has to keep the site online.
ExFlow gives a few practical options:
- built-in hosting if I want the shortest path from export to live site;
- Git sync if I want the exported files tracked in a repository;
- S3 sync if I want static object storage and a simple deployment target;
- FTP sync if I am dealing with a more traditional server setup.
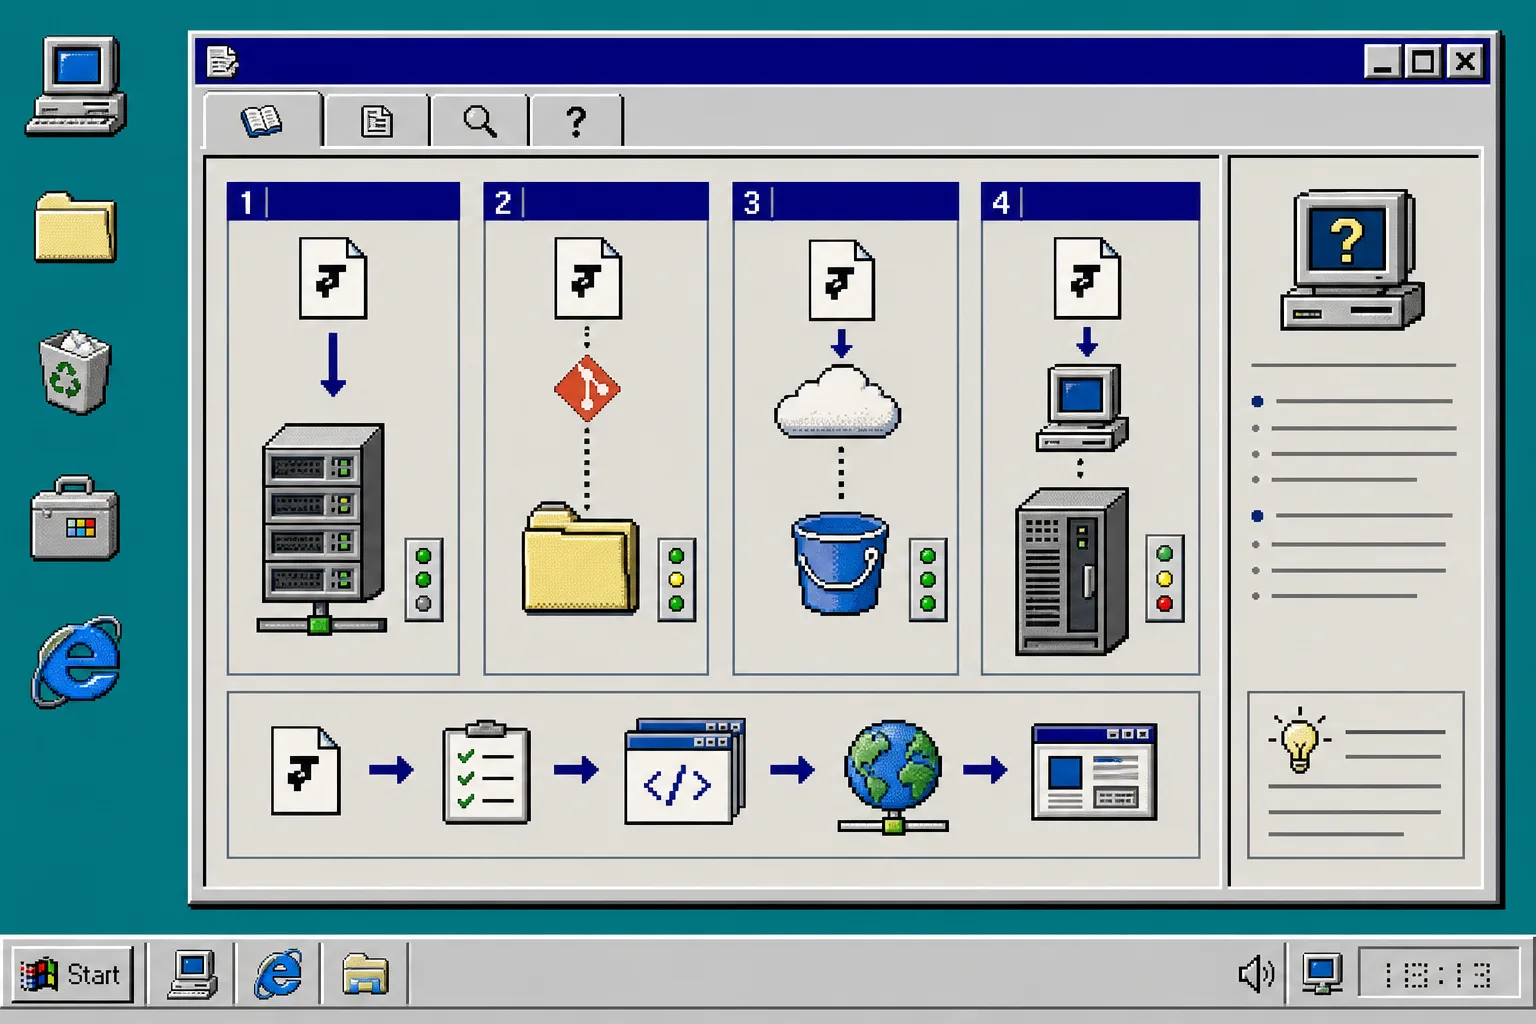
The right answer depends on the rest of the stack. If the site is small and I want less friction, built-in hosting is the simplest path. If I need change history or code review, Git is the cleaner choice. If I already have infrastructure in place, S3 or FTP can be the faster fit.
5. Validate the static copy before you point people at it
This is the boring part that saves me later.
I check:
- The homepage loads cleanly.
- At least one internal page opens from a direct URL.
- Images and media are present.
- Basic interactions still behave like the original site.
- The badge is gone if I turned that option on.
- Any custom script.js or style.css changes actually show up.
If one of those fails, I do not move forward and hope for the best. I go back to the export settings and fix the missing piece before I treat the copy as real.
Troubleshooting the common misses
- If styles are missing, I check whether CSS export was disabled.
- If animations or interactions break, I check the JS export.
- If product images vanish, I re-run with images and media enabled.
- If some pages are missing, I make sure Export All Pages was on.
- If the badge still appears, I re-check the badge-removal option.
- If Git, S3, or FTP sync fails, I verify the destination details before I try again.
I also keep sync credentials out of my notes and only type them into the tool when I am ready to use that path. That is just basic hygiene, especially if I am testing multiple export targets.
Why I would do it this way
The point is not to replace Framer as a design tool. The point is to separate the design problem from the hosting problem.
Once the site is exported, I can inspect it, archive it, move it, or host it somewhere simpler. That makes the site easier to reason about, and it gives me an exit path if I do not want to stay tied to the hosted builder forever.
If you want to see the same idea from a few nearby angles, these are the companion reads I would keep open: How to Export a Framer Site and Host It Yourself with ExFlow, How to Download a Framer Site as HTML and Self-Host It, How to Export a Framer Site to Static HTML Without Rebuilding It, and How to Export a Webflow CMS Site Without Losing Dynamic Content if you are comparing export-heavy stacks.
Bottom line
I would start with one Framer project, one export, and one hosting target. If the static copy opens cleanly, move the real site. If it does not, fix the export settings before you touch DNS.
The shortest path is still the sane path here: export the site, verify the files, and then host the copy in the place that makes the most sense for the rest of your workflow.