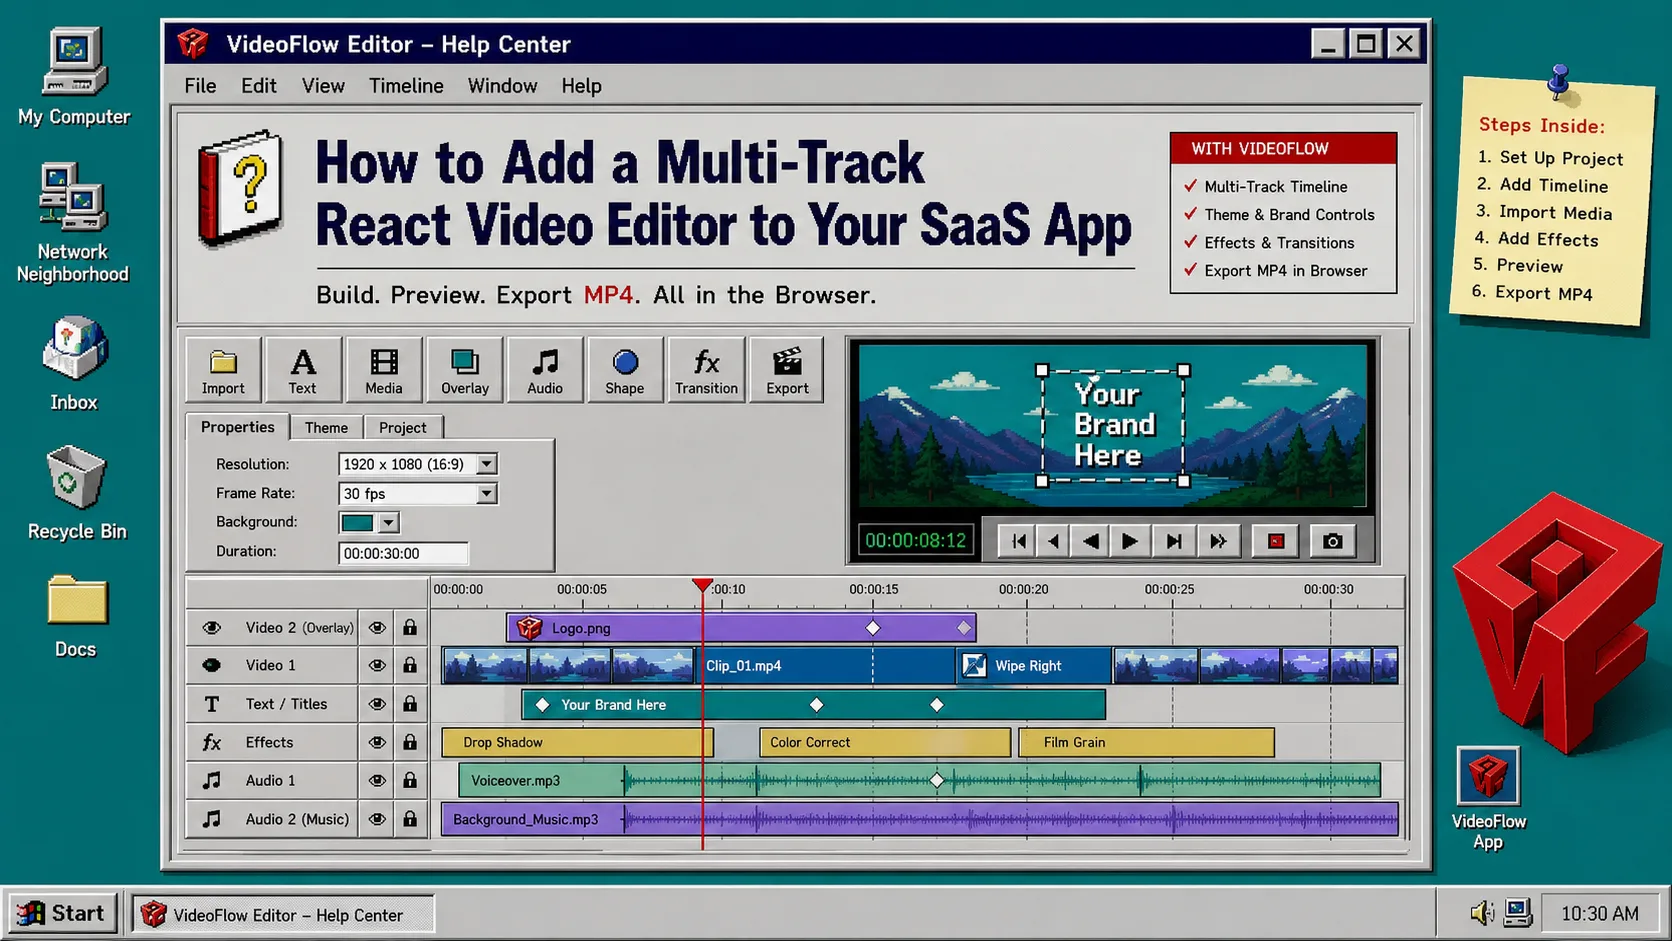
How to Add a Multi-Track React Video Editor to Your SaaS App
If your users need to trim clips, add captions, swap layers, and export MP4 without leaving your app, VideoFlow gives you a clean path. The core idea is to keep the video as portable JSON and let the editor, preview, and exporter read the same source of truth. Start with the official VideoFlow site and the React video editor page if you want the product docs open in another tab.
If you have already read How to Keep Video Templates in JSON Until Export, How to Build a Video JSON Pipeline That Renders Everywhere With VideoFlow, or How I Built a React Video Editor Around Portable JSON with VideoFlow, this guide focuses on the app surface: install the editor, wire state, and ship the controls people actually use.
1. Install the editor package and page shell
Run the install command first so your app has both the core video model and the React editor package:
npm install @videoflow/core @videoflow/react-video-editor
Then import the editor stylesheet on the page that mounts the component. When the import is in place, the editor should render with its default panels, toolbar, and timeline chrome instead of a blank rectangle.
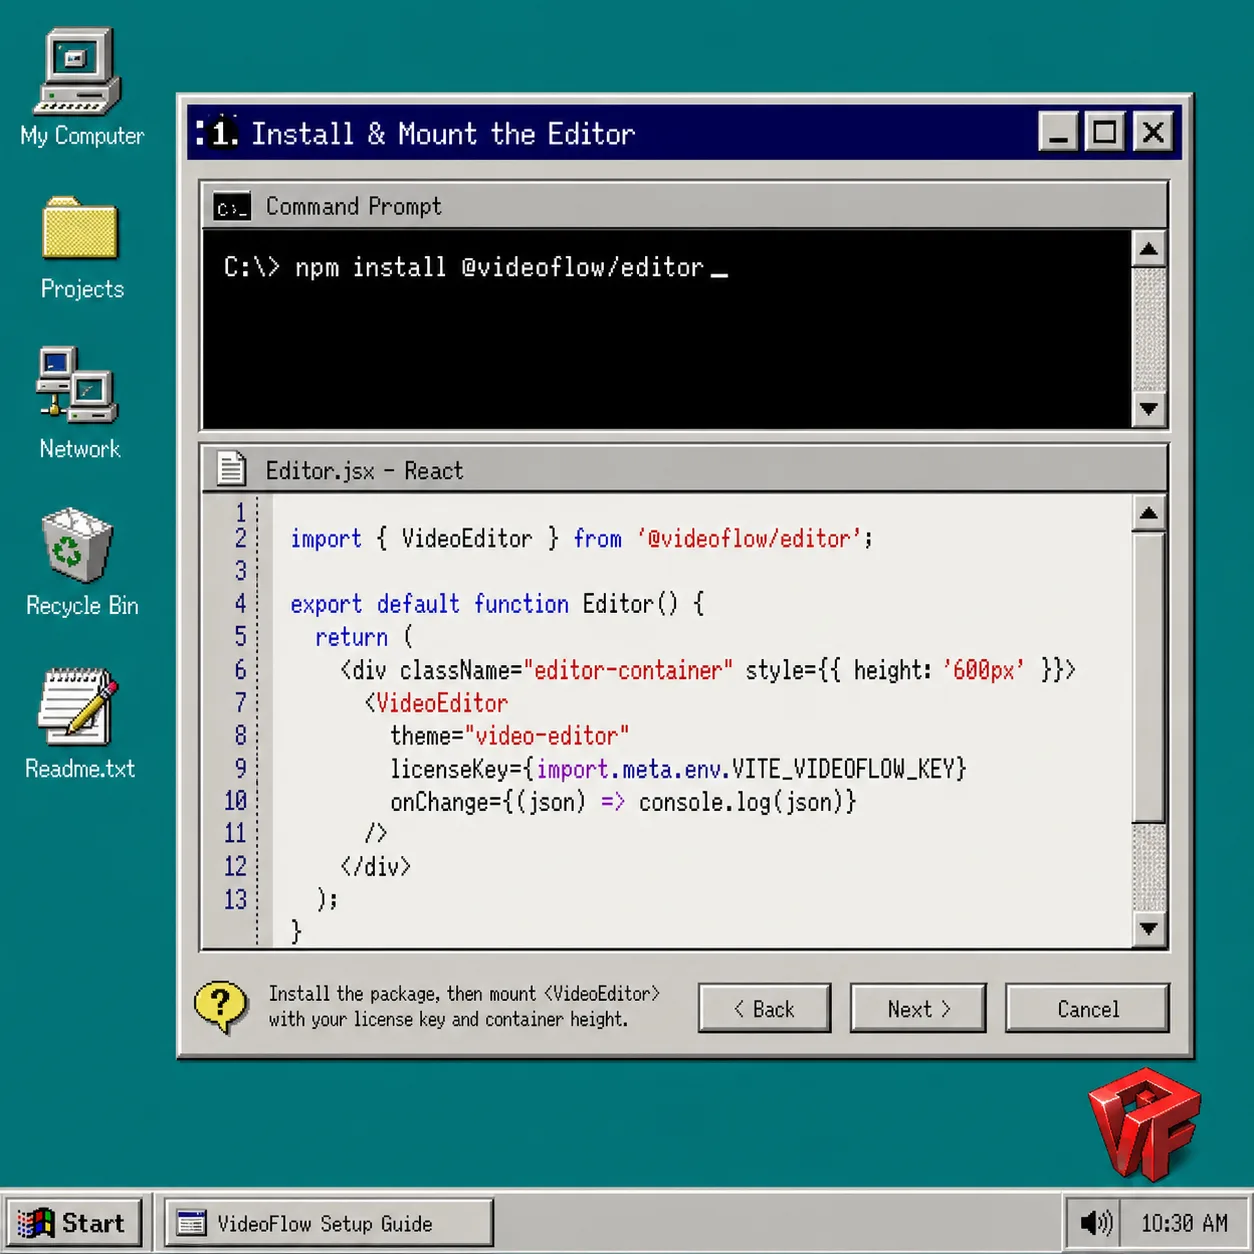
If the page still looks empty, check two things before you blame the component: the container needs a real height, and the CSS import has to load before the editor mounts.
2. Shape one JSON object that owns the project
Keep the whole project in one object: scenes, layers, captions, theme, and export settings. That gives the editor one source of truth and keeps the export path simple later. It is also the pattern that makes How to Let AI Agents Draft VideoJSON for VideoFlow Templates practical, because an agent can write structured data instead of a hand-edited timeline.
A minimal project state can look like this:
const initialVideo = {
  name: "Product Demo",
  width: 1920,
  height: 1080,
  fps: 30,
  theme: "dark",
  scenes: []
};
Keep IDs stable and keep the schema boring. That makes diffs readable, lets you save drafts safely, and prevents the editor from drifting away from the renderer.
3. Mount the editor and wire change handlers
Once the project model exists, mount the editor and let it drive your app state. The React component should own the timeline UI, inspector, and preview, while your page stores the latest JSON and pushes changes to the backend when needed.
import { VideoEditor } from "@videoflow/react-video-editor";
import "@videoflow/react-video-editor/style.css";

export default function App() {
  return (
    <VideoEditor
      video={videoJSON}
      theme="dark"
      onChange={(next) => setVideoJSON(next)}
      onSave={async (next) => await saveVideo(next)}
      onUpload={async (file) => await uploadAsset(file)}
    />
  );
}
When this is wired correctly, the user should see a preview pane, a multi-track timeline, and a property inspector that changes as they select clips or layers.
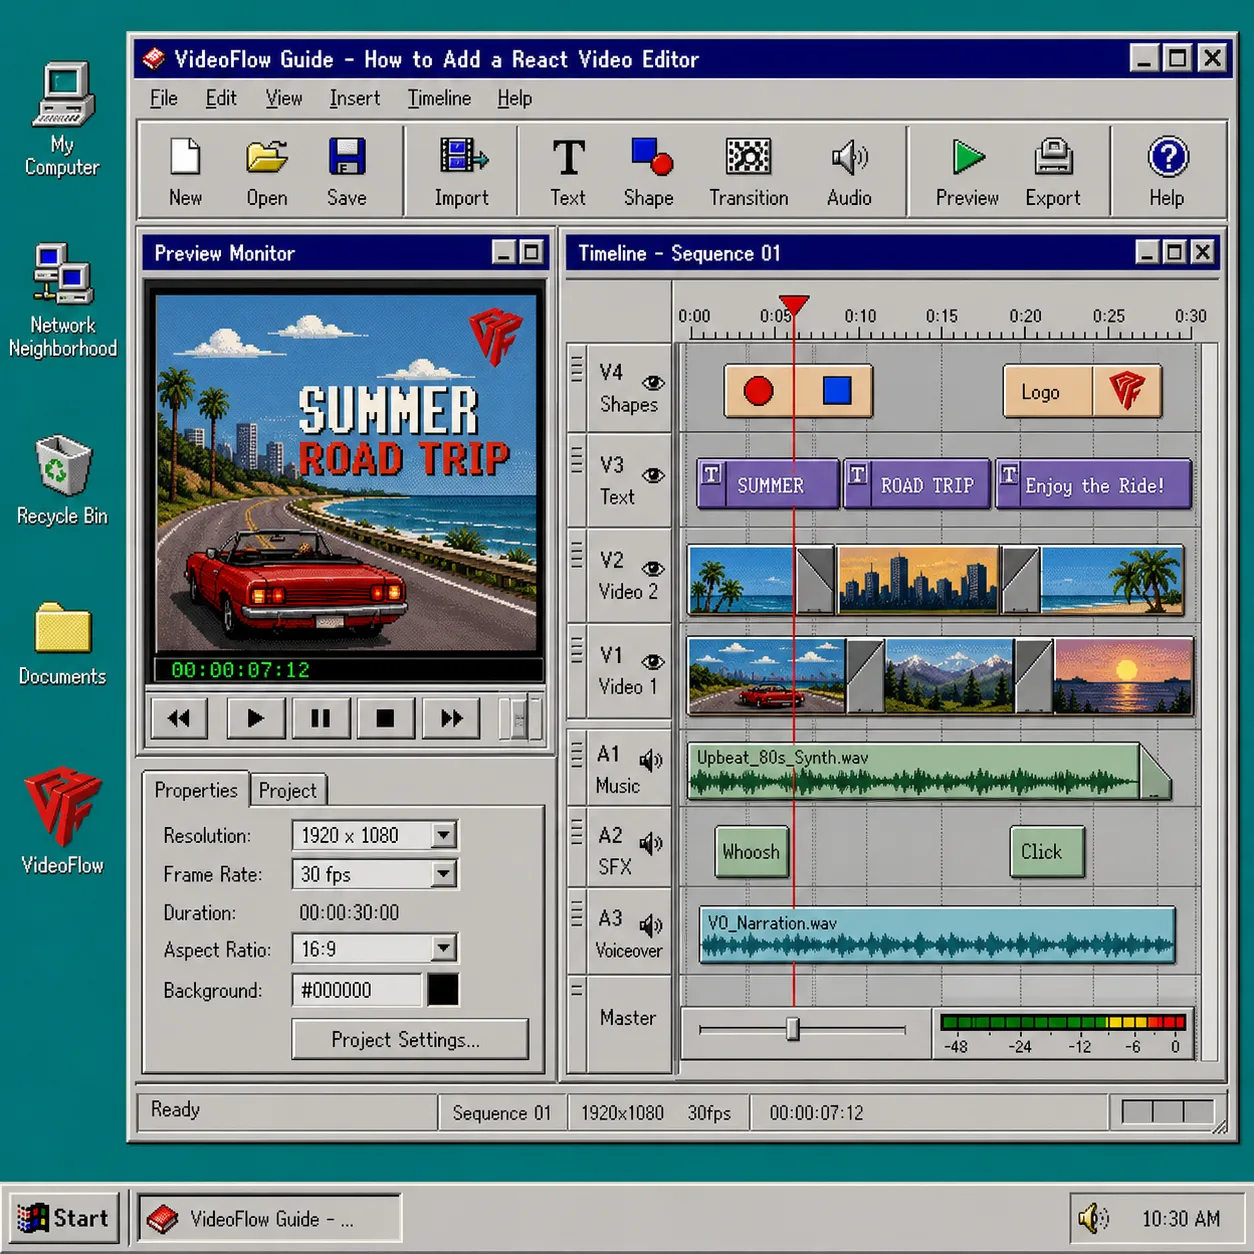
This is also the point where the article How to Build a Video JSON Pipeline That Renders Everywhere With VideoFlow becomes useful. The same JSON can drive your in-app editor, your browser preview, and your export path without being rewritten three different ways.
4. Connect preview and export to the same model
Treat preview and export as two views of the same project, not two separate implementations. If a clip moves on the timeline, the preview should update immediately, the saved JSON should change, and the export button should render that exact state.
Use the browser renderer when you want an in-app MP4 export flow with no upload step. Use the server renderer when you need queued jobs, bigger renders, or a back office workflow that never blocks the user interface. That split is covered in How to Build a Browser-Based MP4 Exporter Without a Rendering Server, which shows the browser-first path in more detail.
If you are building this for a SaaS app, keep the export button disabled until required assets are present. Users should never be able to export a project that is missing a logo, a caption file, or an uploaded clip.
5. Add theme, upload, and control behavior
VideoFlow exposes multiple built-in themes, and the editor also supports CSS variable customization. Use that instead of trying to restyle every control by hand. It keeps the editor coherent and lets you match the rest of your product without breaking the timeline.
For teams that need a lot of variation, expose theme changes as a simple settings panel and keep advanced effects behind obvious labels. VideoFlow has enough depth for 27 transitions and 42 GLSL effects, but the UI should still feel manageable to a normal operator.
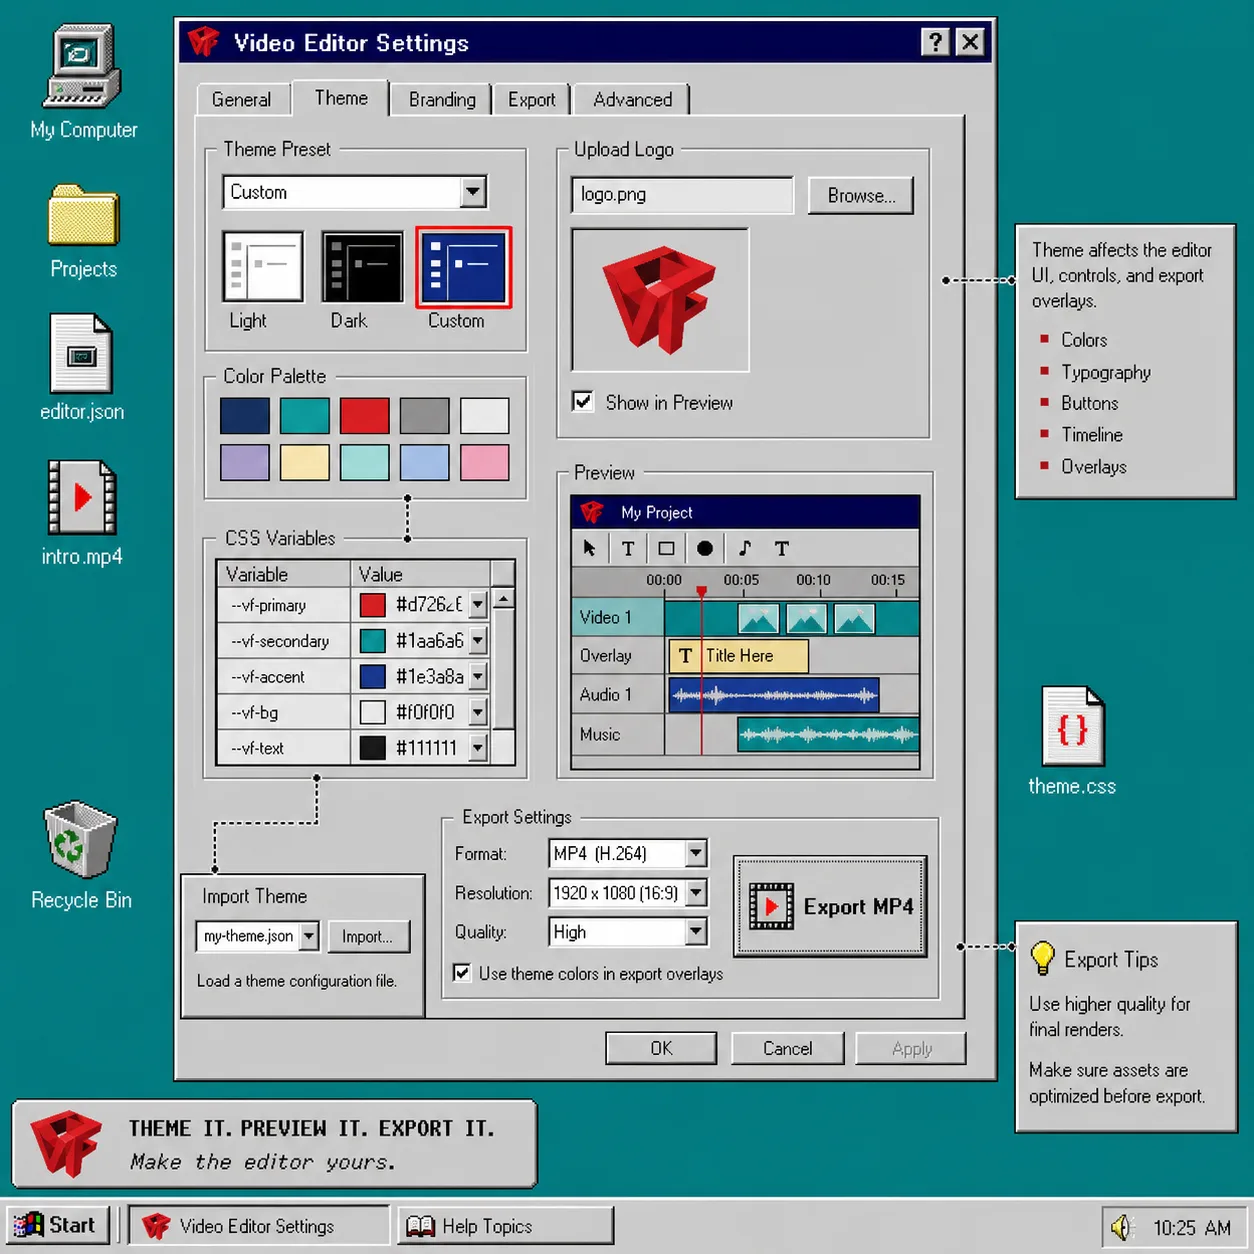
The right mental model is simple: uploads feed the project JSON, the theme changes how the editor presents that JSON, and export turns the same JSON into a file.
6. Set guardrails before shipping
Before you let customers use the editor in production, add a few guardrails:
- Save on every meaningful edit, but debounce writes so you do not hammer the backend.
- Validate uploads before they enter the project state.
- Keep remote assets public and reachable before export.
- Block publishing until the timeline is in a known-good state.
- Keep a version history so users can recover an older draft if they need it.
Those rules matter most when you connect the editor to generated content or a larger automation pipeline. If an agent or workflow is drafting scenes, keep the output as VideoJSON and review it before export. That is the same discipline described in How to Let AI Agents Draft VideoJSON for VideoFlow Templates, and it keeps the system predictable when content volume grows.
Troubleshooting
If the preview stays blank, confirm the editor container has height and the stylesheet is loaded first.
If export fails, inspect the JSON for missing assets, bad URLs, or invalid layer data.
If the theme looks off, check that your app CSS is not overriding the editor variables.
If uploads do nothing, make sure the callback returns a public URL that the editor can reuse.
If the timeline feels sluggish, reduce the amount of work you do on each change event and keep heavy processing off the main UI path.
Finish
A multi-track editor works best when it is not a separate app inside your app. Keep the project in one JSON model, let the editor mutate that model, and use the same source for preview and export. That gives you a maintainable video feature instead of a pile of one-off UI code.
If you already have one VideoFlow template, mount the editor on it this week and run one full edit-to-export test from start to finish.