How to Keep One Video JSON Source of Truth for Preview, Edit, and Export
If you keep rebuilding the same video project three times, the workflow gets messy fast. One version for preview, one version for editing, and one version for export usually means the scene logic drifts apart and nobody is sure which file is authoritative anymore.
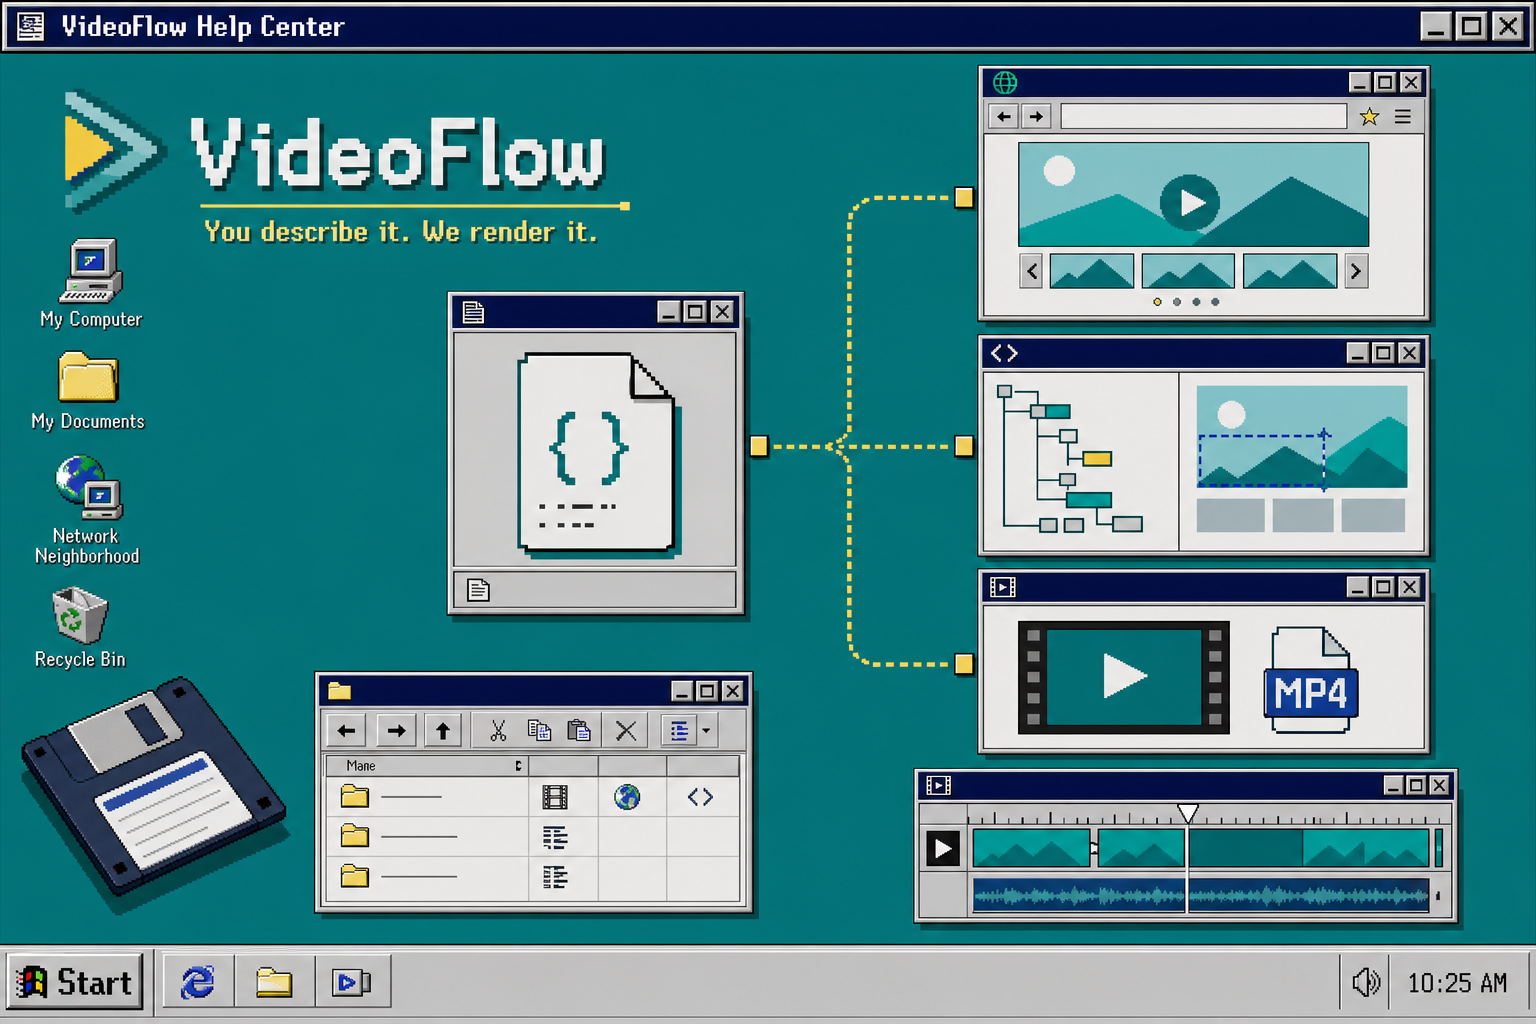
VideoFlow solves that problem by keeping the video as portable JSON. You describe the scene once, compile it, and then let the browser, server, DOM preview, or editor consume the same source. If you want the product overview first, start at VideoFlow and keep the core docs, renderers docs, and React video editor open in another tab.
What you need before you start:
- Node.js and a TypeScript project
@videoflow/core- Optional renderer packages when you need browser export, server render, or live DOM preview
1. Install the packages
Start with the core package, then add the renderer or editor packages only when the product actually needs them.
npm install @videoflow/core @videoflow/renderer-browser @videoflow/renderer-server @videoflow/renderer-dom @videoflow/react-video-editor
That is enough to cover the full path from authoring to preview to export. The main mistake I see is installing an editor first and then trying to retrofit the rendering model later.
2. Build one scene, then compile it once
Define the scene in @videoflow/core, keep the geometry consistent, and compile to JSON as soon as the basic structure looks right.
import VideoFlow from "@videoflow/core";

const $ = new VideoFlow({
  name: "Promo Video",
  width: 1920,
  height: 1080,
  fps: 30,
});

$.addText(
  { text: "Hello, VideoFlow!", fontSize: 7, fontWeight: 800 },
  { transitionIn: { transition: "overshootPop", duration: "500ms" } }
);

const json = await $.compile();
I like treating json as the source of truth because it is portable, reviewable, and easy to hand to other systems. VideoFlow also uses resolution-independent sizing where 1em maps to 1% of project width, which makes templates much easier to keep aligned across 720p, 1080p, and 4K.
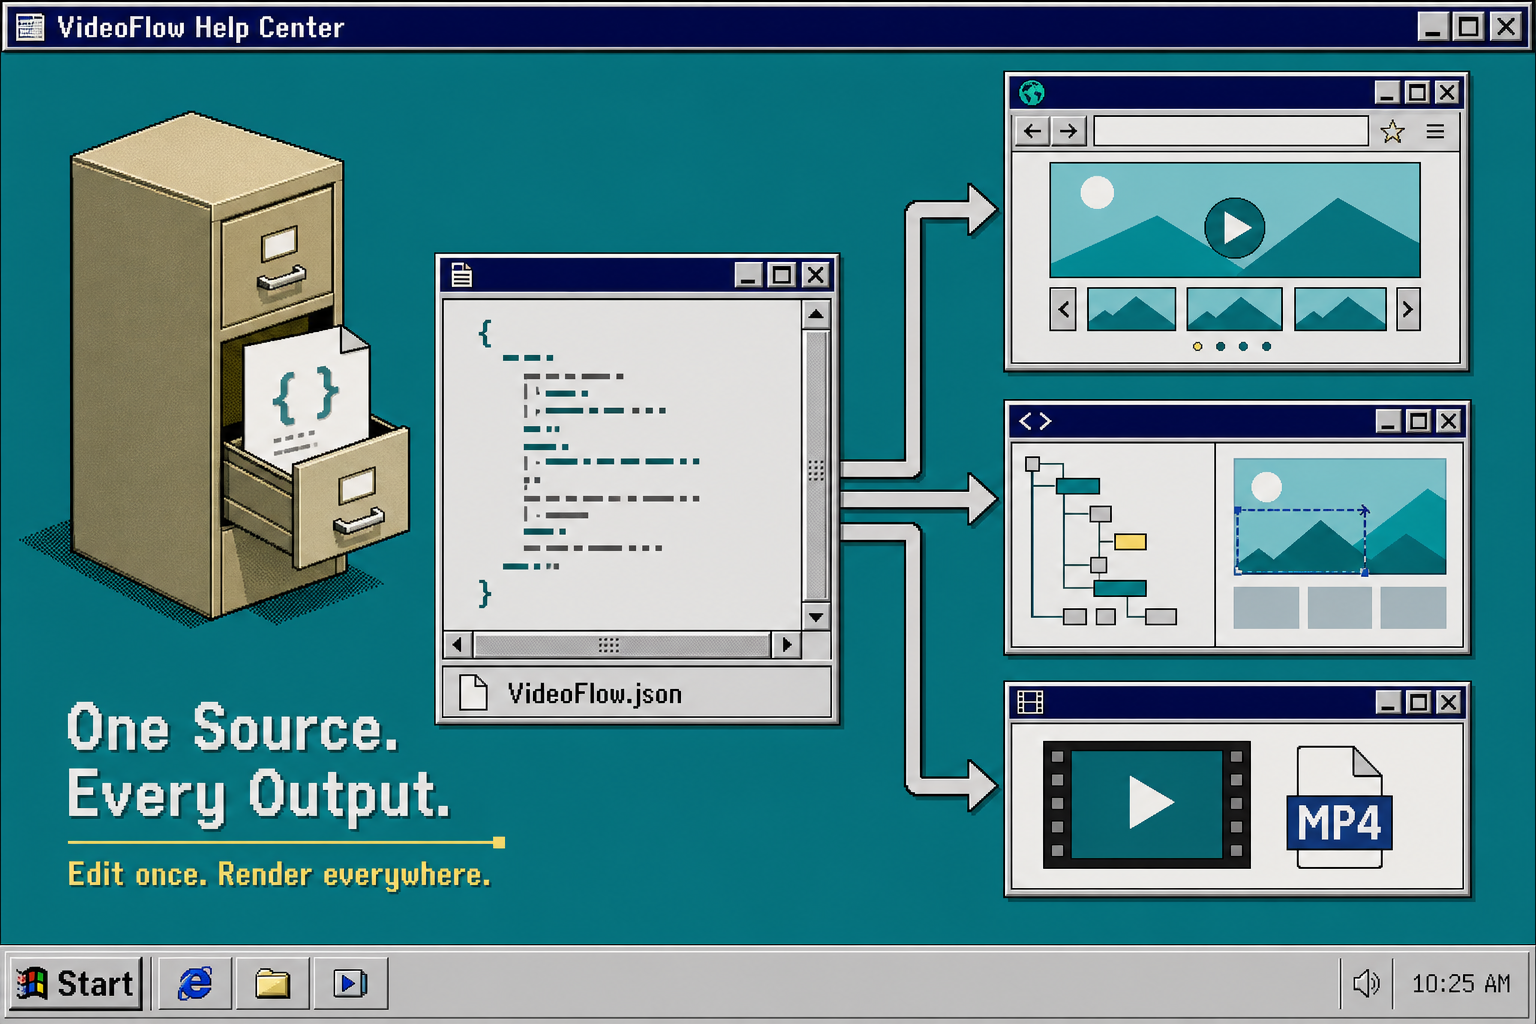
At this point, the scene is data. That matters because the rest of the workflow can now use the same input instead of a forked copy.
3. Choose the renderer based on where the user is sitting
VideoFlow lets the same VideoJSON render in different environments without rewriting the project. Use the browser renderer when export should stay client-side, the server renderer when the job belongs in a queue or API, and the DOM renderer when you want a live preview player in the app.
@videoflow/renderer-browseris a good fit when a user clicks Export inside the browser and you want to avoid upload/render round trips.@videoflow/renderer-serveris the better fit for batch jobs, scheduled renders, CI, and other backend-driven exports.@videoflow/renderer-domworks well for live 60 fps preview, scrubbing, frame-accurate seeking, audio sync, and Shadow DOM style isolation.
If you want a deeper look at the renderer split, read How to Build a Three-Renderer Video Workflow With VideoFlow. If you only care about client-side export, How to Turn Video JSON Into Browser Preview and MP4 Export goes deeper on that path.
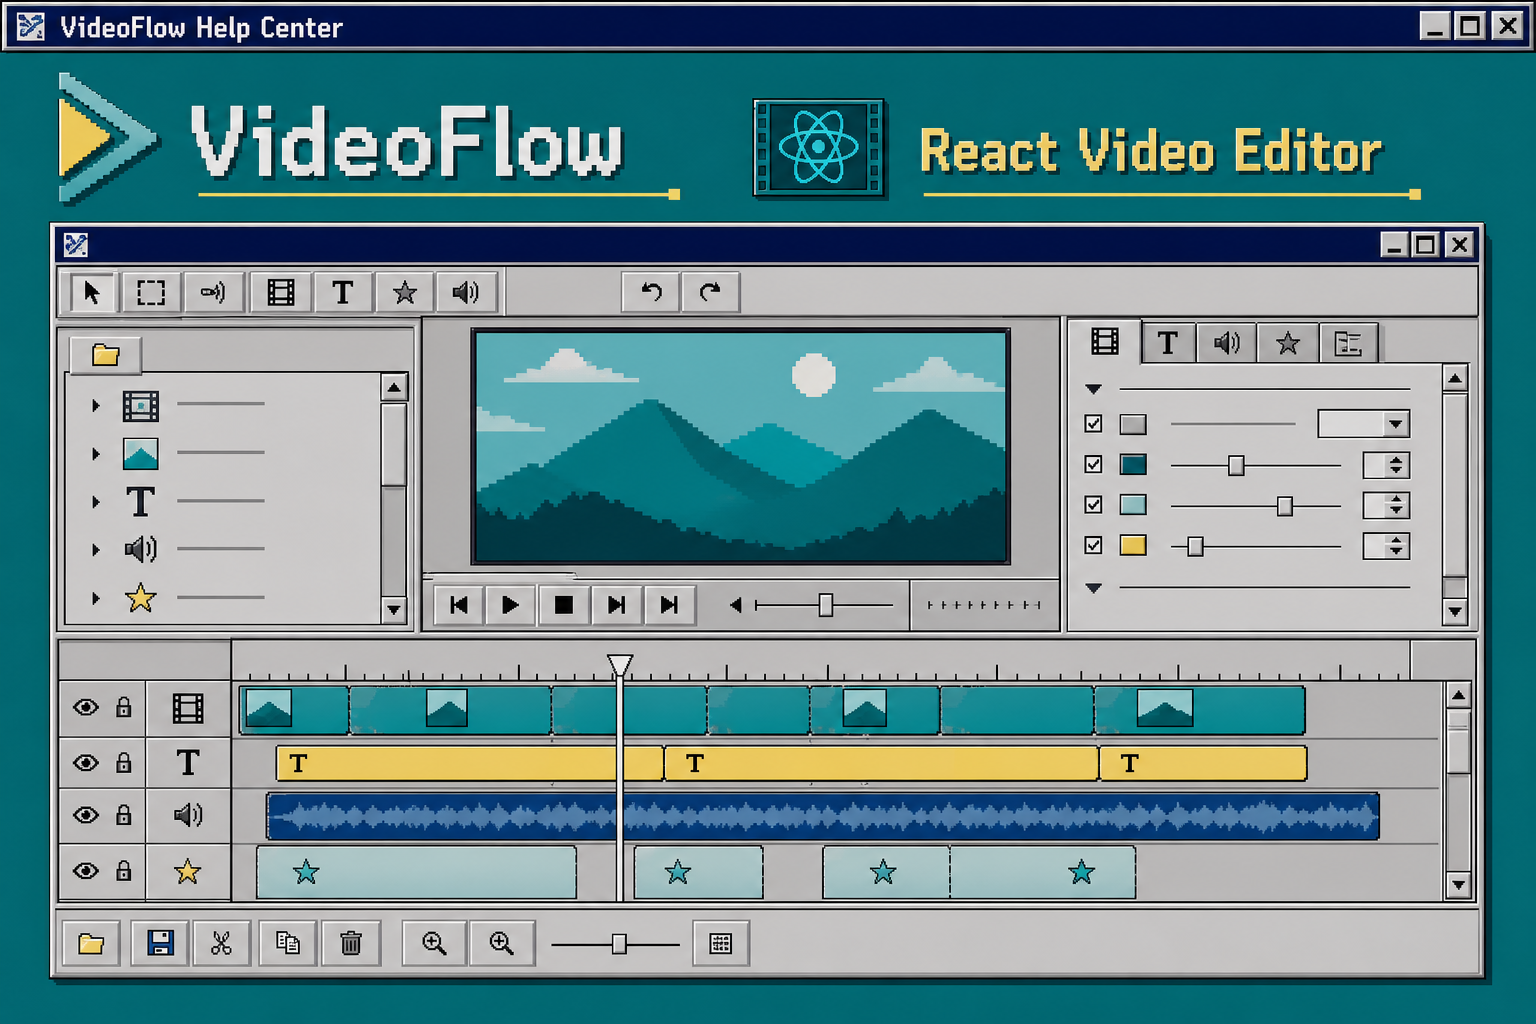
4. Add the React editor only where manual control matters
When a user needs to change the video after generation, add the editor on top of the same JSON instead of building a second timeline model. The product docs position the editor as a drop-in React component with a multi-track timeline, inspector, keyframes, undo/redo, upload callbacks, themes, and MP4 export.
import { VideoEditor } from "@videoflow/react-video-editor";
import "@videoflow/react-video-editor/style.css";

export default function App() {
  return (
    <VideoEditor
      video={videoJSON}
      onChange={(next) => saveToServer(next)}
      onSave={async (next) => await persist(next)}
      onUpload={async (file) => await upload(file)}
      theme="dark"
    />
  );
}
That is the cleanest way to expose editing without forking the project. The editor can own interaction, but it should not own a different source of truth.
If you are building a SaaS product, that separation is what lets the preview, edit, and export paths stay aligned instead of drifting into three different implementations. The related pattern is also covered in How to Add a Multi-Track React Video Editor to Your SaaS App.
5. Let server rendering handle the heavy lifting
You do not need a server for every job, but you do want one when exports become repetitive or expensive. @videoflow/renderer-server is the package to reach for when you need batch renders, API-driven jobs, or scheduled outputs. The product docs note that it renders headlessly from Node.js and can optionally use FFmpeg for alternate encoding needs.
The important part is that the same JSON still drives the render. Once you separate scene definition from runtime, browser preview can stay fast, server render can stay reliable, and the editor can stay optional.
If AI is writing the scene structure, How to Let AI Agents Draft VideoJSON for VideoFlow Templates is the natural next read.
6. Keep the source in Git and the outputs disposable
Store the scene definition and compiled JSON in the repo, not renderer-specific output files. That makes diffs readable, keeps reviews manageable, and makes it much easier to tell whether a change affected the scene itself or just the way it was rendered.
VideoFlow is open source under Apache-2.0, so the core workflow stays inspectable instead of living inside a black box. For teams that need a reusable, reviewable video pipeline, that is usually the difference between a workflow people trust and a workflow they work around.
Troubleshooting
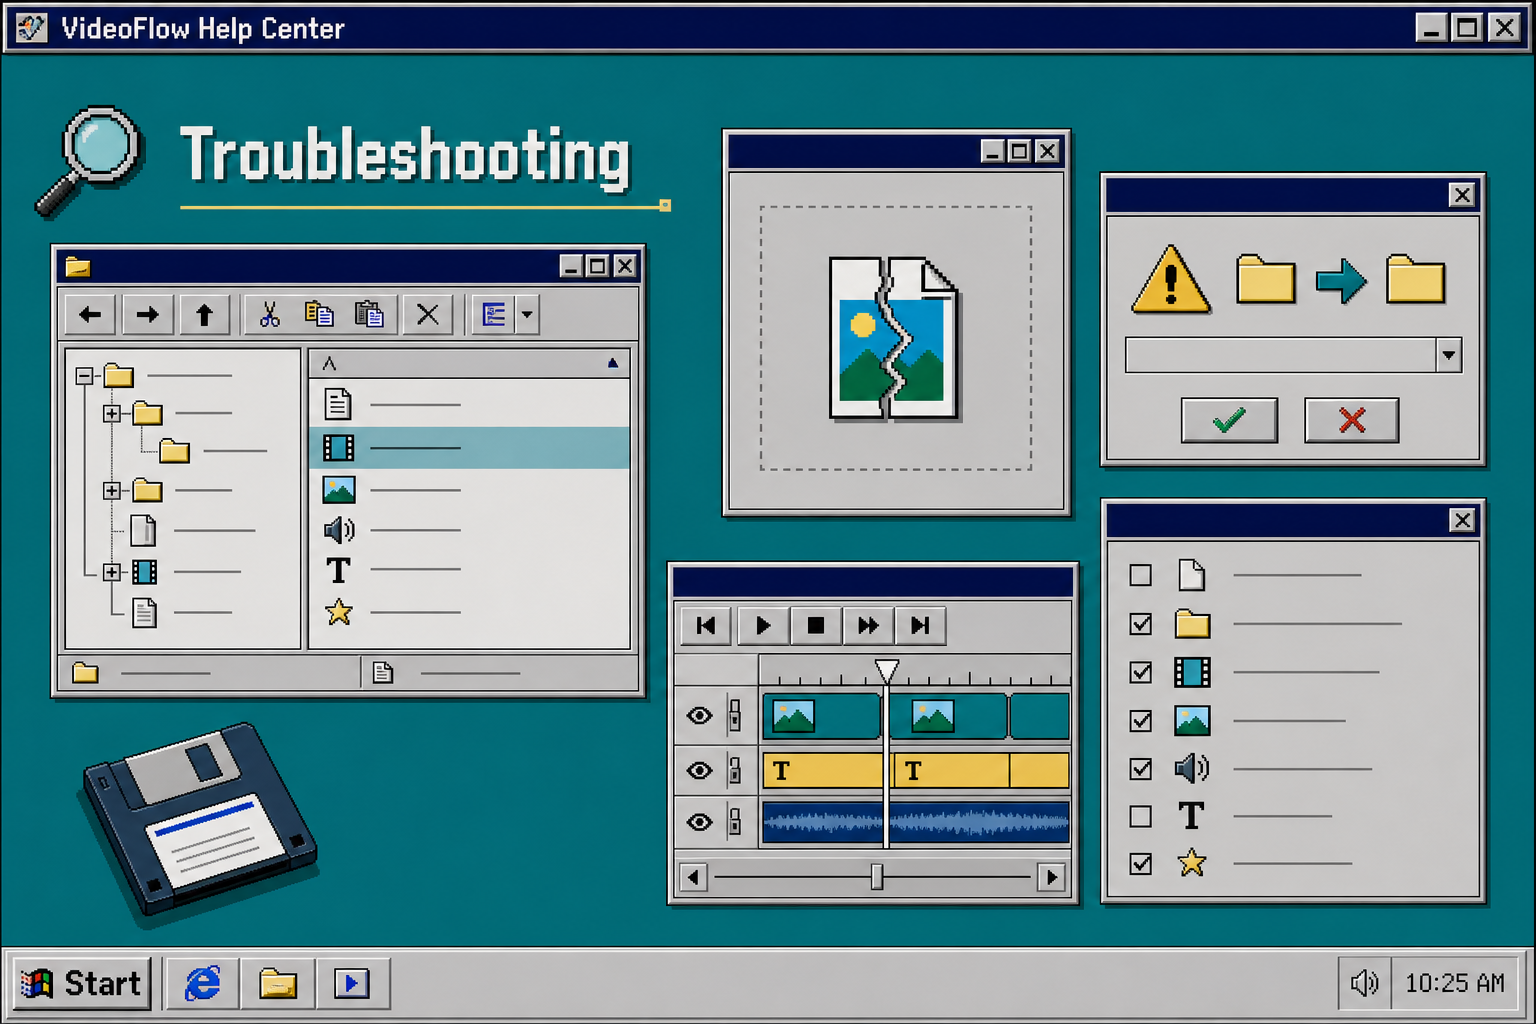
- If the browser preview and the MP4 export do not match, check that
width,height, andfpsare identical in every renderer path. - If editor changes disappear, make sure
onChangeandonSavewrite back to the same JSON store you render from. - If live preview styling leaks into the page, use the DOM renderer’s Shadow DOM isolation and keep theme variables scoped.
- If layout shifts between resolutions, revisit the sizing strategy and keep one scene definition instead of maintaining duplicate templates.
Recap
The cleanest VideoFlow setup is simple: define the scene once, compile it to VideoJSON, and let the browser, server, DOM preview, and editor each consume the same source. That keeps preview, edit, and export aligned instead of turning into three separate projects.
Next step: install @videoflow/core, build one test scene, and decide which renderer owns each user action.