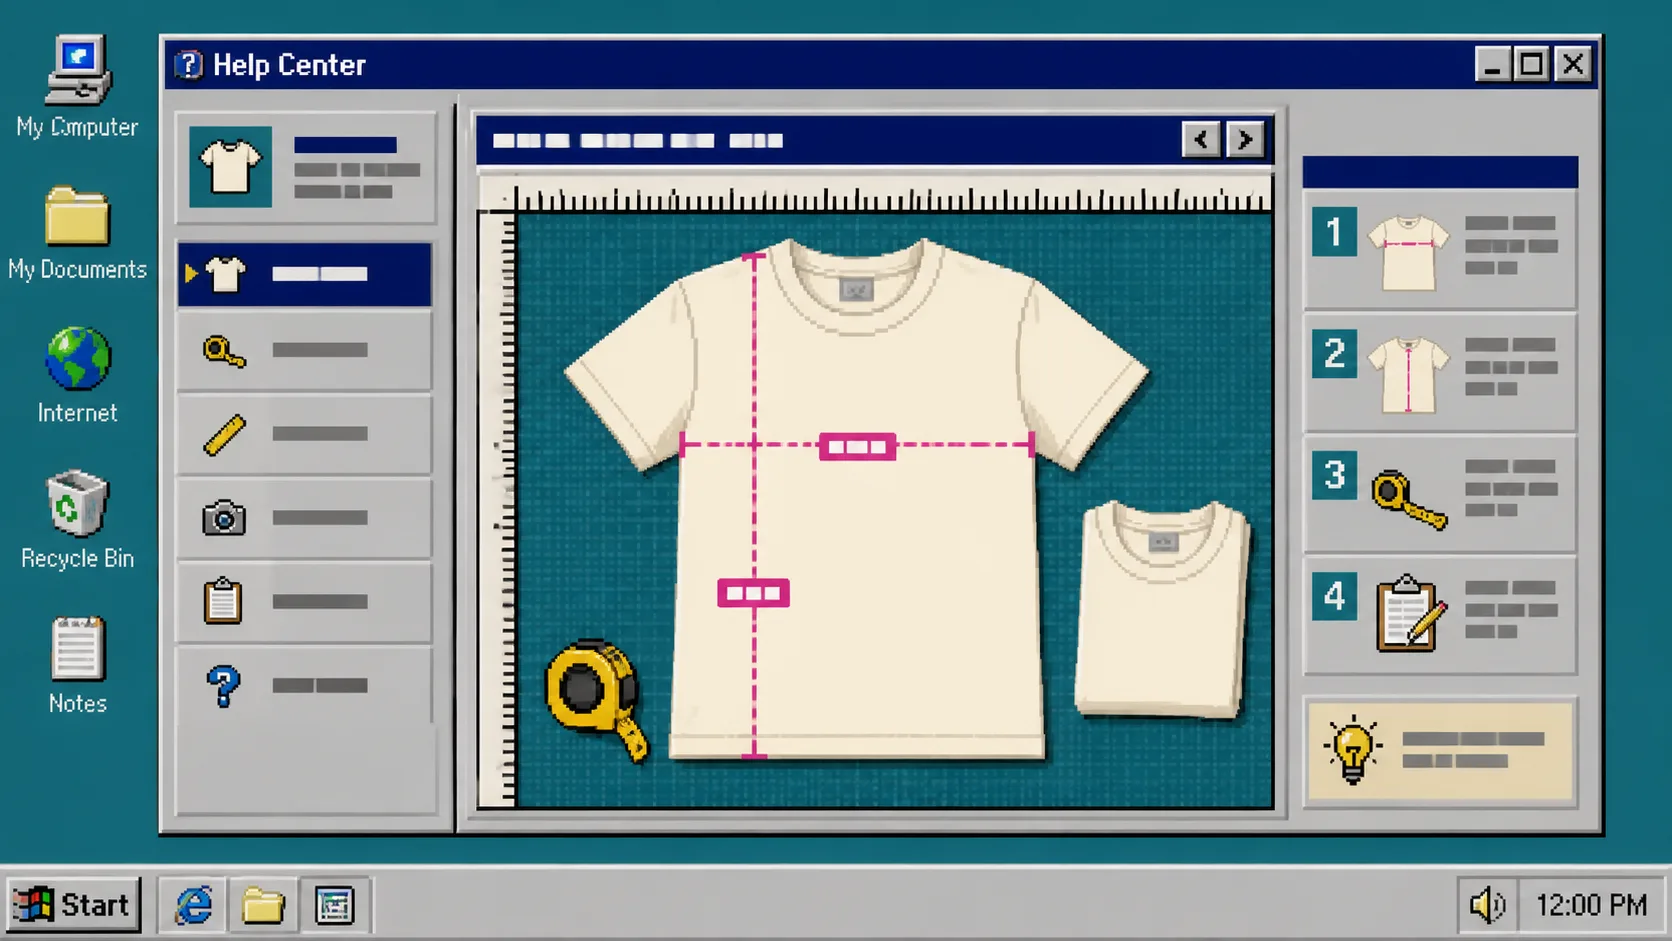
If shoppers cannot reproduce the measurement in your size chart at home, the chart is only a grid of optimistic numbers. The fix is simple: base the chart on a flat garment, name the measurement points clearly, and show the same points visually.
You need one representative sample in each fit group, a tape measure, and access to your Shopify theme editor. If you already have tables pasted into product descriptions, keep them open as a reference—but do not keep maintaining them there. A central chart in Supra Size Chart lets you reuse the same measurements and guide across the right products.
1. Choose the measurement basis before writing any numbers
Decide whether the chart describes the garment or the shopper’s body. For most apparel product pages, garment measurements are easier to verify: lay the item flat without stretching it, then measure the actual piece customers will receive. Say that directly near the table, for example: “Measurements are taken with the garment laid flat; allow normal manufacturing variation.”
Do not mix the two systems in one unlabeled grid. A 52 cm chest width on a flat shirt means something very different from a 104 cm body-chest circumference. If you need both, put them in separate, plainly named sections.
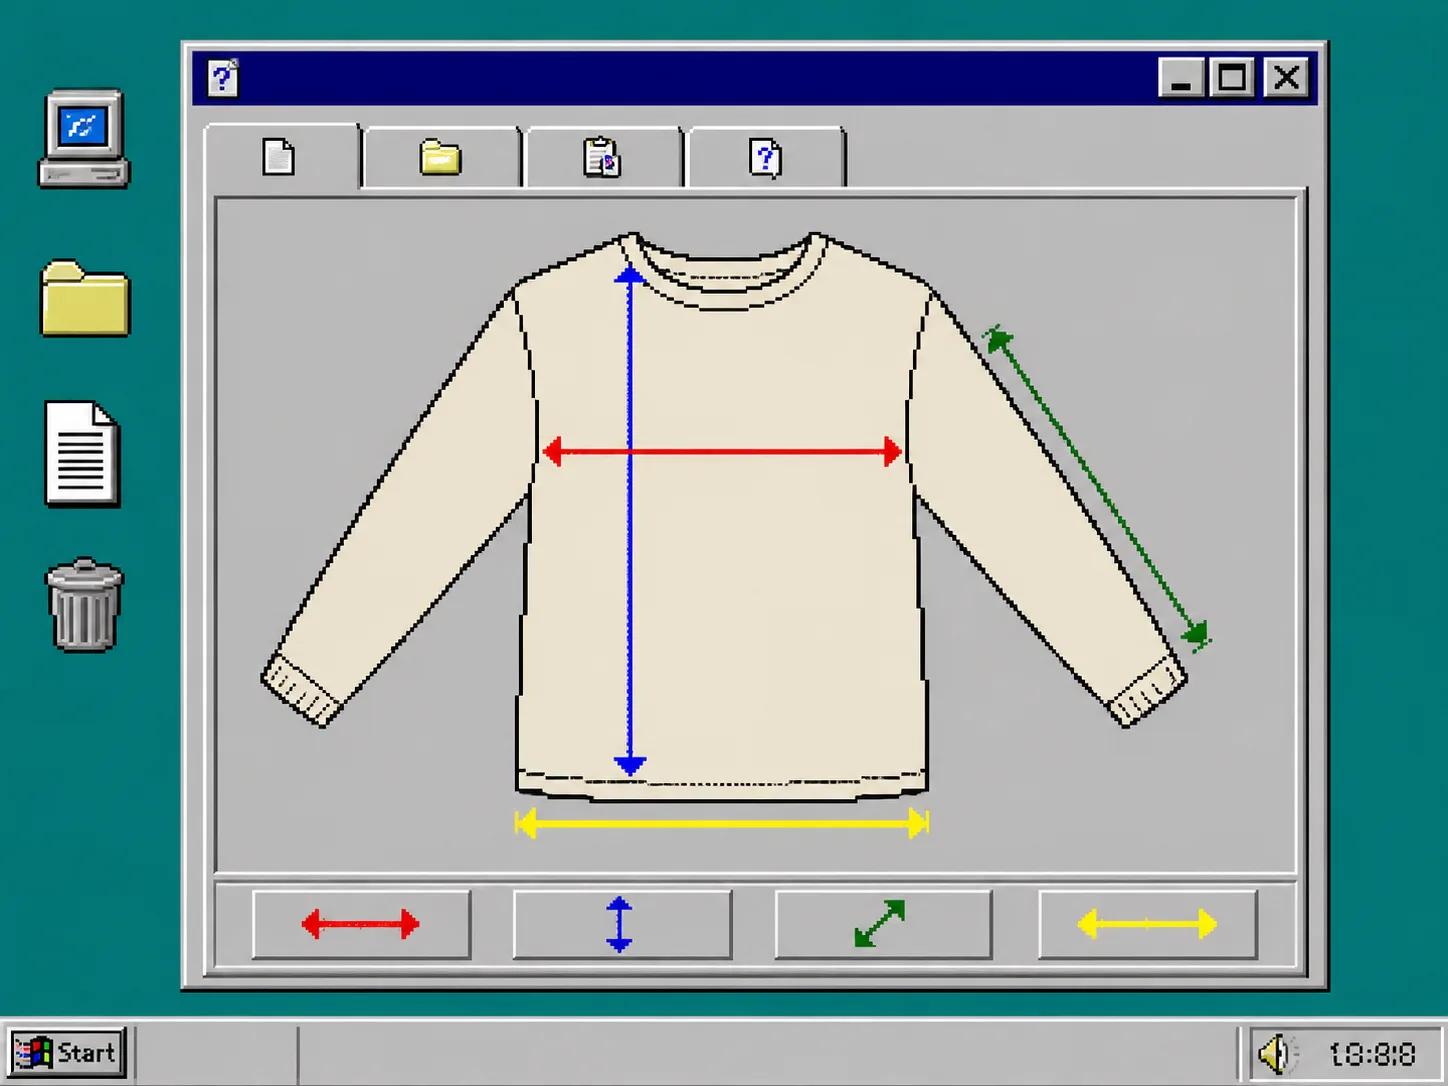
2. Measure the few points that affect the fit
Start with the decisions a shopper actually needs to make. For a regular T-shirt, that is usually chest width, body length, sleeve length, and hem width. A pair of trousers may need waist, rise, inseam, and leg opening. A fitted dress may need bust, waist, hip, and length.
Place the tape measure in the same position for every size. Measure chest width straight across from underarm seam to underarm seam. Measure length from the high point of the shoulder to the hem. Do not pull curved seams straight, and do not stretch ribbing to make the result look cleaner. A slightly imperfect but repeatable method is more useful than a precise-looking number nobody can reproduce.
If product photography is making it hard to see a seam or silhouette, stage the sample first; this guide to preparing Shopify product photos before publication is a useful companion.
3. Build a chart that explains itself
Create a chart with one size per row and one measurement per column. Use the label shoppers are likely to recognize on the garment—XS through XL, numeric sizes, or both—and keep the unit in each column heading. If you sell internationally, add a metric/imperial switch instead of making readers do the conversion in their heads.
In Supra Size Chart, add the table in the spreadsheet-style editor, set the unit for each column, and add a short measurement note where the garment construction needs context. You can import an existing CSV instead of retyping it, then export the finished chart again whenever your team needs a portable copy.
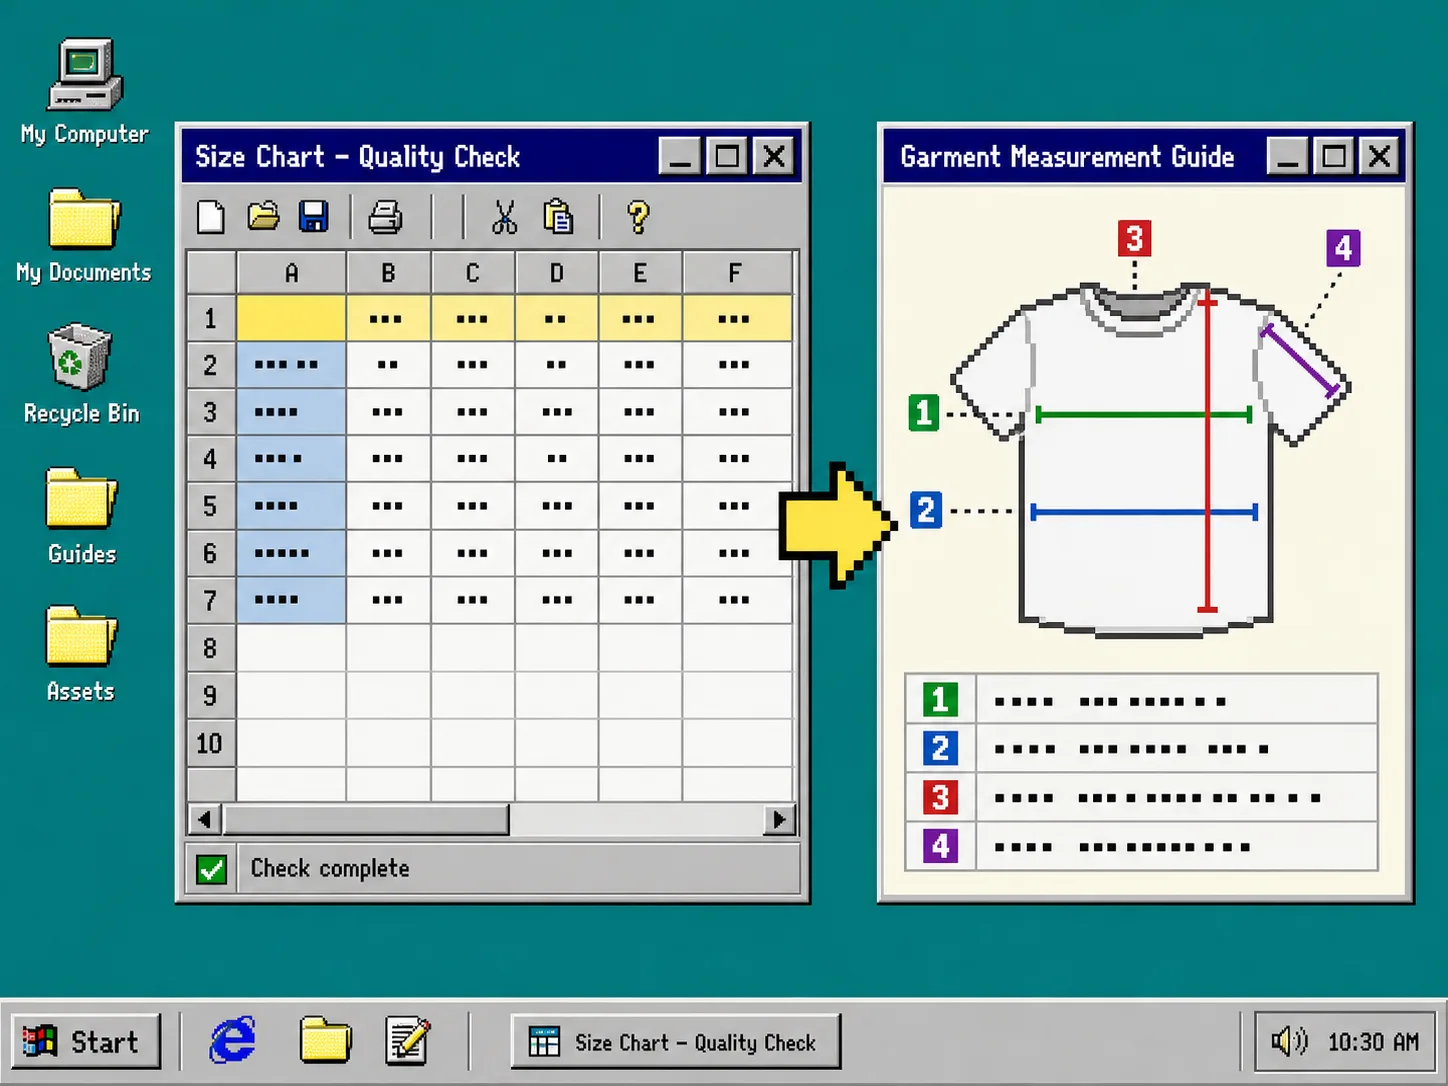
4. Add a measurement guide beside the table
A shopper with a tape measure still needs to know where “length” begins and where “chest” crosses the garment. Add a labelled measurement guide that matches the product silhouette: T-shirt, dress, pants, shorts, skirt, onesie, or a body figure where body measurements are the better choice.
Use the same words on the guide and in the table. If the table says “waist width,” the guide should not call it “waistline.” This small consistency check prevents support tickets that begin with “which part am I meant to measure?” Reuse the guide across related charts when the measurement points stay the same.
5. Assign the chart to the right product group
Avoid pasting this work into each product description. Create a rule that targets the product, collection, product type, vendor, or tag. For example, one relaxed-fit tee chart can apply to your entire Essentials collection, while a fitted ribbed top receives its own chart. Products added to the matching collection later are covered automatically.
This is also the cleanest way to handle product families. If a color is a true variant of the same garment, it can share a chart; if it is a different cut sold as a linked product, it may need its own rule—similar to the decision process in setting up Shopify swatches from product images and variants. For a detailed rule-based setup, see how to keep size charts updated across a Shopify catalog.
6. Put the chart where shoppers need it
Open Shopify’s theme editor and add the Supra Size Chart theme app block to the product template. Choose inline table, accordion, or modal according to the page layout. Inline works well when fit is a major purchase question; an accordion keeps a dense product page tidy; a modal is useful when the chart needs more room. The block uses the theme’s own text colours, so it can fit the storefront without a separate styling project.
Preview a small and a large product in the same collection. You should see the intended chart automatically, with a store-wide default as a fallback if no specific rule matches.
7. Test the chart like a first-time shopper
Open the product page in a private browser window. Pick one size from the table, measure the sample yourself using only the guide, and ask another person to repeat the task. If you each land on a different point, rename the column or redraw the measurement line.
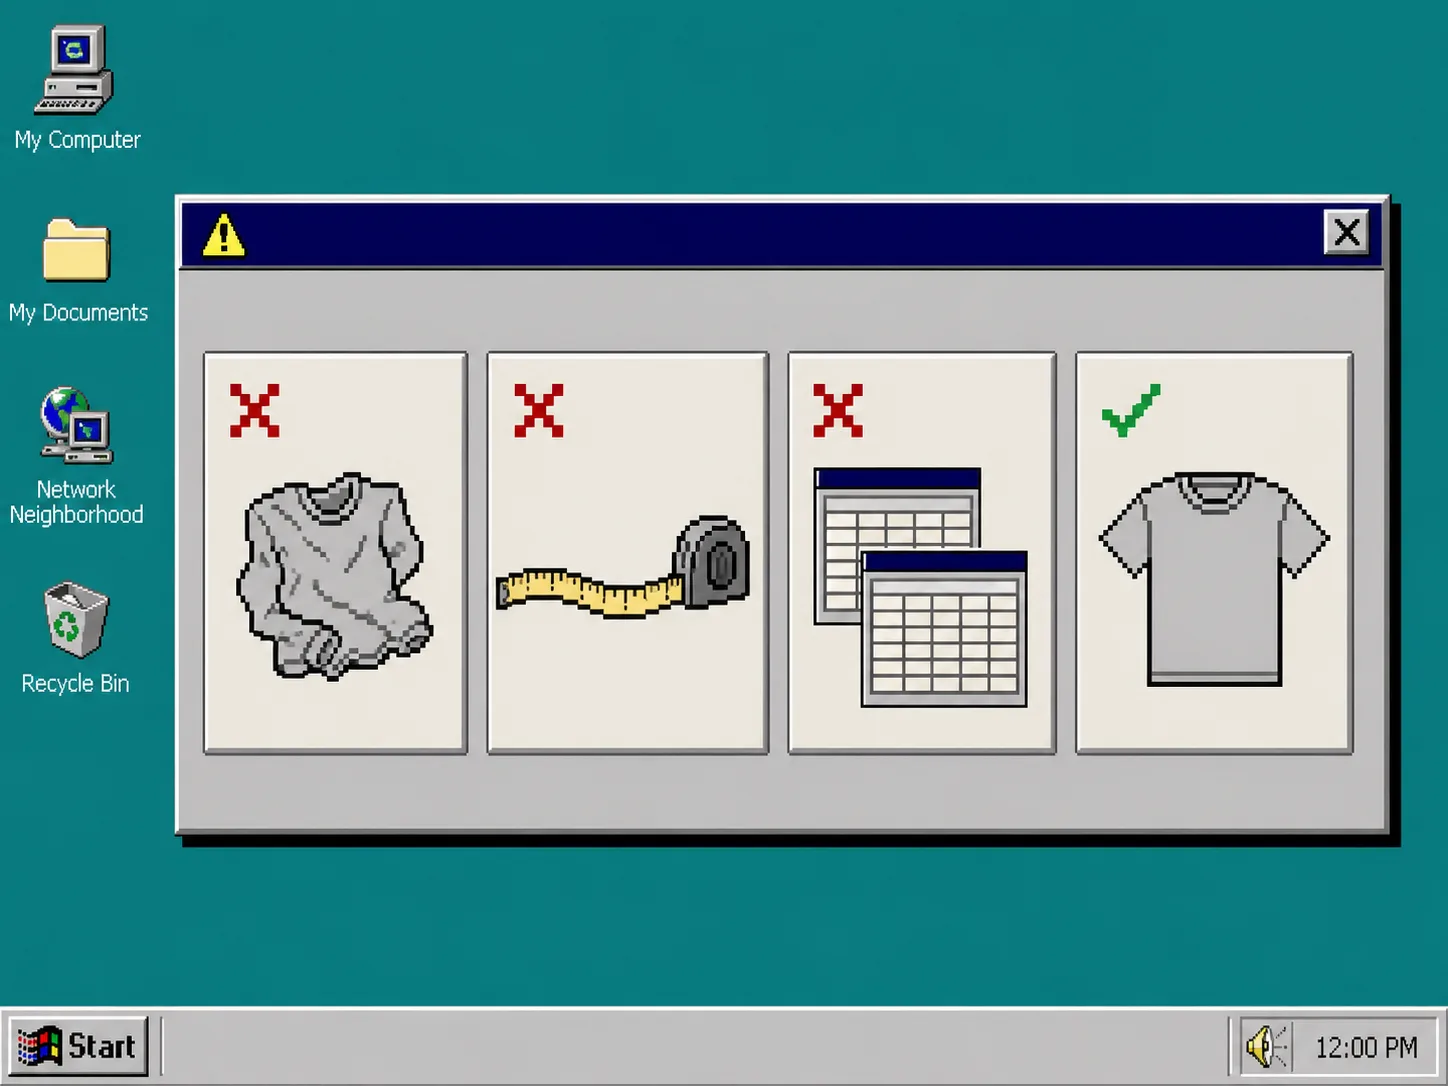
Troubleshooting common size-chart mistakes
- The chart fits some products but not others. Check the assignment rule first. A specific product rule can take precedence over a broader collection rule.
- Customers ask whether the number is around the body. Add “laid flat” to the note and describe the exact start and end points.
- The table looks correct but still creates hesitation. Add the matching measurement guide and confirm its labels mirror the column headings.
- Your team cannot update a chart without editing HTML. Move the table into the central chart editor. Supra Size Chart stores chart data in your Shopify metaobjects and supports CSV and JSON import/export.
Keep one measurement system your team can trust
A useful size chart makes the decision smaller: shoppers can see what to measure, compare it with an unambiguous number, and choose a size without guessing. Start with one high-return apparel collection, build the chart from a flat sample, and apply it with a collection rule. Then install the free Supra Size Chart app from the Shopify App Store to publish and maintain that system from one place.