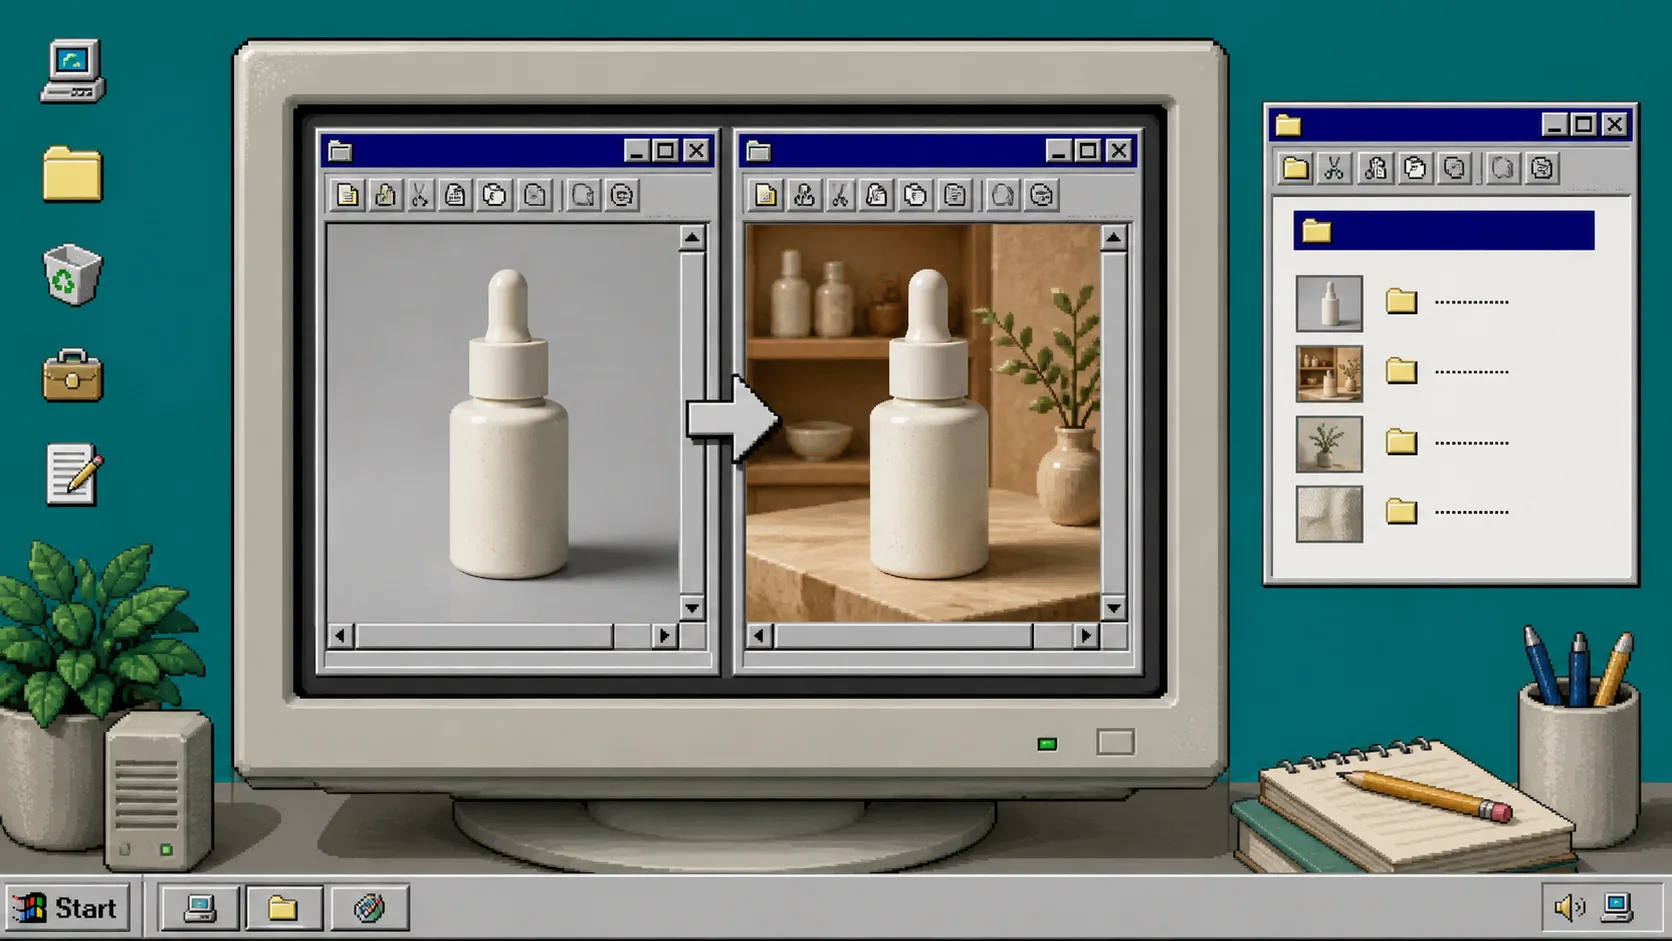
If a product looks pasted onto its new background, shoppers notice. The product may be sharp, but a clipped edge, wrong shadow, or unreadable label can make the whole product page feel unreliable.
This guide shows how to prepare one clean Shopify product image, turn it into a believable lifestyle scene, and review the result before it reaches your storefront. You need a clear source image, the product details you must preserve, and access to Supra AI Photo Studio. Its editor lets you select a Shopify product or upload an image, then use background tools and object placement without leaving the product workflow.
1. Start With a Product Image That Can Survive an Edit
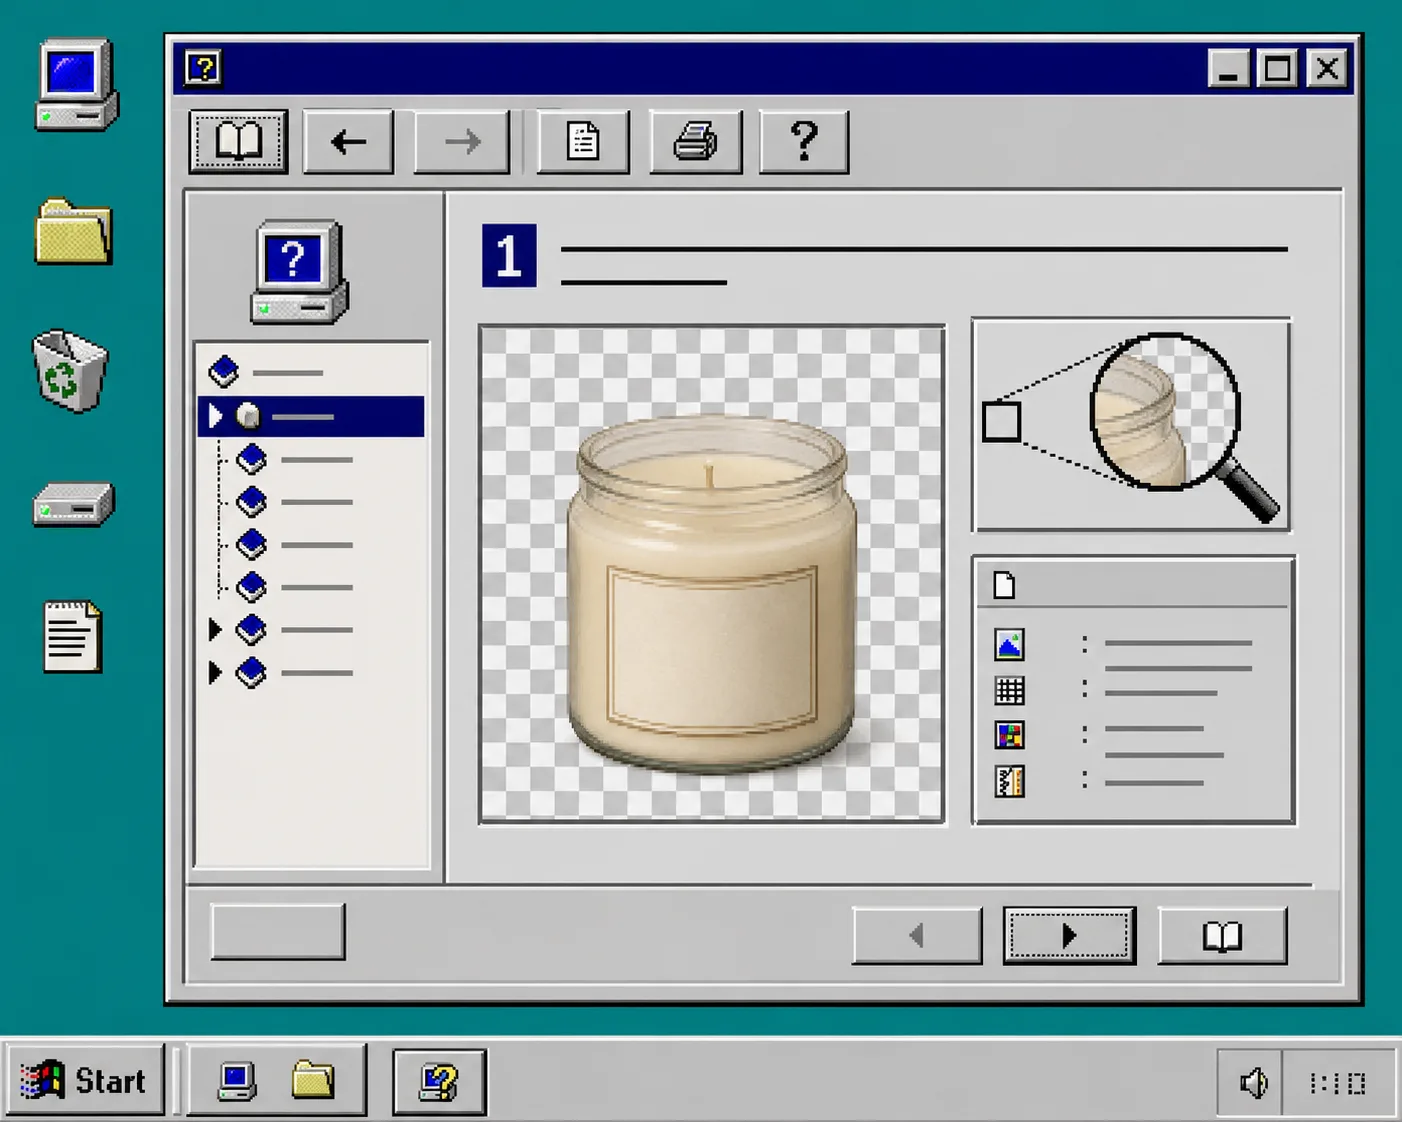
Open the product in Shopify, then open Supra AI Photo Studio and select the image you want to change. Choose the cleanest version: the full product should be visible, the label should be readable, and the outline should not blend into the original background. Avoid starting with a tiny, heavily compressed, or motion-blurred photo. The better the source, the less the new scene has to guess.
Before you make a new background, note the details that cannot change: color, label copy, material, hardware, pattern, and the product’s proportions. For apparel, include the seam placement and print; for a bottle, include the cap, label and finish. If you need a repeatable preflight, use the same image-quality checks from my three-pass photo publishing check.
What you should see: one source image where the product silhouette and important product details are easy to inspect at normal zoom.
2. Isolate the Product Before You Describe the Scene
Use the app’s background removal or isolate-product tool first. This gives the placement tool a cleaner boundary to work from and reduces the chance of old background colors leaking around the product. Zoom in around transparent materials, straps, handles, hair-like fibers, and reflective edges. Those are the places where a hurried background replacement looks worst.
Do not treat isolation as a final image. It is a working file. If you are unsure which source photo is strongest, make a short reusable Shopify product-photo shot list before generating more variants. That keeps the team from trying to repair a weak source with a prettier backdrop.
What you should see: a product that can sit on a neutral canvas without a halo, missing piece, or accidental crop.
3. Write a Placement Brief Instead of Asking for a Vague Lifestyle Photo
Open Object Placement and specify the scene in concrete pieces. State the setting, surface, camera angle, lighting direction, and mood. For example: “Place this amber skincare bottle upright on a matte stone shelf in a warm, minimal bathroom. Eye-level camera, soft window light from the left, subtle contact shadow, product label facing forward.”
A useful brief tells the tool what the product must do in the scene, not merely where it should go. Mention whether it should stand, lie flat, hang, or be held. Say where the empty space should be if your product page needs room for copy. Keep the scene consistent with the catalog; this photo-consistency workflow is helpful when several products need the same visual system.
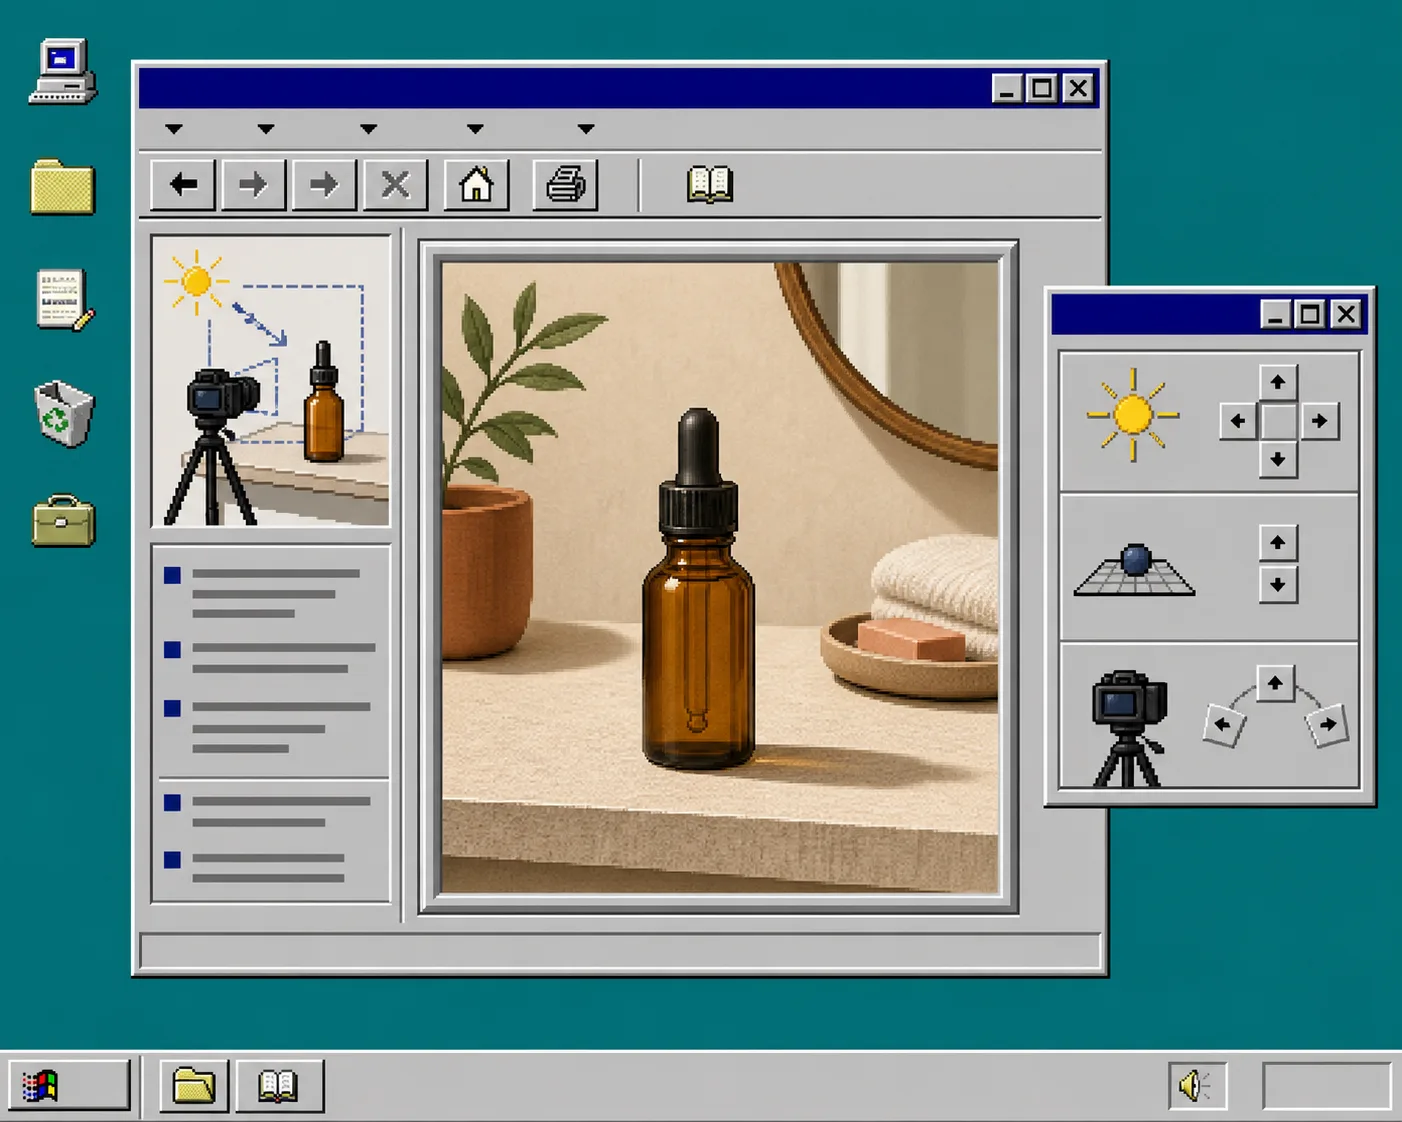
What you should see: a scene request that names the surface, light, viewpoint, and product orientation, with no contradictory instructions.
4. Generate One Controlled First Version
Generate a single version first. Do not immediately create ten scenes. Review whether the product itself remains accurate before you spend more image credits on styling variations. Supra AI Photo Studio can also improve resolution, sharpness, lighting, and background treatment, but use those adjustments to support the original product rather than to invent details.
Check the contact point. A bottle floating above a shelf, a bag with no weight, or a shoe with a shadow pointing the wrong direction is a signal to stop. Return to the brief and change one variable at a time: surface, camera angle, or lighting. Keeping changes small makes it clear what solved the problem.
What you should see: one candidate image where the product is still the same product, not a look-alike.
5. Run a Product-Truth Check Before You Publish
Compare the candidate beside the source. Check the product outline, label, color, finishes, quantity, and any claims printed on the packaging. Then check the scene: does the light land from one direction, does the shadow touch the product, and does the scale make sense? Review on both desktop and mobile, because tiny label errors can become obvious in a product gallery crop.
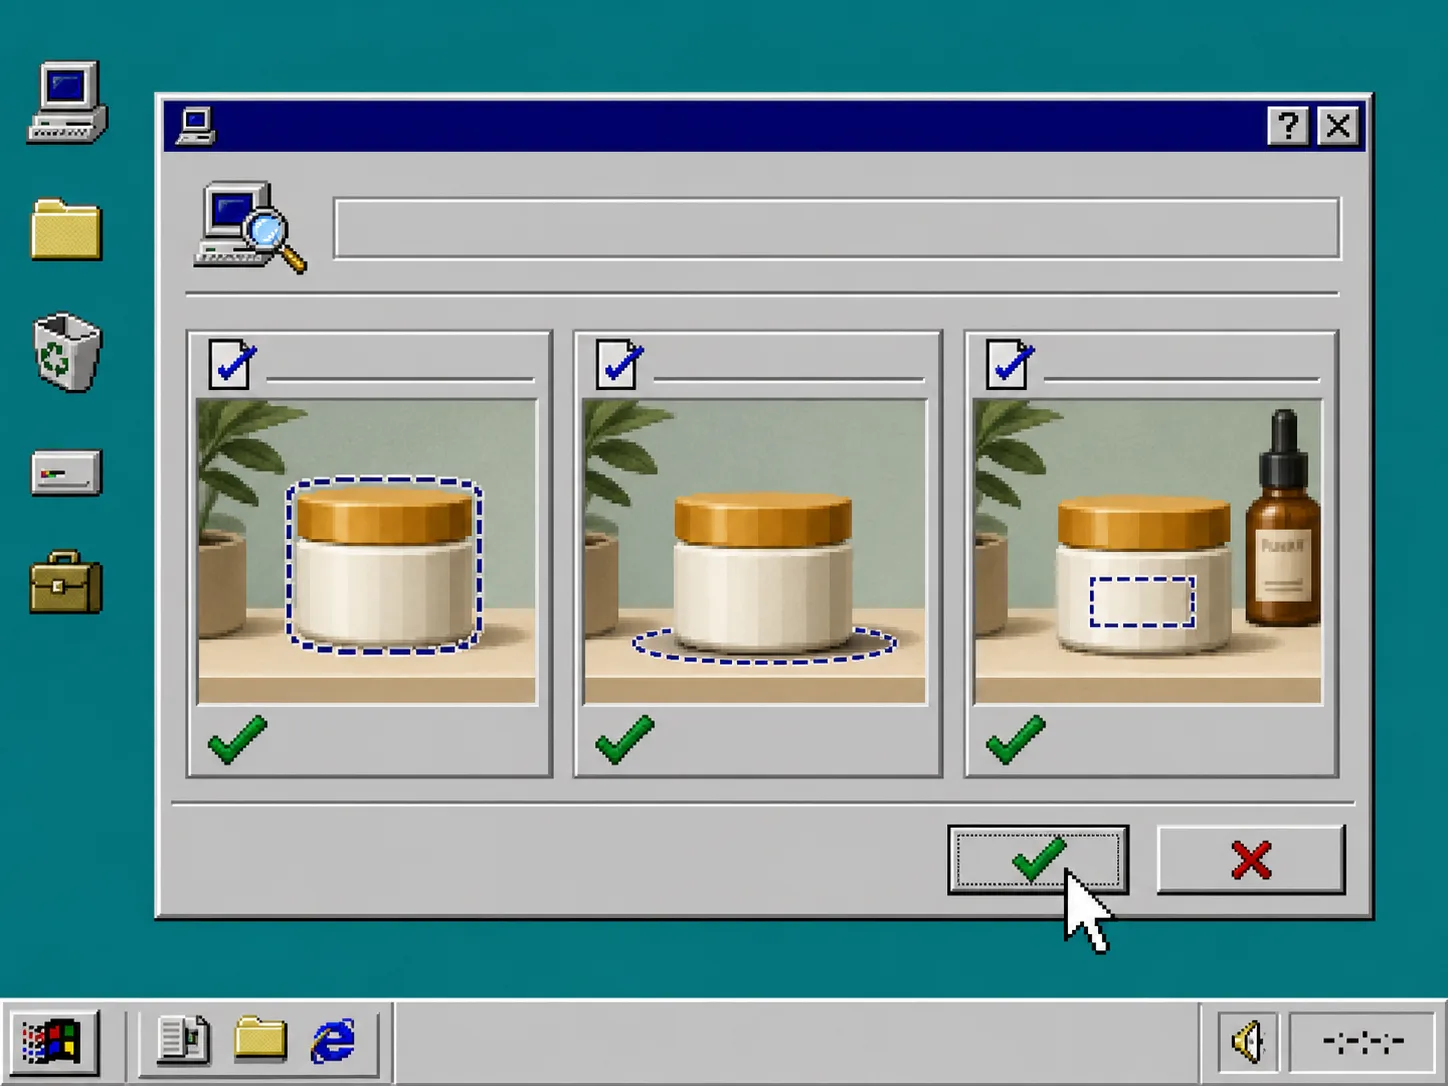
If the scene feels plausible but the product detail has drifted, reject it. A polished image that misrepresents the item is not an upgrade. For a more systematic keep-or-redo decision, adapt the simple review lanes from my Shopify photo decision system.
What you should see: an approved image with a clean edge, realistic contact shadow, accurate product detail, and a background that supports the page instead of competing with it.
Troubleshooting
The product has a fuzzy outline. Re-isolate it from a cleaner, higher-resolution source. Do not try to hide the edge with a busier background.
The product is the wrong color or shape. Use the original image as the reference and regenerate with a shorter scene brief. Call out the exact color, material, and label orientation that must stay fixed.
The image looks like a cutout. Add a clear surface, lighting direction, and a subtle contact shadow to the brief.
Several catalog images no longer match. Reuse the same scene components and review rules across the collection before publishing a new batch.
Finish With a Small Test, Then Scale
Replace one product background, add it to a draft product page, and compare it against the original in the actual gallery. If it improves context without changing the item, repeat the workflow for the next product. Start your first controlled replacement in Supra AI Photo Studio, then keep the winning brief as a template for the rest of the collection.