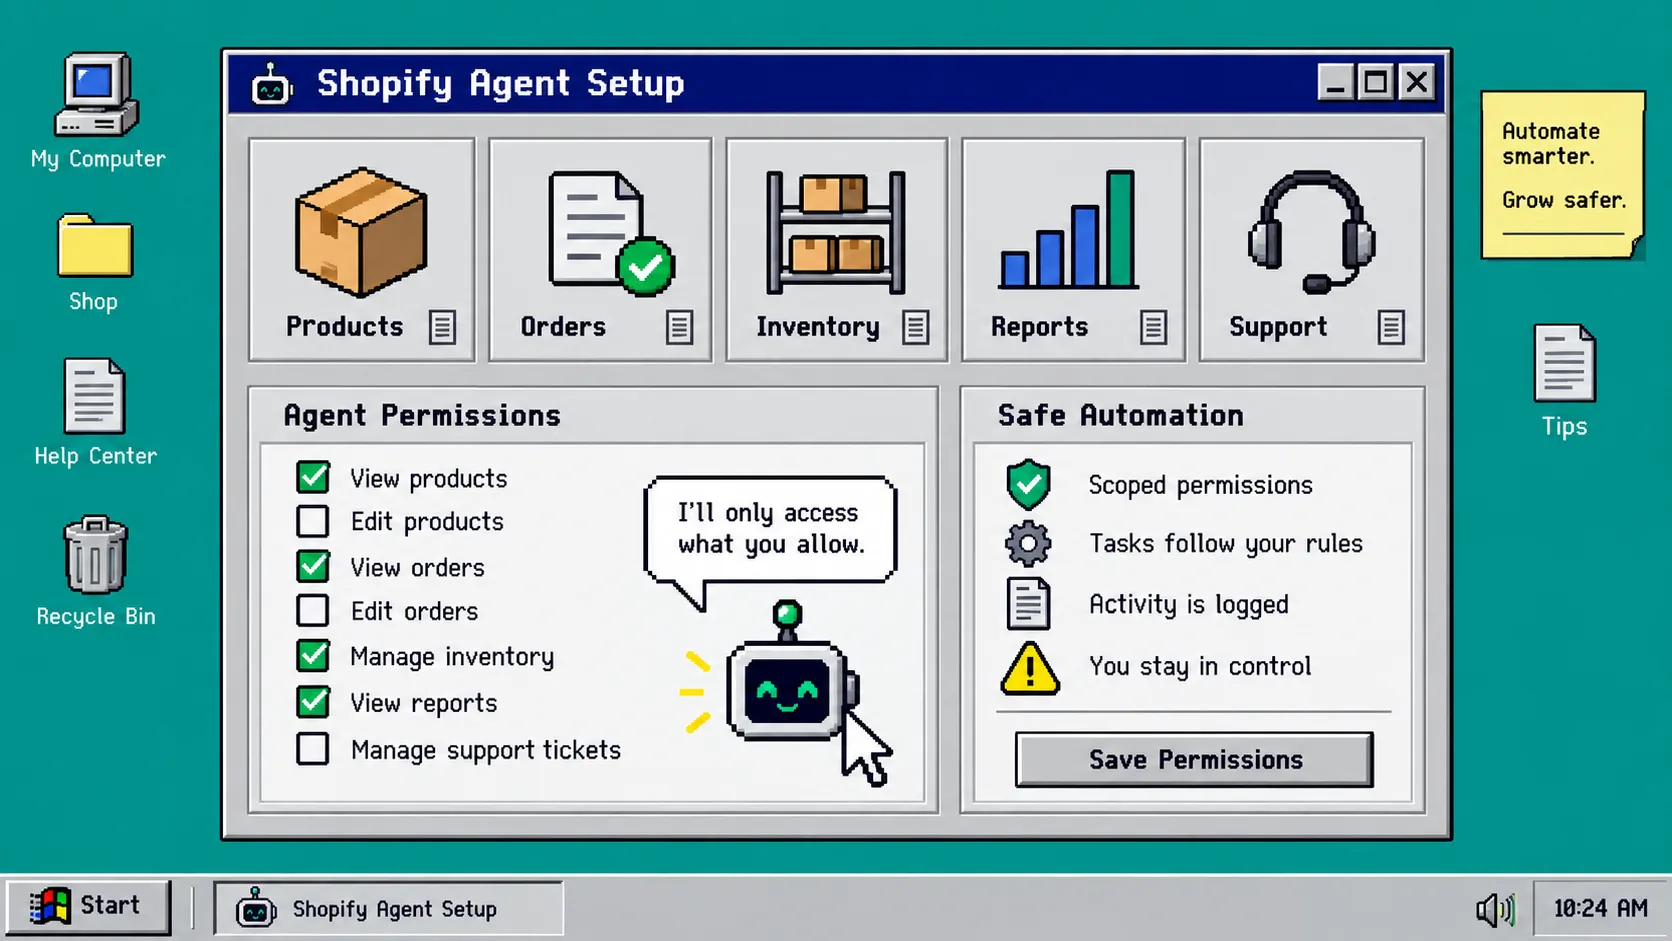
If you want an AI assistant to help run a Shopify store, start with a small job and a short permission list. You do not need to give a new agent the keys to every product, order, discount, and customer record on day one. This guide shows how to create a safe Shopify AI agent in Clawly, test one useful automation, and keep a person in the loop.
Before you start: have Shopify admin access, a clear first task, and a person who can receive alerts. For this first setup, use a task that reads information and sends a notification rather than one that changes store data.
Clawly is an AI Agent for Shopify designed for store operations, marketing, monitoring, and support. Its useful safety feature is scope: you choose which integrations and actions an assistant can use. That makes it a practical way to try Shopify automation without pretending the agent should run unattended.
1. Pick one read-first task
Open Clawly and create a new assistant. In the instruction field, write one concrete outcome. A good first instruction is: “Every morning, review yesterday’s orders, list revenue and top sellers, flag unusual changes, and send me a summary. Do not edit products, orders, or discounts.”
Avoid a vague instruction such as “manage my store.” It is hard to test and hard to permission safely. A daily report, low-inventory alert, product-data check, or support-reply draft gives you an obvious result to inspect. If you are still deciding what deserves automation, the Shopify automation escalation ladder is a useful way to separate safe drafts from actions that need approval.
2. Connect only the tools the task needs
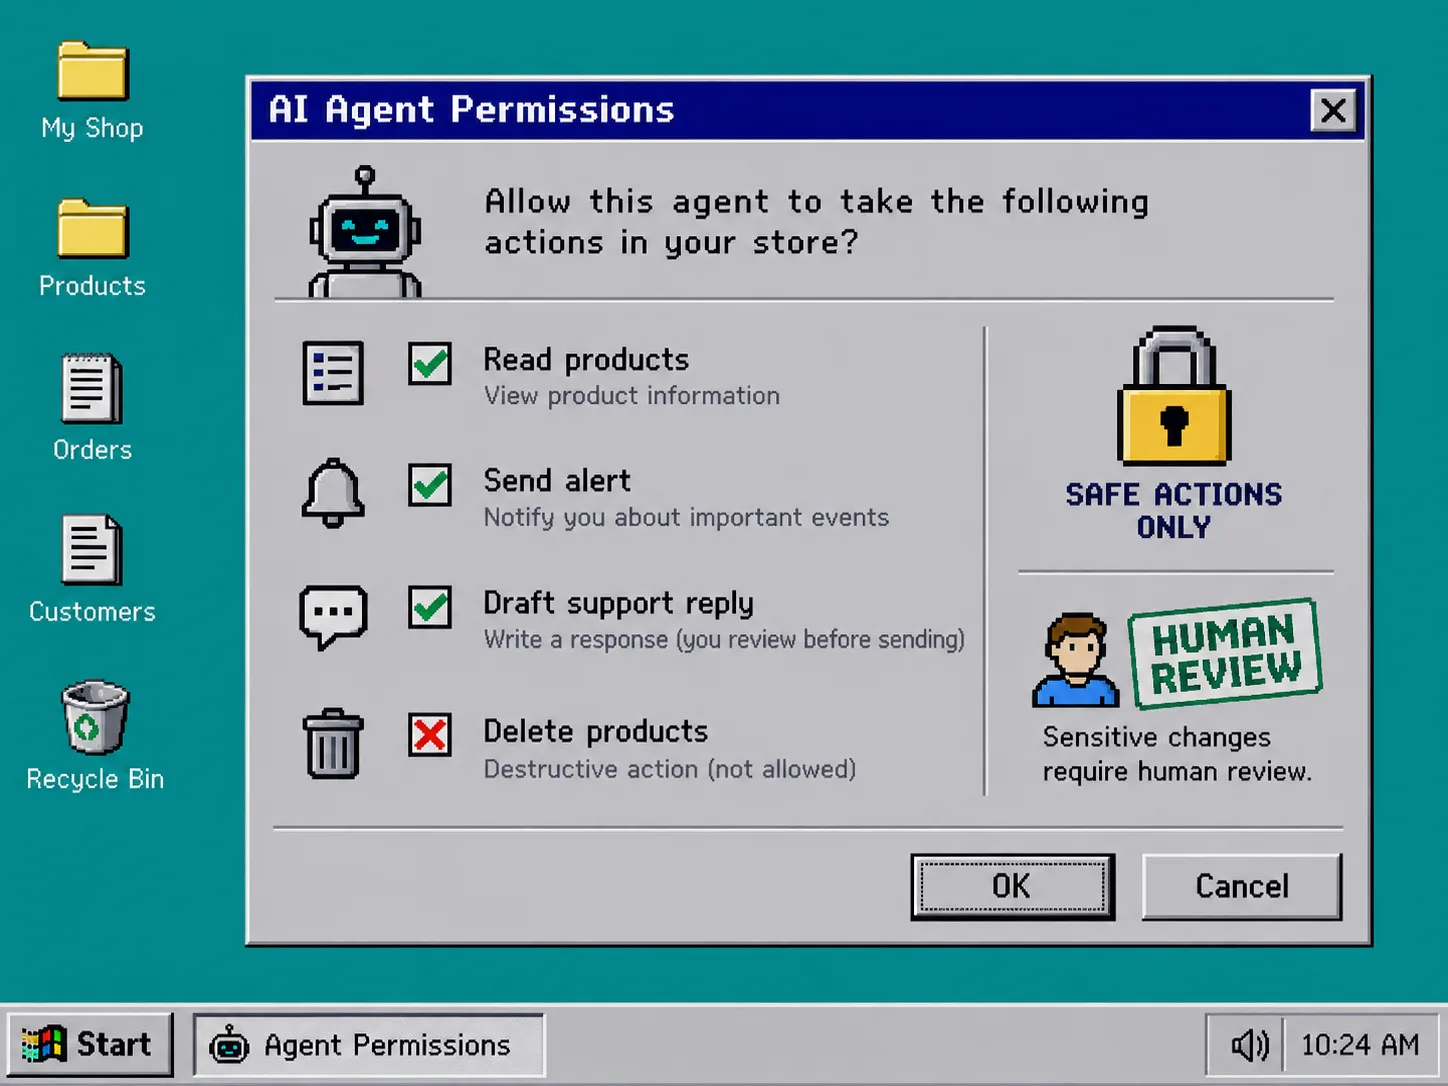
Open the assistant’s integrations or tool-access settings. Enable Shopify access for the data your first task actually uses. For a morning report, that may mean order and product data plus one destination for the alert, such as email, Slack, or Google Sheets.
Leave unrelated integrations disabled. An agent that sends a low-stock notification does not need access to advertising accounts, customer messaging, or discount creation. Clawly supports Shopify and connected tools such as Google services, Klaviyo, Notion, Instagram, and more, but an available connection is not a reason to activate it.
After saving, confirm that the assistant can see the allowed tools and nothing else. You should be able to explain its access in one sentence: “It reads orders and products, then sends a report to this channel.”
3. Set the narrowest useful permissions
In the permission controls, start with read access and notification access. Keep create, update, delete, publishing, and sending permissions off until the assistant has earned more trust through repeated review.
For example, a low-inventory assistant can read stock levels and send an alert. It does not need permission to change inventory. A product optimizer can draft titles, tags, and descriptions, but the merchant should approve the copy before it replaces a live product field. This is the same reason a good content workflow uses an approval queue instead of publishing every draft automatically; see how to plan seasonal Shopify content with draft-first automation.
Write the boundary into the instruction too: “When a change is needed, prepare a recommendation and notify me. Do not apply the change.” Settings are the control; plain-language instructions make the intended behavior obvious to the person reviewing the assistant later.
4. Build a schedule and a human checkpoint
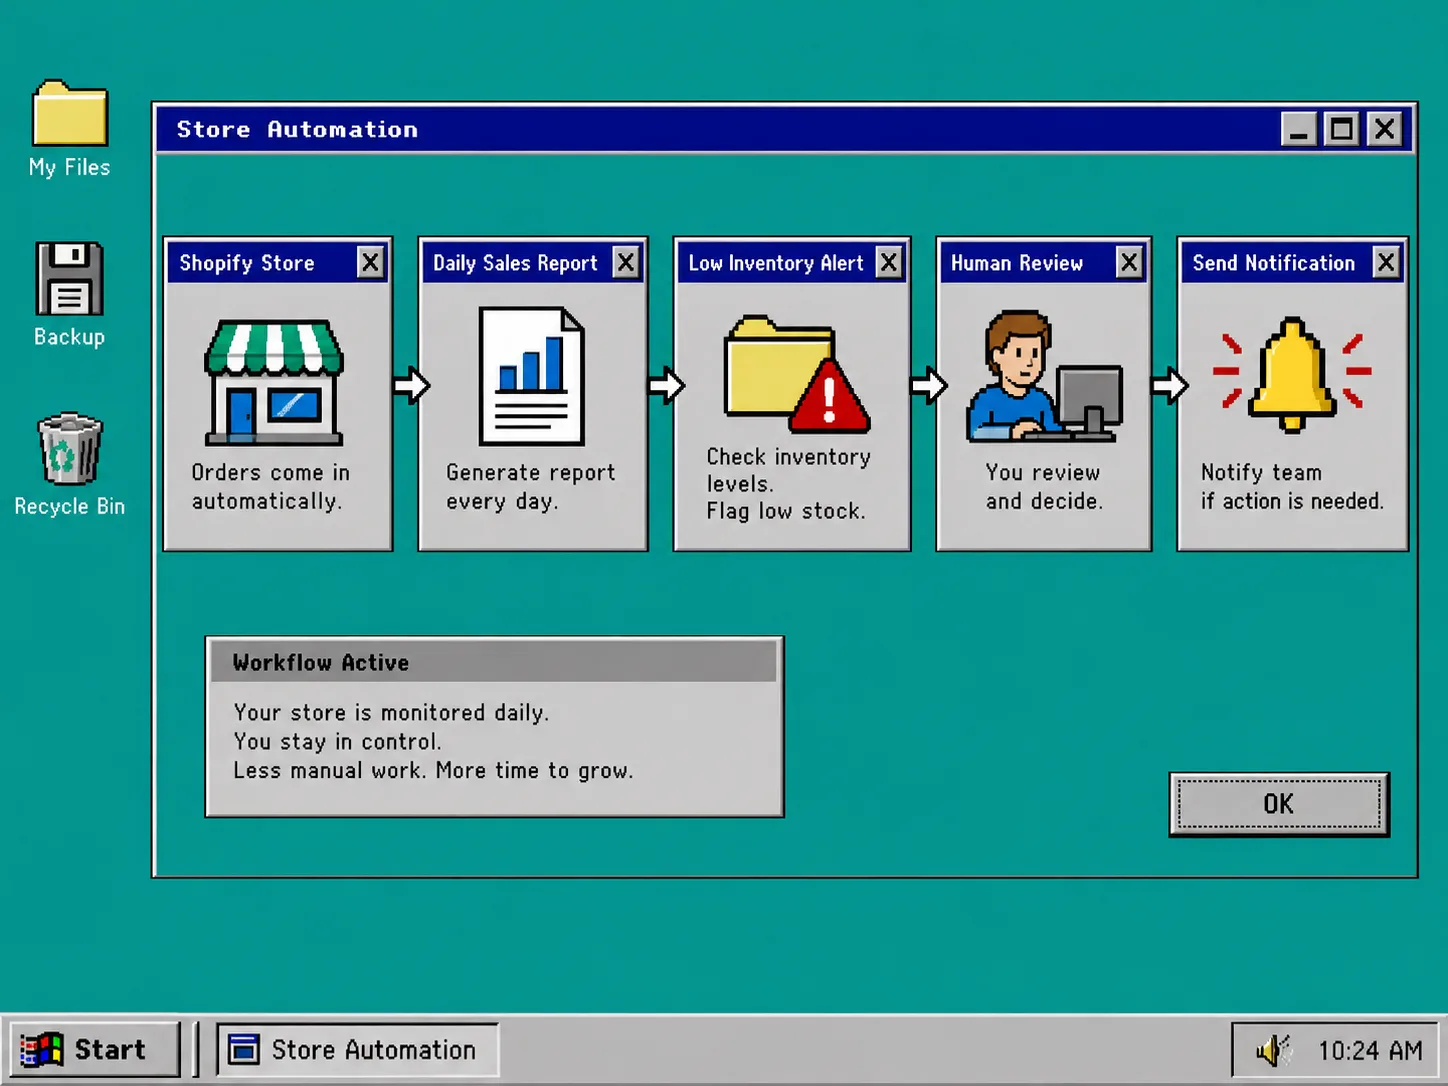
Create a recurring automation for the assistant. Choose a calm cadence first: daily for a sales report, hourly or daily for an inventory check, or weekly for a catalog review. Define the destination and the expected report format.
Add a checkpoint where the output becomes useful. A good report includes the time range, the items checked, the anomaly or threshold that triggered the notice, and the recommended next step. It should not just say “something changed.”
Use the first week to tune thresholds. A sudden sales spike may be normal after an email campaign; a low-stock alert may need a different threshold for a best seller than for a slow-moving accessory. If the task grows into product-page maintenance, pair it with a consistent information layout such as the approach in How to Organize Shopify Product Information With Tabs and Accordions.
5. Run a supervised test
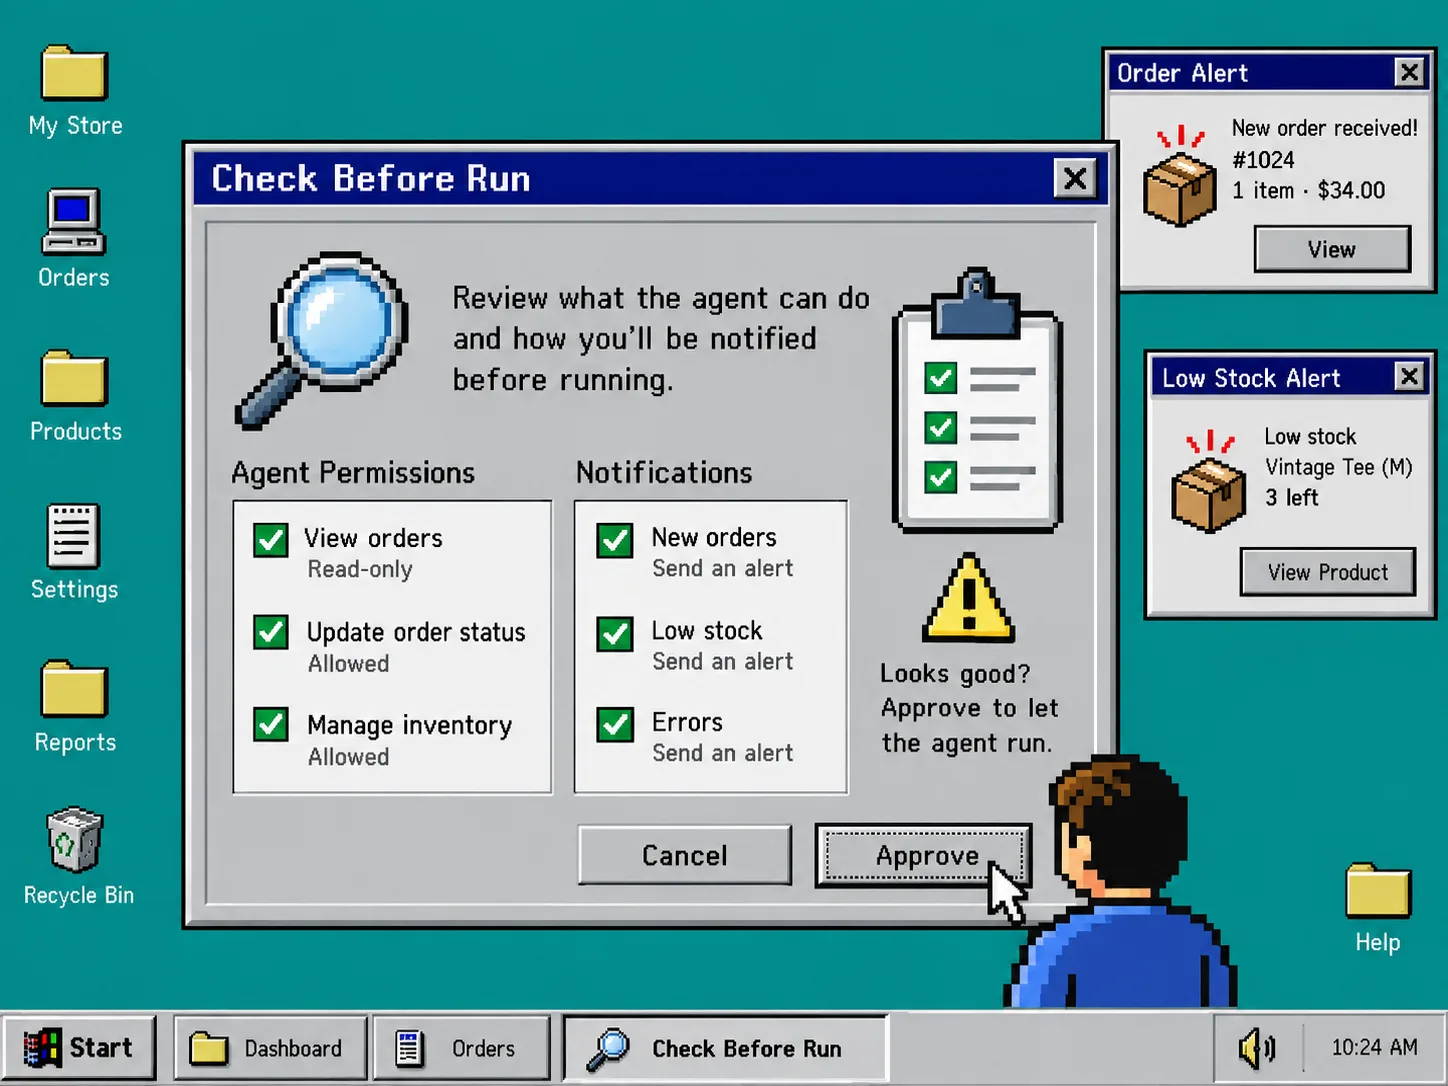
Run the assistant once while you are present. Check three things: whether it used only the enabled sources, whether the result is accurate enough to act on, and whether the alert reached the right person. Compare a few numbers with Shopify Admin instead of accepting a polished summary at face value.
Then make one controlled adjustment. You might improve the report instruction, narrow the data it reads, or change the alert threshold. Do not increase permissions merely because the first result was helpful. First prove that the narrow version is dependable.
A similar staged approach works for storewide work: test one small batch before scaling a catalog change, as described in How to Prepare an Etsy Catalog for a Safe Bulk Edit. The platform is different, but the operating habit is the same.
Troubleshooting
The assistant has too many options. Disable every integration that is not required for the current task. Add one later only when you can name the value and the permission it needs.
The report is vague. Add exact fields to the instruction: date range, revenue, top sellers, low-stock SKUs, anomalies, and a recommended next action.
The agent suggests a risky change. Keep the task in draft-and-notify mode. Review its evidence, make the change manually, and revise the instruction before granting any new capability.
Alerts are noisy. Raise the threshold, reduce the schedule, or tell the assistant to group related findings into one digest.
Next step
Your first Shopify AI assistant should be boring in the best way: it reads a small set of data, produces a repeatable signal, and tells a human what to check. Once that works reliably, you can add a second workflow for product cleanup, support drafts, or marketing preparation.
To start, install Clawly from the Shopify App Store, create one read-first assistant, and run its first report while you watch the result.