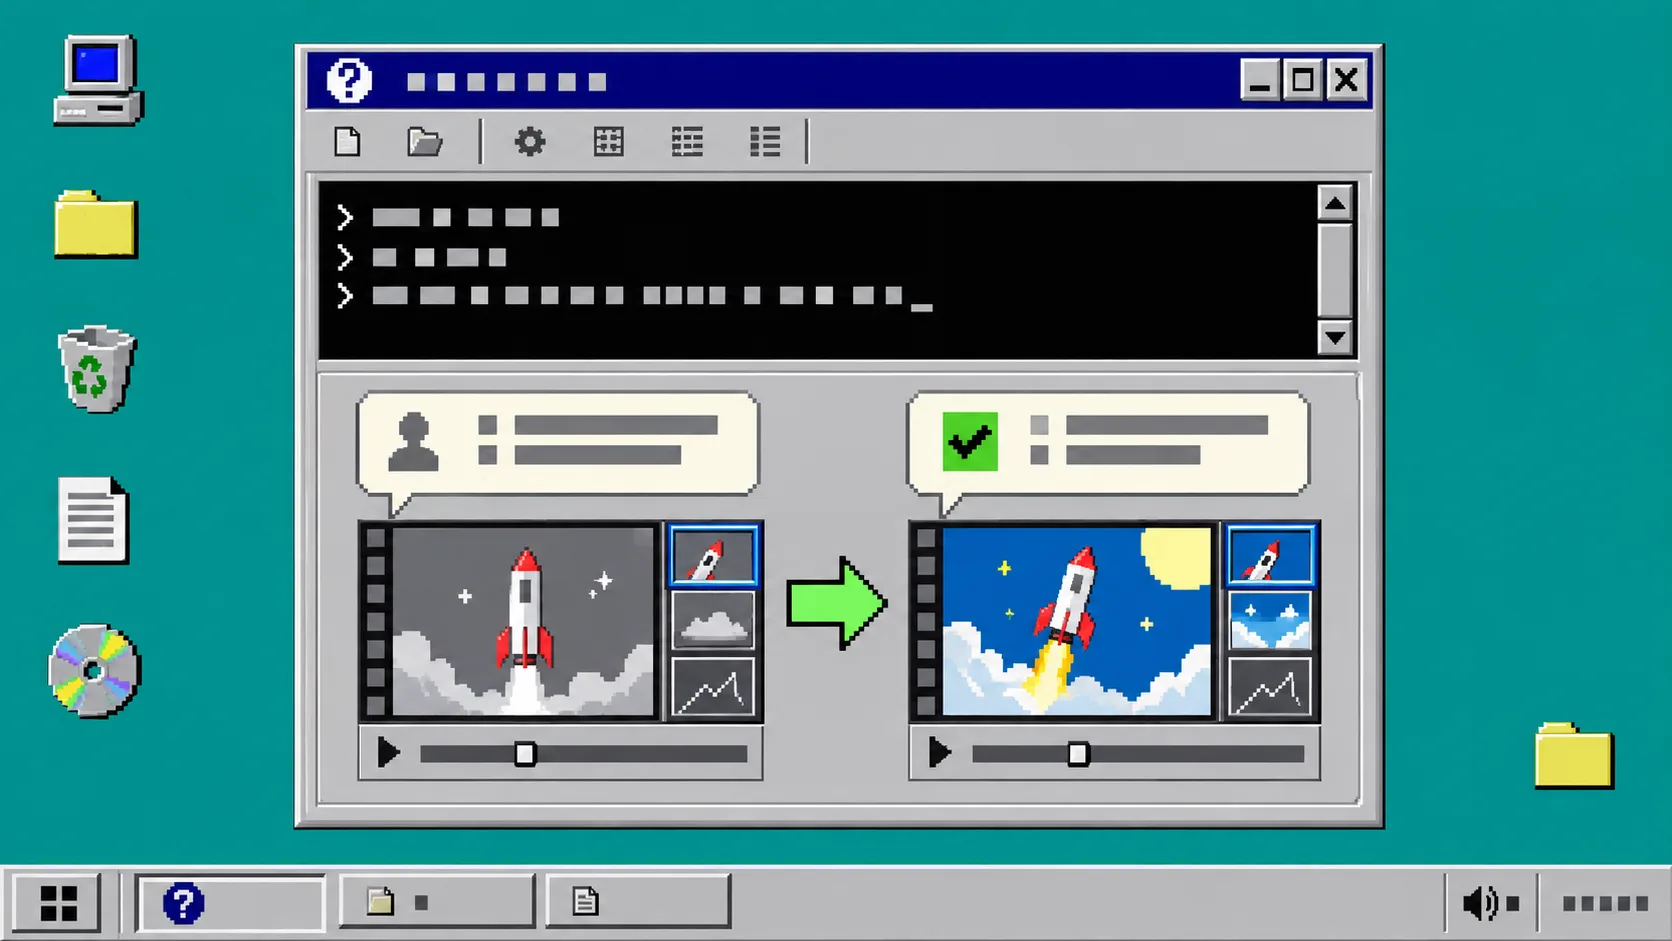
If your startup video is nearly right but the pacing, emphasis, or end card is wrong, you should be able to correct it without reopening a giant production project. VideoFlow Studio is designed for that job: it reads a website, makes a planned motion-graphics film, reviews rendered frames, and keeps an editable document behind the export. You direct it from your own terminal with plain-language feedback.
You need a public startup or product URL, a terminal, and a clear idea of what the viewer should understand by the end. This guide shows a small, repeatable revision loop. It is about VideoFlow Studio, the operator-facing product; the open-source VideoFlow engine is the underlying video and editor stack.
1. Write the change before you run anything
Start with one observable request. Avoid notes like “make it better.” Write what changes on screen, where it changes, and why. For example: “Shorten the opening problem scene, bring the product UI into the first ten seconds, and make the final call to action easier to read.”
That sentence gives you a review target. If you are still deciding what the film should say, make a quick source list first: audience, product promise, proof, and next action. Our guide on turning customer research into a SaaS launch video brief is useful here.
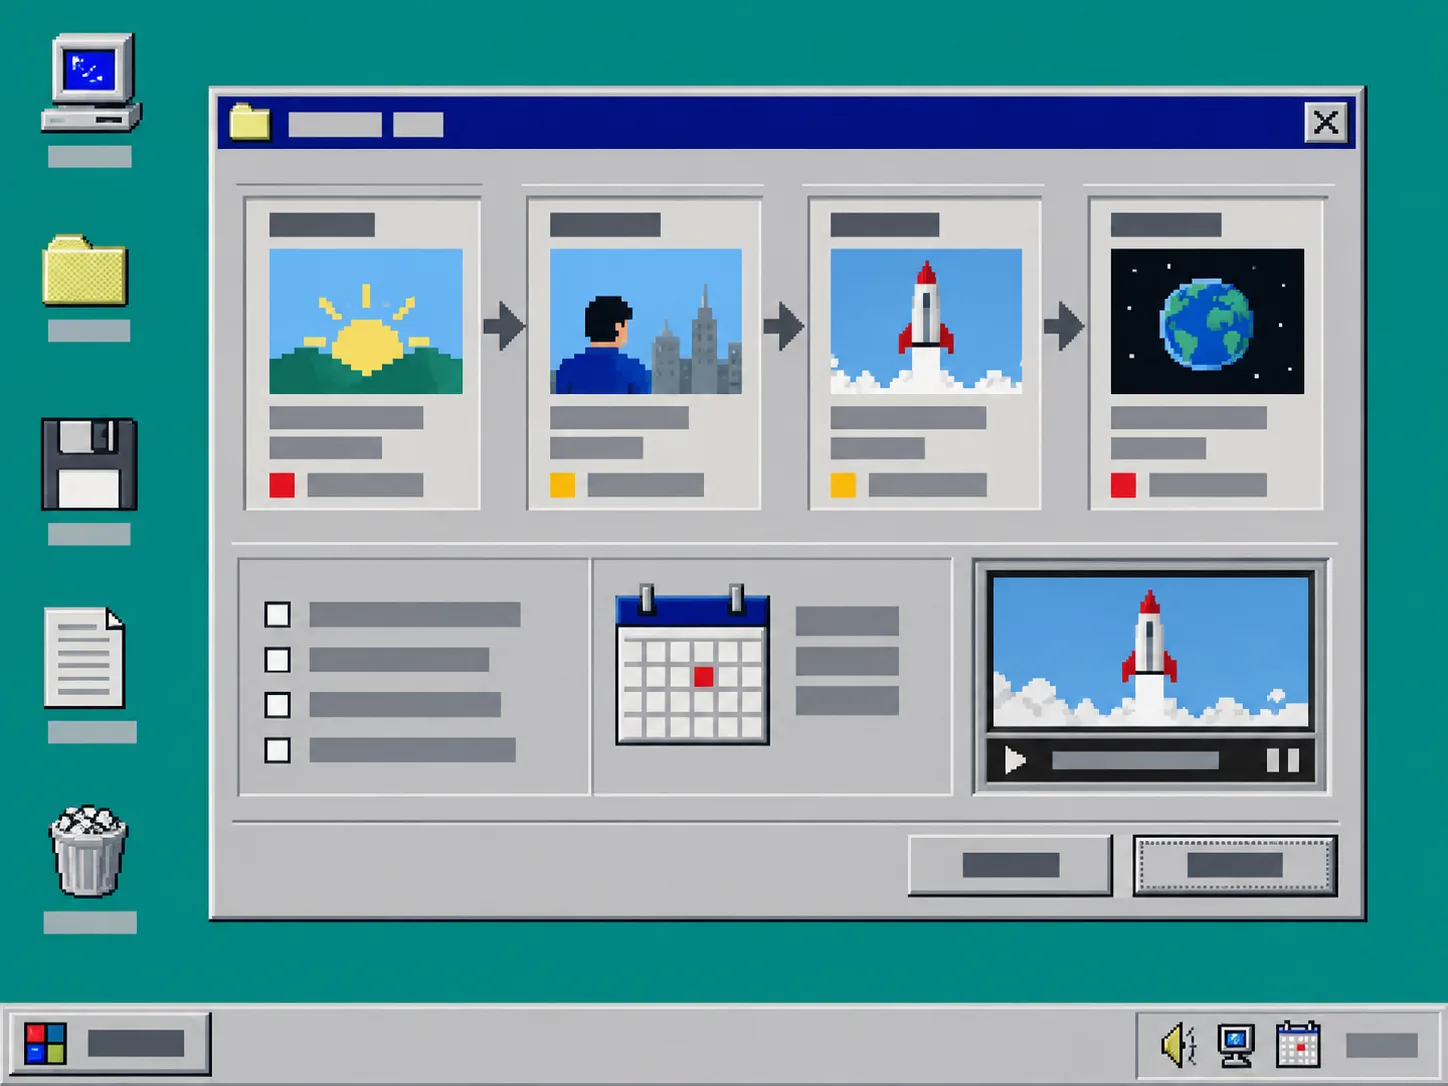
Keep the revision list short. One pass can address narrative order; a second can address visual polish. Combining ten unrelated opinions makes it hard to tell which change helped.
2. Start Studio from the project folder
Open a terminal in an empty working folder or the folder where you keep launch materials. Run:
bash\nnpx @videoflow/studio\n
Give Studio the public URL it should use. It reads the product, category, brand cues, and likely narrative angle, then develops a structured plan before the final render. You should see a plan and a first motion-graphics version to review rather than a locked, one-shot clip.
Use the website as your factual source, not as a script you must copy. Check the claims in the proposed scenes against your page. Remove feature language you cannot support, and make sure the opening scene answers the problem a visitor actually has.
3. Review the first render like a product page
Watch the video once with sound on, then once with sound off. On the silent pass, check whether the story works through timing, hierarchy, and readable on-screen content. Inspect the opening, the first product reveal, any UI or proof moment, and the end card.
Make a small checklist: does the logo or key UI have room to breathe? Does every scene have one job? Is the call to action visible long enough? Does a claim stay on screen long enough to understand? This is the same discipline behind a launch-video approval checklist before final render.
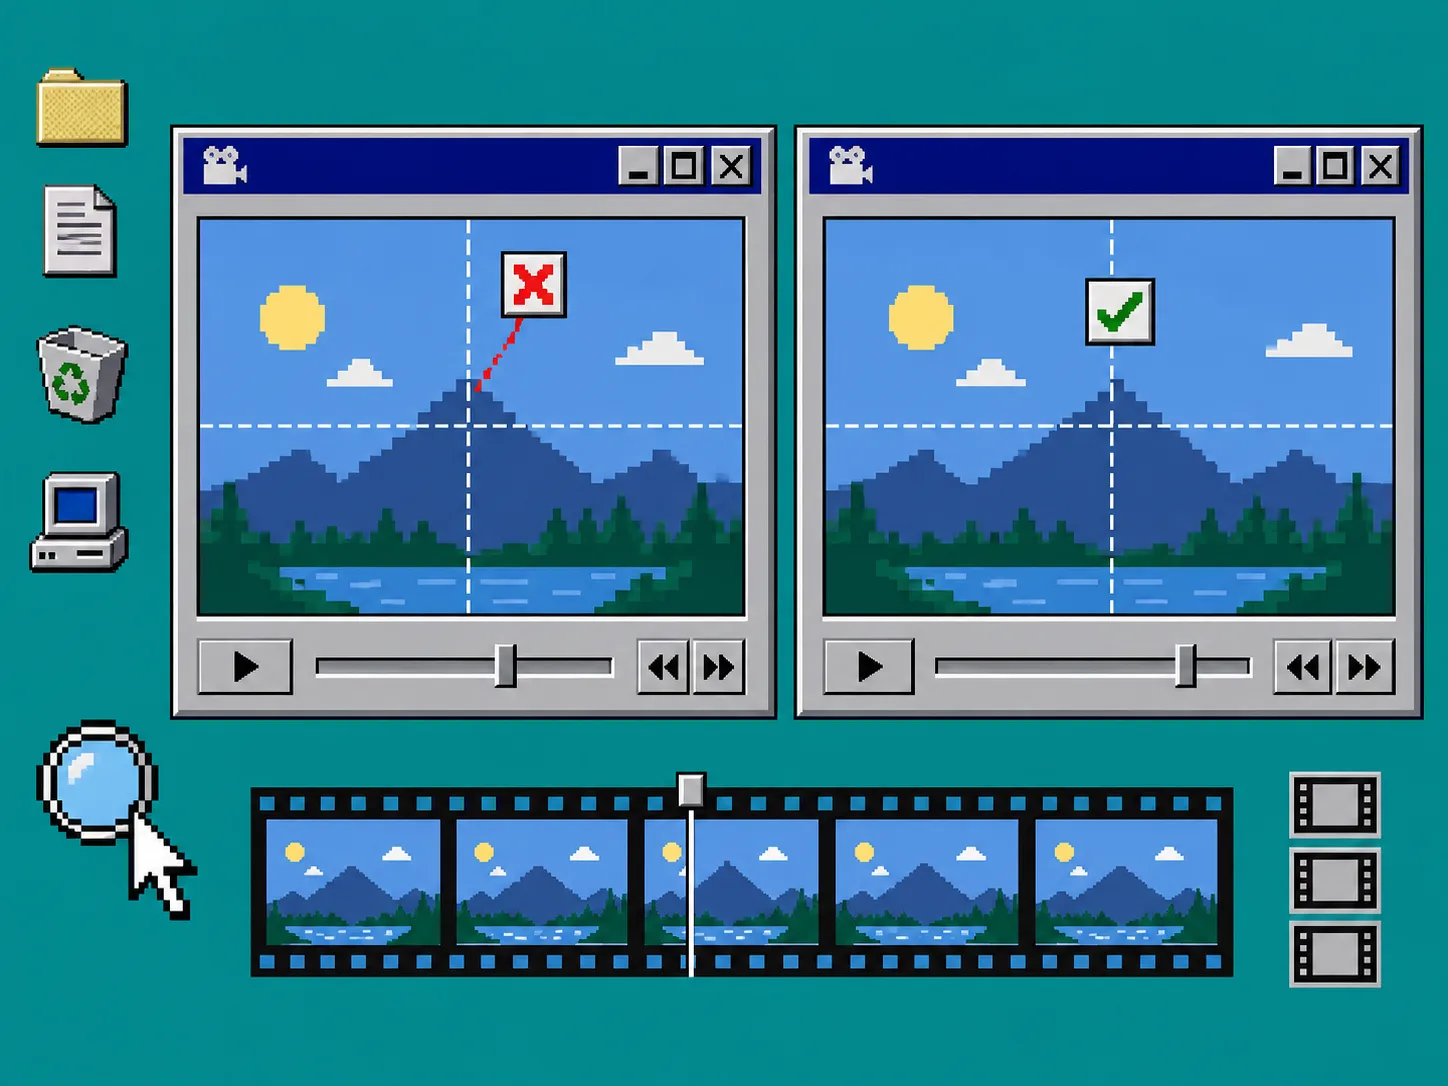
Studio’s workflow includes visual review of encoded frames, so alignment and contrast issues can be caught and corrected before delivery. Still watch the film yourself: a technical pass can find a bad edge, but only you can decide whether the story makes sense for your launch.
4. Send a single, testable revision request
Describe the change in ordinary language. Name the scene or moment, the desired result, and any rule that must remain fixed. A useful request looks like this:
text\nKeep the product colors and overall structure. In the opening, show the product interface sooner. Replace the long feature list with one clear benefit, and hold the end card for two more seconds.\n
Then render again and compare the same moments. Do not change your acceptance criteria halfway through the pass. If you are working with a client, agree on those criteria before you send the draft; it is the practical version of the approval-before-first-cut workflow.
5. Use the editor when a manual adjustment is faster
A natural-language revision is helpful when the change affects the story or several elements. Use Studio’s built-in editor when you need a precise manual adjustment to layers, timing, colors, or text. The important bit is that the editable video document remains connected to the workflow instead of becoming a dead render.
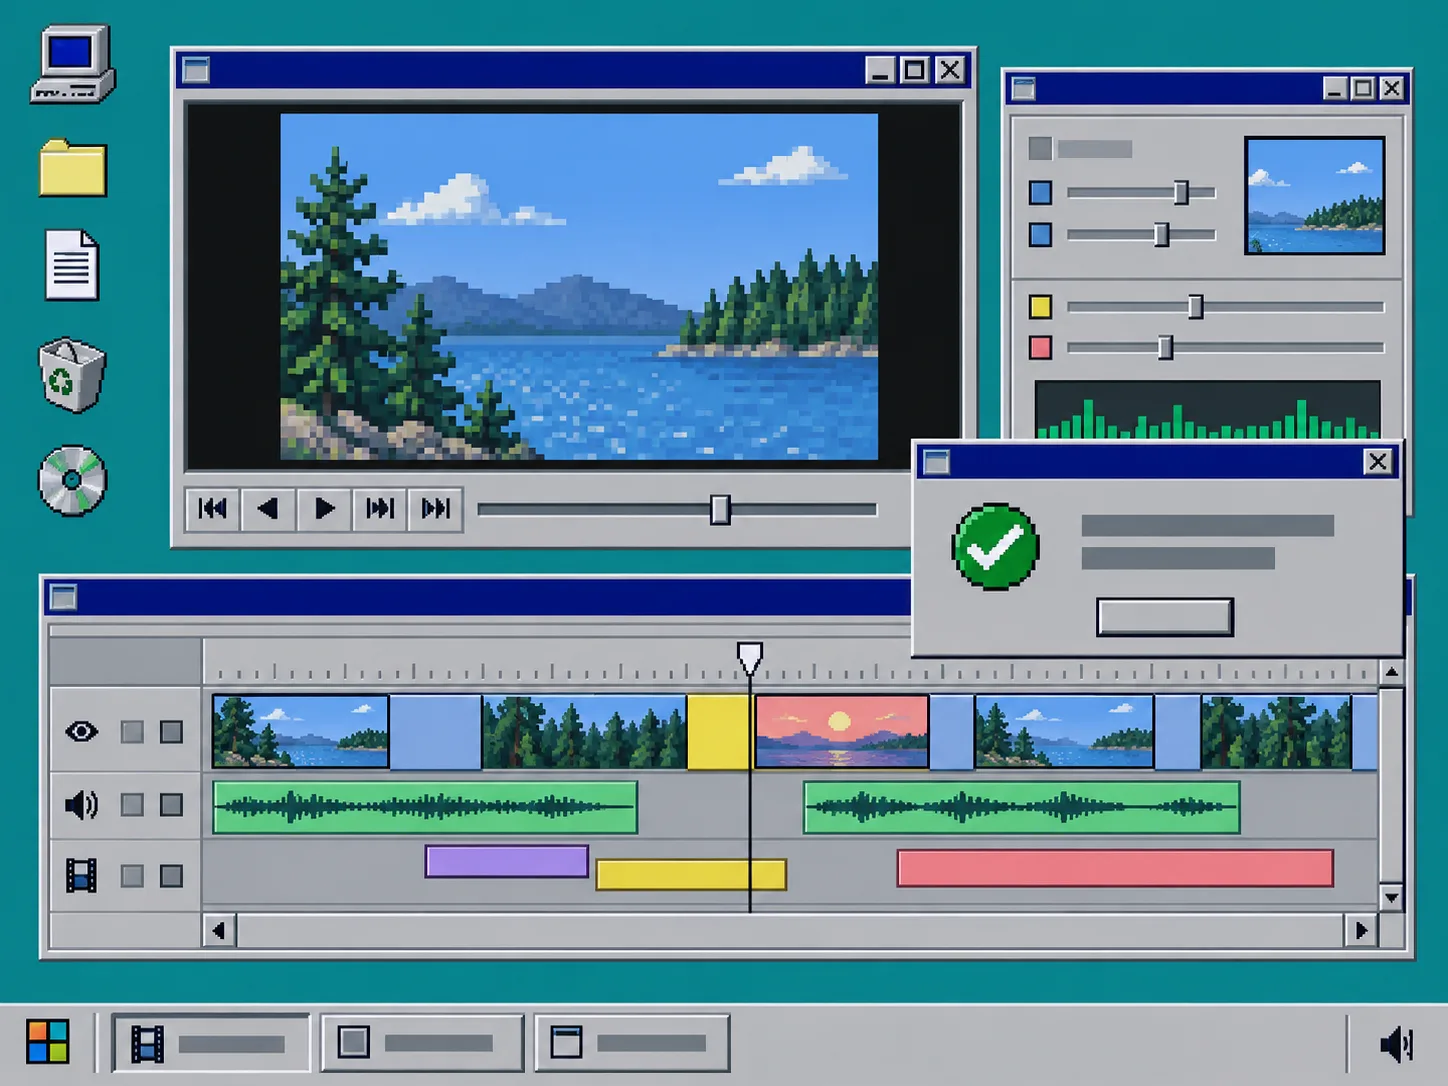
For example, you may want to nudge an end-card pause, replace a word that legal approved, or adjust a color to match the site. Make the narrow edit, re-render, and inspect the changed area at normal playback speed. The broader terminal-first flow is also covered in how to turn a website into a launch video from the terminal.
6. Export only after the final check
Before you send the file, watch the final export on the device or size that matters most. A desktop preview can hide a too-small CTA or a thin line that disappears on a phone. Confirm the opening frame, the product name, the CTA, and the last second of the export. Keep the editable document with the launch folder so the next release can start from a working source.
Troubleshooting
The revision feels vague. Rewrite it as a visible before-and-after result. Specify the scene and the constraint that must stay unchanged.
The video looks polished but tells the wrong story. Return to the brief. Put the audience problem before the feature list, then render again.
A frame looks misaligned or hard to read. Identify the exact timestamp and describe the defect. Ask for a correction, render, and compare the same frame rather than reviewing the entire film from scratch.
You need more control than a sentence can express. Open the built-in editor and adjust the relevant layer, timing, color, or text. Then keep the revised document as the source of truth.
Recap
A useful startup launch video is not finished at the first render. Plan the story, review the output, request one testable change at a time, and make precise edits when needed. Start a reviewable URL-to-video workflow at VideoFlow Studio, then keep the editable result for the next launch update.