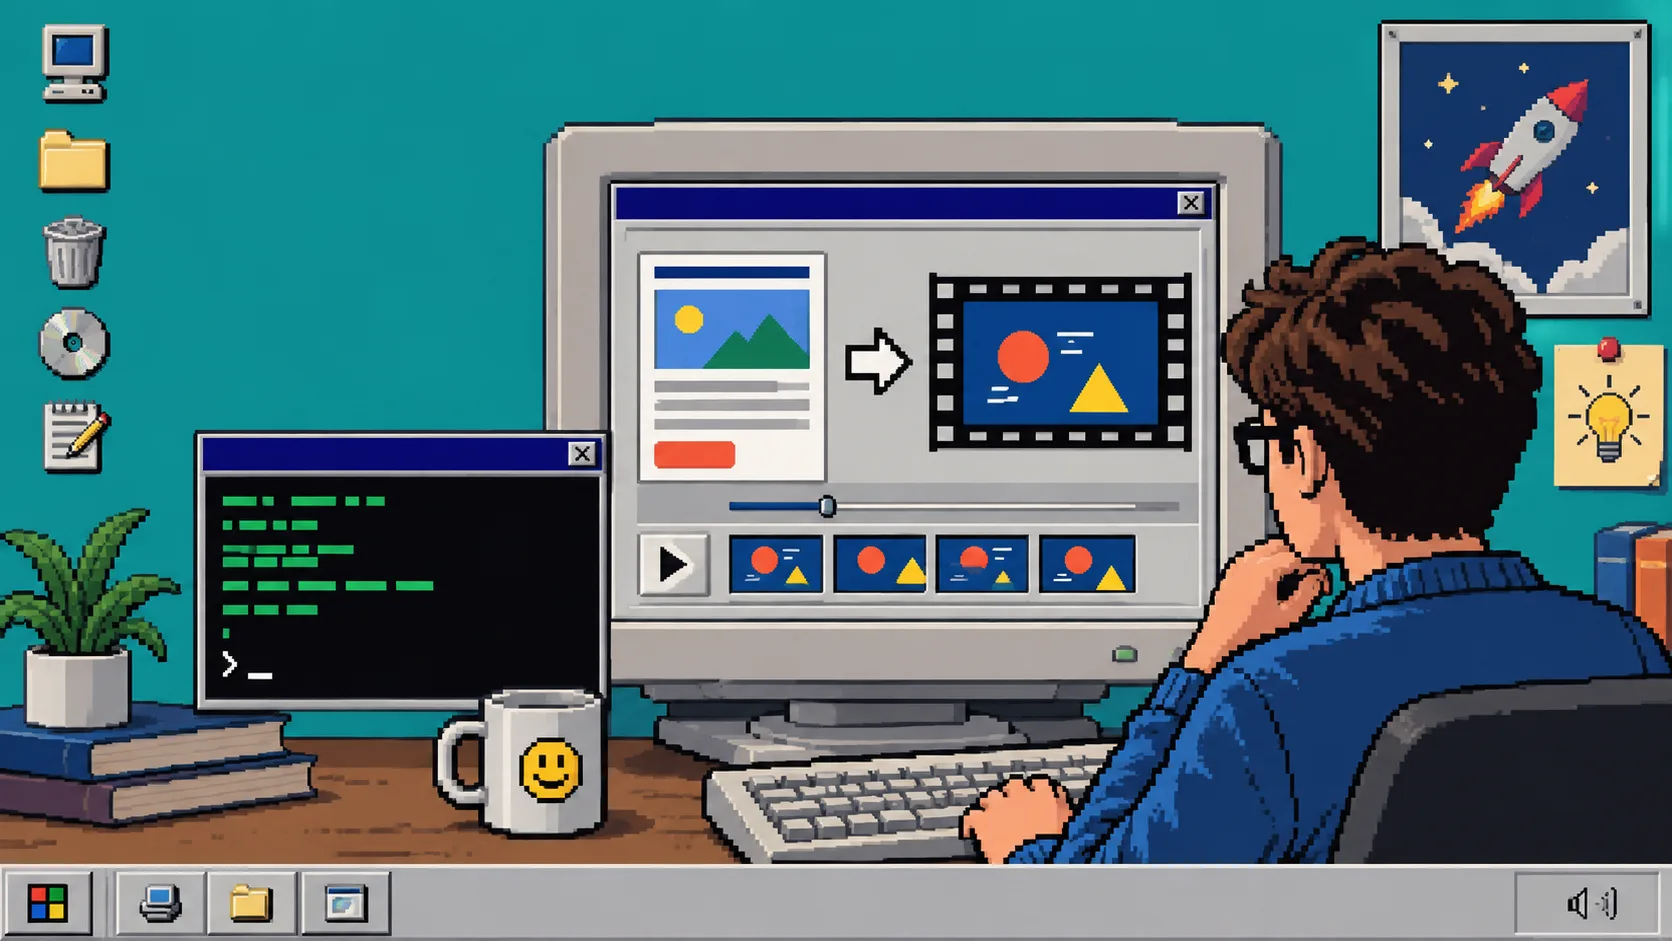
You do not need to start a product launch video with a blank timeline. If your startup website already explains the problem, product, and next action, it can be the raw material for a useful first cut. You need a live URL, access to your terminal, and a clear idea of the one action you want viewers to take.
This guide shows how to use VideoFlow Studio to turn that URL into a reviewable motion-graphics launch video. Studio is the terminal-first product built on the open-source VideoFlow engine. The important part is that the result stays editable; you are not accepting a one-shot clip and hoping it is right.
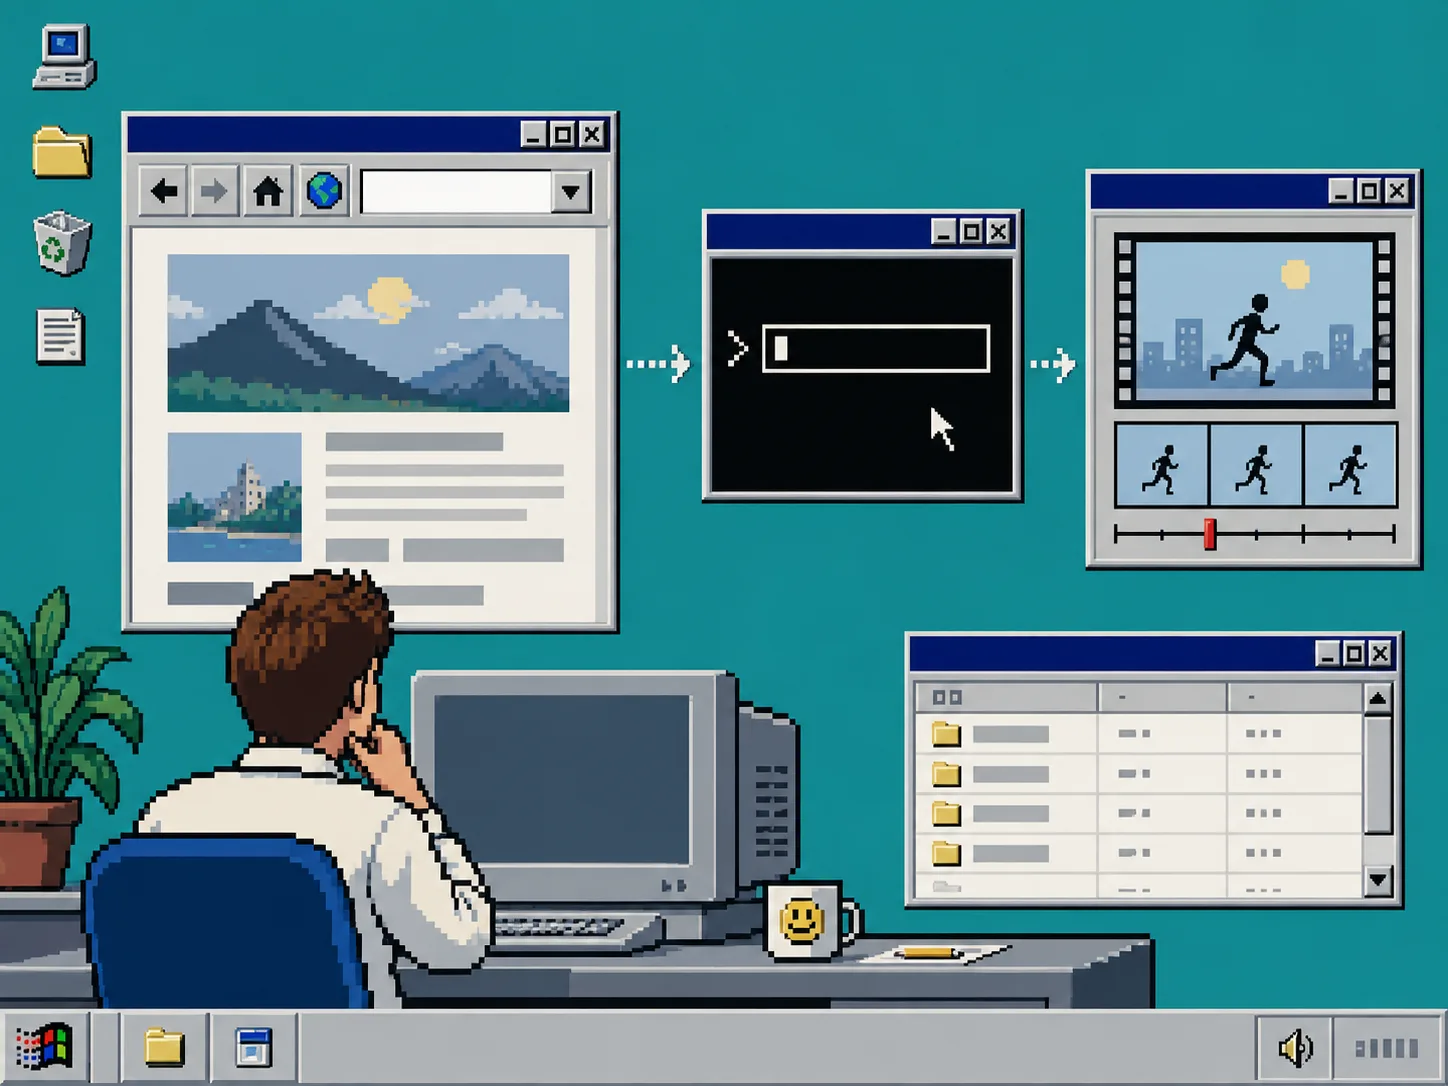
1. Prepare One Page That Tells One Story
Open the public landing page you want Studio to read. Check the headline, primary product screenshot, customer problem, and call to action. Remove temporary campaign copy and make sure the page loads without a login. A video made from a vague page usually becomes a vague video.
Write one sentence before you start: “Show [audience] how [product] helps them achieve [outcome].” Keep it near your terminal. This is your check against a trailer that contains every feature but no narrative. If your positioning is still fuzzy, start with the customer-research-to-brief workflow in this SaaS launch video guide.
2. Start Studio From the Terminal
Open a terminal in any working folder and run:
npx @videoflow/studio
When Studio asks for a website, paste the exact public URL. Give it a direct instruction, such as: “Create a 30-second launch trailer for founders. Open with the problem, show the product workflow, and end with a request to join the waitlist. Keep the pace calm and premium.”
You should see Studio develop a structured plan before it produces the final film. Read the plan as a creative brief, not as a progress spinner. Confirm that the opening, proof, product moment, and ending all serve the sentence you wrote in step 1.
3. Check the Storyboard Before You Render
Inspect the suggested scenes. A reliable short launch trailer often needs only four beats: problem, product, proof of use, and next action. Ask Studio to cut anything that repeats the same claim. Ask it to move the strongest visual earlier if the opening is too abstract.
Do not try to make this a full product tour. A trailer earns attention; your site and demo can handle the detailed explanation. For a separate approval pass, use this launch video approval checklist before you call the cut final.
4. Render the First Cut and Review Real Frames
Run the planned render. Studio creates the motion-graphics video, then visually reviews encoded frames for issues such as weak contrast, misalignment, or a scene that does not read at normal viewing size.
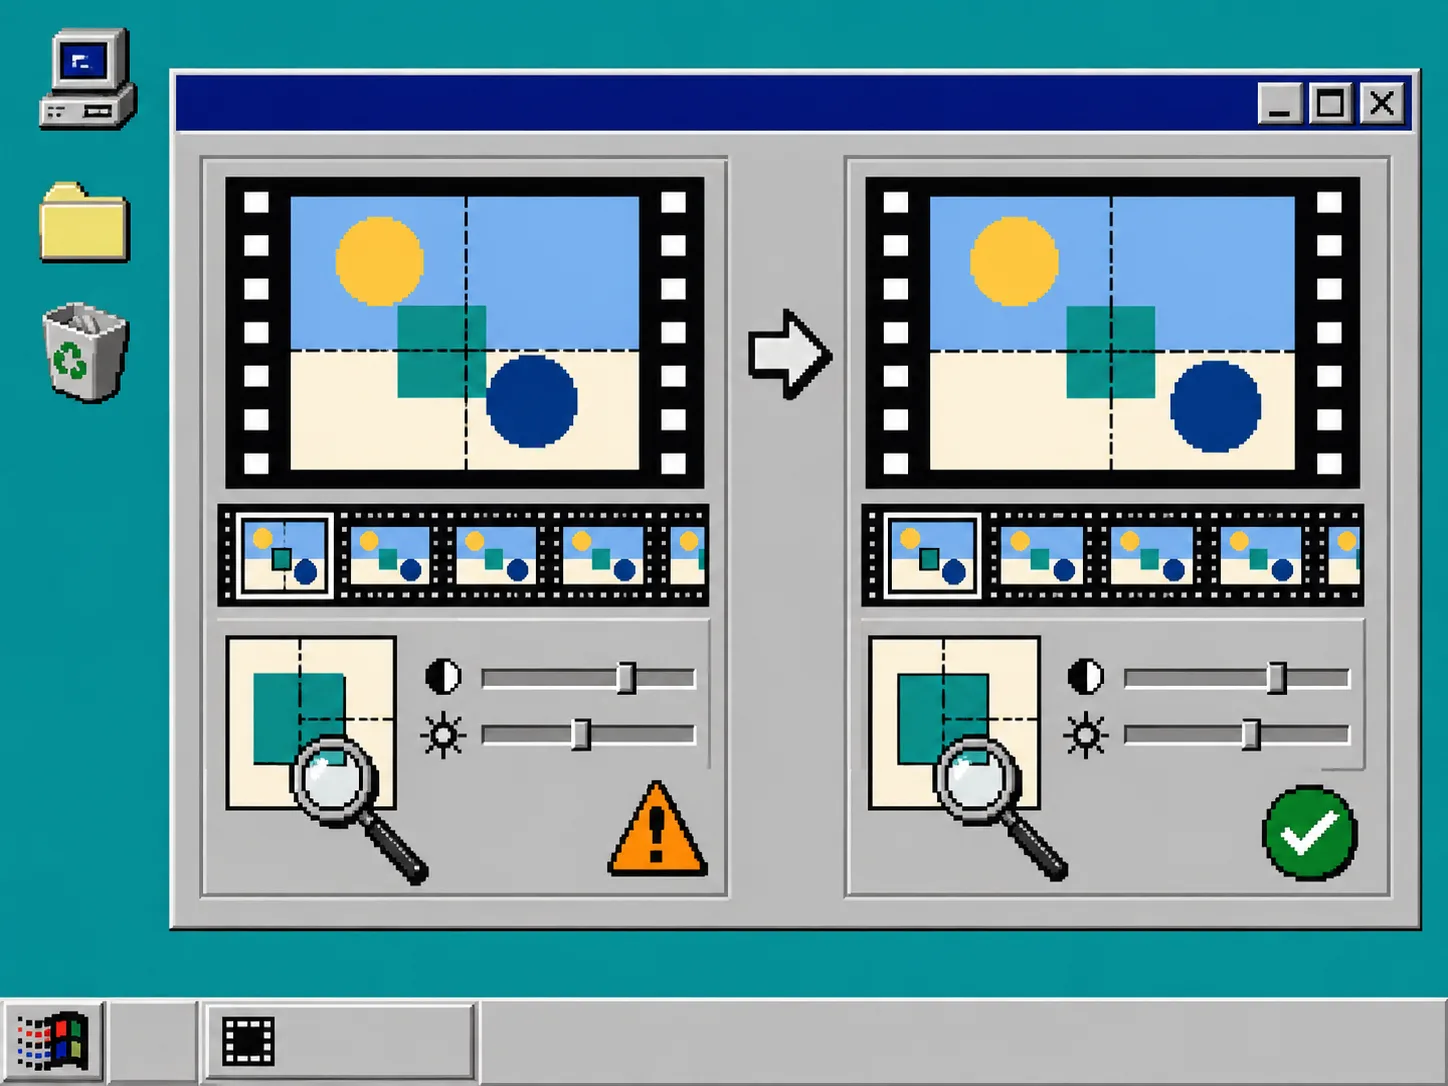
Watch the exported cut once without editing. On the second pass, write only observable notes: “the first product shot arrives too late,” “the button color has low contrast,” or “the ending holds too long.” This matters because a vague note like “make it better” is hard for any collaborator to act on. The goal is a short list of corrections, not a new brief.
5. Request One Focused Revision at a Time
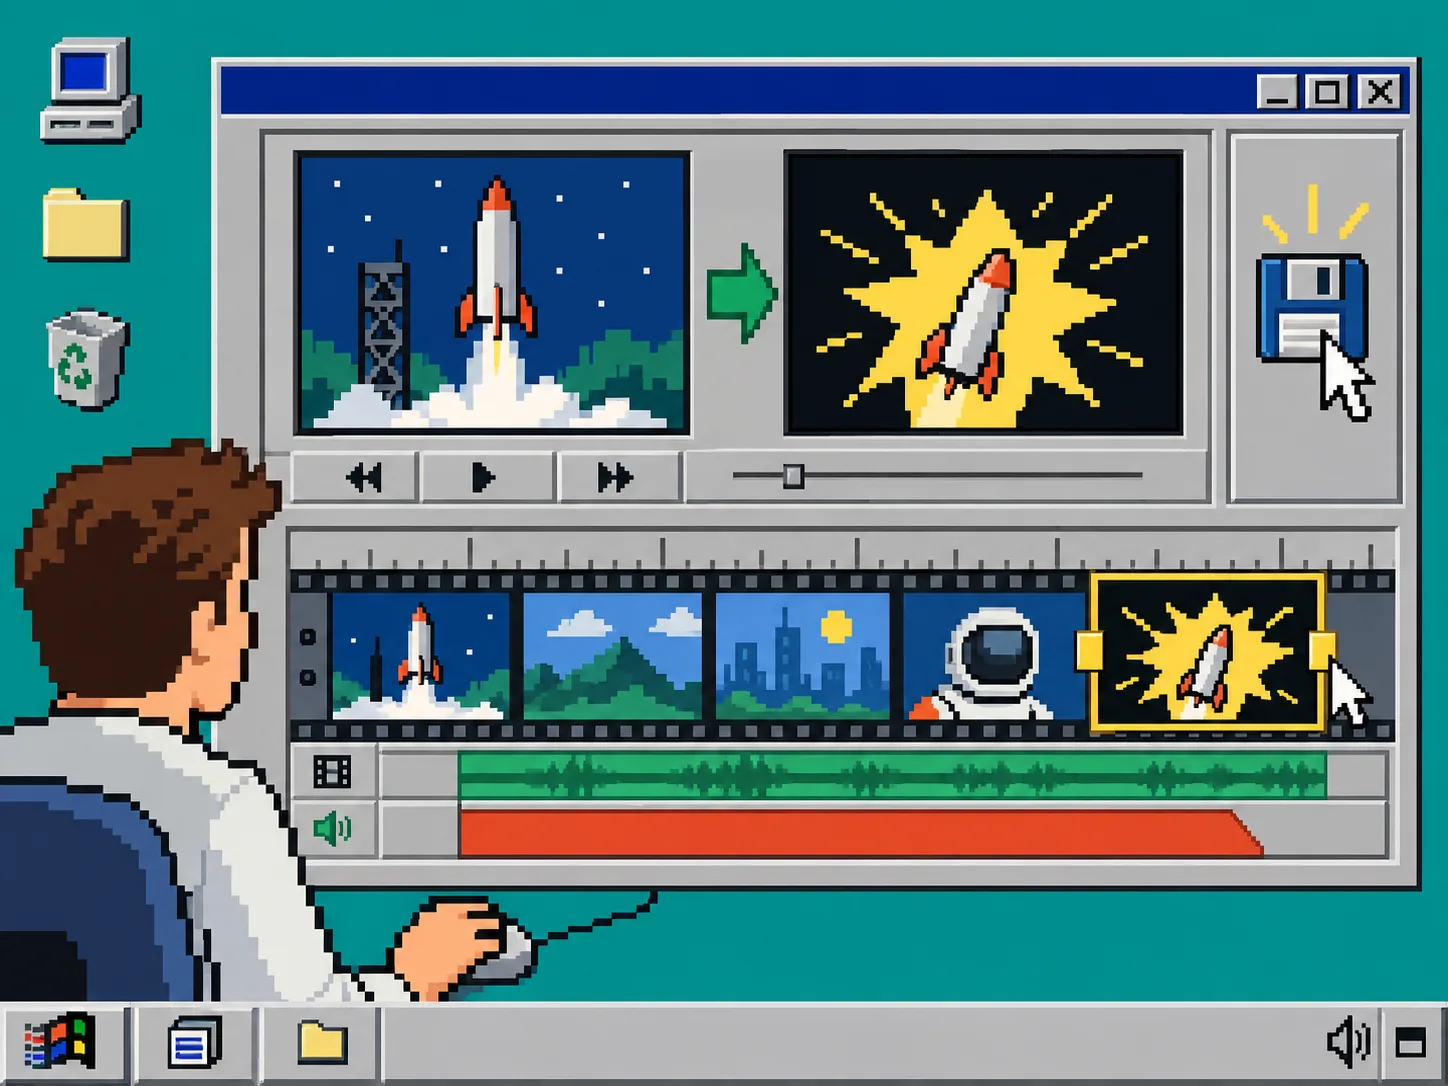
Send one clear change in plain language. For example: “Move the product demo to the first five seconds and shorten the final card by one second.” Studio can revise and re-render while keeping the same project context.
After the agent pass, open the built-in editor if you need manual control. Adjust layers, timing, colors, or text there instead of rebuilding from scratch. That is the practical advantage of an editable document: a small legal correction or launch-date change does not turn into a fresh generation request.
If your team needs more structure before this step, see how another founder planned a reviewable startup launch video from a website.
6. Run a Final Launch Check
Before you share the video, play it with sound off and answer four questions:
- Can a new visitor name the product after the first few seconds?
- Does the product appear before the middle of the cut?
- Is every important line readable on a phone-sized screen?
- Does the ending give one clear next action?
Then export the approved version. Keep the Studio project with the campaign folder so you can revise it when the website, pricing, or call to action changes. If you need developer-level control later, the VideoFlow JSON-to-MP4 guide explains the underlying engine workflow; it is a different job from creating a first trailer in Studio.
Troubleshooting
The video feels generic. Return to step 1 and make the audience and outcome more specific. Give Studio the one customer problem the trailer must solve.
The first cut is too long. Remove a feature scene before speeding up every scene. A shorter narrative is easier to understand.
A visual detail is wrong. Describe the visible problem and the desired correction. Mention the scene and element, then re-render.
You need a manual tweak. Use the built-in editor for timing, layer, color, or text changes, then export again.
Ready to Build the First Cut
A website already contains the ingredients of a launch story. Use VideoFlow Studio to turn that story into a planned, visually reviewed, editable motion-graphics video from your terminal. Start with one public URL and one audience outcome, review the plan, then improve the first cut with specific notes.