How to Fix Website-to-Video Brief Gaps Before You Render
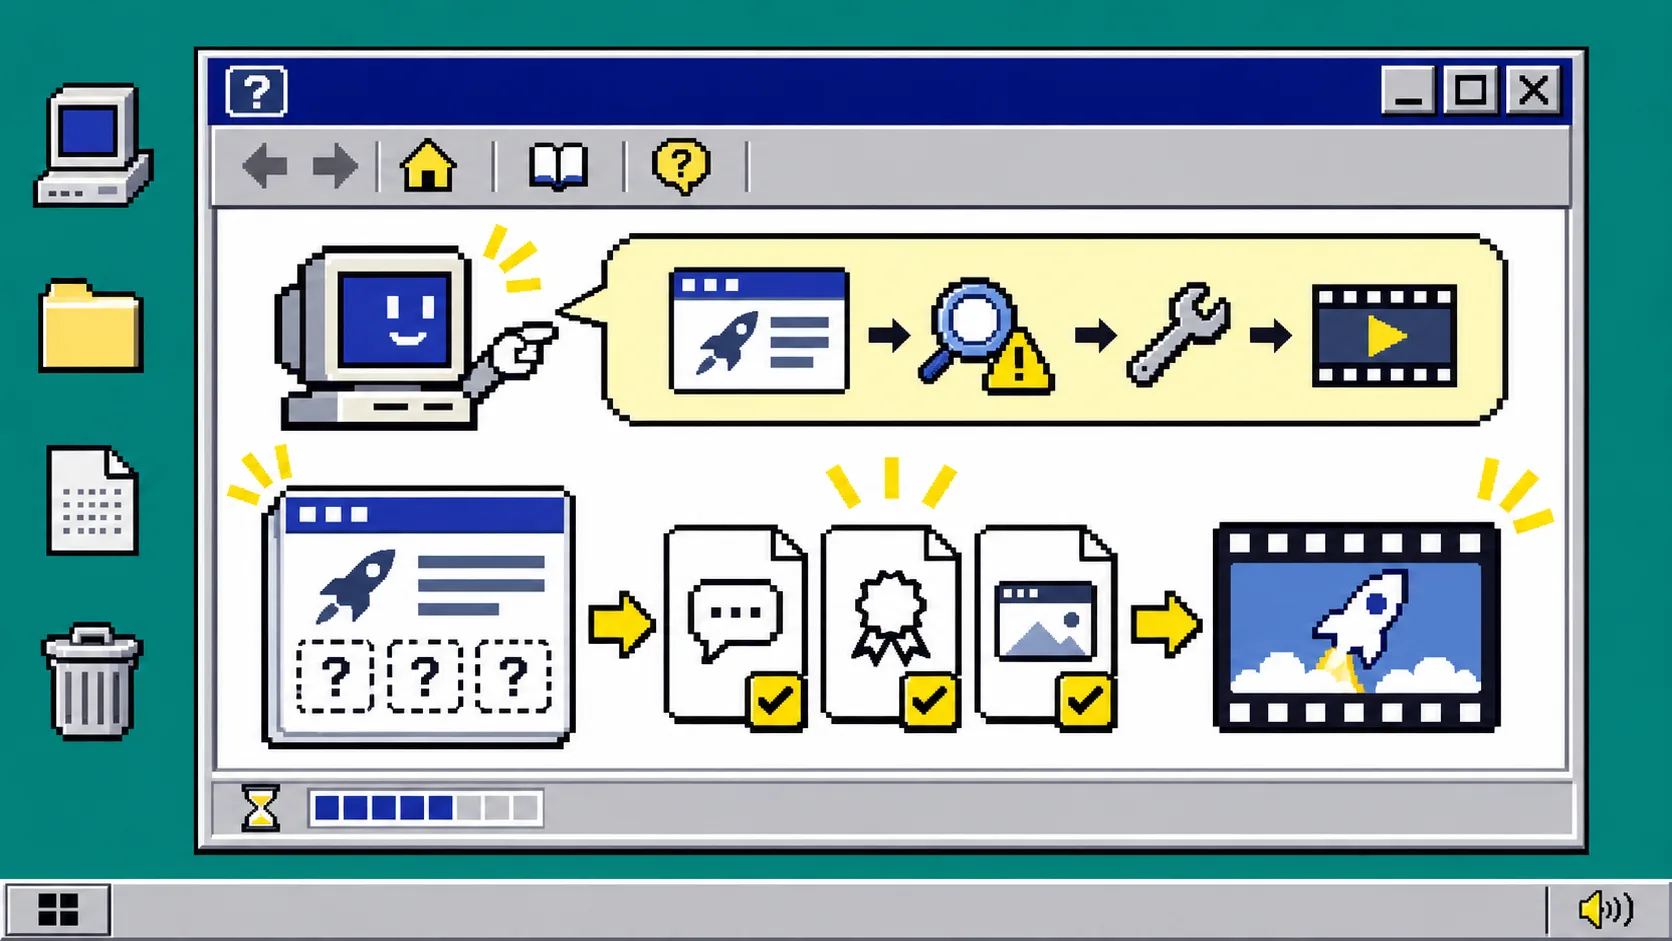
A launch video made from a website works best when the site gives the video maker three usable things: one audience promise, proof that the promise is credible, and a product moment worth showing. If one is missing, fix the brief before rendering. You do not need to rewrite the whole site; you need a small evidence card that keeps the film from becoming a feature dump.
This guide assumes you have a public startup or SaaS website and want a short motion-graphics launch video. VideoFlow Studio can inspect a URL, plan a film, build scenes, render them, and keep the project editable. The operator still needs to make sure the source material says something precise.
1. Write the one promise a viewer should remember
Start with the homepage headline, not the navigation labels. Complete this sentence in plain language: For [specific audience], this product helps them [specific job] without [specific friction].
For example, “For a small product team, this tool turns a release note into a reviewable trailer without starting from a blank timeline” is useful. “The future of video” is not. A video can carry one main promise across several scenes; it cannot make a vague claim clearer by animating it.
Open the URL in a browser and capture the exact headline, subhead, and the page section that supports them. If the headline is broad, add a short direction in your video brief rather than inventing a benefit. This is the same discipline used when turning a startup claim into a video scene: each scene needs a claim a viewer can understand.
What you should see: a one-sentence promise that names a reader, a job, and a constraint.
2. Match the promise to one piece of visible proof
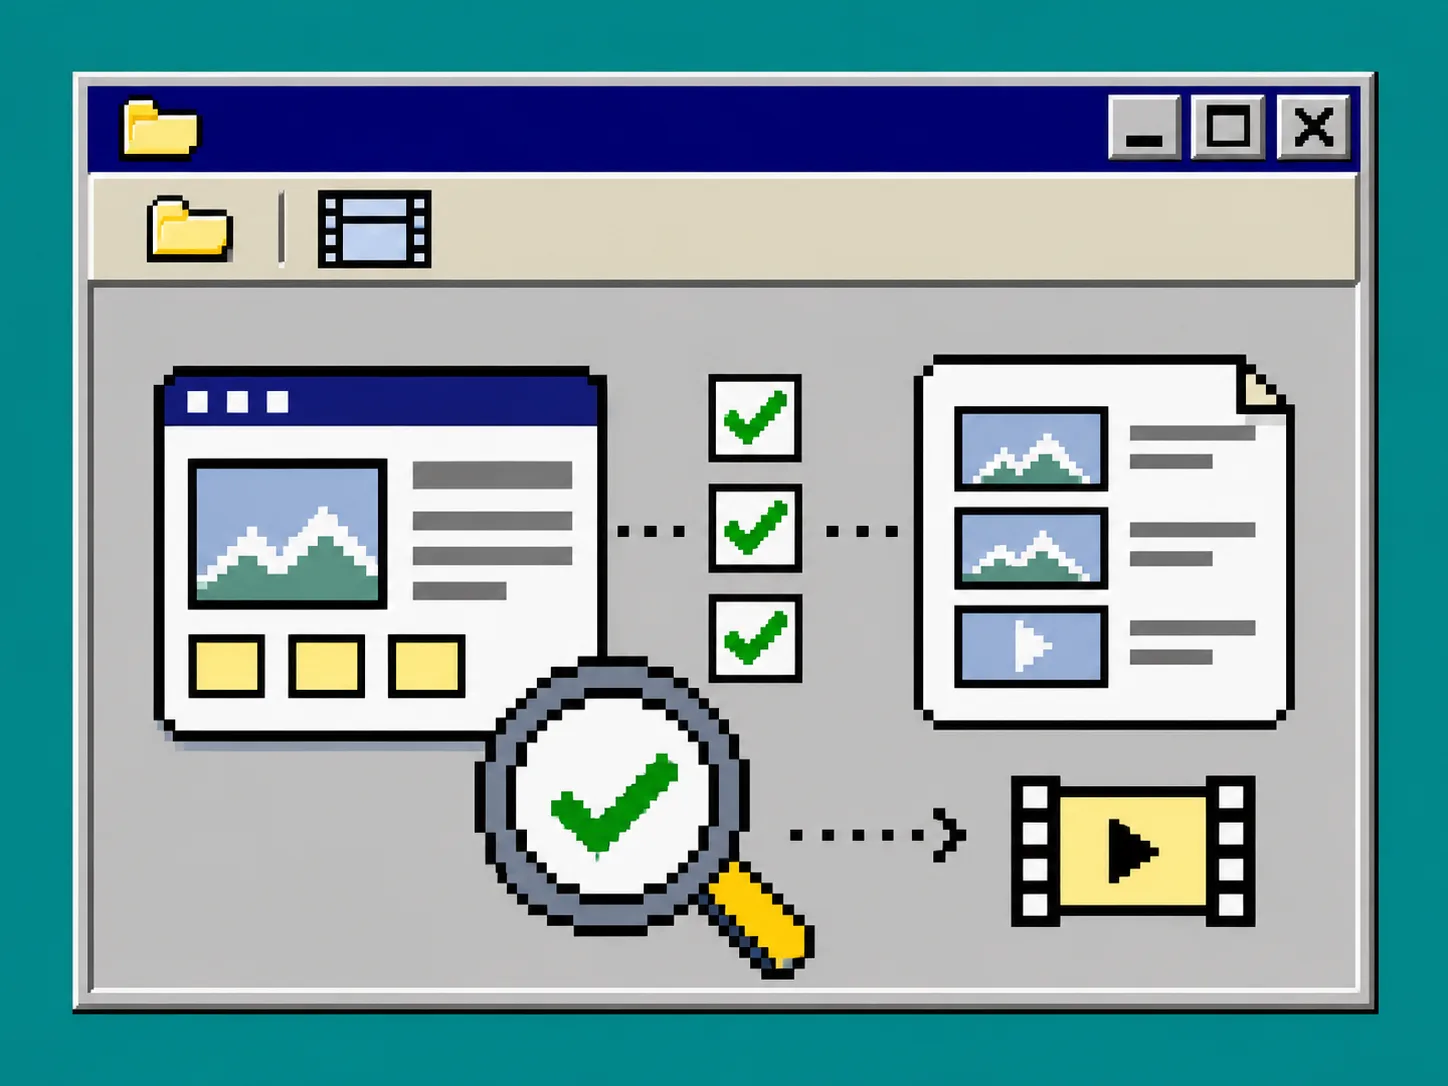
Next, find the page element that proves, demonstrates, or makes the promise believable. Good proof can be a product screen, a workflow diagram, a documented capability, or a clear before-and-after process. It does not need to be a testimonial or a performance number.
Use this small check before you ask for a render:
| Brief card | Question | What to provide |
|---|---|---|
| Promise | What changes for the viewer? | Headline plus one audience note |
| Proof | Why should they believe it? | A feature, workflow, or documented screen |
| Product moment | What can move on screen? | A UI state, object, or sequence |
Do not turn a logo, a list of integrations, or a number without context into proof. If the site says a capability is available, link to the relevant product page or documentation. VideoFlow Studio’s own site describes a workflow that reads a product URL, directs scenes, and reviews the encoded render; its public workflow explanation is a useful example of product claims tied to visible stages.
What you should see: one source URL or screenshot that could become the middle scene without adding unsupported narration.
3. Choose one product moment instead of listing features
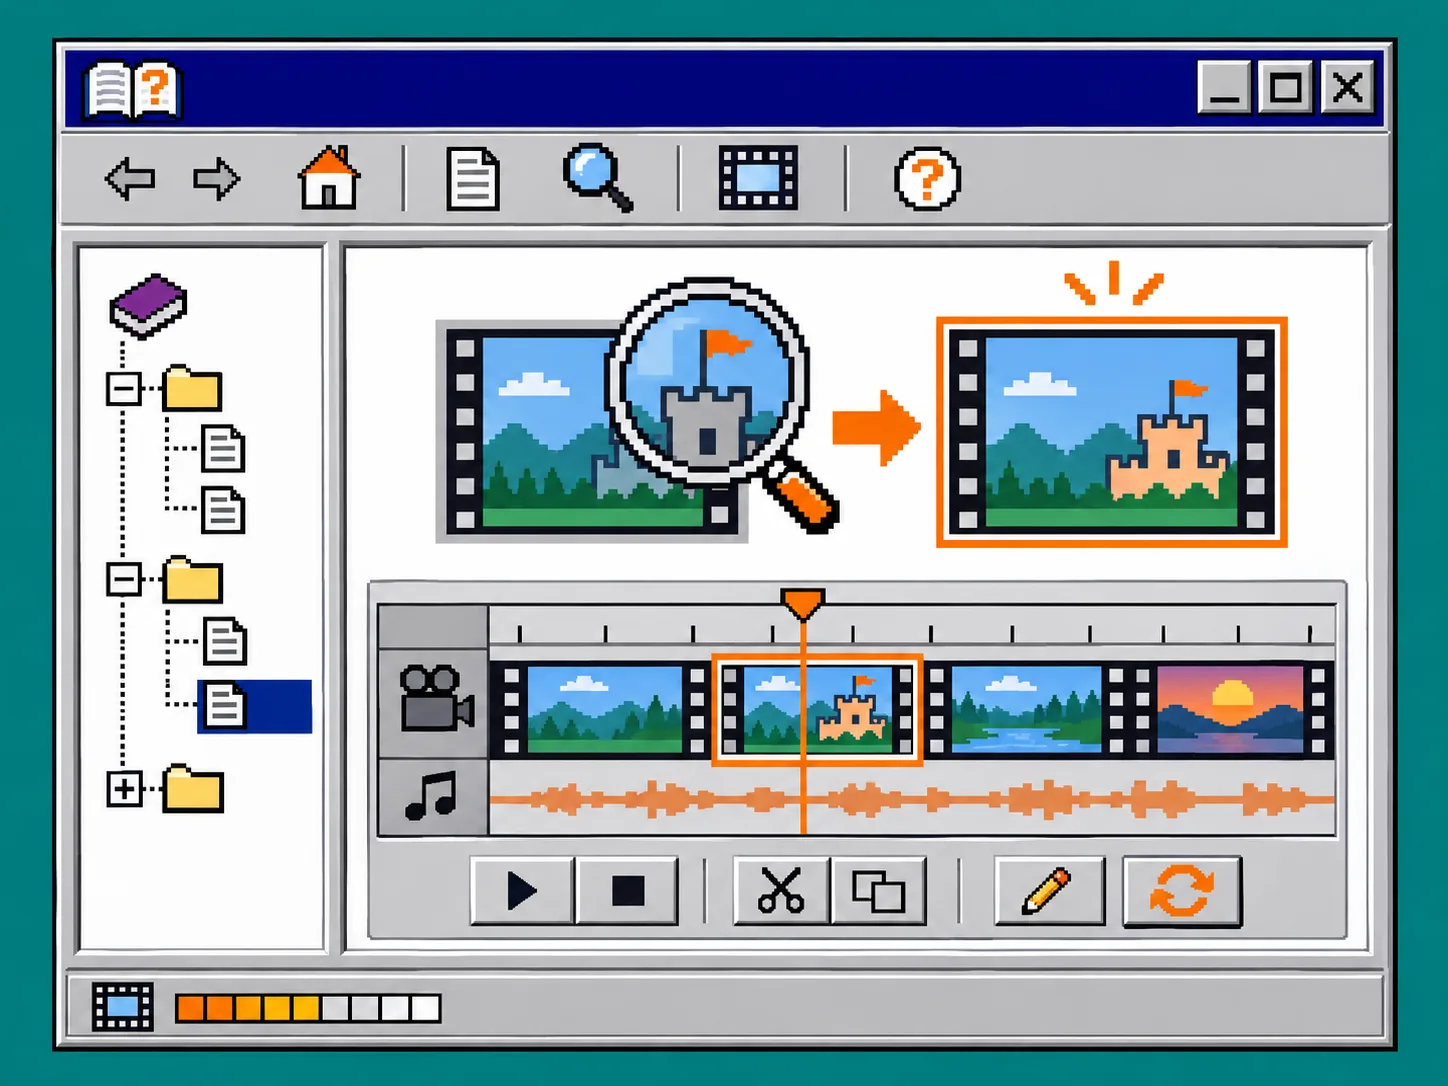
A product moment is the action or transformation the viewer can follow: a report appears, a task moves to shipped, a draft becomes a reviewable video, or a screen changes after an instruction. It gives the video a carried object instead of a sequence of unrelated cards.
For a launch trailer, pick the moment with the clearest visual change. If your page contains five equally important features, put the other four in a note for the description or follow-up content; do not demand that a 30-second video teach all of them. The three-scene message spine is a useful companion: promise first, proof in the middle, and a next action at the end.
Write this instruction in the brief: “Carry [product moment] from scene 1 through scene 3. Do not add features that are not on the site.” That last sentence matters whenever an agent is interpreting a URL.
4. Add the missing detail before opening the renderer
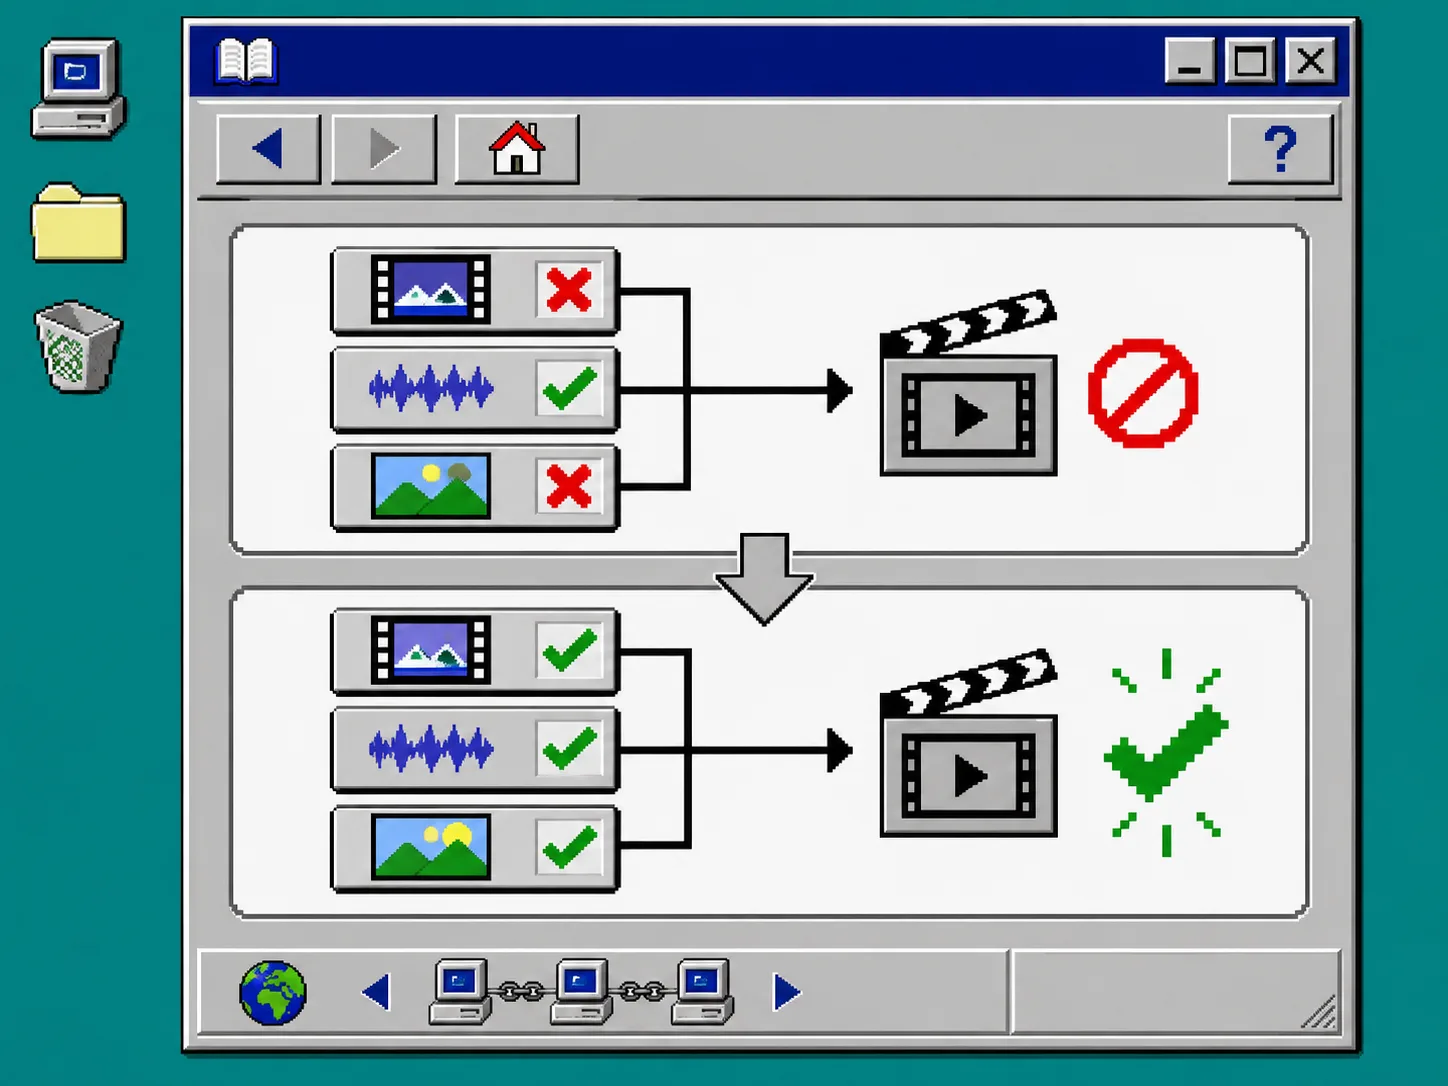
Use the following repair paths when a card is empty:
- No clear promise: Write a temporary, factual working headline in the brief. Name the audience and job; do not claim a result you cannot support.
- No visible proof: Link the feature page, help article, or product screenshot that demonstrates the claim. If none exists, narrow the claim or plan an abstract motion-graphics treatment.
- No product moment: Choose a single interface state or workflow transition. A static marketing illustration is usually not enough by itself.
- Conflicting pages: Declare which page wins. A launch page, pricing page, and old blog post can describe the same product differently.
This avoids a common revision loop: rendering a polished sequence first, then discovering that the opening cannot be supported. If you are working from release material, use the related guide on turning a product changelog into a 30-second startup video to isolate the one change that deserves the film.
5. Render a first cut, then review the film rather than the prompt
Once the card is complete, open VideoFlow Studio in the browser or run npx @videoflow/studio@latest from your terminal. Give it the selected URL and your evidence card. Studio offers both a CLI path using your own Claude Code or Codex subscription and a hosted path; the product site currently lists the CLI allowance and hosted-credit model, so check those terms before relying on a limit.
Treat the first cut as a reviewable draft. Check the rendered frames for these specific failures:
- Does the first scene state the promise in language the site supports?
- Does the middle scene show the proof, rather than a decorative animation?
- Does the carried product moment remain understandable after the transitions?
- Does the final call to action match the page a viewer will visit?
Studio says it reviews the encoded frames and can re-render corrections. That is helpful, but it does not replace your source check: a visually aligned frame can still make an unsupported product claim. For a stricter pass, use this launch-video QA checklist.
Troubleshooting: the video still feels generic
If the first cut could fit any startup, return to the product moment. Replace “show the dashboard” with a precise, source-backed change such as “show the release note becoming a short video plan, then a timeline ready for review.” If the site does not show that transformation, do not describe it as fact. Use a simpler claim, request a new screenshot, or keep the sequence conceptual.
If a revision changes the video but loses its source, record the scene change and its supporting URL before re-rendering. Keeping a website evidence pack before generating a startup video makes that handoff much easier.
Recap
Before generating a launch video from a website, verify one promise, one piece of proof, and one visible product moment. Then render a first cut and review whether the film preserves all three. Start with your strongest public page, make the evidence card, and use VideoFlow Studio to turn that focused brief into an editable draft.