
If you want to add 3D to a Shopify catalog, do not start with every product. Start with the items that will actually benefit from a spinable model, a cleaner angle on shape, and a better sense of scale.
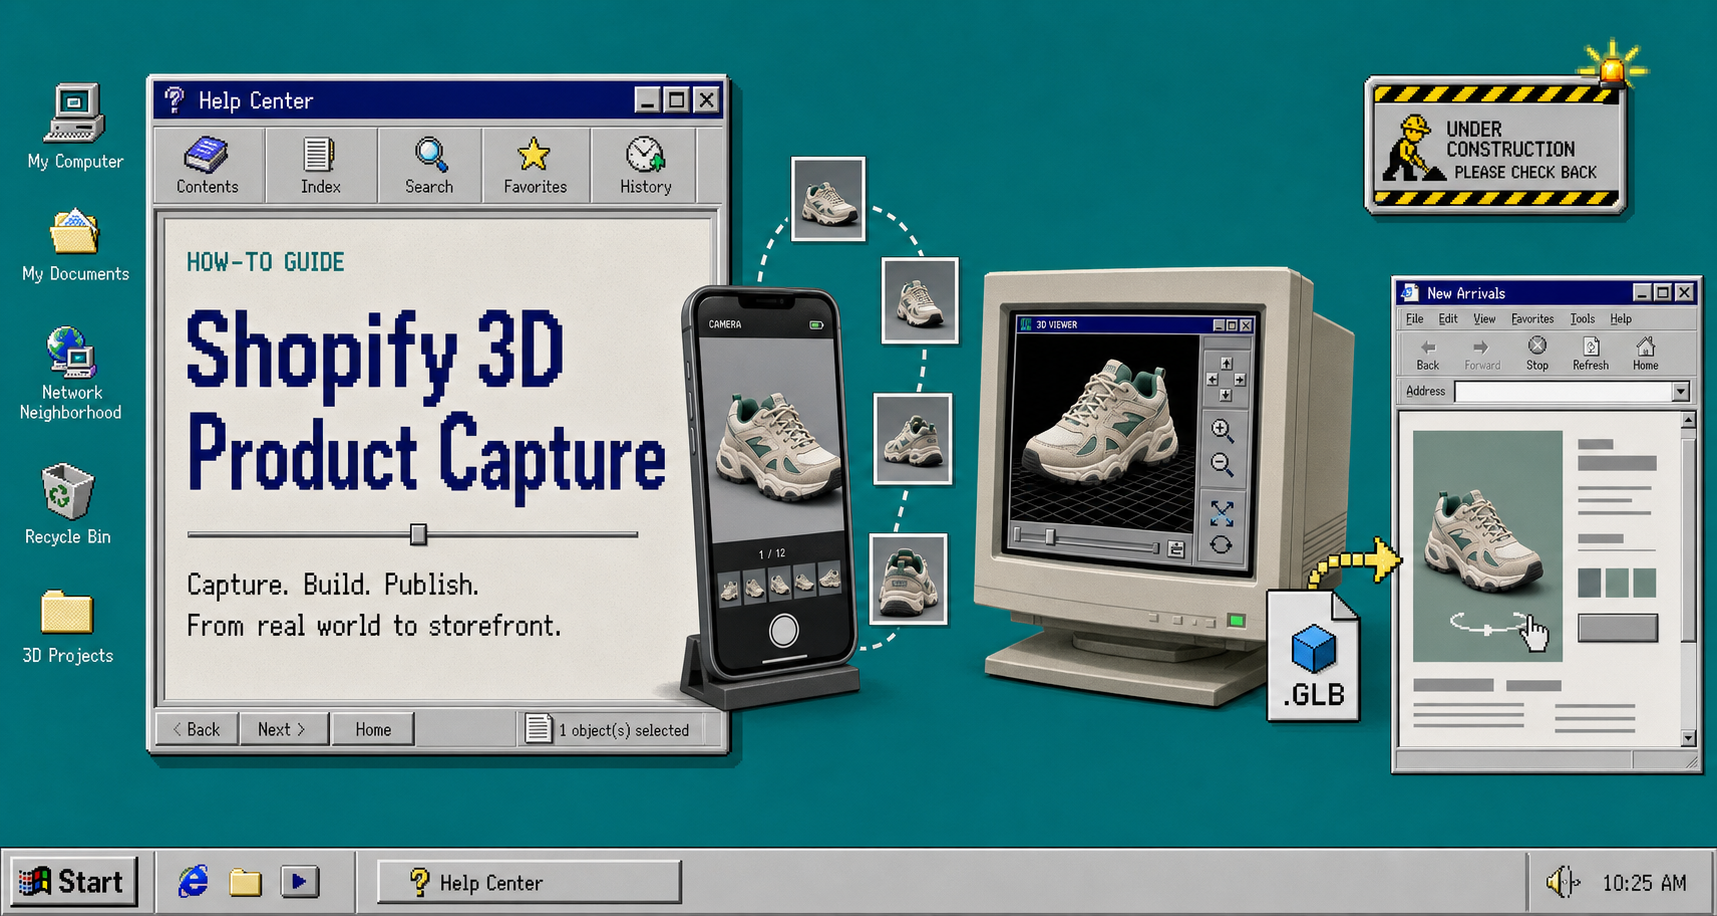
Supra 3D Capture turns a short set of phone photos into interactive 3D product models that customers can spin on a product page. That makes the real decision up front: which products deserve the first scan?
Use this checklist to pick the best first batch, keep the workflow practical, and avoid spending time on SKUs that do not gain much from 3D.
1. Start With Products Shoppers Need To Inspect
The best first candidates are products where shape matters more than a flat gallery can show. Think footwear, bags, home goods, decor, tools, and anything customers usually turn in their hands before buying.
If a shopper would naturally ask, “What does this look like from the back?” or “How big is it compared with the photos?” that is a good 3D signal.
If you want a broader scoring framework, compare your shortlist with How to Decide Which Shopify Products Deserve 3D Models First.
2. Score Each SKU For Shape, Risk, and Value
A simple way to choose the first products is to score them on three questions:
- Is the shape interesting enough that a customer will want to rotate it?
- Does the product have enough margin or return risk to justify the extra work?
- Would a better view reduce confusion before checkout?
If the answer is yes to all three, the SKU moves to the top of the list. If the product is flat, tiny, or already obvious from one or two photos, it is probably not a first-wave 3D candidate.
This is the same logic that makes How to Tell If a Shopify Product Will Scan Cleanly in 3D useful before you waste time on a difficult item.
3. Check Scan Readiness Before You Spend Time On Capture
The product brief for Supra 3D Capture is clear: you do not need LiDAR, a special rig, or 3D modeling experience. You do need a regular smartphone, good lighting, and a product that can be photographed from multiple angles.
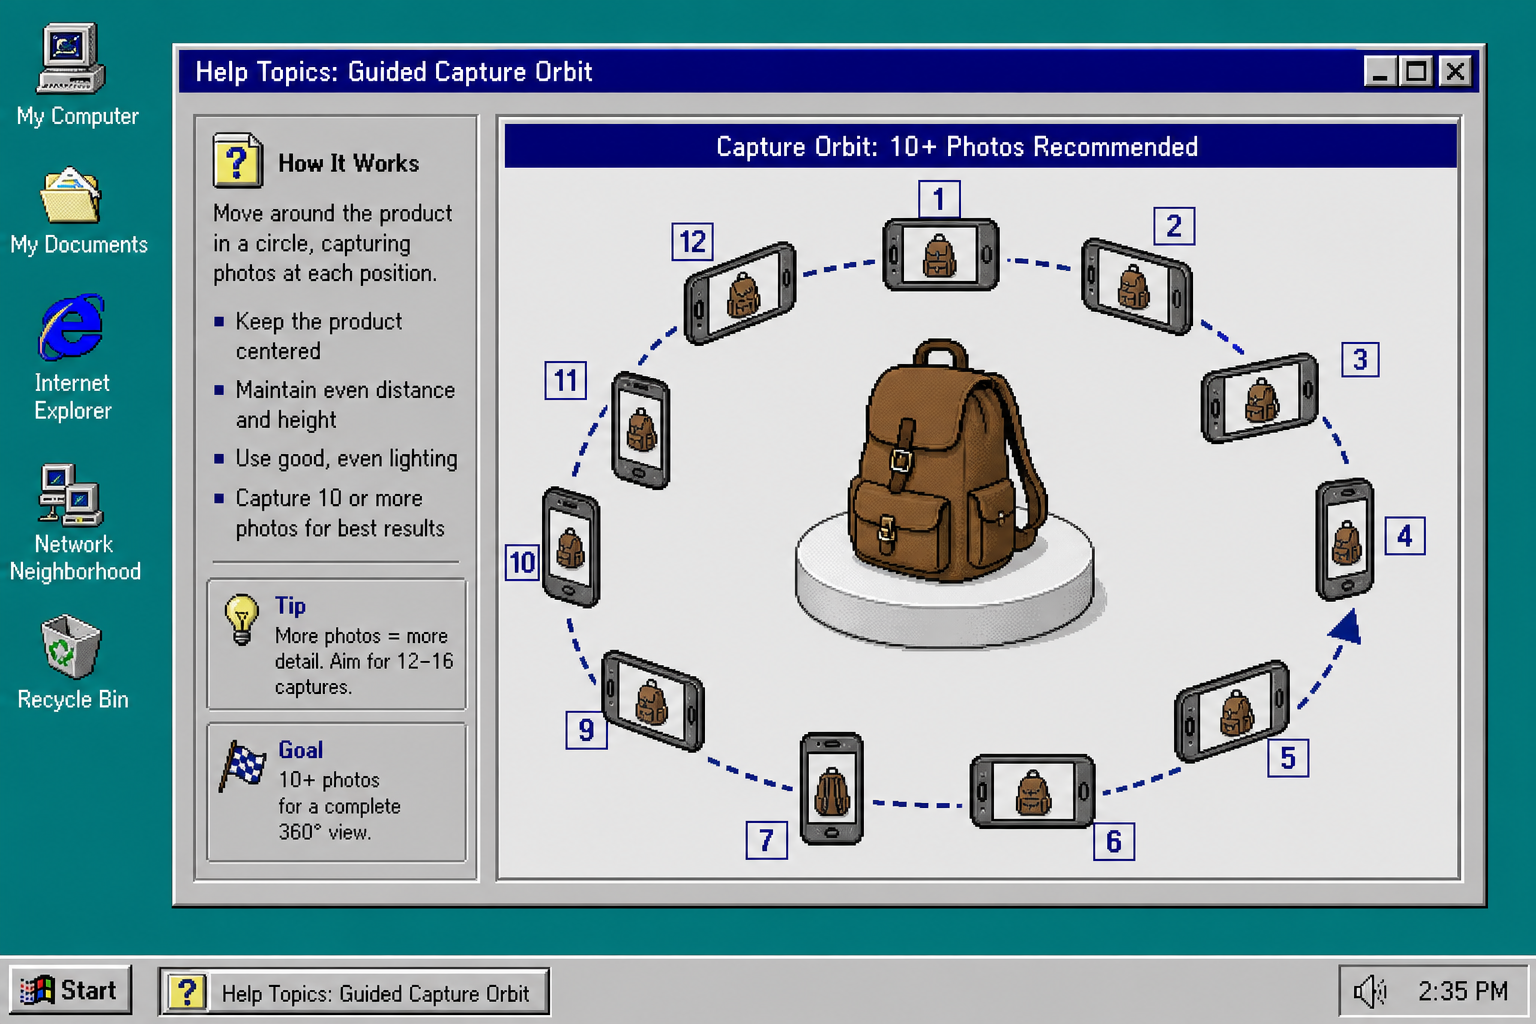
That is why the first capture sessions should stay small and controlled. Pick one product, put it in even light, and take the guided orbit of 10 or more photos instead of improvising with a random gallery of images.
If you want to see how that looks in practice, read How to Capture a Shopify Product in 3D Without a Studio.
4. Run A Small Pilot Instead Of A Catalog-Wide Rollout
A pilot is safer than a full rollout because it tells you whether 3D is worth expanding before you touch every SKU.
Start with three to five products:
- One obvious winner with strong shape.
- One product that has caused expectation gaps before.
- One product that looks good in the catalog but is hard to understand from flat photos.
That small batch gives you enough signal without turning the project into a full-time content operation.
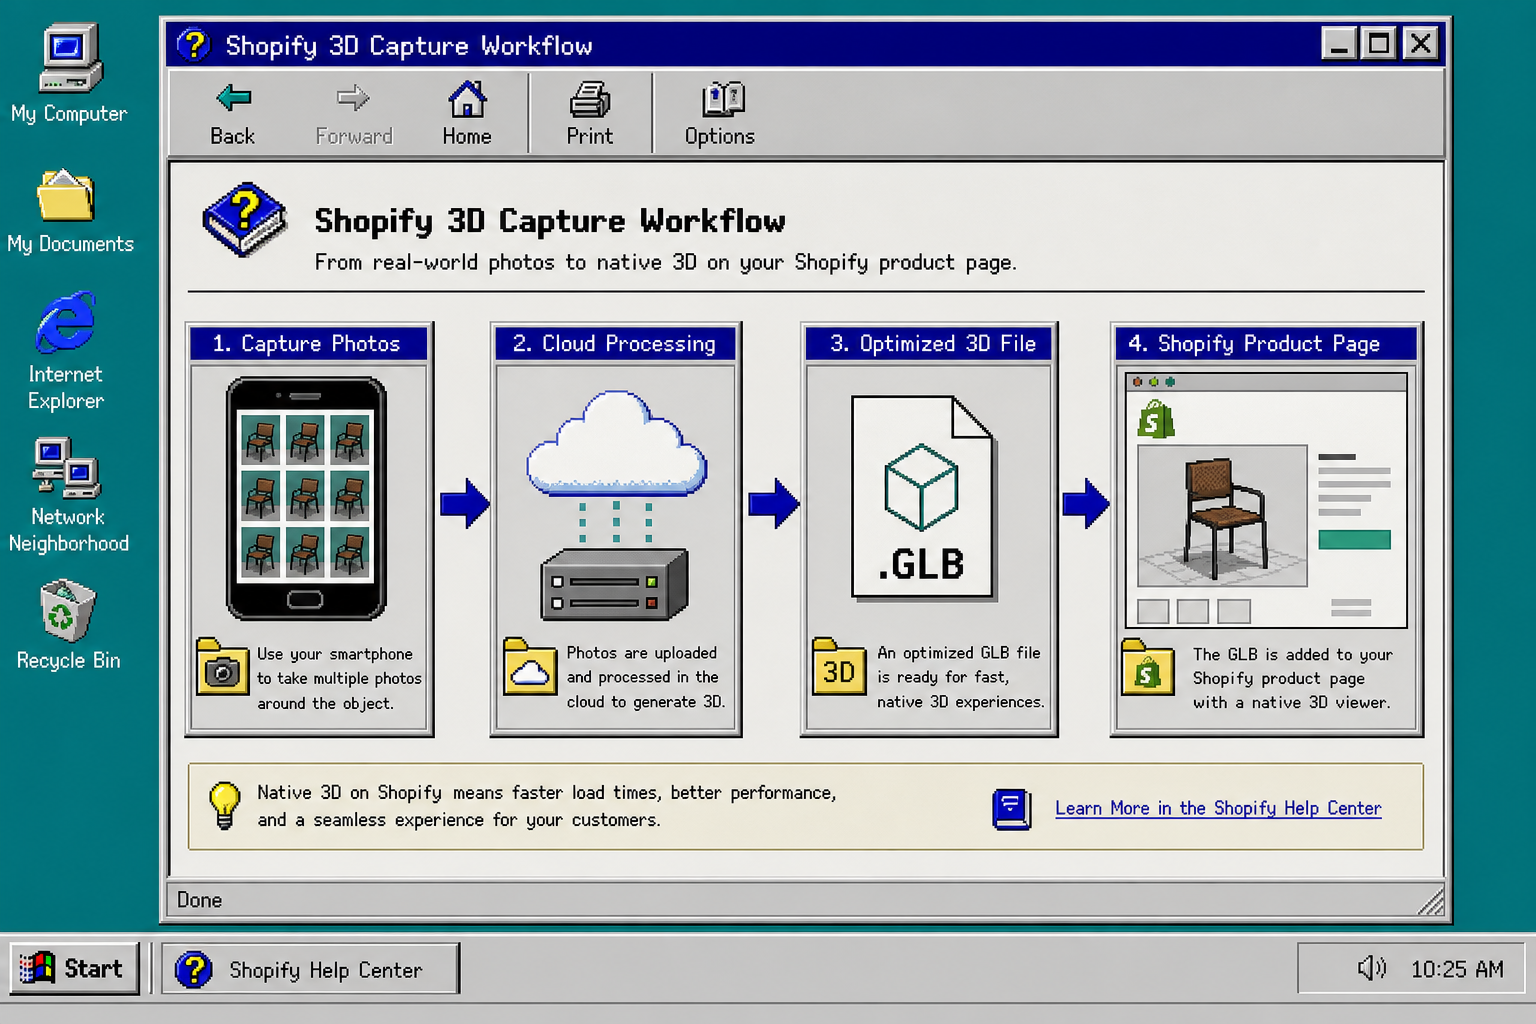
Supra 3D Capture then processes the phone photos into a web-ready GLB, which is the right format for native Shopify 3D media and the Online Store 2.0 theme app block.
5. Publish The Winner To Native Shopify 3D Media
Once the model looks right, attach it to the product so shoppers can rotate it on the page instead of guessing from still images. That is the part that makes the work pay off: the model is not a separate asset tucked away in a folder, it becomes part of the product page itself.
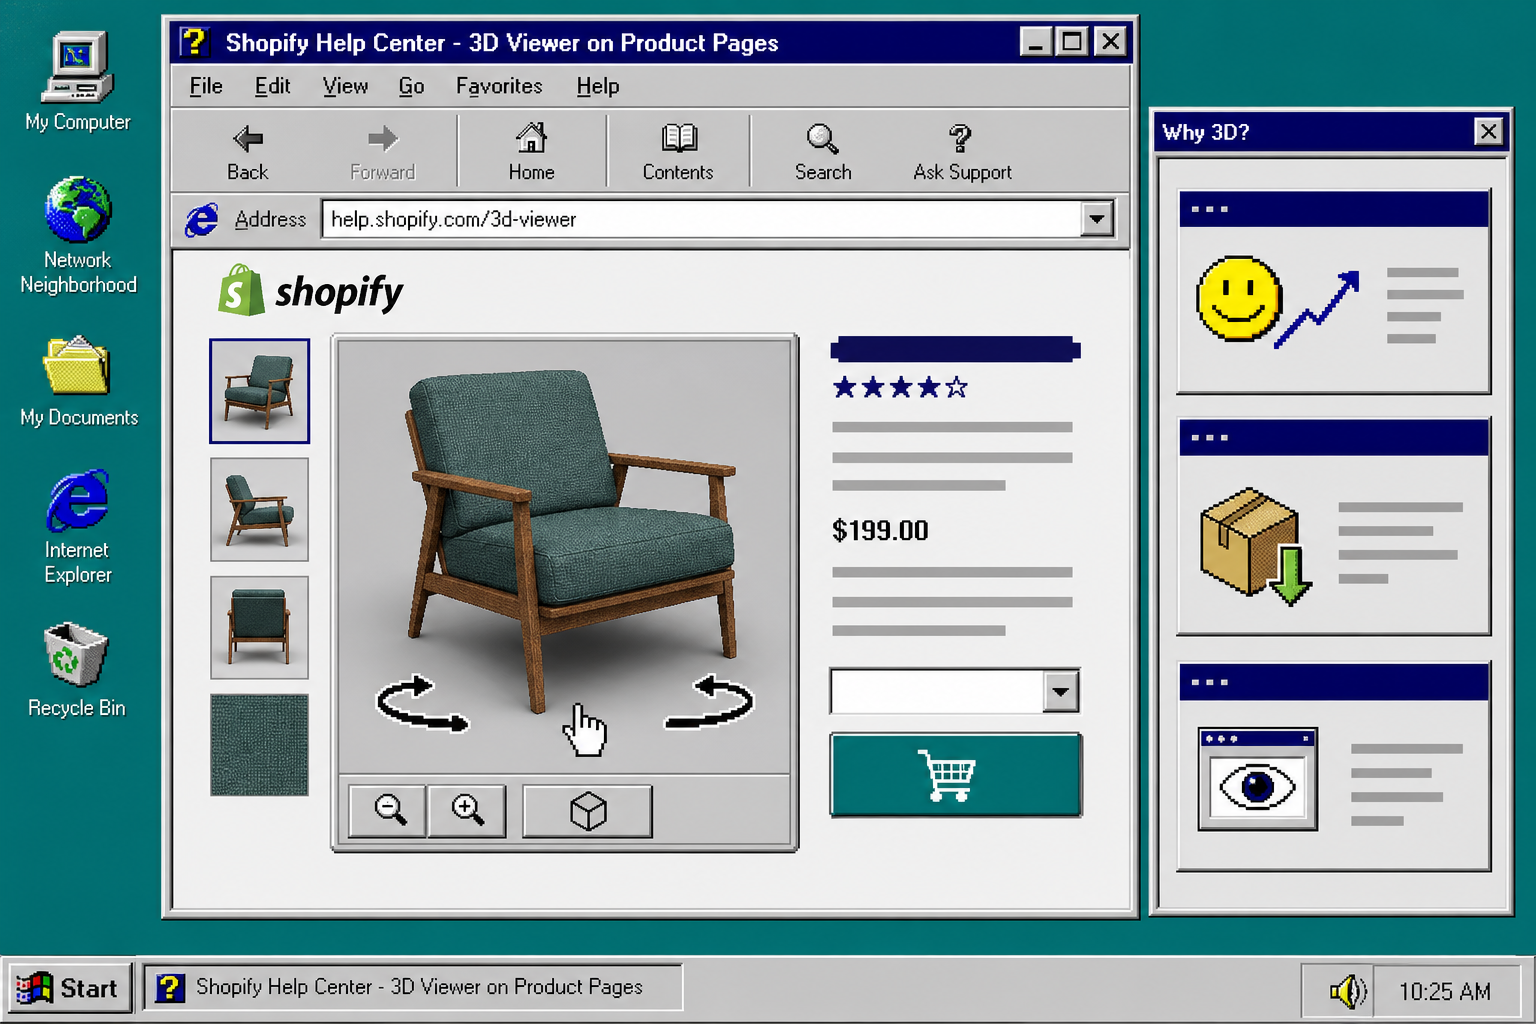
The native viewer helps the page feel more interactive and more concrete. For many products, that means better confidence, clearer proportions, and a page that feels less like a catalog card and more like an actual object.
If you are still building out the image side of the workflow too, the adjacent guide How to Turn One Product Photo Into a Full Shopify Image Set is a good companion piece.
6. Decide What To Scan Next Based On The Result
Do not treat the first scan as a one-off. Use it to decide the next batch.
If the model clearly helps the page, add another small group of similar products. If the first model looks rough, go back and fix the capture conditions before expanding.
This is also where the pricing tiers matter in a practical way. The public plans list a Free tier for one saved 3D model and three scans per month, Base for 20 saved models and 15 scans per month, and Pro for 100 saved models and 50 scans per month. That makes it easy to start small and scale only if the workflow earns its place.
Troubleshooting
If a product is shiny, clear, fuzzy, or reflective, do not force it into the first batch. Start with the cleaner SKUs and come back to the difficult ones after you have a working capture routine.
If a model looks soft or incomplete, check three things first: lighting, distance, and whether the phone moved in a clean orbit around the object.
If the product page does not feel more useful after the scan, compare it against the rest of the catalog. Some SKUs simply do not need 3D, and that is fine.
Try It On A Real SKU
If you want the fastest path, pick one product that sits near the top of your shortlist and capture it with Supra 3D Capture. The app is built for regular phones and native Shopify publishing, so you can test the idea without committing to a big workflow change.
You can start here:
Recap
Choose the first 3D products by usefulness, not by catalog order. Start with SKUs that shoppers need to inspect, pilot a small batch, and publish only the models that make the page more understandable.
That gives you a practical 3D workflow instead of a pile of unfinished scans. The next move is simple: pick one product, capture it, and see whether the page gets easier to buy from.