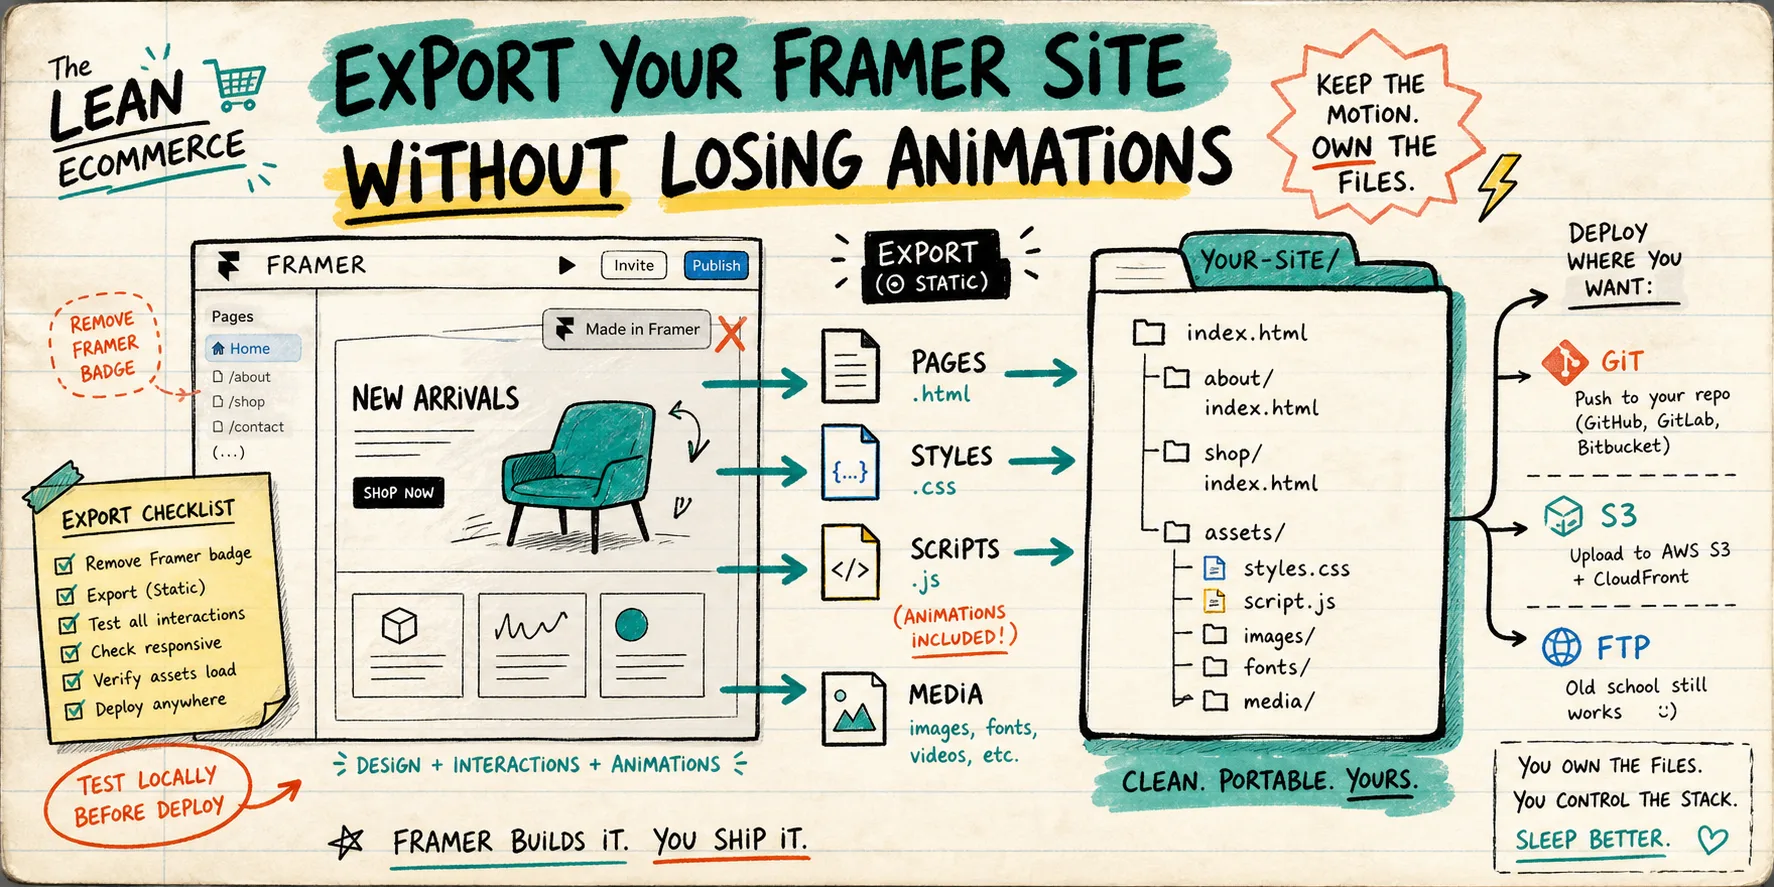
If you need to export a Framer site without losing pages, assets, or the feel of the build, I treat it like a packaging job, not a redesign. ExFlow.site lets you type in the Framer URL, choose what to export, and pull out static files you can host on your own stack. If you want Git, S3, or FTP sync, have the credentials ready before you start.
1. Start With the Full Site, Not a Single Page
In ExFlow, enter the Framer URL and make sure the export is scoped to the whole site. The important part is not just grabbing the homepage. Turn on “Export All Pages” so the post-export folder actually contains the site structure you expect. If the site has motion, components, or asset-heavy sections, also keep “Export CSS Files”, “Export JS Files”, and “Export Images / Media Files” enabled.
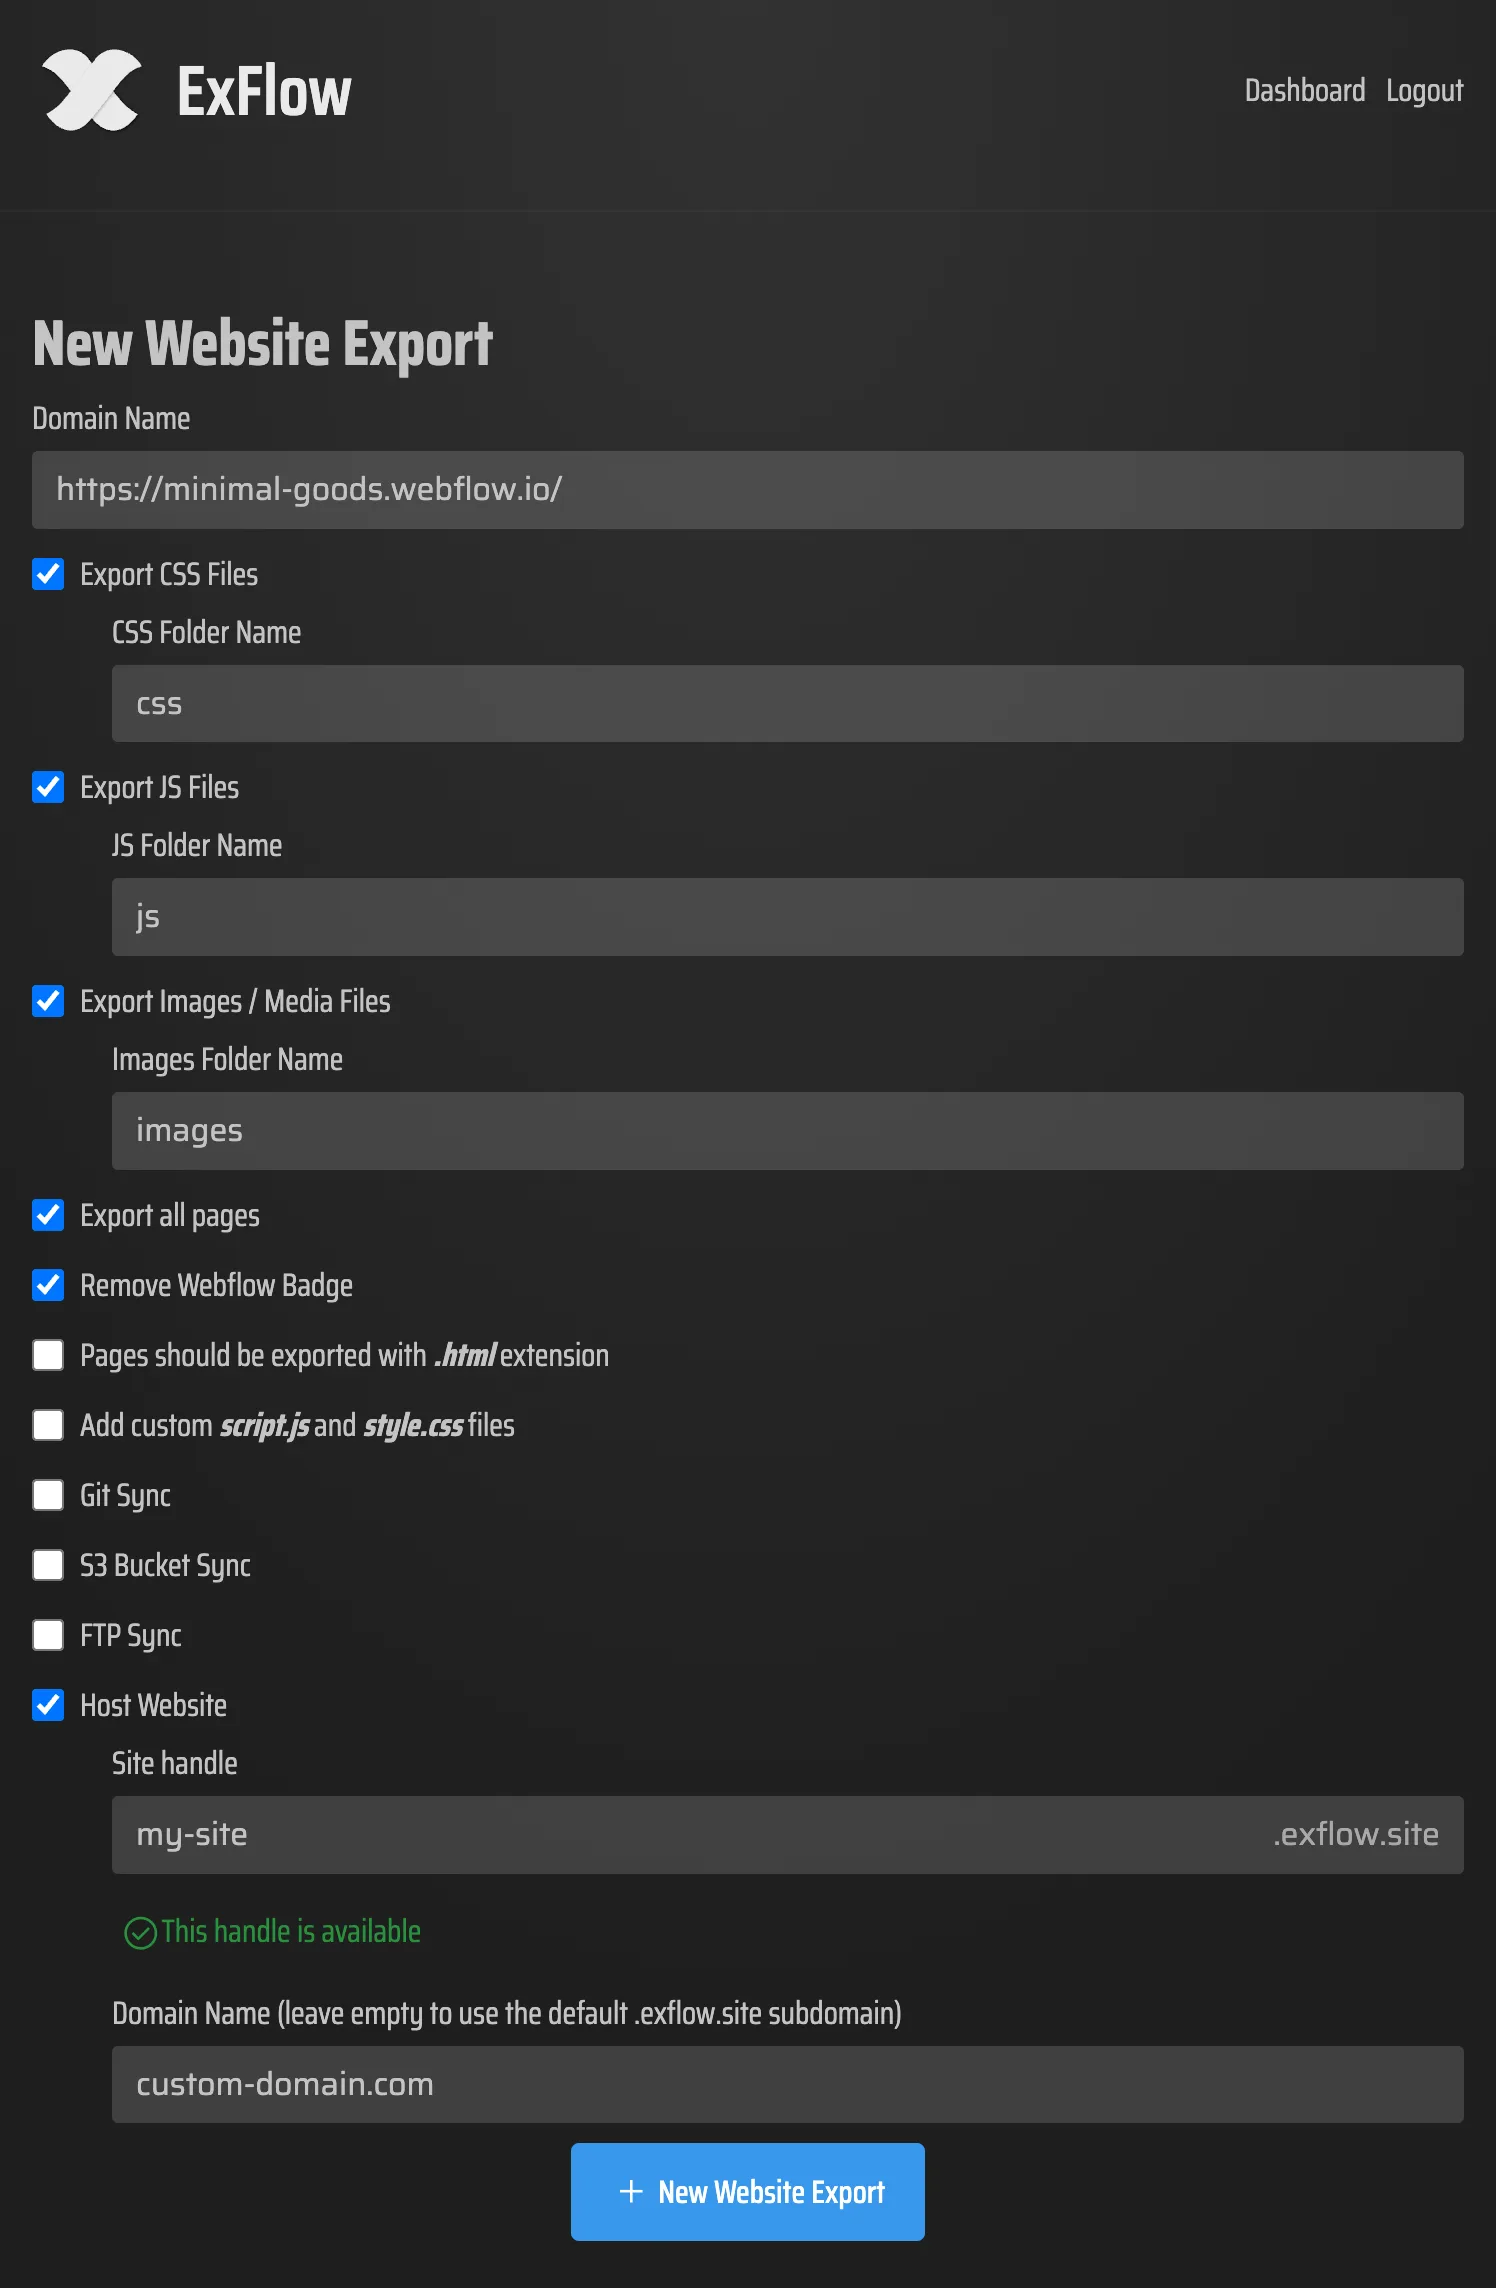
What you should see after this step:
- A site URL in the exporter
- A full-page export selection, not a single route
- Static files that include HTML, CSS, JS, and media
The output should also use .html pages, because that is what makes the exported site feel like a normal static bundle instead of a half-finished mirror.
2. Use an Export Preset That Preserves the Build
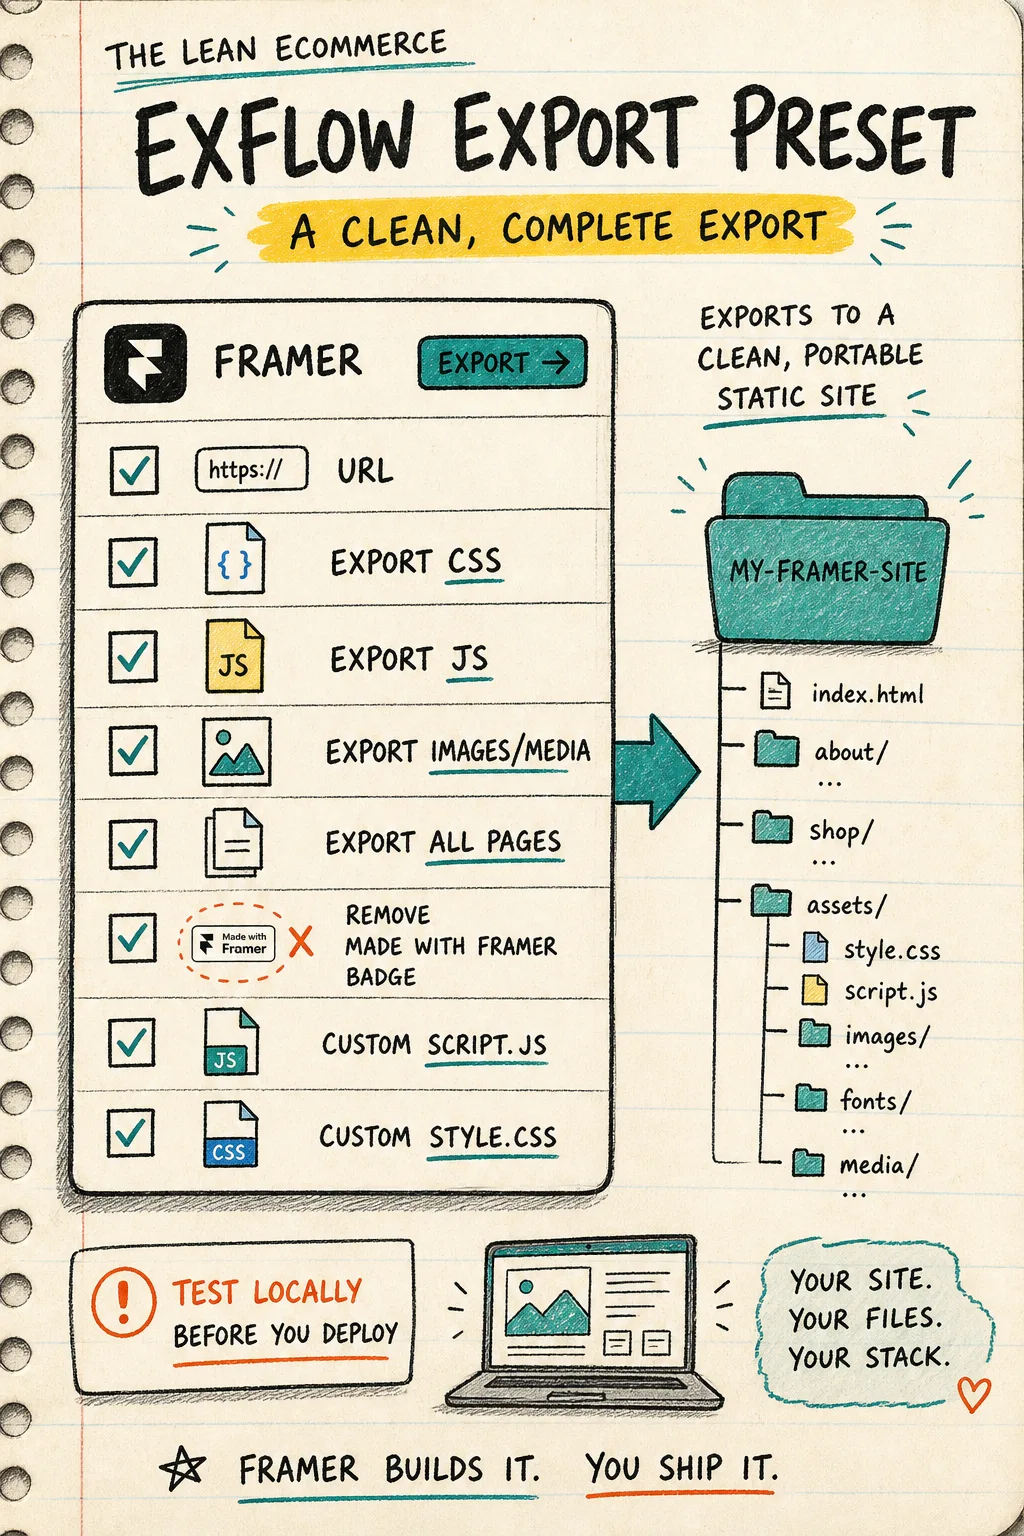
This is the part I wish more people checked first. When you are exporting a Framer site for later hosting, the settings matter more than the destination. I use this as the default preset:
- “URL”: the live Framer domain
- “Export CSS Files”: on
- “Export JS Files”: on
- “Export Images / Media Files”: on
- “Export All Pages”: on
- “Remove Made with Framer Badge”: on if the exported site is going to be the final public version
- “Add custom script.js and style.css”: only if the site already depends on custom code
If you have been reading older Framer export notes, this is the same thinking behind How to Export a Framer Site to HTML, CSS, JS, and Images. The difference here is that we are being stricter about the final handoff: keep the assets, keep the pages, and only trim what you actually mean to trim.
3. Pick the Hosting Path Before You Click Export
ExFlow is not just a downloader. It also supports syncing to Git, S3, or FTP, and it can host the site after export. That means you can decide the destination up front instead of doing a second migration later.
If you want the simplest path, keep the exported files on ExFlow’s hosting. If you already maintain a repo, Git sync keeps the exported site in version control. If your infra is S3-based, that sync path is cleaner. If you still run a traditional server, FTP keeps the handoff familiar.
The practical rule is this: do not pick a sync target you are not prepared to maintain. If you need the Git route, How To Move A Framer Site To Git, S3, Or FTP is the broader checklist. If you want the GitHub Pages version specifically, How to Export a Framer Site to GitHub Pages Without Rebuilding It walks the same idea through a public static host. For a more basic self-hosting flow, How to Self-Host a Framer Site After Exporting It to HTML is still relevant.
4. Verify the Export Like You Mean It
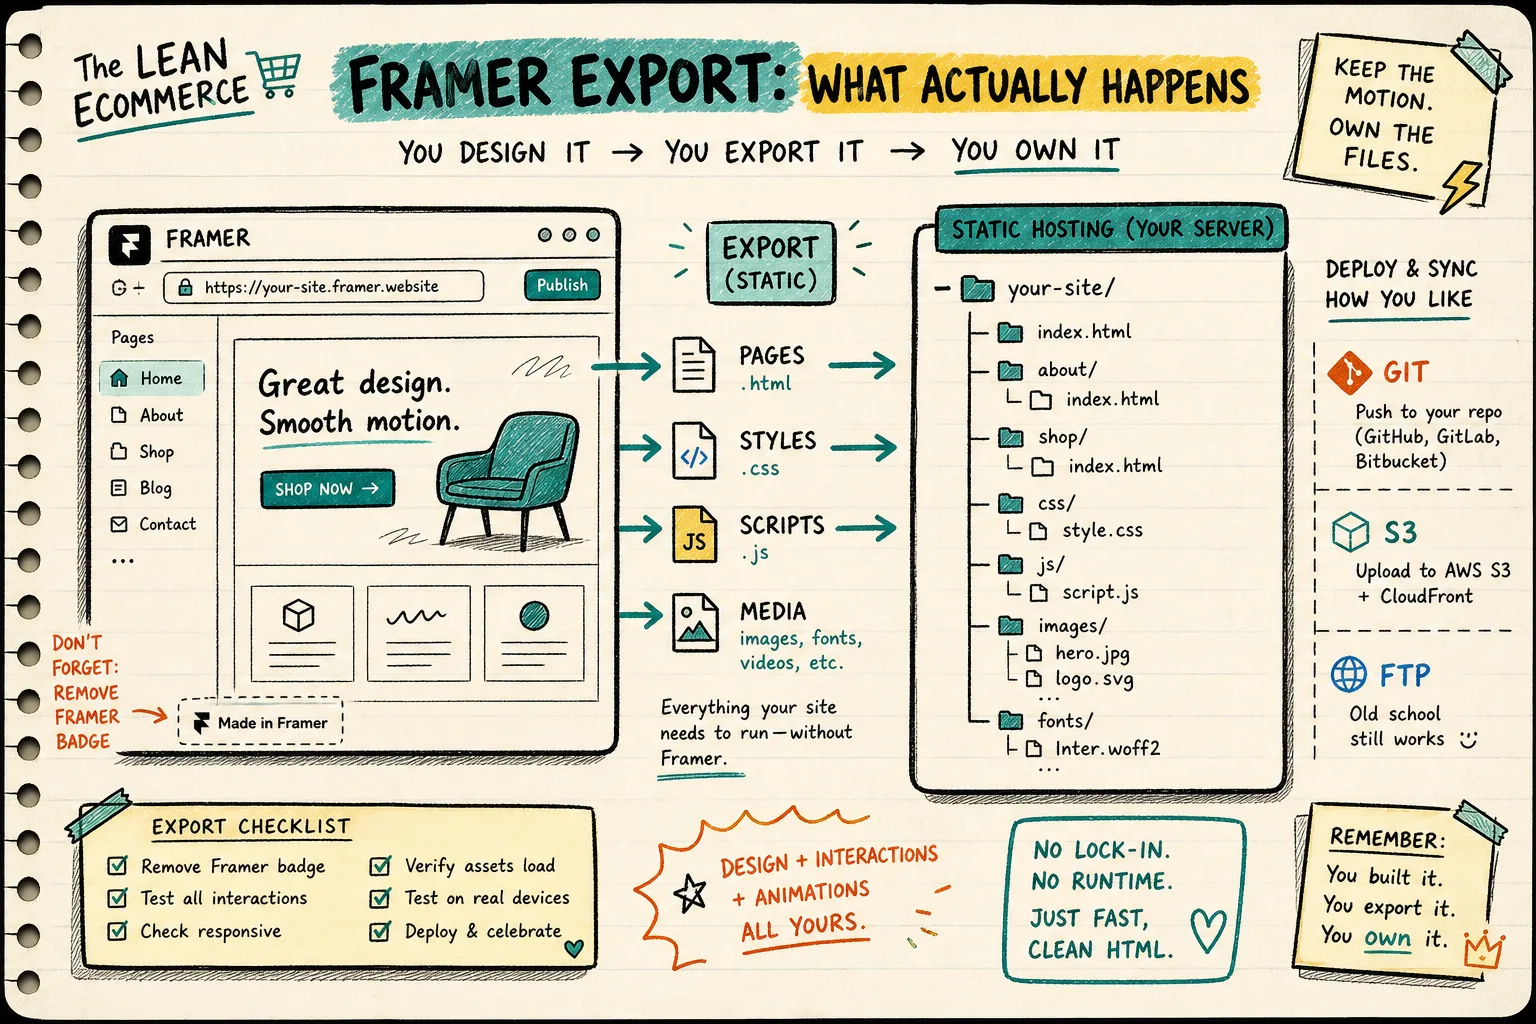
After the export finishes, open the output and check the obvious failure points before you publish it anywhere.
- Confirm the homepage and secondary pages were exported as .html
- Click through the internal links and make sure they resolve
- Check the images and media folders for missing assets
- Open a page with animation or interactive sections and verify the JS and CSS are present
- Make sure any custom script.js or style.css you expected is actually in the package
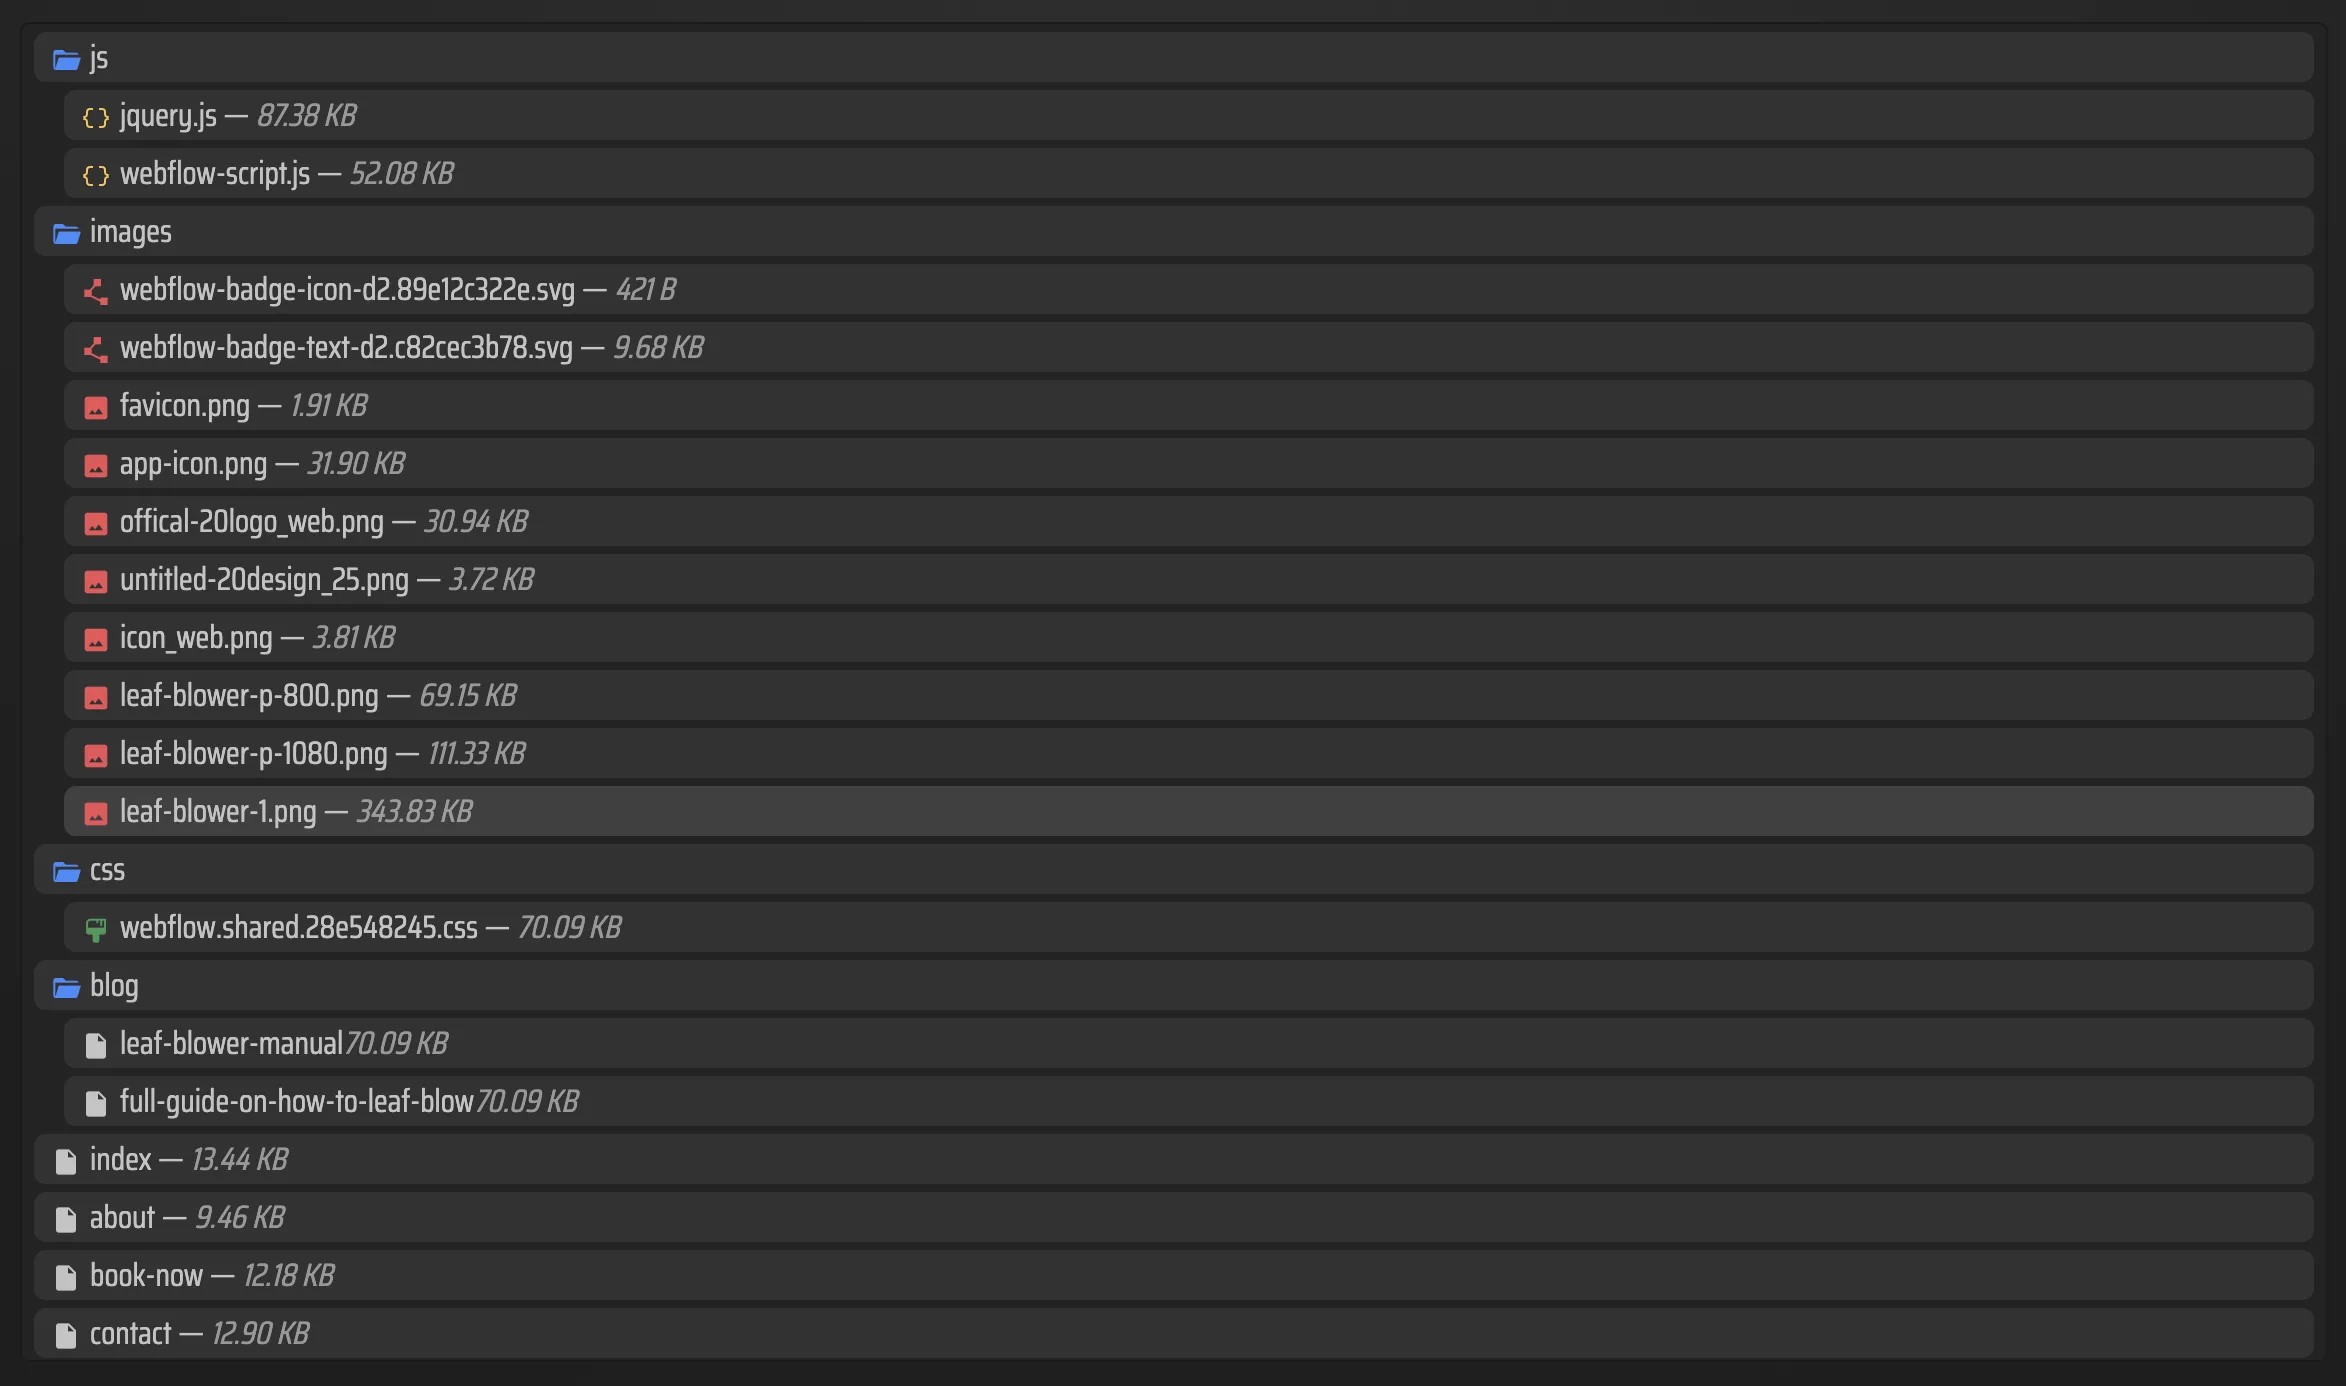
The export should look like a normal static bundle, not a half-built reconstruction. If a section is missing, the fix is usually in the export settings, not in the destination host.
Troubleshooting
If something looks off, I usually check these in order:
- Missing animation or broken interactions: re-export with “Export JS Files” enabled
- Broken layout or style drift: make sure “Export CSS Files” is on
- Missing images or icons: re-export with “Export Images / Media Files”
- Pages missing from the package: turn on “Export All Pages”
- Framer branding still visible: enable “Remove Made with Framer Badge”
- Custom code not behaving: confirm the site actually includes the custom script.js and style.css
If the site is being moved because the hosting setup no longer makes sense, the supporting notes in How I Decide When a Framer Site Is Ready for Static Hosting and How To Move A Framer Site To Git, S3, Or FTP are the two posts I would read next.
Conclusion
If you export a Framer site carefully, you do not need to rebuild it just to escape the editor’s hosting path. ExFlow gives you a way to keep the pages, assets, and optional sync target under control. Start with the full-site export, check the files, then choose the host that matches the way you actually work.
If you are doing this today, export one Framer site with all pages, CSS, JS, and media enabled, then compare the output to your live build before you move it anywhere else.