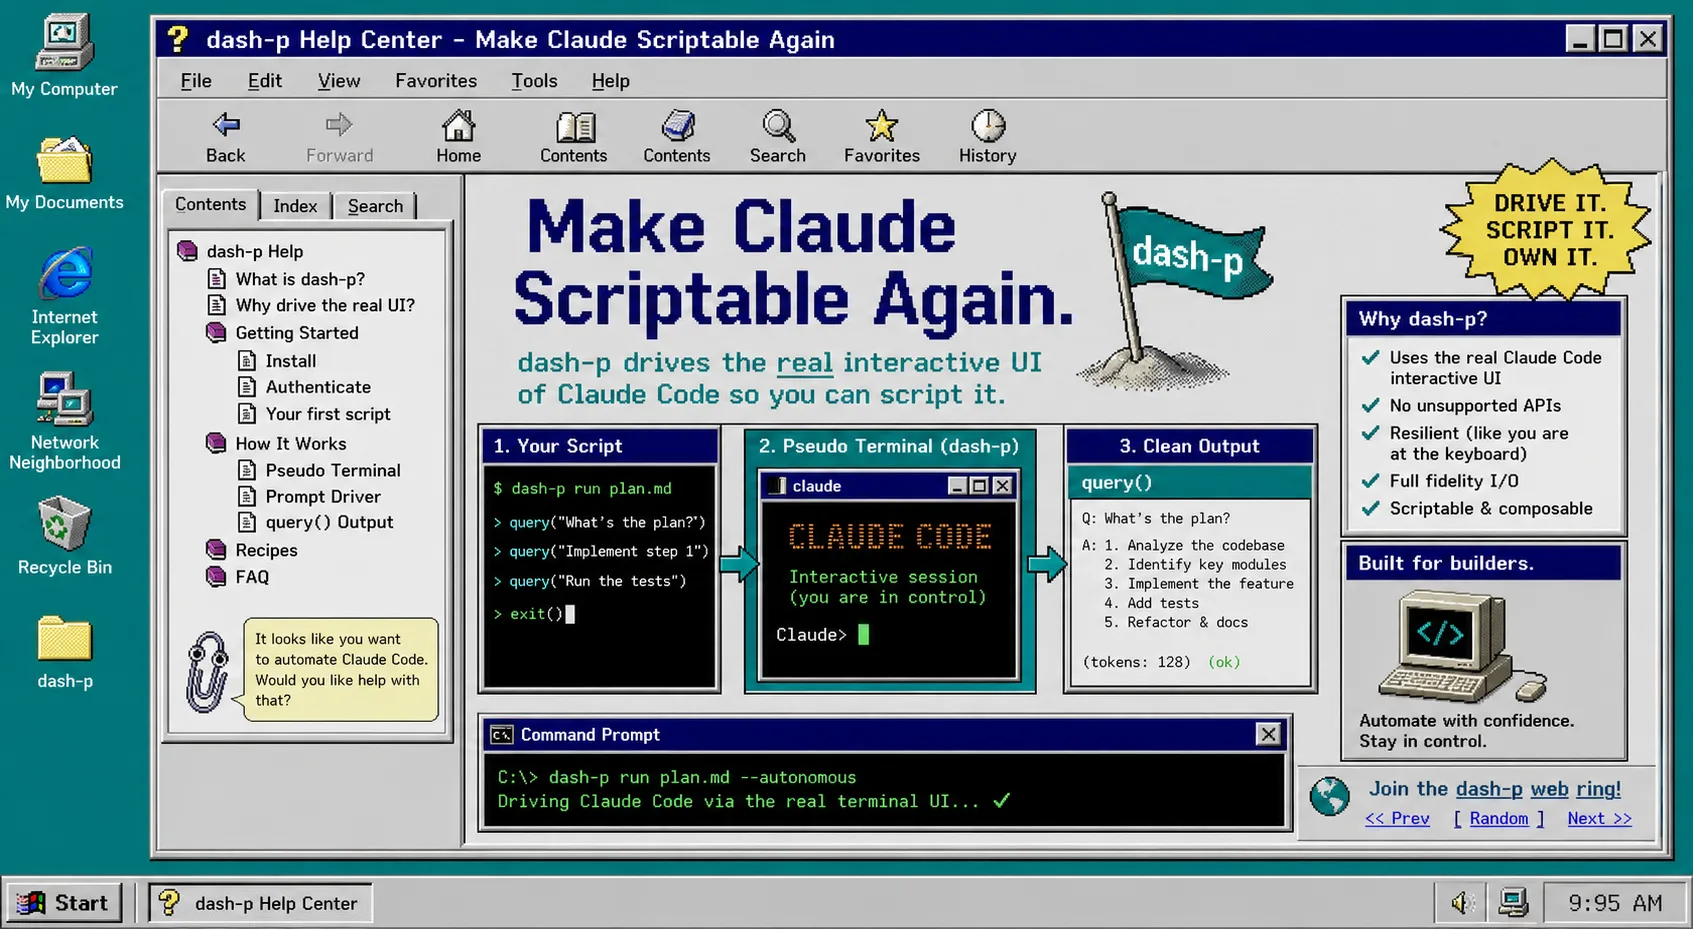
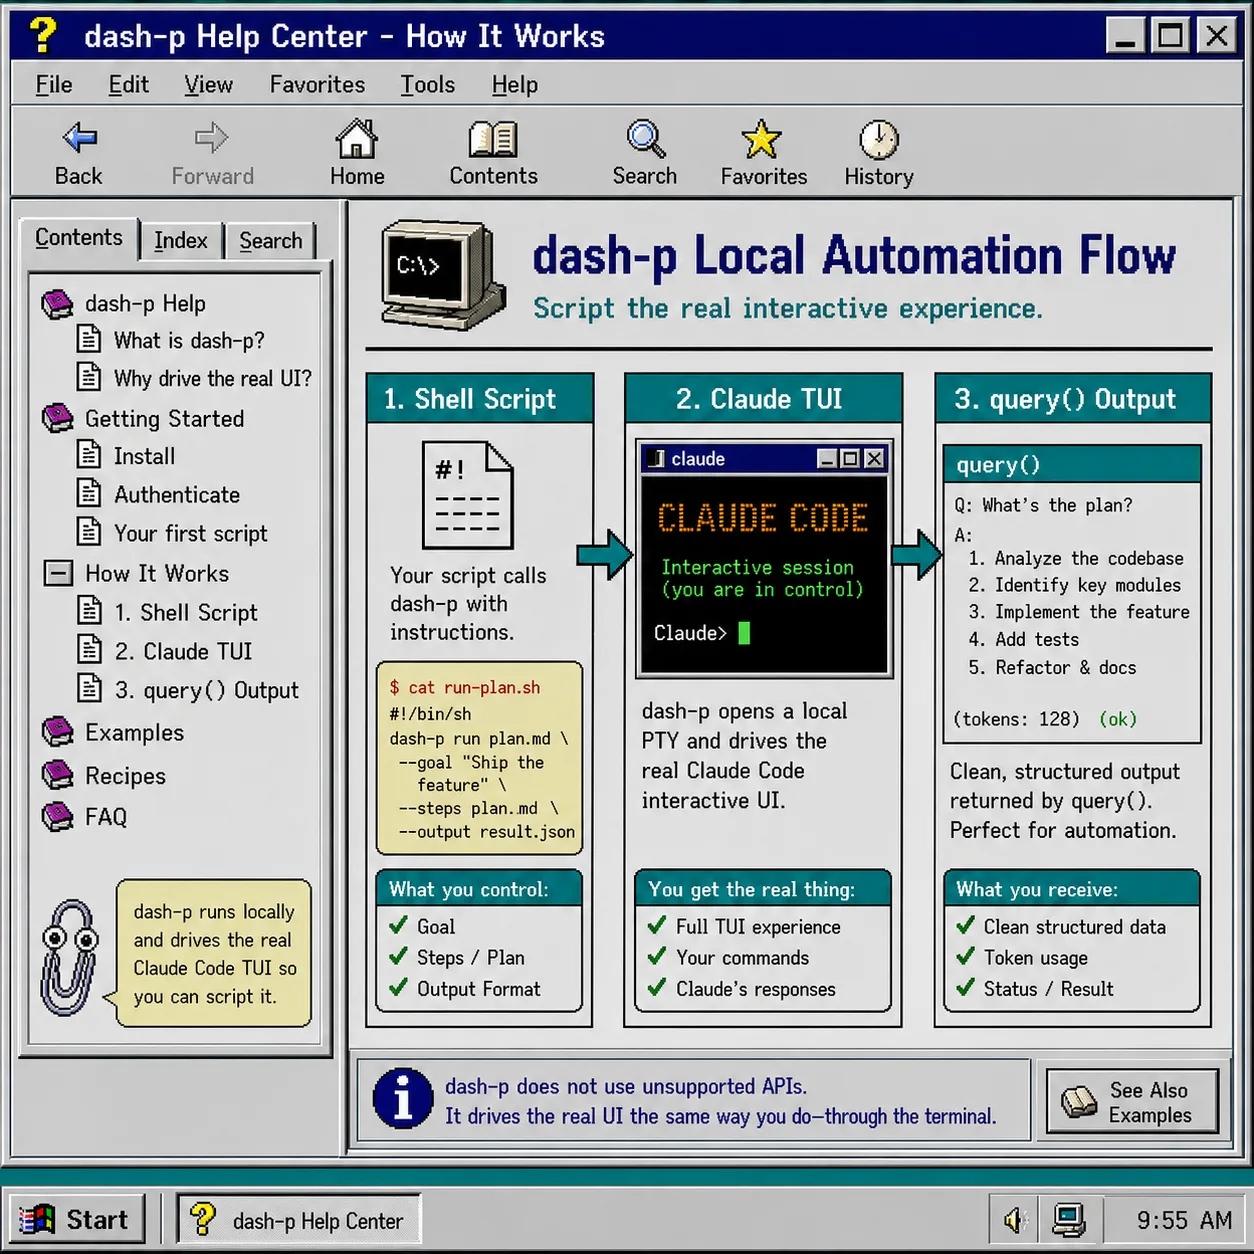
When you want to automate Claude Code without turning every task into a separate API wrapper, dash-p is the narrow tool that fits. It launches the real claude interactive session, drives it through a pseudo-terminal, and gives you both a CLI and a query() API you can call from scripts or TypeScript. Anthropic’s current help pages separate the interactive Claude Code path from the Agent SDK and claude -p path, so the practical question is simple: do you want a local terminal workflow, or do you want a programmatic credit bucket? This post is about the first case.
1. Check the billing path first
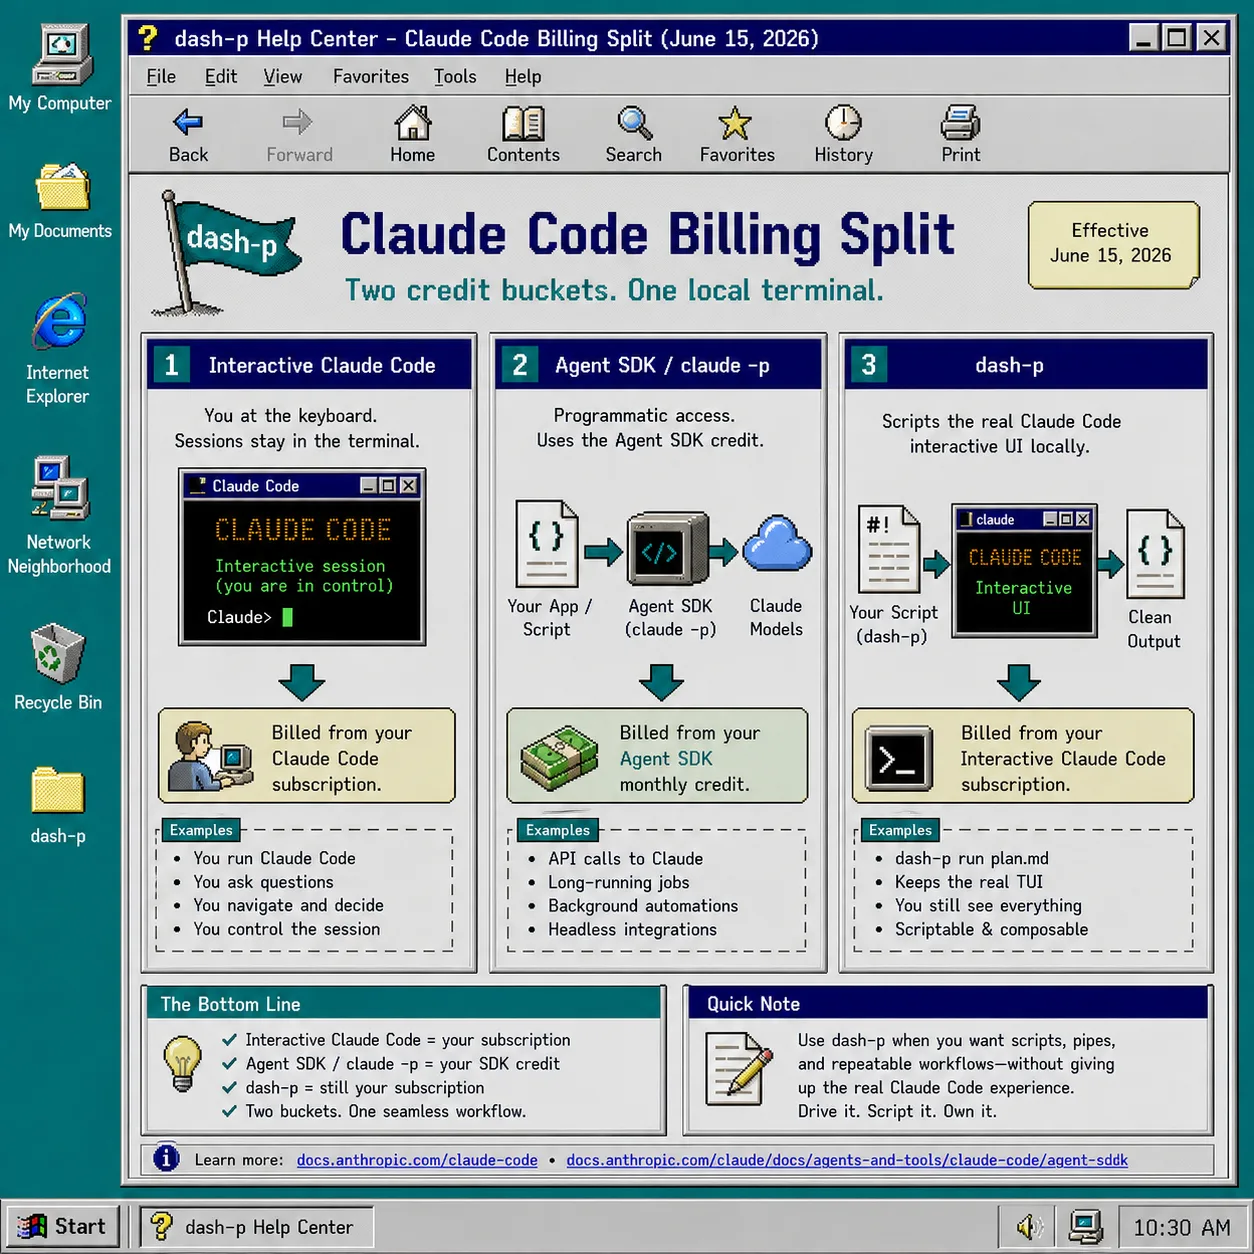
Before you script anything, confirm which Claude path you are using. Anthropic’s help center has two relevant pages: Use Claude Agent SDK with your Claude plan and Use Claude Code with your Pro or Max plan.
The practical rule is simple:
- If you want interactive Claude Code, stay in the terminal session.
- If you want
claude -por Agent SDK automation, understand the separate credit path. - If you have
ANTHROPIC_API_KEYset, Claude Code can switch to API billing instead of your plan credentials.
That is why dash-p matters. It scripts the real local session instead of pretending the TUI is a generic headless API. If you want the earlier shell-first version of that idea, see How to Automate Claude Code From a Shell Script.
2. Install dash-p on Node 20+
Dash-p is a CLI and a TypeScript library. Install it globally when you want a quick command:
npm install -g @ybouane/dash-p
dash-p "summarize this repo"
Or run it without installing first:
npx @ybouane/dash-p "what color is the sky"
If you are starting from the repo itself, the package also exposes a query() API. Use the CLI when you want a single command; use the library when you want to compose Claude Code into a larger script. The original setup flow is in How to Script Claude Code Locally With dash-p.
3. Start with one narrow task
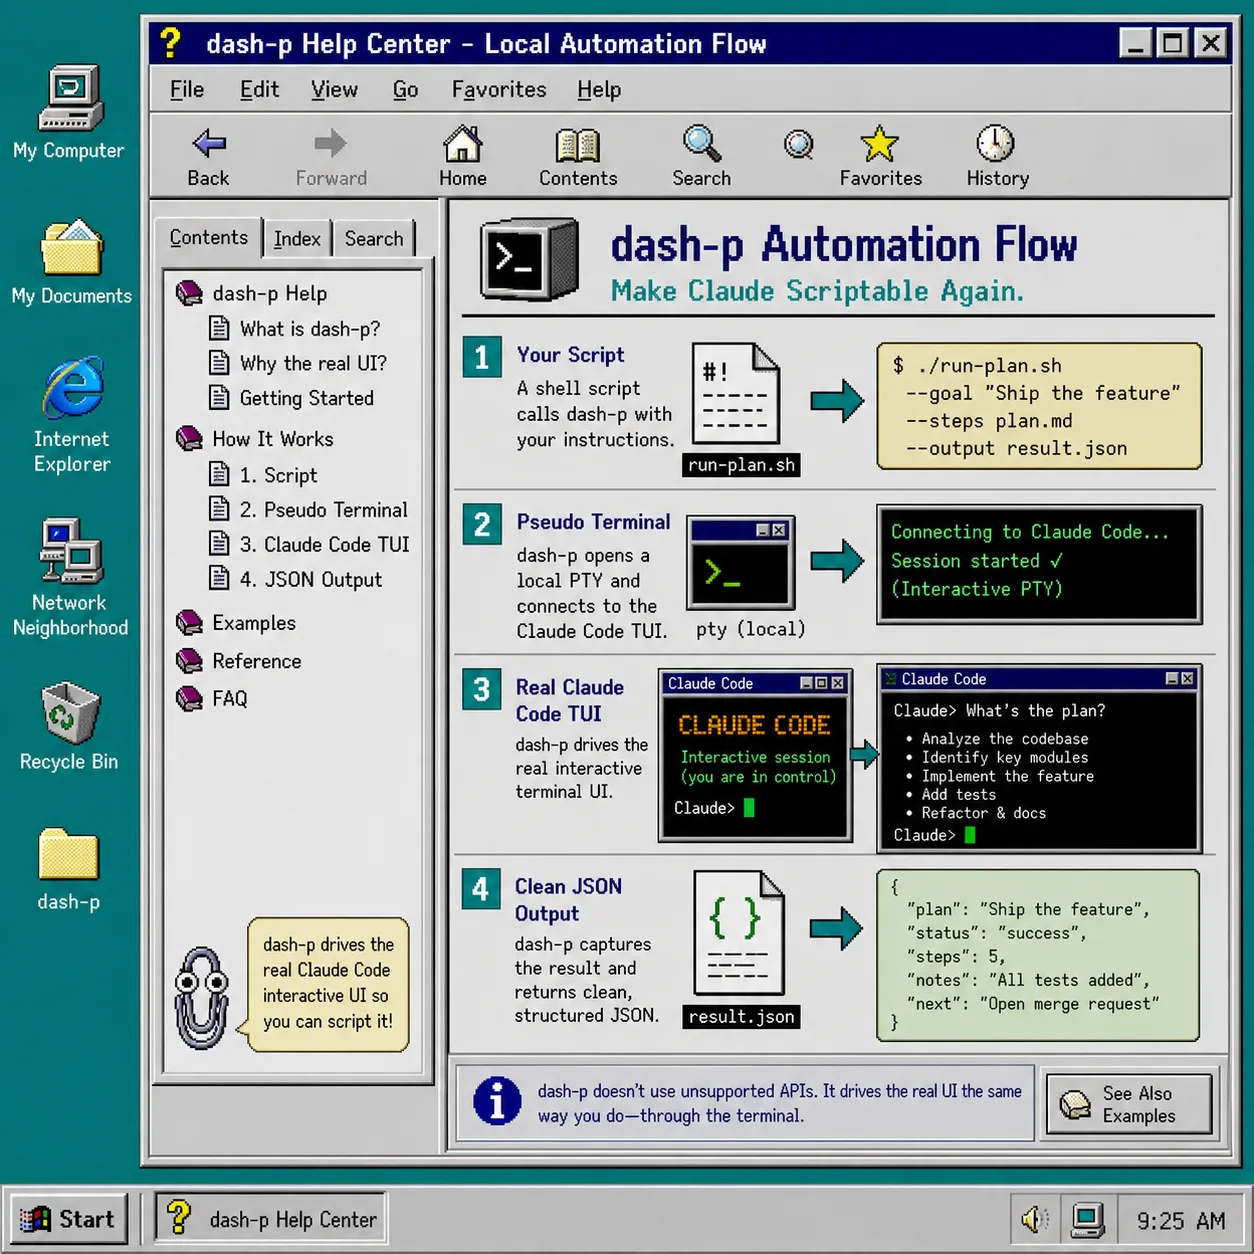
A good first script is something like a repository summary, a review checklist, or a short implementation plan. Keep the prompt tight and let Claude do the work in the real TUI. That is the point of dash-p: you get the benefits of the interactive session, but you can still trigger it from a script.
dash-p "Give me a short summary of this repository and list the three files I should read first."
If you already write terminal-first automations, this fits the same pattern as How I Turn Claude Code Into a Scriptable Terminal Workflow. The workflow stays local, explicit, and reviewable.
4. Wrap it in TypeScript when you need composition
Use the SDK when you want to stream output or feed the result into another step. The important part is not that it is a magical new model endpoint. The useful part is that you can treat the real Claude Code session as a local dependency.
import { query } from "@ybouane/dash-p";

for await (const chunk of query({
  prompt: "Summarize this repo in five bullets.",
  options: { model: "sonnet", includePartialMessages: true },
})) {
  if (chunk.type === "result") console.log(chunk.result);
}
includePartialMessages is useful when you want streamed text while the session runs. result is the full answer at the end, which is what you usually want to hand to another script or paste into a review note. If you want the deeper local-query angle, see How I Turn Claude Code Into a Scriptable Terminal Workflow and How I Script the Real Claude Code TUI With dash-p.
5. Keep the outputs reviewable
Dash-p is powerful because it uses the real interface, and fragile for the same reason. Treat it like a local workflow tool, not an infrastructure layer. Keep the task small, use repo-local inputs, and save the output in a format another script can inspect.
That is the same review-first mindset behind How I Keep Claude Code Scriptable After the Agent SDK Split. The goal is not to hide the terminal. The goal is to keep the terminal visible while making it reproducible.
Use dash-p for:
- repo summaries before a refactor
- small cleanup passes with human review
- short planning prompts that feed a checklist
- local scripts that turn one terminal session into another
Avoid using it when you need a long-lived, headless, hosted automation service. In that case, the Agent SDK is the more direct path.
Troubleshooting
- If Claude starts talking about API billing, check whether
ANTHROPIC_API_KEYis set in your shell. - If you want to stay on your plan, log out and back in with your Claude subscription credentials only.
- If the session feels brittle, shorten the prompt and narrow the task.
- If the UI changes, expect dash-p to need a refresh because it depends on the rendered terminal.
- If you need a pure programmatic path, use the Agent SDK instead of forcing dash-p into that role.
Finish Line
If you want Claude Code you can script without giving up the interactive terminal session, install dash-p and start with one repo summary. Once that works, move the same pattern into a shell script or a TypeScript helper and keep the result small enough to review.