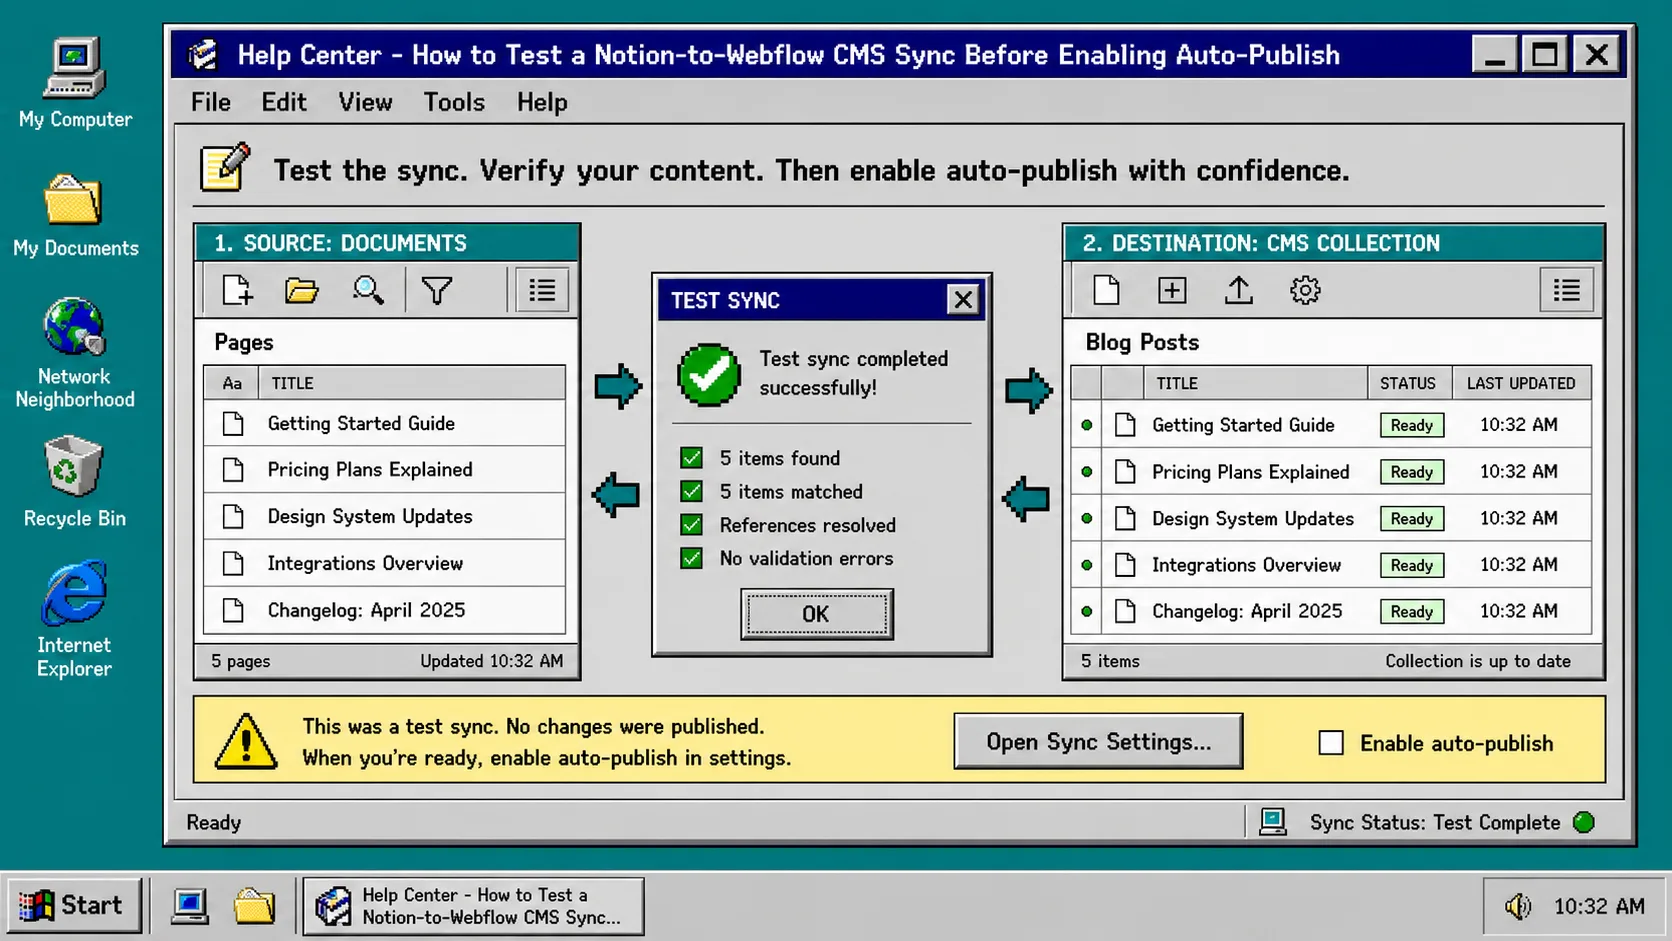
If you write in Notion and publish through Webflow, the tempting move is to turn on auto-publish as soon as the connection works. Do one controlled sync first. A single test record tells you whether your collection fields, rich text, images, page links, and published page behave the way you expect—before a whole database starts moving.
You need a Webflow CMS Collection, a Notion database with one disposable test article, and a Syncflow account. Syncflow connects the two, maps supported fields, and can sync manually or automatically. This guide uses the manual path first, then turns automation on only after the result is checked.
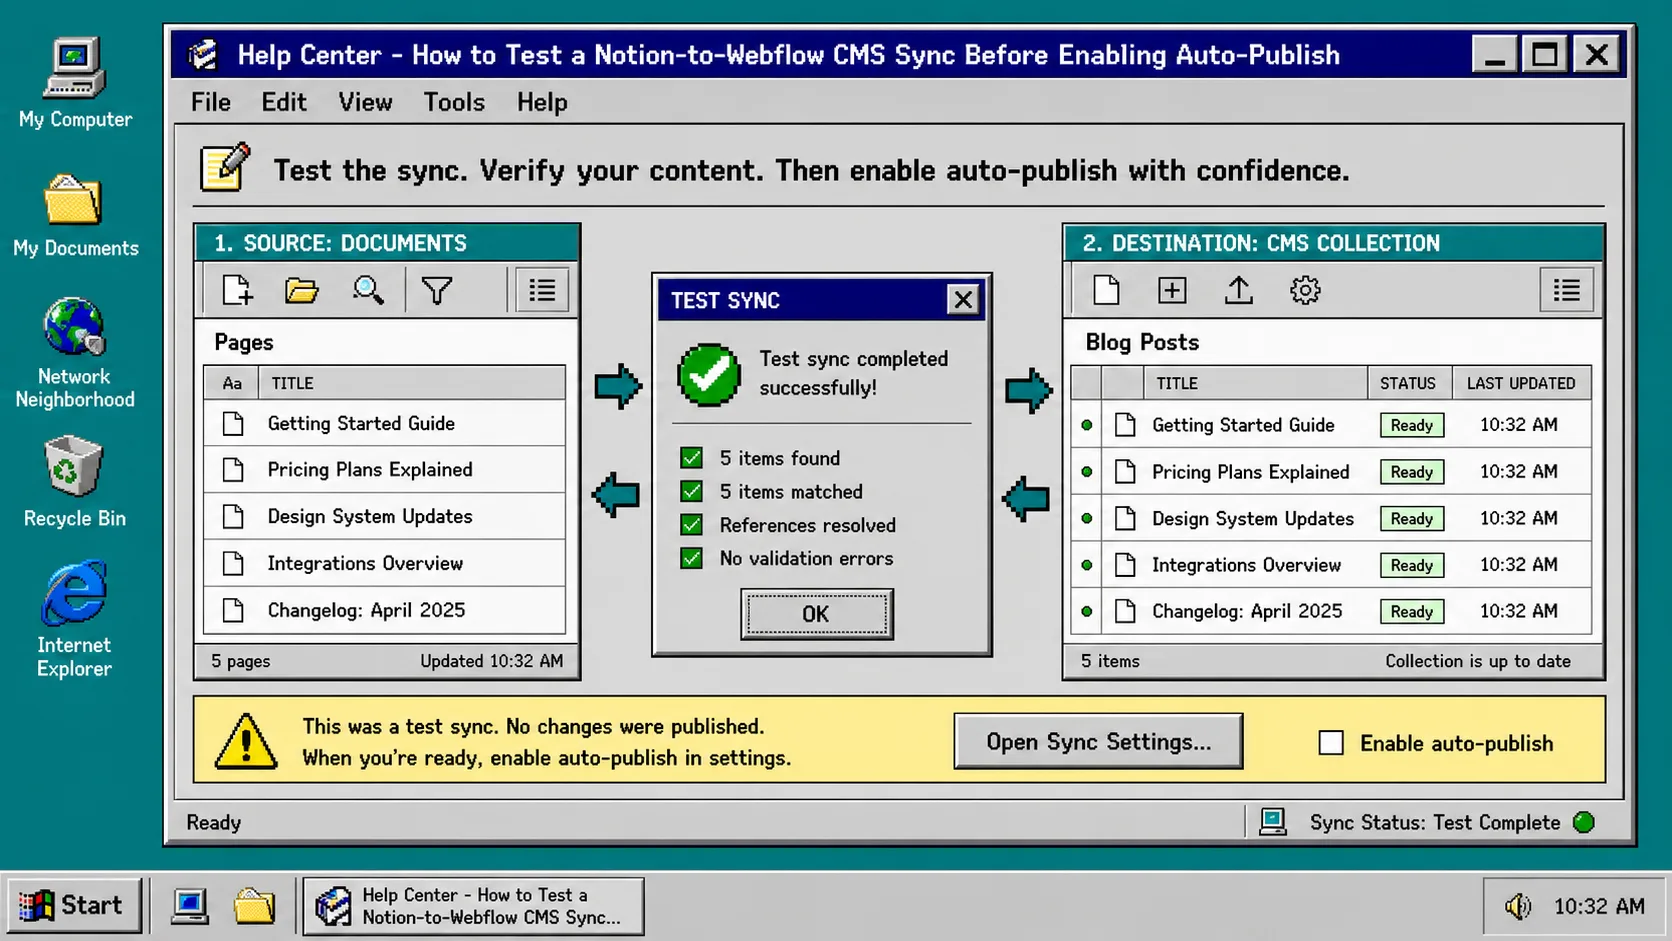
1. Create one unmistakable test article
Add a new row to the Notion database you plan to use. Give it a title that cannot be confused with a real post, such as TEST — Delete After Sync. Add a short summary, a date, a cover image, and a paragraph containing one internal page link. If your collection has required fields such as a slug, category, or author, give the test record valid values for those too.
Keep the body deliberately small. The goal is not a content audit; it is to expose whether each kind of field reaches the right place. For a broader cleanup pass before this test, use the checklist in How to Sync Notion Pages to Webflow CMS Without Manual Cleanup.
What you should see: one clearly labeled source record that includes every field type you intend to depend on.
2. Connect the correct Webflow site and Notion source
Open the Syncflow app in the Webflow Designer. Connect your Webflow account, then choose the site that owns the destination Collection. Select Connect Notion and grant access to the exact Notion page or folder that contains the database.
Next, choose Sync a new database. Select the Webflow Collection first, then choose the matching Notion database. This order makes it easier to notice when you have selected an old staging Collection or a similar-looking database.
What you should see: the Syncflow setup screen displaying the intended source database and destination Collection before you map anything.
3. Map only the fields you can verify
Match each required Notion property to its Webflow CMS field: title to title, summary to summary, date to date, and cover image to image. Leave an optional property unmapped if there is no sensible target. Do not force a multi-select property into plain text just to make every row look complete.
Syncflow supports text, images, checkboxes, dates, URLs, and other common field types. It can also bring in Notion elements with inline styling or classes, plus code highlighting and TeX support when those options fit your site. If field behavior is the part you are unsure about, compare your setup with How to Map Notion Fields to Webflow CMS Without Breaking Formatting.
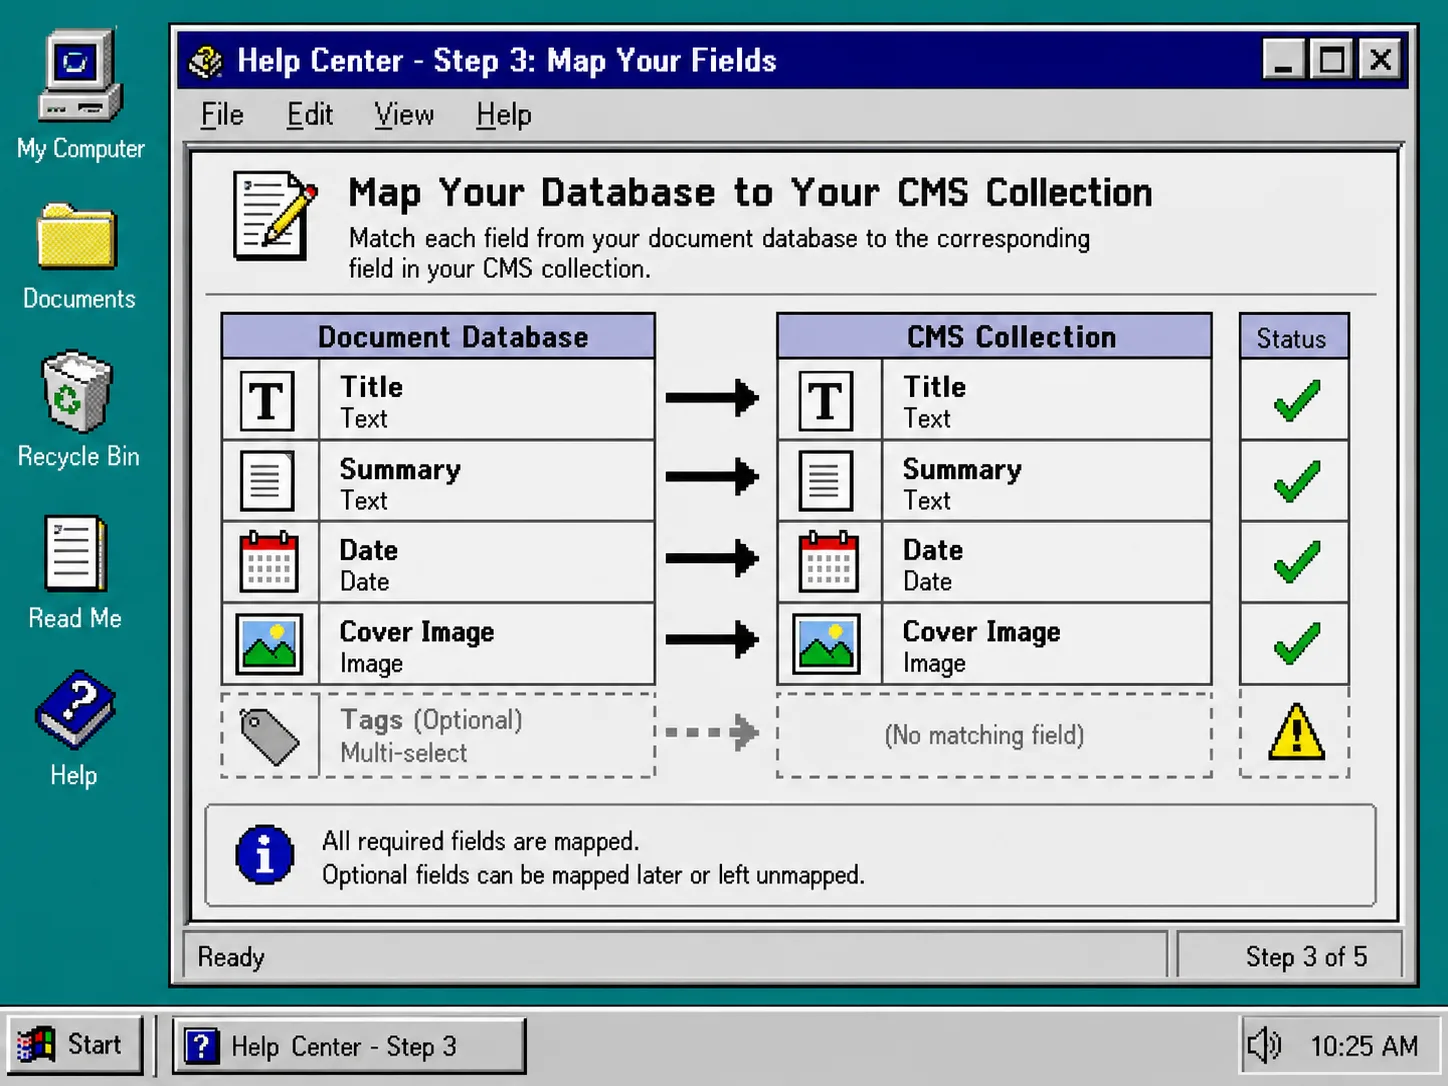
What you should see: every required field has one clear destination, and optional properties are intentionally mapped or intentionally skipped.
4. Run a manual sync before choosing automatic behavior
Save the mapping, but do not enable Auto-Sync or Auto-Publish yet. Run the manual sync for the database. Wait for the task to finish, then open the test item in the Webflow CMS.
Check the values one by one: title, summary, date, image, slug, and any custom field you use in templates. Open the rich-text body in the CMS preview. Confirm headings have hierarchy, code blocks are readable if you use them, and the internal page link resolves to the corresponding Webflow post rather than back to Notion. Syncflow is designed to convert links between Notion pages into Webflow post links, but this is exactly the sort of behavior worth proving with a real test record.
What you should see: one CMS item with all required values in the expected fields, plus body content that looks sensible in preview.
5. Inspect the published page once
If your staging process allows it, publish only the test item or use a staging domain. Open the public page in a private browser window. Confirm the cover image loads, the date format is correct, and the page link takes you to the expected destination. Then update one harmless sentence in Notion and run one more manual sync. Refresh the Webflow item and the preview.
That second pass matters: it proves updates travel as well as new records. It also makes it easier to spot CMS drift before the database grows. The follow-up practices in How to Prevent Notion-to-Webflow CMS Drift After Launch are useful once the initial test is clean.
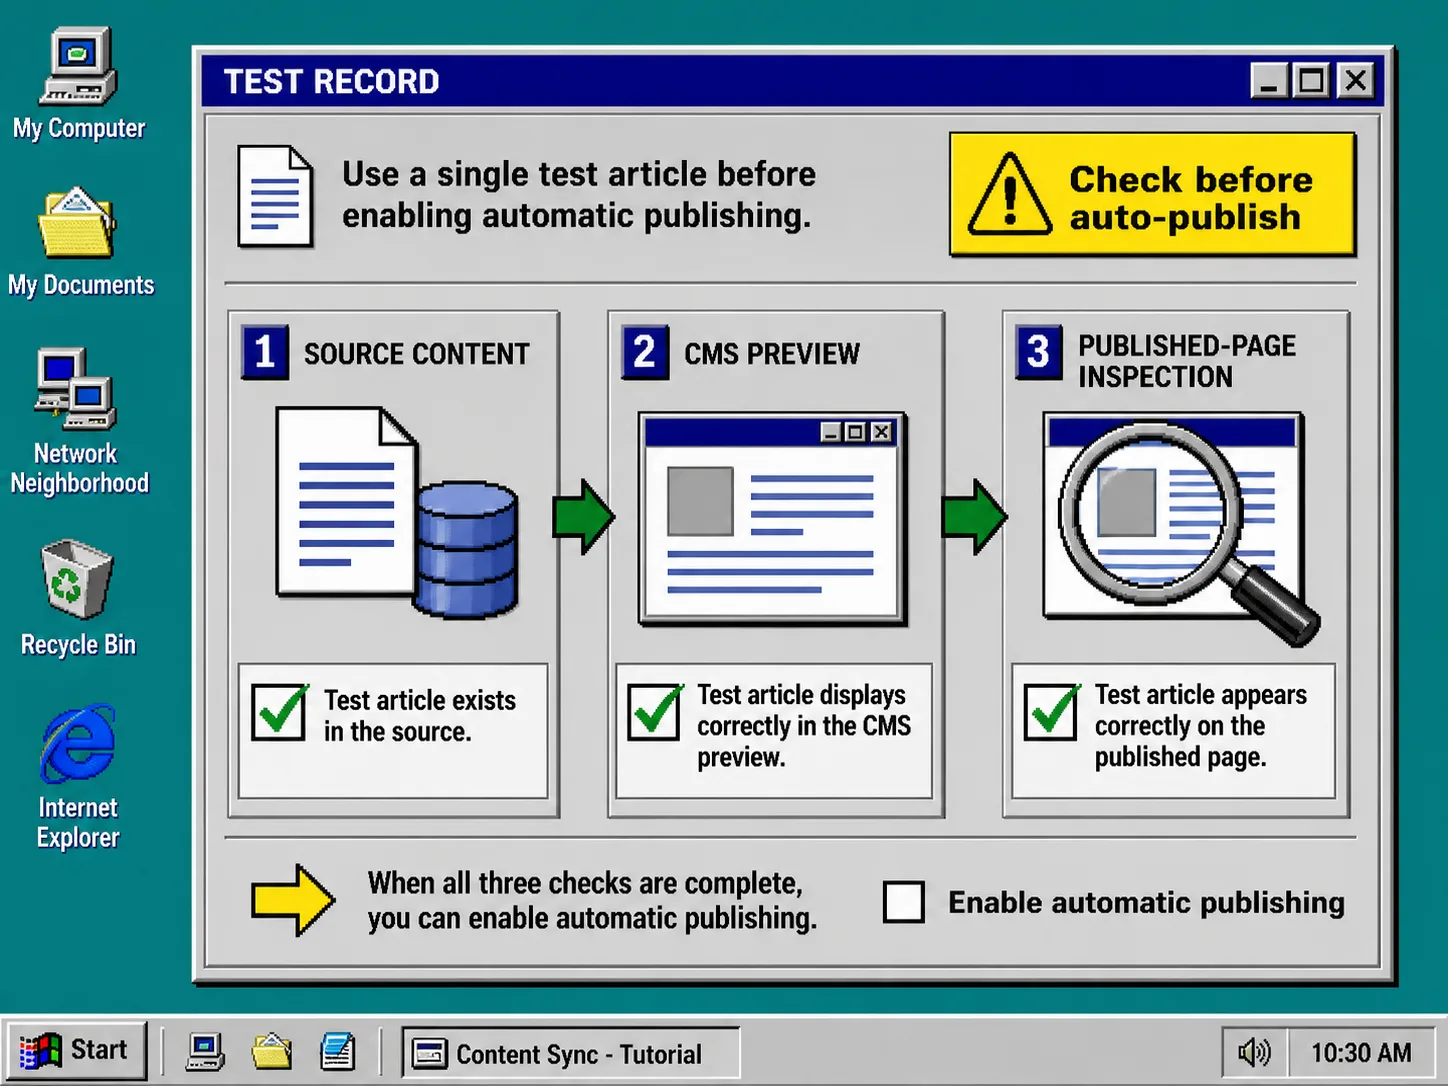
What you should see: the changed sentence appears on the published test page, and no image or link is broken.
6. Enable auto-sync, then decide on auto-publish
Turn on Auto-Sync after the manual test passes. Create or edit one more clearly marked test record in Notion and confirm it arrives in Webflow without manual intervention. Only then enable Auto-Publish if your team is comfortable making source edits live immediately.
If you need an editorial checkpoint, leave auto-publish off. You can still use Notion as the writing environment and Webflow as the CMS destination while reviewing each synced item before publishing. That is a useful middle ground for teams that want fewer copy-and-paste steps without losing control. For a longer review-oriented workflow, see How I Build a Reviewable Notion-to-Webflow Publishing Pipeline.
Troubleshooting
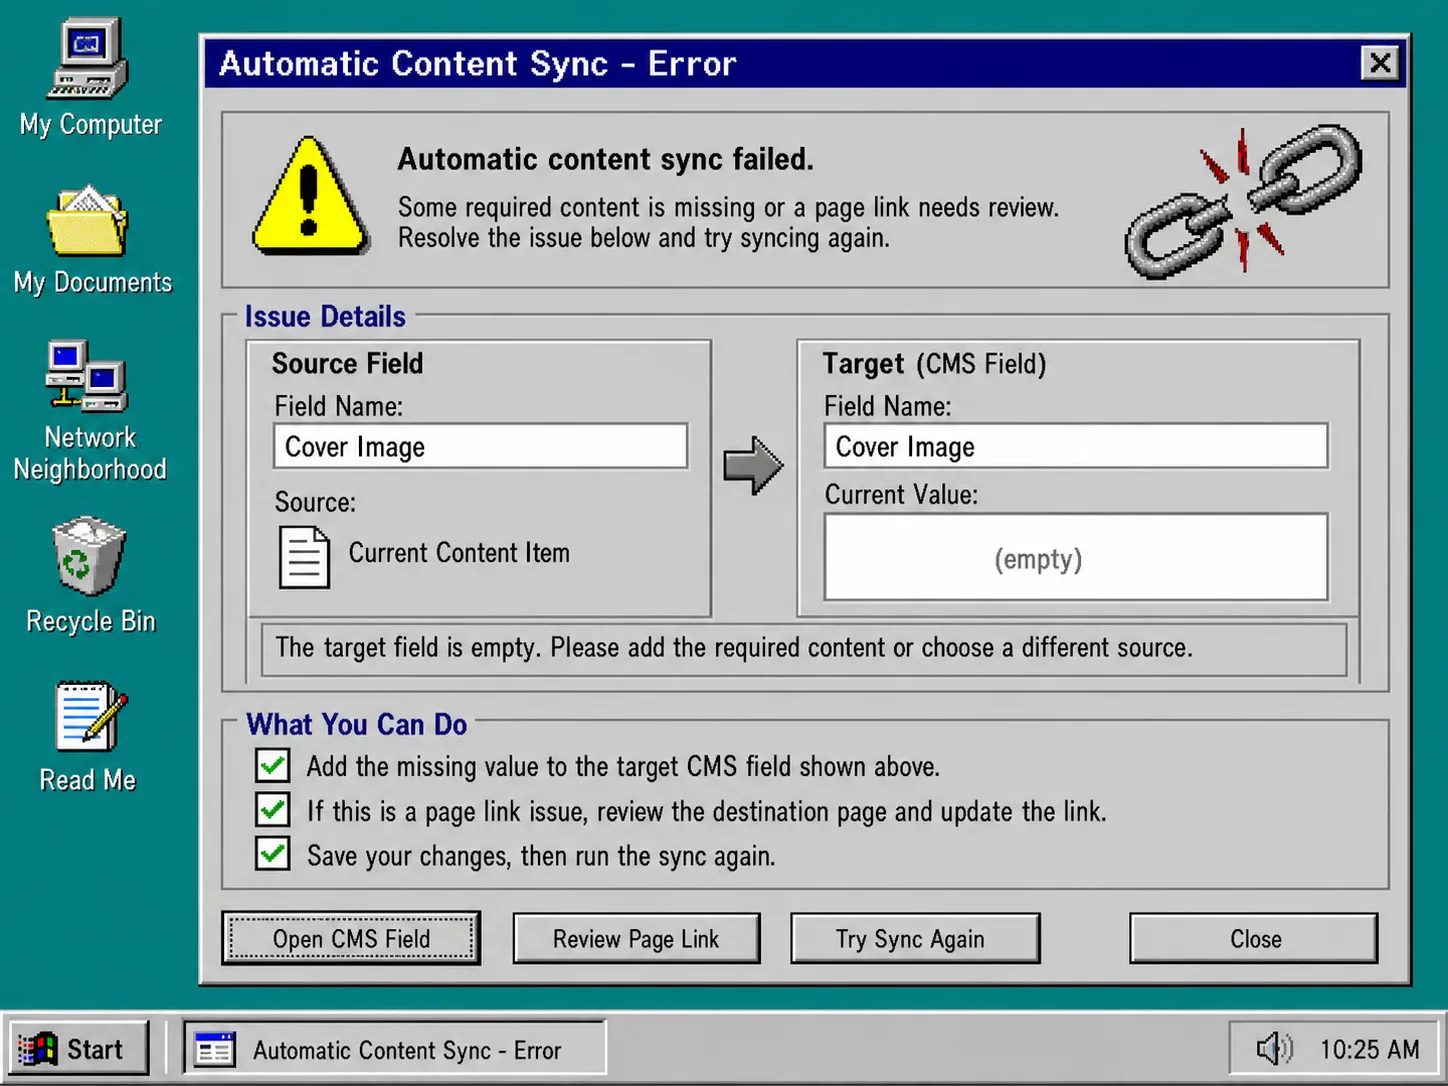
- A required CMS field is blank: check the property type, the selected source database, and the field mapping. Add a valid value to the test record, save it, then run the sync again.
- A page link points somewhere unexpected: verify that both linked pages are in the synced database and inspect the Webflow destination item after a fresh manual sync.
- The CMS item looks right but the public page does not: verify that the item is published and that your template is bound to the same fields you mapped.
- Formatting changes after import: try the styling option that fits the site—inline styling for a closer source match, or classes when your Webflow CSS should control presentation.
Recap
A Notion-to-Webflow sync is safest when you prove it with one disposable record: map required fields, run a manual sync, inspect the CMS and public page, then test one update. When all of those checks pass, enable auto-sync and choose auto-publish only when it suits your review process. Start your test from Syncflow, and keep the first record around until you have verified the second update.