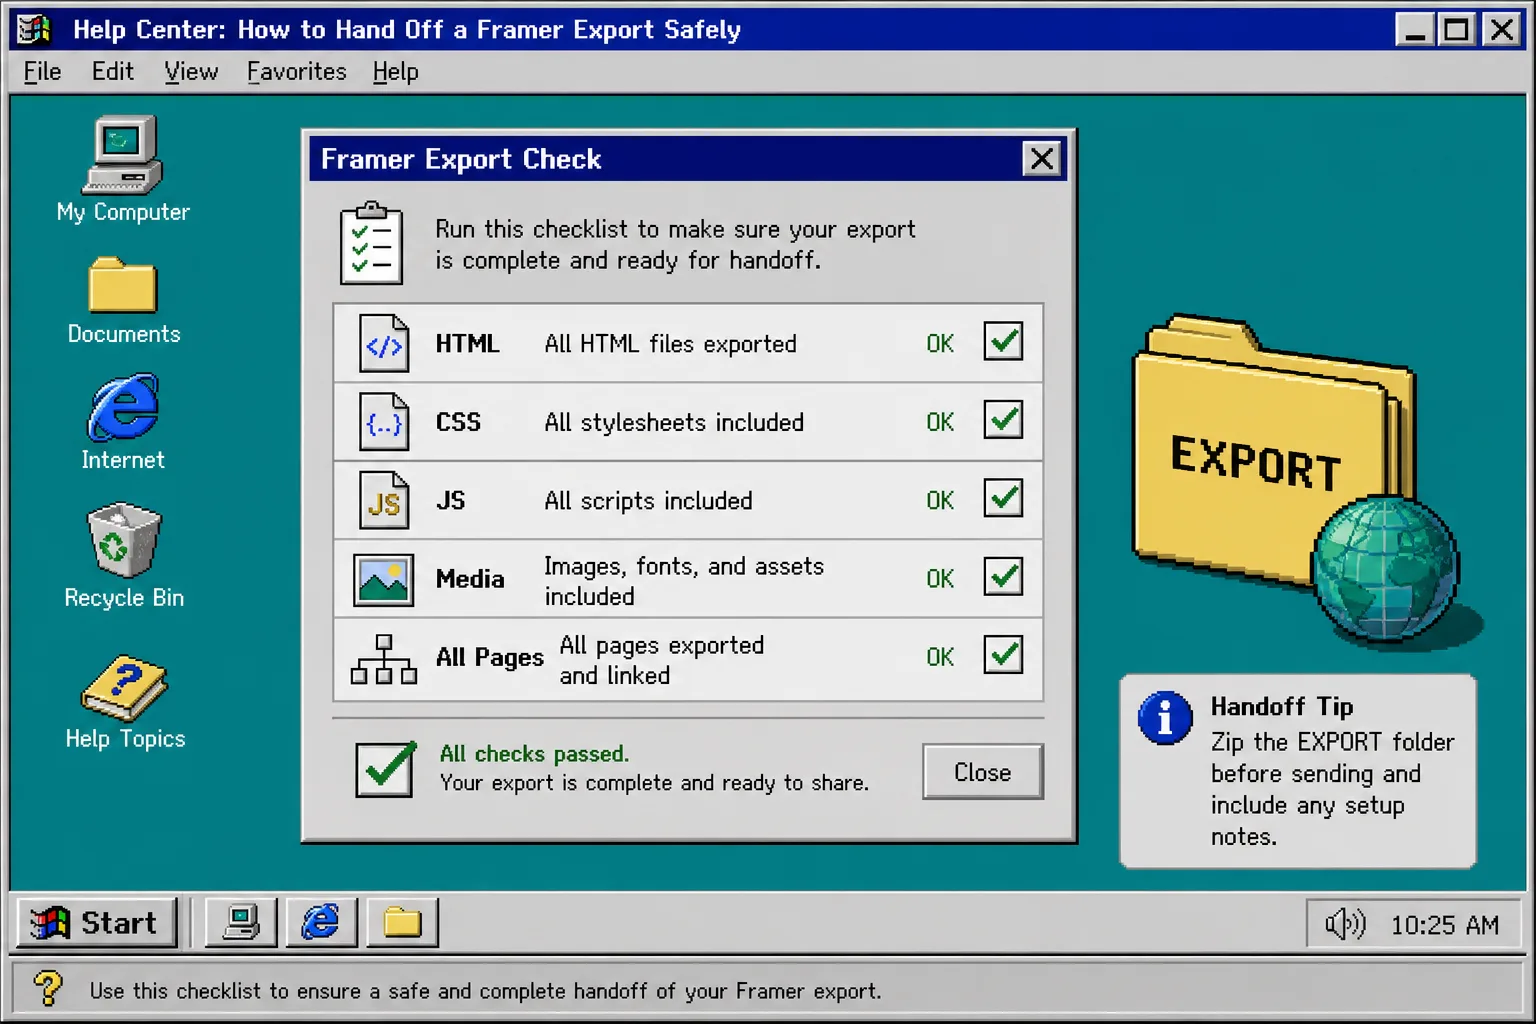
Moving a Framer site to a developer, a new host, or a Git repository is less risky when the handoff is a checklist instead of a ZIP file with a vague name. In this guide, you will export the site with ExFlow, check the static files, and give the next person clear deployment instructions. You need the published Framer site URL and access to the intended host or repository.
1. Choose the Handoff Target
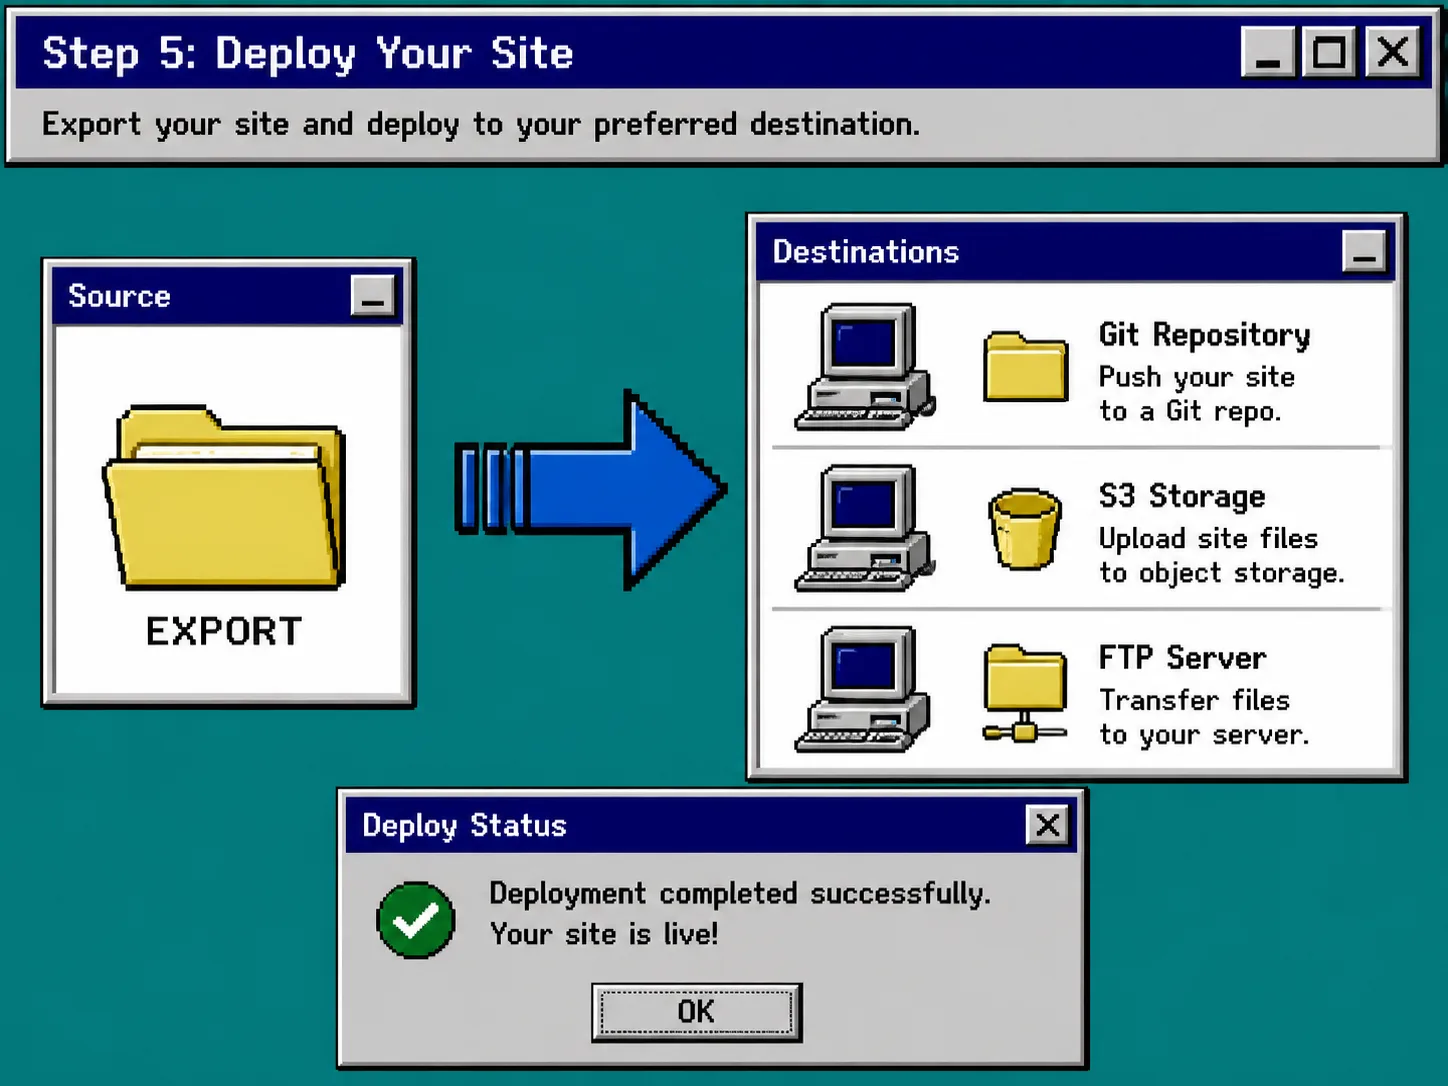
Write down where the exported Framer site will be deployed: a Git repository, S3-compatible storage, an FTP server, or a managed static host. Record the repository and branch, or the destination name and its owner. Do not put passwords, access keys, or FTP credentials in a handoff document.
ExFlow can export a Framer site as static downloadable content and can sync to Git, S3, or FTP when the owner enters their credentials. A preview destination is a good first stop when the production domain cannot change yet. Follow How to Create a Self-Hosted Framer Preview Before Going Live to test a copy before the real cutover.
2. Export Every Page and Asset
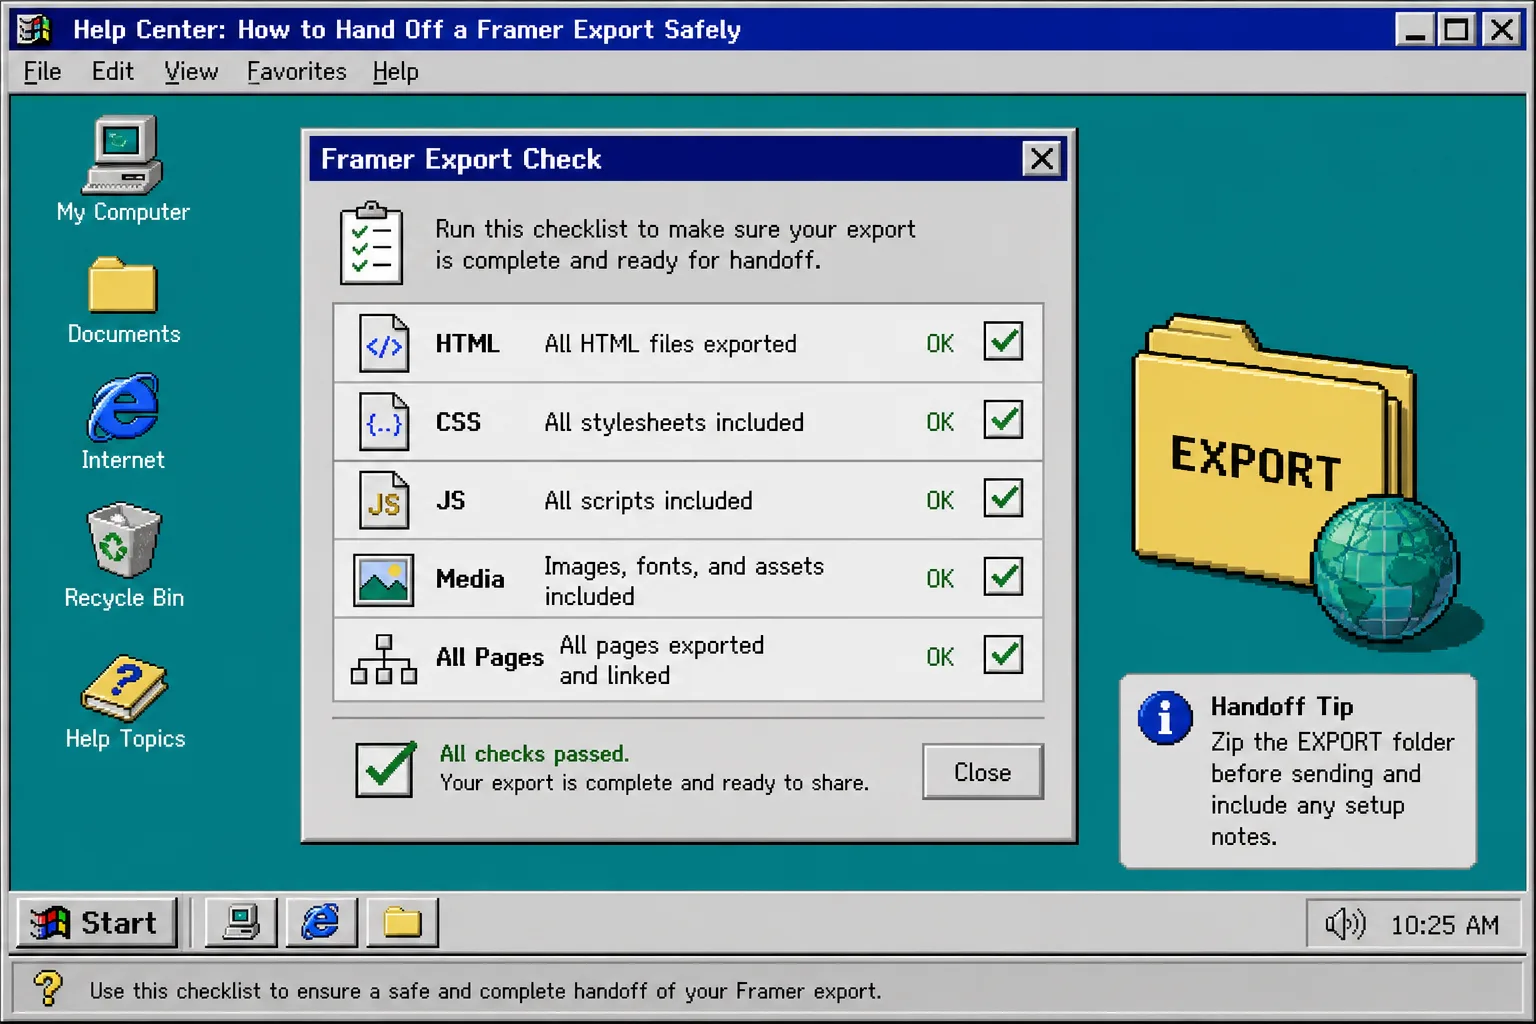
Open ExFlow, enter the site URL, and select CSS files, JS files, images/media, and all pages. Keep the .html page extension enabled when the receiving host expects conventional static files.
Run the export. When it finishes, download the package or allow the configured sync to send it to the chosen destination. Rename the top-level folder with the date, for example site-export-2026-08-17. A dated folder makes it much easier to identify the version that was actually tested.
3. Check the Export Folder Locally
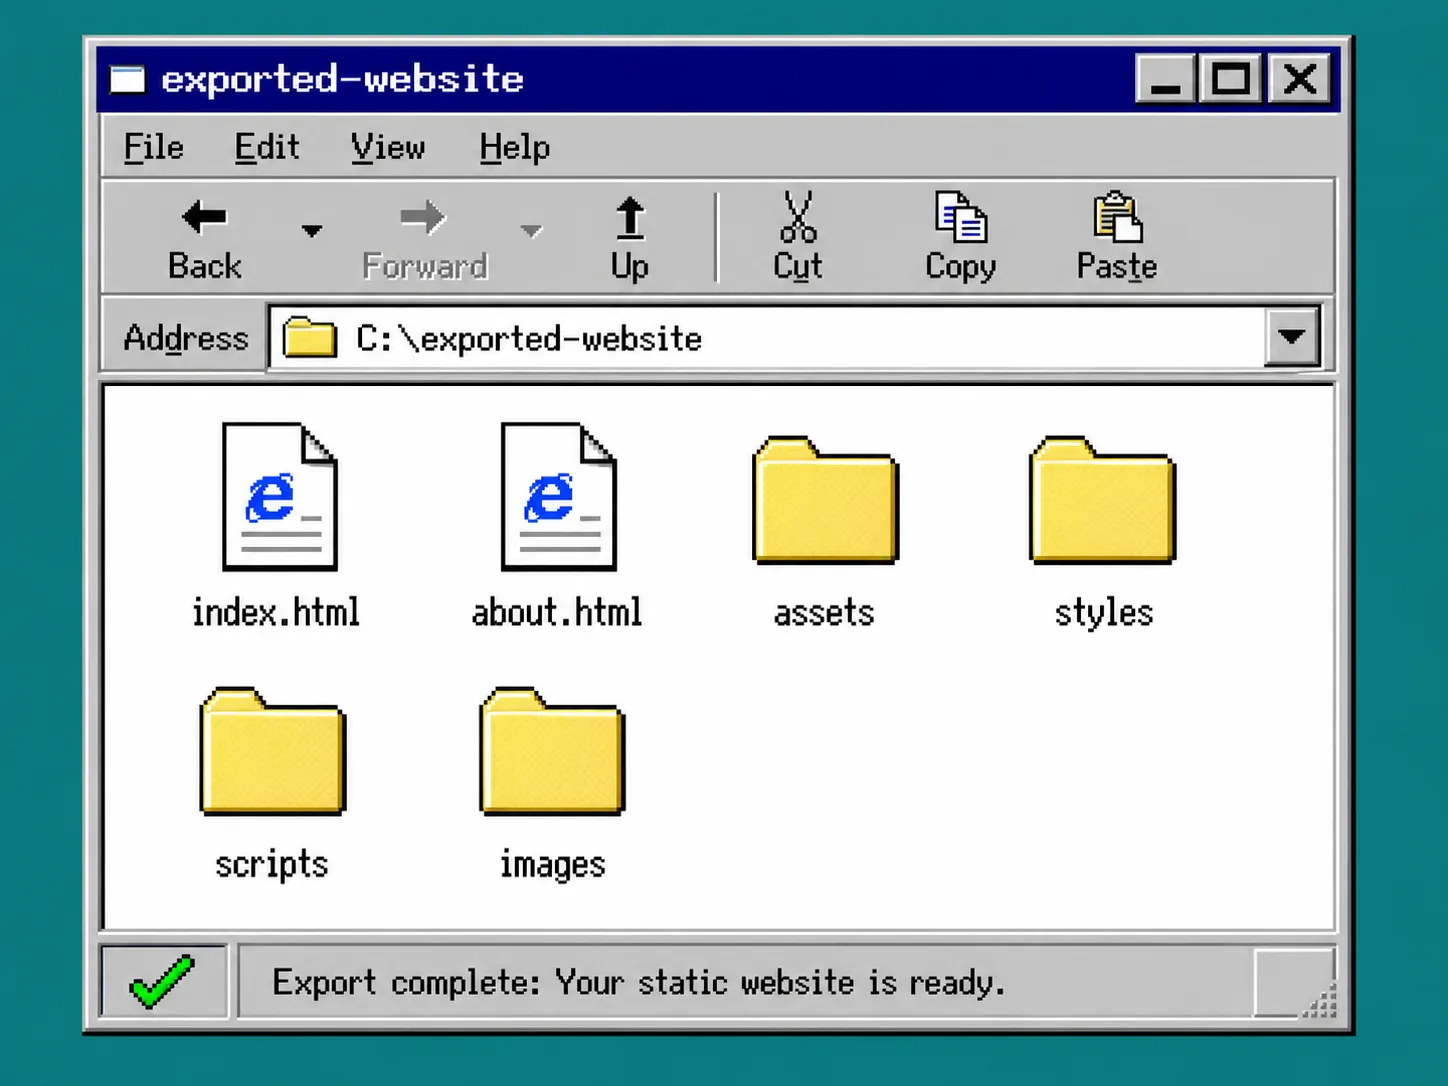
Open the export folder before you send it. Look for index.html, additional page HTML files, and folders that contain styles, scripts, and images or other media. The exact folder names can differ, so check for the purpose of each file rather than matching a rigid template.
Next, open index.html in a browser. Click primary navigation, load a page with images, and test an animation or form that matters to the site. Static files may be present while a service-dependent feature still needs a separate configuration check.
If a route or image is missing, export again with all pages and images/media enabled. How to Export a Framer Site Without Losing Pages or Assets is a useful companion checklist for this stage.
4. Add a Short Deployment Note
Place a small text note beside the export folder. It should answer four questions:
- What is the source URL?
- Which folder is the deployment root?
- Which destination receives the files?
- What must be tested after deployment?
Be exact. For example: “Deploy the contents of site-export-2026-08-17/ to the main branch. Confirm /, /about.html, the contact link, and the logo image.” This protects the team from uploading the outer folder instead of the files inside it.
If GitHub Pages is the destination, follow the branch and directory pattern in How to Move a Framer Site to GitHub Pages With ExFlow instead of deciding the layout halfway through the handoff.
5. Deploy One Controlled Copy
With Git, push the contents of the export folder to the agreed branch. With S3 or FTP, upload the contents to the configured web root. With a managed host, select the export folder as the publish directory. Do one controlled deployment first; do not update several destinations until the first one works.
The person responsible for the host should enter their own credentials in ExFlow or the host dashboard. That keeps sensitive values out of chat messages and gives the right owner a clear audit trail.
6. Run the Public QA Check
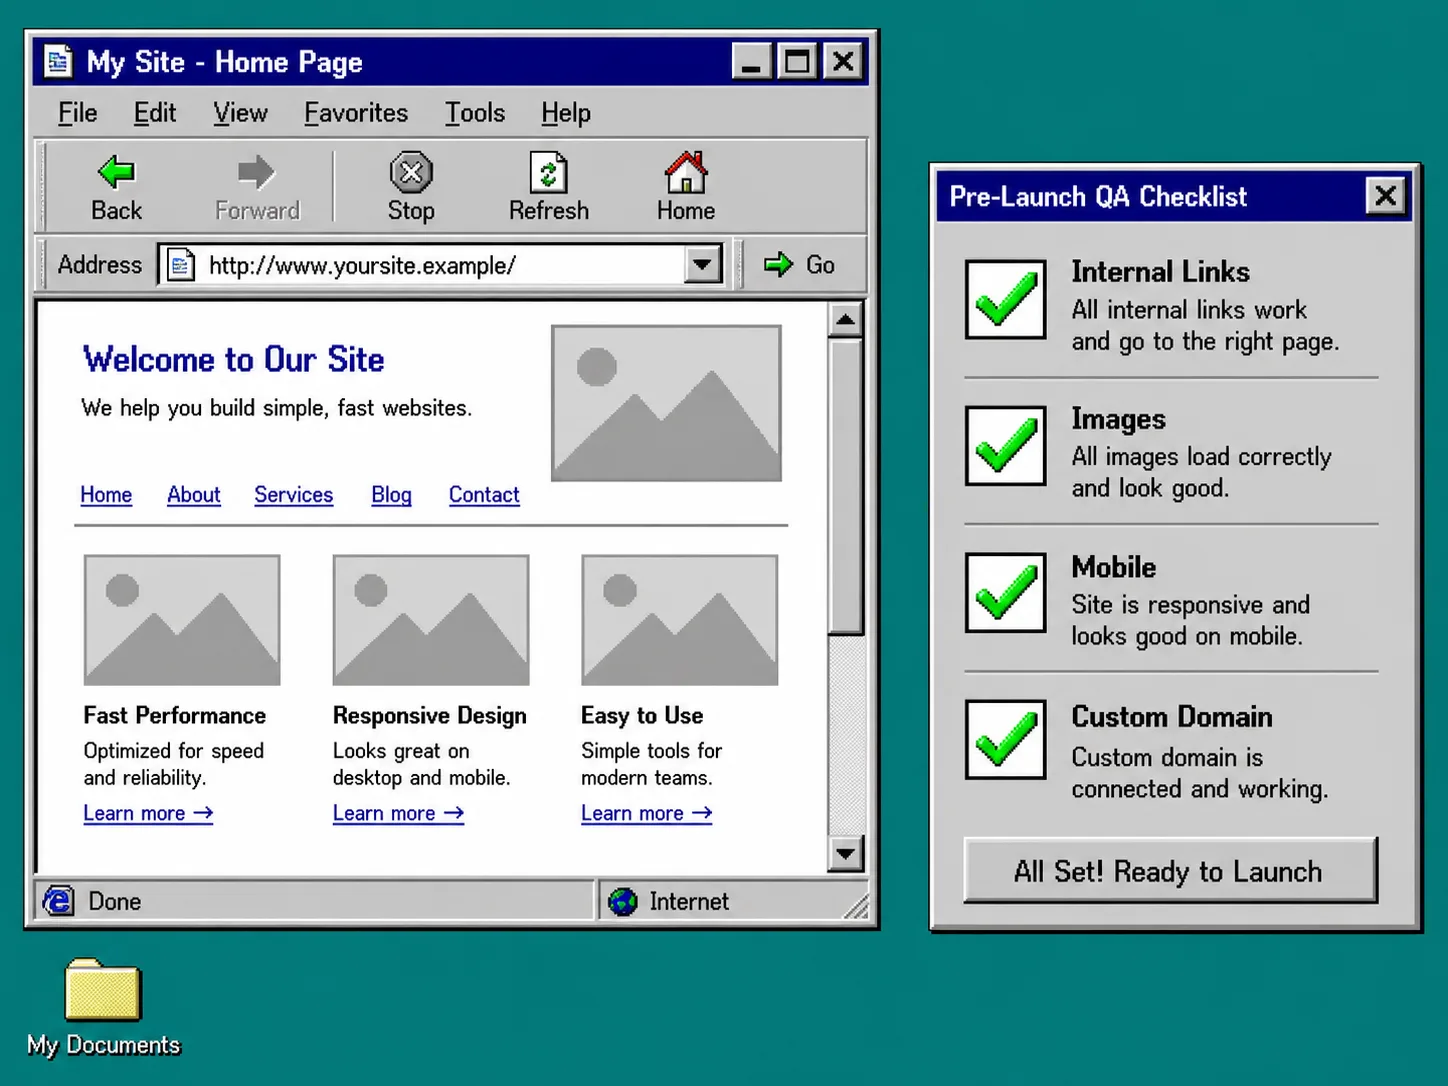
Open the new public URL in a private browser window. Test the homepage, an internal navigation link, an image-heavy page, the mobile layout, and the custom domain if one is connected. You should see the same pages that worked locally, without broken images or links returning to the old Framer address.
Use the same disciplined check you would use for any static-site move. Webflow CMS to Static: My Pre-Launch Export Checklist is a good reminder to validate the destination before announcing it.
Troubleshooting
Images load locally but not after deployment. Confirm that the media folder was uploaded and that file-name capitalization did not change. A case-sensitive host can expose a mismatch that a local computer hides.
A navigation link returns 404. Confirm that the target page was included in the export and that the deployment root is the folder containing index.html, not its parent directory.
A feature stops working. Separate static files from connected services. Forms, analytics, and third-party integrations may need their own post-export settings check.
A clean Framer handoff is a complete export, one named destination, and a short verification pass. Start an ExFlow Framer export, test the files locally, deploy one copy, and share the live URL only after the checklist passes.