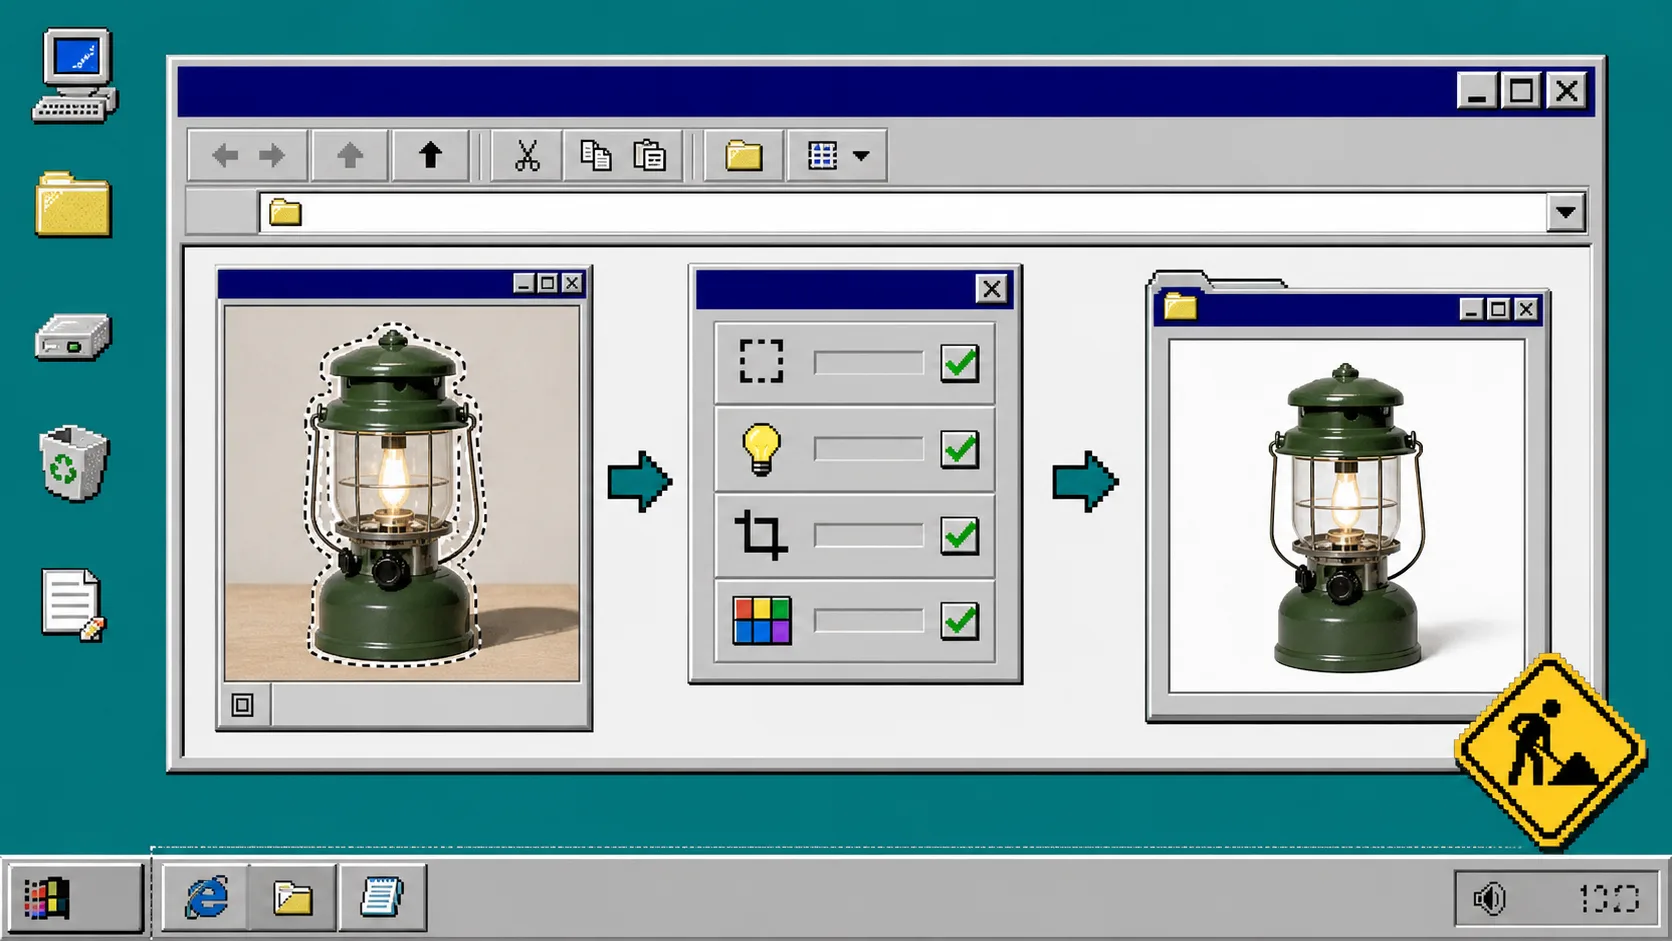
If an AI edit starts from a weak product photo, it usually creates more cleanup work instead of less. A blurry edge becomes a blurry lifestyle image. A hidden label becomes a guessed label. A product photographed too tightly leaves the editor with no room to make a useful crop.
This guide shows how to prepare a Shopify product photo before you use Supra AI Photo Studio for background work, object placement, try-on, or enhancement. You need access to the product in Shopify, one or more original images, and a short note about the details that must stay true. The app lets you select a product or upload an image, work from its editor, and publish approved results back to the product gallery.
Before You Start
Open the product record and collect the original images rather than a screenshot from a storefront. Keep the product title, current variant, and the product page nearby. You are preparing an input file, not trying to make a finished ad yet.
Choose one image that shows the full item at a useful size. For a bottle, the cap, label, and outline should be visible. For apparel, the relevant cut, print, and trim should be visible. For jewelry or small hardware, choose a view where the important feature is not hidden by a reflection. If you need to decide which views a product actually needs after this preflight, use this reusable Shopify product-photo shot-list workflow.
What you should see: one original file that you can compare against every generated candidate later.
1. Inspect the Source at Normal Size
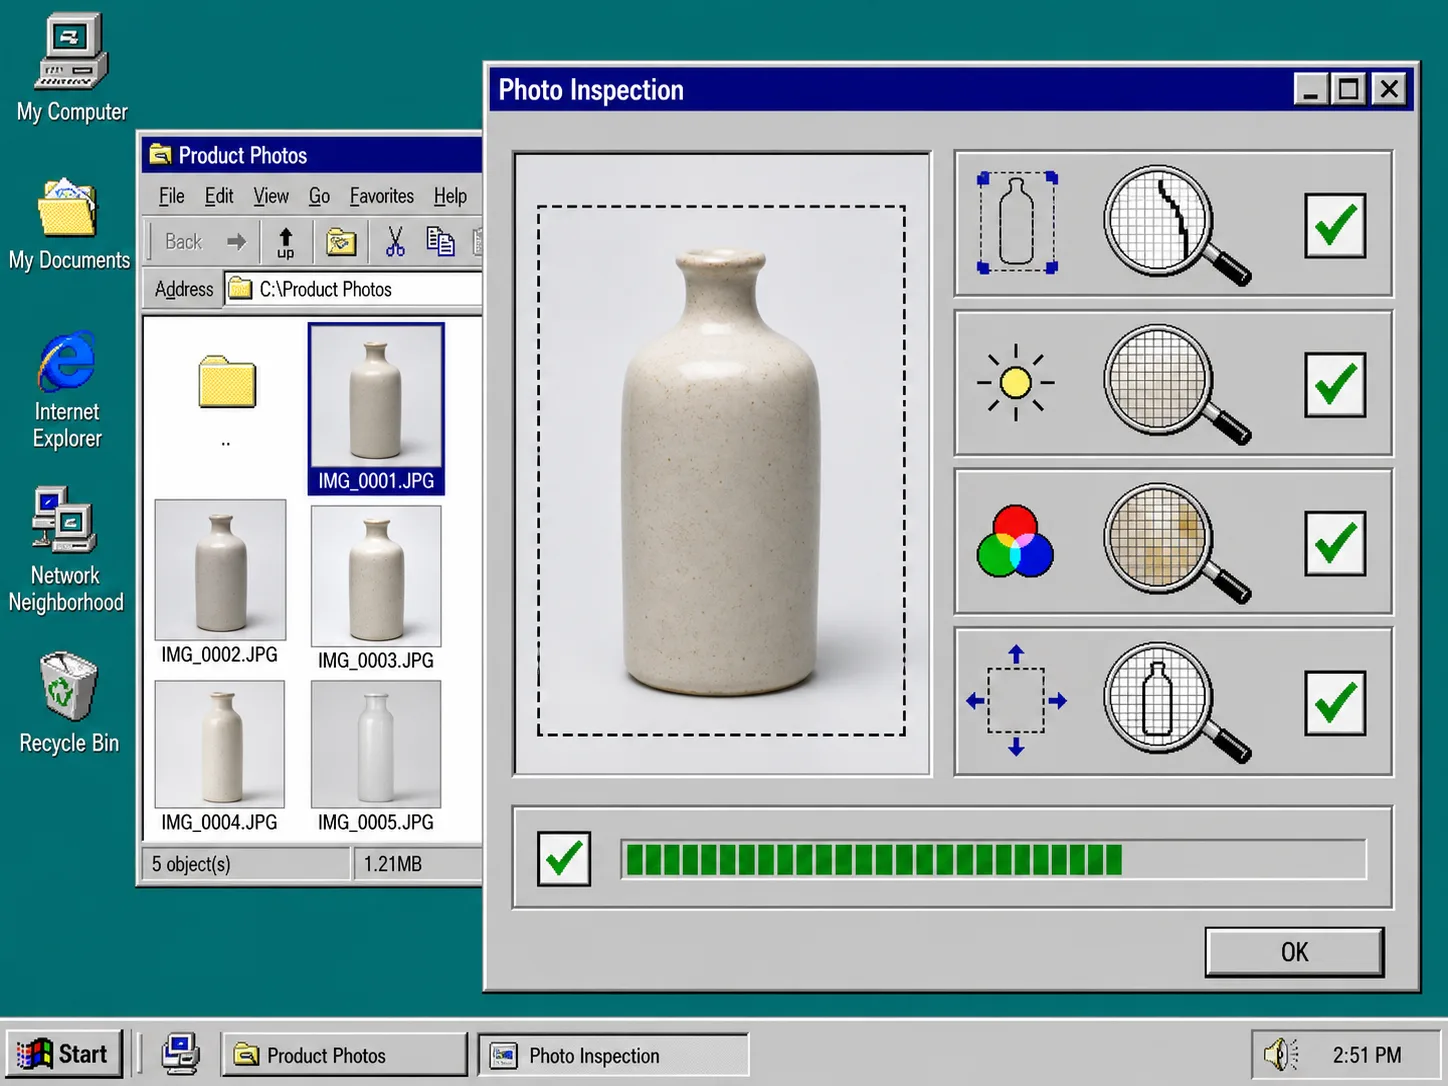
Open the image in Shopify, then zoom only far enough to inspect its real pixels. Check four things before you open an AI tool:
- Outline: The full product edge is visible and does not disappear into its old background.
- Light: Important sides are not lost in harsh shadow or blown-out highlights.
- Color: The photo represents the color a shopper will receive.
- Margin: There is enough room around the item for a crop, a clean isolation, or a new setting.
If one of these fails, find another source image first. Upscaling and auto-enhancement can support a clear photo, but they cannot reliably restore product detail that was never captured. Supra AI Photo Studio includes background removal, resolution and sharpness improvements, and lighting correction; use them as sensible corrections, not as a reason to continue from a poor source.
What you should see: a source image where a teammate can identify the item without needing to guess at an edge, color, or feature.
2. Write a Detail Lock Before You Edit
Make a short detail lock: a list of what the edit must not change. Put it in the product’s working note, ticket, or image filename comment. Keep it concrete.
For example, a skincare bottle might say: “olive glass, matte black cap, cream label, black serif label text, one 50 ml bottle, label faces forward.” A shirt might say: “rust color, ribbed crew neck, short sleeves, left-chest embroidery, straight hem.”
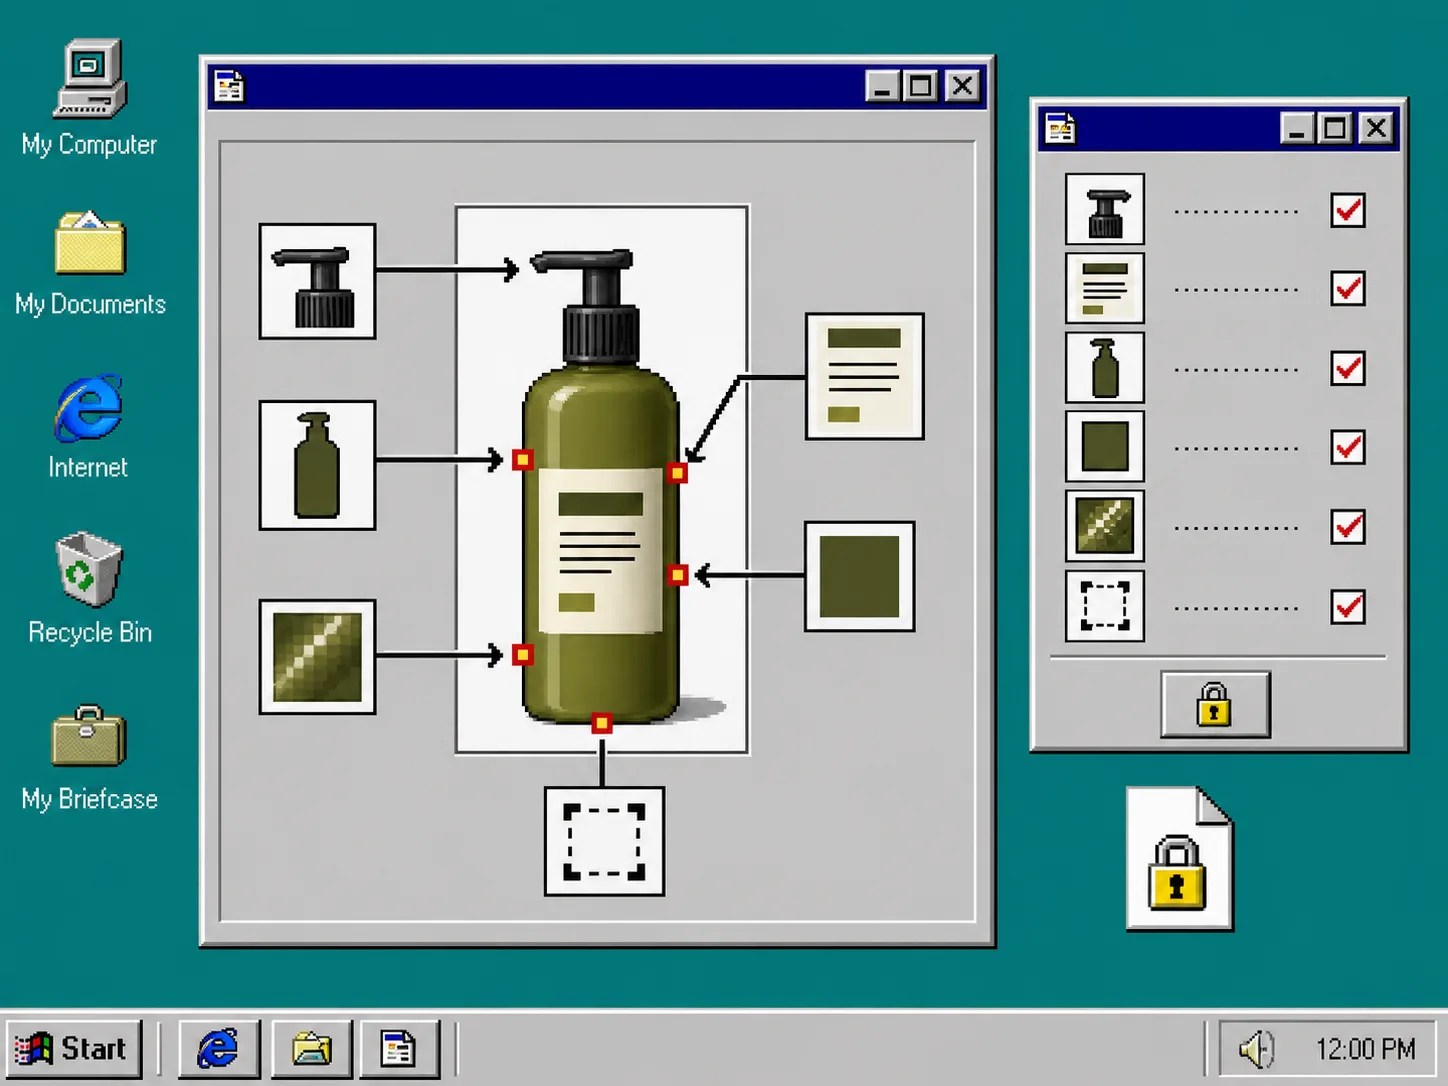
This is useful when you use Object Placement or Virtual Try-On because a strong-looking scene can still quietly change the merchandise. You should also record the intended job: clean catalog view, lifestyle context, fit view, or campaign crop. That prevents a vague request such as “make it look premium” from producing an image with no clear place on the store.
What you should see: a small, testable list of product truths and one stated purpose for the next image.
3. Isolate or Correct Only the Problem You Found
Open the chosen photo in the Supra AI Photo Studio editor. If the background makes the outline hard to read, start with background removal or product isolation. If the problem is soft focus, poor light, or a small amount of noise, use the relevant enhancement control before you generate a new scene.
Change one problem at a time. For a new lifestyle background, isolate the product first, inspect the edge, then write a placement instruction that names the surface, camera angle, lighting direction, and orientation. The controlled background workflow in How to Replace a Shopify Product Background Without Changing the Product has a useful example of that level of specificity.
Do not enhance an already inaccurate generated result over and over. Return to the approved original, correct the single source issue, and make a new first version. That gives you a comparison you can trust.
What you should see: a clean working image with a believable outline, not a stack of edits where nobody can tell what changed.
4. Generate One Controlled First Version
Use the detail lock as the constraint for your first request. For Object Placement, describe only the setting needed for the intended page: “upright on a light oak bathroom shelf, eye-level camera, window light from the left, subtle contact shadow, keep cap and label unchanged.” For a try-on, choose a pose that keeps the relevant garment details visible.
Generate one candidate and compare it beside the original before making a second variation. Check product count, proportions, color, label, hardware, and shadow. A scene is not ready because it looks attractive; it is ready when it still represents the item accurately and answers a shopper question.
For a fuller approval routine after this first check, borrow the keep-or-redo logic in My Three-Pass Check Before Publishing AI Product Photos. If your team needs an explicit decision lane, this Shopify photo decision system is a helpful companion.
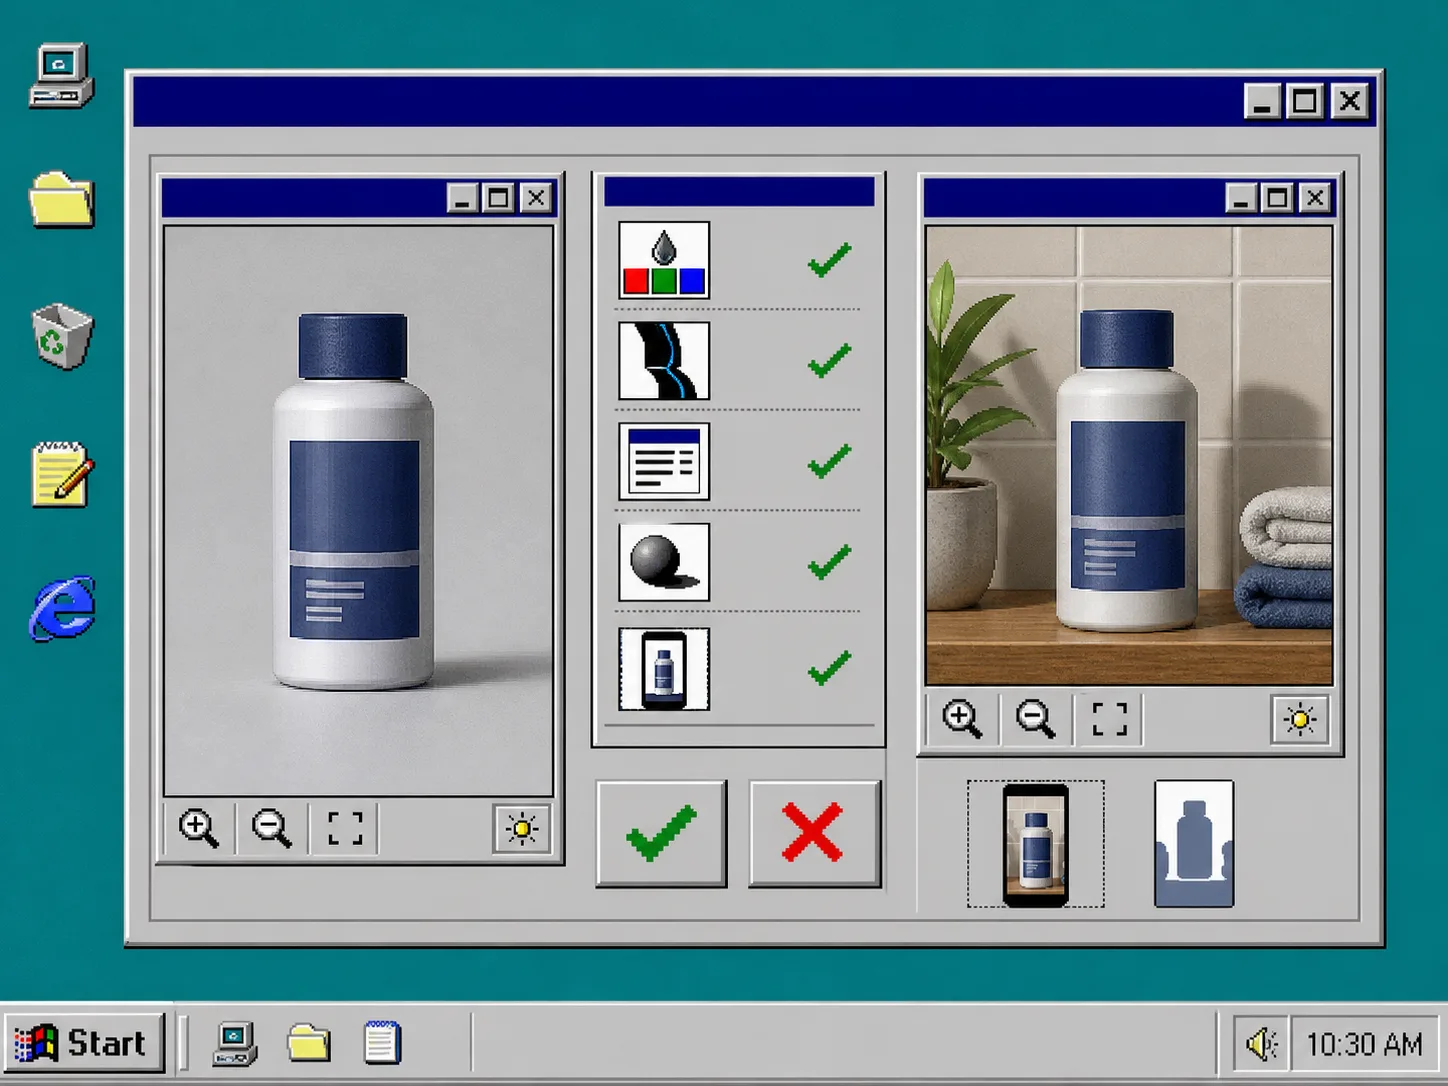
What you should see: one candidate that can pass a side-by-side source comparison, rather than ten unrelated drafts.
5. Review the Crop Where Shoppers Will See It
Check the approved candidate in the product gallery and at a small collection-page size. A label that seems acceptable on desktop may be unreadable on a phone. A well-composed lifestyle image may make the product too small to recognize in a collection tile. Keep the original catalog photo first when it is the clearest way to inspect the item, and use the edited version for context.
Before publishing from the image gallery, ask: does this image preserve the detail lock, solve the original photo problem, and have a specific location on the store? If the answer to any question is no, leave it as a draft and return to the source.
Troubleshooting
The isolated edge has a halo. Choose a higher-resolution source with clearer space around the product, isolate it again, and inspect reflective or fine details before creating a scene.
The generated item looks almost right. Treat “almost” as a redo. Use the original, restate the detail lock, and simplify the requested setting or pose.
The product is clear but the crop is not useful. Return to the source with more margin, or create the edit for a different page placement. Do not force a campaign crop into a collection tile.
The team keeps generating too many candidates. Require one detail lock and one intended placement before anyone starts. Generate a single controlled first version, then decide whether a second is needed.
Keep the Original Beside the Edit
A dependable AI product-photo workflow starts before the prompt. Inspect the source, lock the details that cannot change, correct one problem at a time, and compare the first result against the original where shoppers will see it.
Open Supra AI Photo Studio, pick one current product image, and make its four-point source check today. When the input is dependable, the creative step becomes much easier to review and publish.