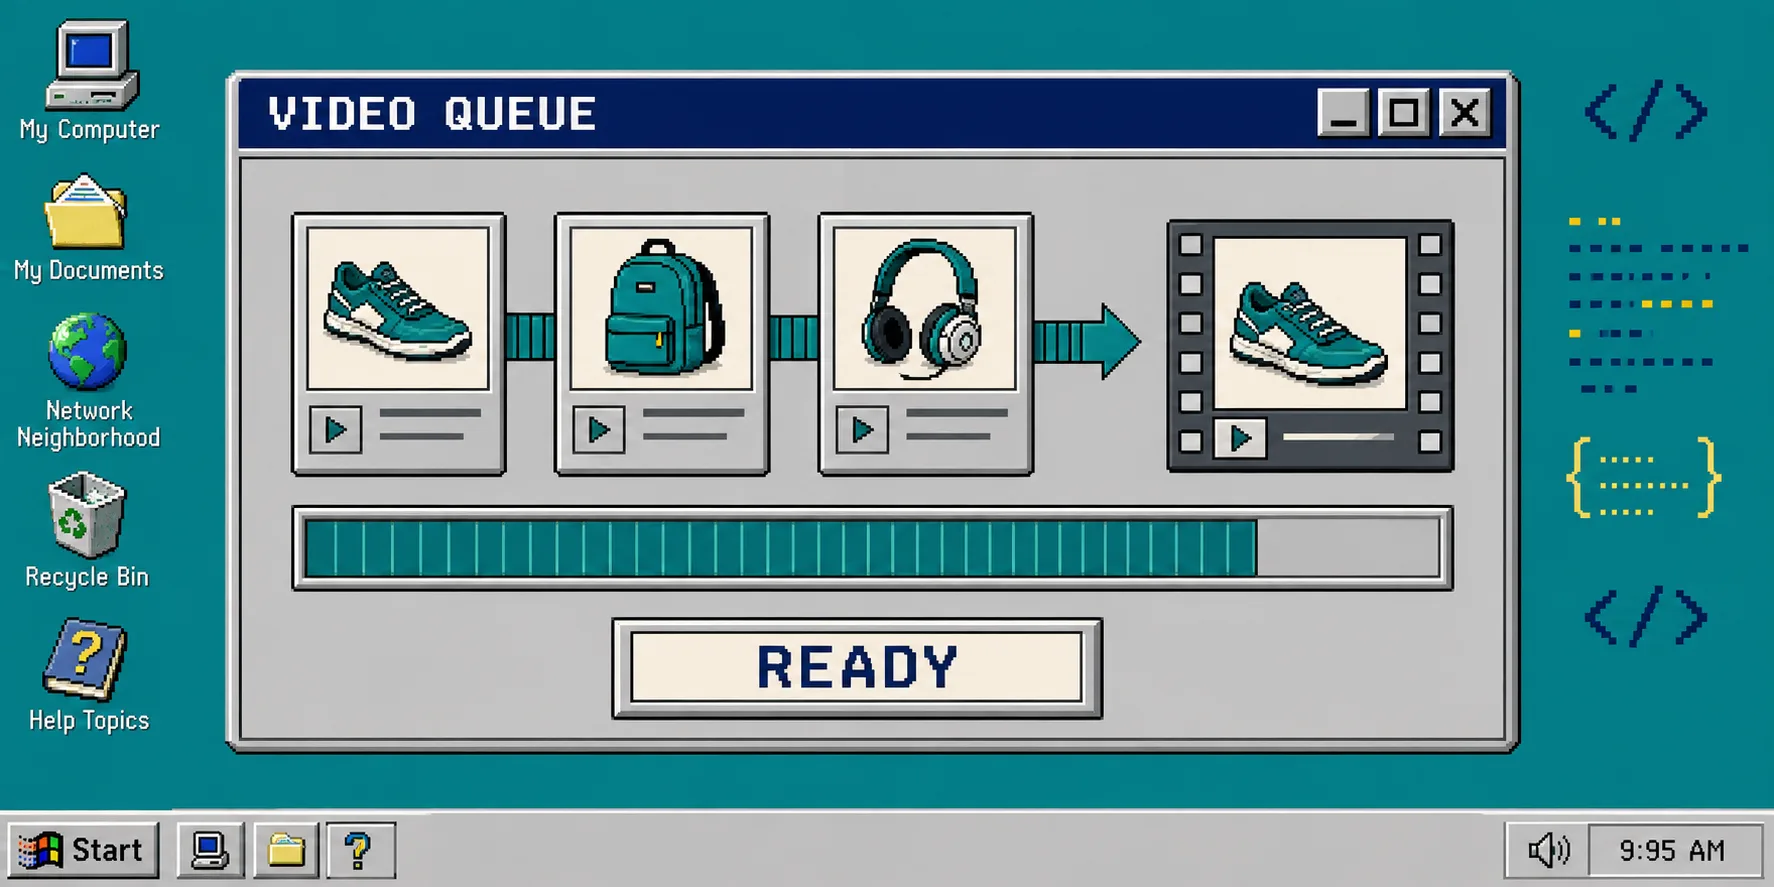
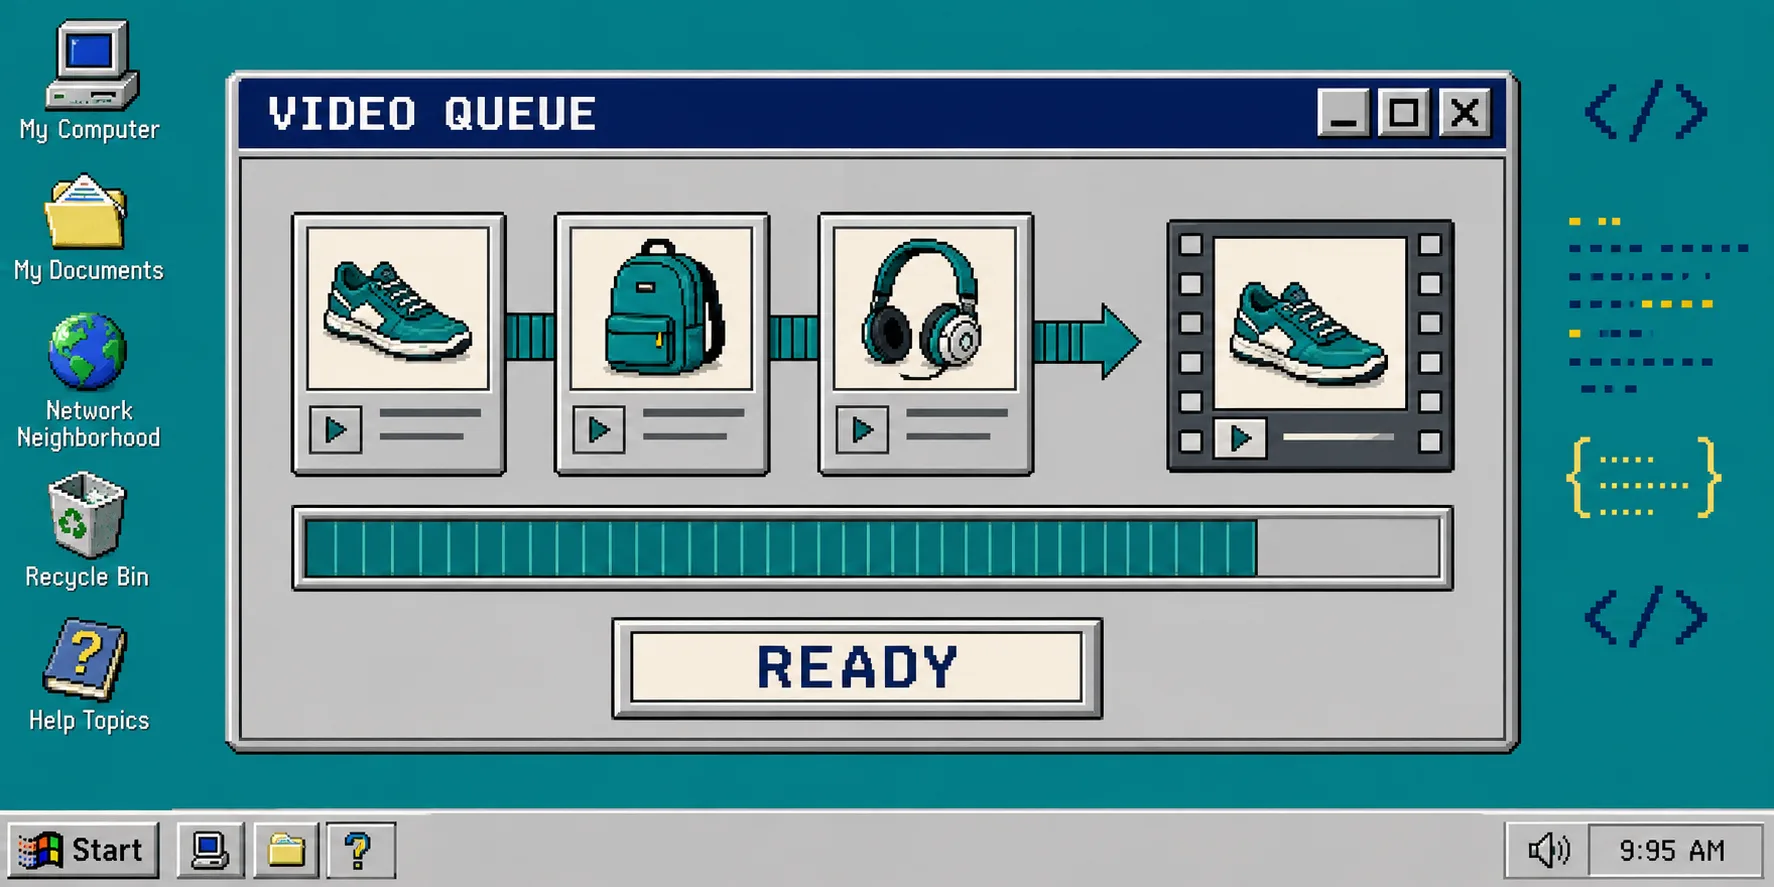
If product videos are made one timeline at a time, the queue becomes the bottleneck. You need a repeatable path from product data to a draft someone can check before an MP4 goes live. This guide shows how to use VideoFlow as that path: product data goes in, portable VideoJSON is reviewed in the middle, and only approved jobs are rendered.
You need Node.js, a product-data source such as a CSV or API, and a VideoFlow project. Start with the VideoFlow docs open in another tab.
1. Define one small video job
Start with a single, constrained job instead of an unlimited creative brief. For example, require one 12-second product video for each SKU with a title, price, three feature bullets, two images, and one call to action. Keep those fields in the same object that enters your queue.
This matters because a renderer can only be predictable when the template has predictable inputs. If you are still deciding whether a product needs a video at all, use this product-demo preflight first. It prevents a queue from filling with weak source media.
Write down the fields that are required and reject incomplete jobs early. A practical status list is queued, draft, needs-fix, approved, and rendered. Do not let a job jump from queued directly to rendered; that is how a bad price, cropped image, or stale offer becomes a published asset.
2. Build a reusable VideoFlow template
Install the core package with npm install @videoflow/core. Use the core builder to create a fixed sequence: opening product image, headline and price card, feature slides, then a CTA. Compile that sequence to VideoJSON rather than treating the first MP4 as the source of truth.
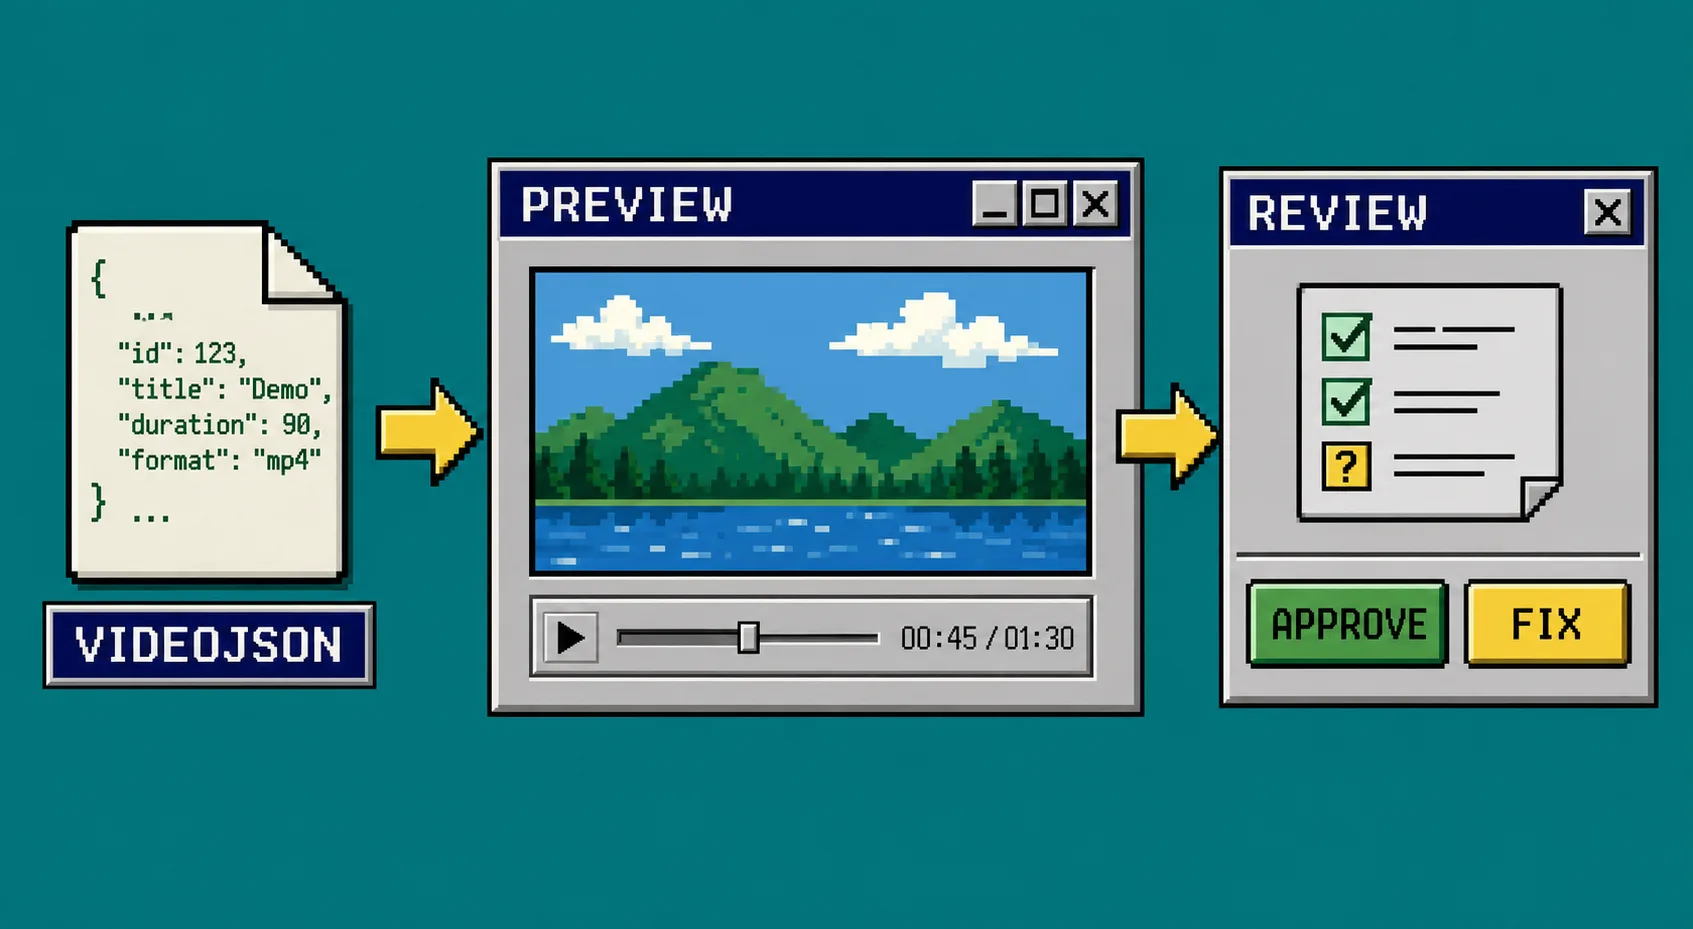
VideoJSON is the handoff file. It can be stored with the job record, compared in Git, sent to a reviewer, and rendered again later. That gives your team a concrete answer to “what did we approve?” without asking anyone to reconstruct an editing session.
For a broader example of this pattern, see how to turn a product catalog into reviewable video drafts. The important part is not the number of clips; it is keeping the data, template version, and generated draft connected.
3. Preview the exact JSON before rendering
Mount the same VideoJSON in a live preview using the DOM renderer. Give the reviewer a short checklist: correct product image, readable price, correct copy, safe crop, and valid CTA. If your app needs hands-on edits, open the same JSON in the React video editor so a teammate can adjust text, timing, or layer order without replacing the whole workflow.
Save the reviewer’s decision beside the job. When they choose needs-fix, generate a new draft with a new version number. When they choose approved, lock the JSON version that will render. This small rule keeps later data changes from silently altering an already-approved video.
4. Render approved jobs in the right place
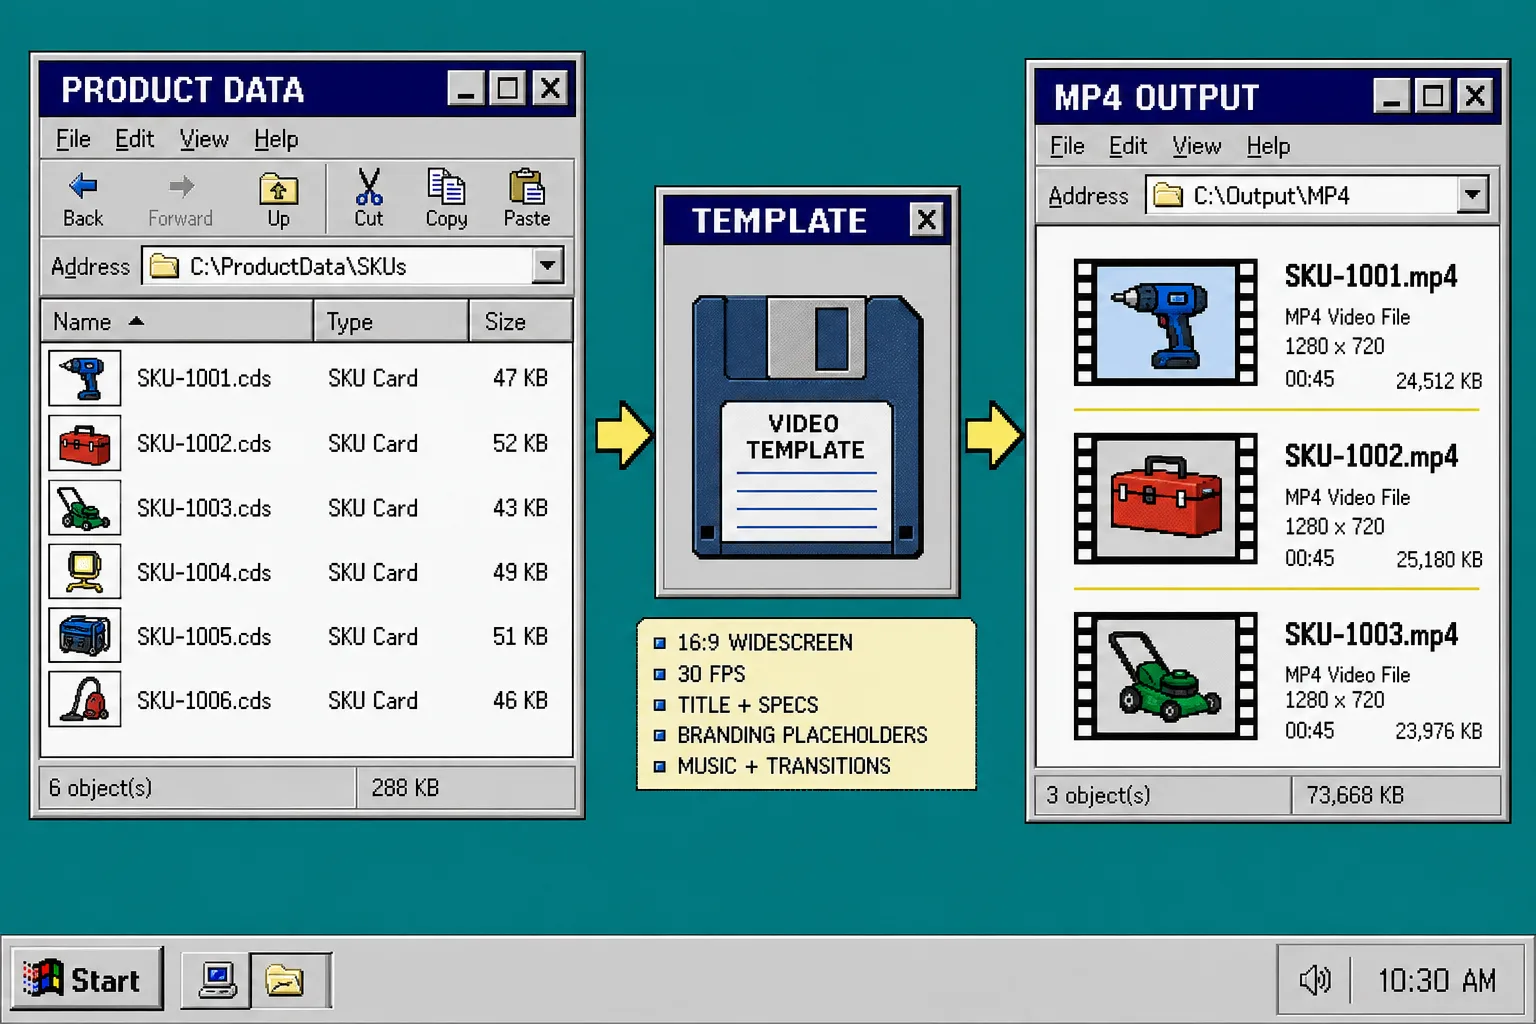
Use the browser renderer for a short, user-initiated export when keeping the source project on the client is useful. Use the server renderer for a scheduled queue, API endpoint, or batch of SKUs. Both paths can consume the same VideoJSON, so you do not need one template for previews and another for production.
Keep render metadata with the job: source JSON version, renderer, render time, output URL, and any error message. That record turns a vague “the video changed” report into something you can actually trace. For locale-specific jobs, follow the same template discipline described in this VideoFlow localization workflow: swap copy, captions, price formatting, and media deliberately, then send the localized draft through review.
5. Add a final output check
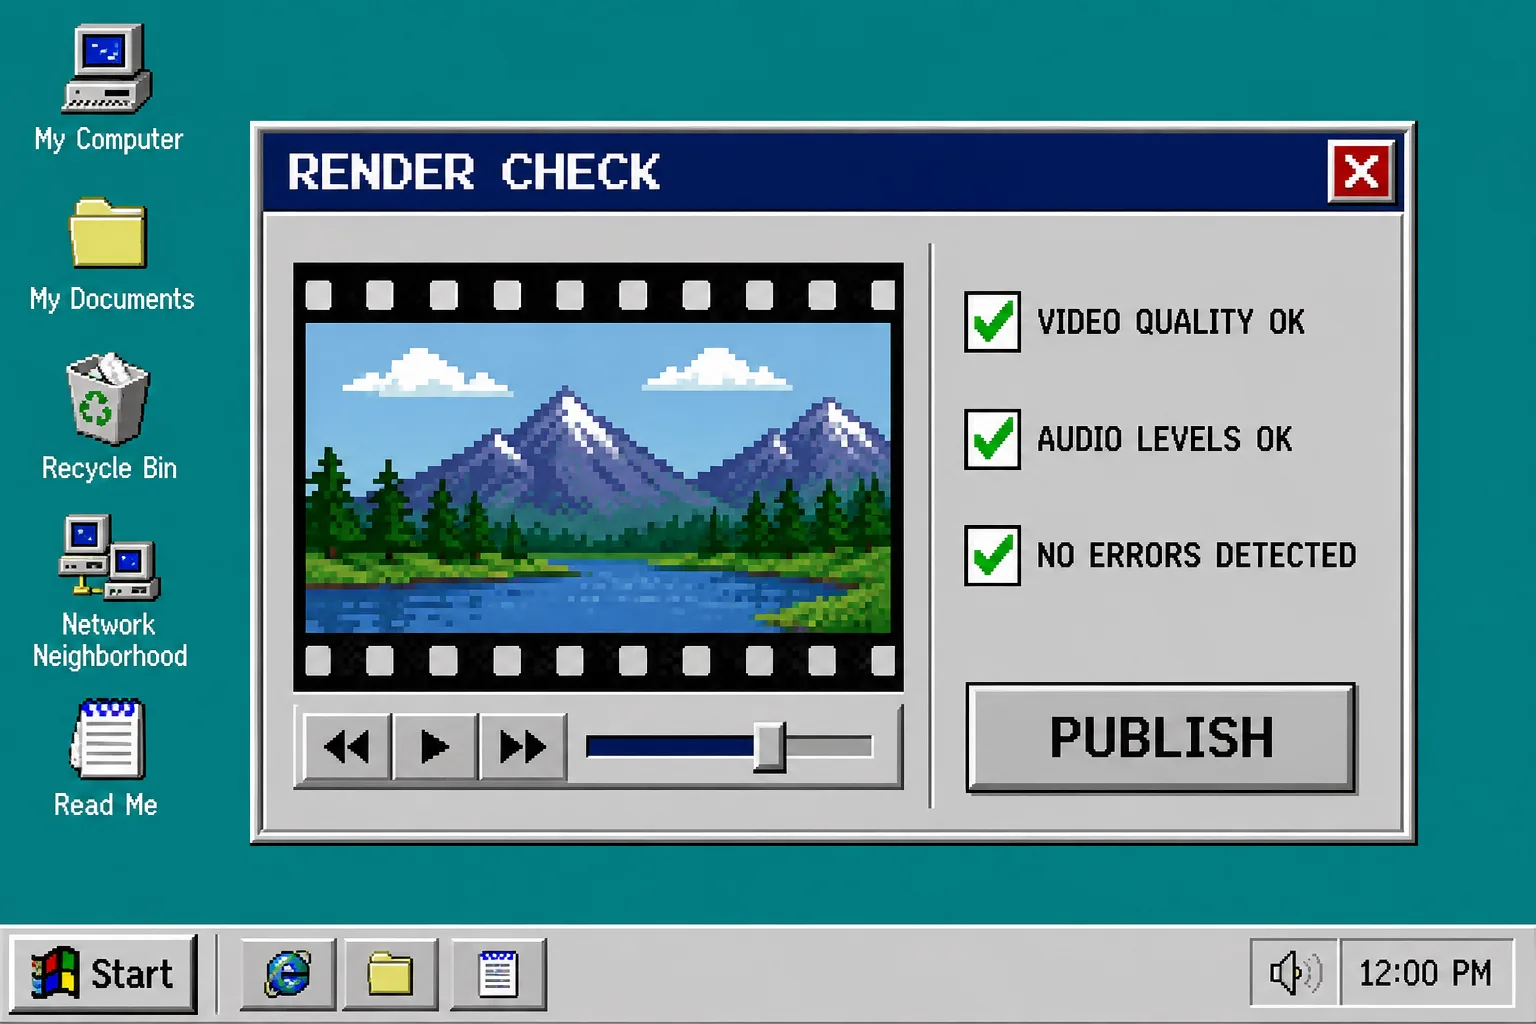
Before delivery, check the rendered MP4 instead of assuming an approved preview guarantees an approved export. Confirm duration, aspect ratio, text legibility, image loading, audio level, and CTA timing. Also verify the output is associated with the approved JSON version—not merely the latest draft in the queue.
For a new campaign, run one controlled test before generating every variation. The same habit applies to first Shopify UGC video tests: keep the variables small, review the result, then expand the batch.
Troubleshooting
The preview and final MP4 do not match. Record the renderer and VideoJSON version for both. Confirm the production job uses the approved JSON, then compare media URLs and font availability.
The queue contains bad jobs. Validate required fields before template generation. Missing imagery or a blank price should create needs-fix, not a render attempt.
Reviewers keep changing the wrong draft. Show the job ID and template version in the review screen, and make approval apply to one immutable JSON revision.
Batch renders are slow. Keep heavy jobs on the server renderer, track progress, and retry only failed jobs. Do not regenerate successful MP4s merely because another job failed.
Next step
Create one product-video job with one template and one reviewer today. Once you can trace its product data, VideoJSON, approval, and MP4 output, you have a queue worth scaling with VideoFlow.