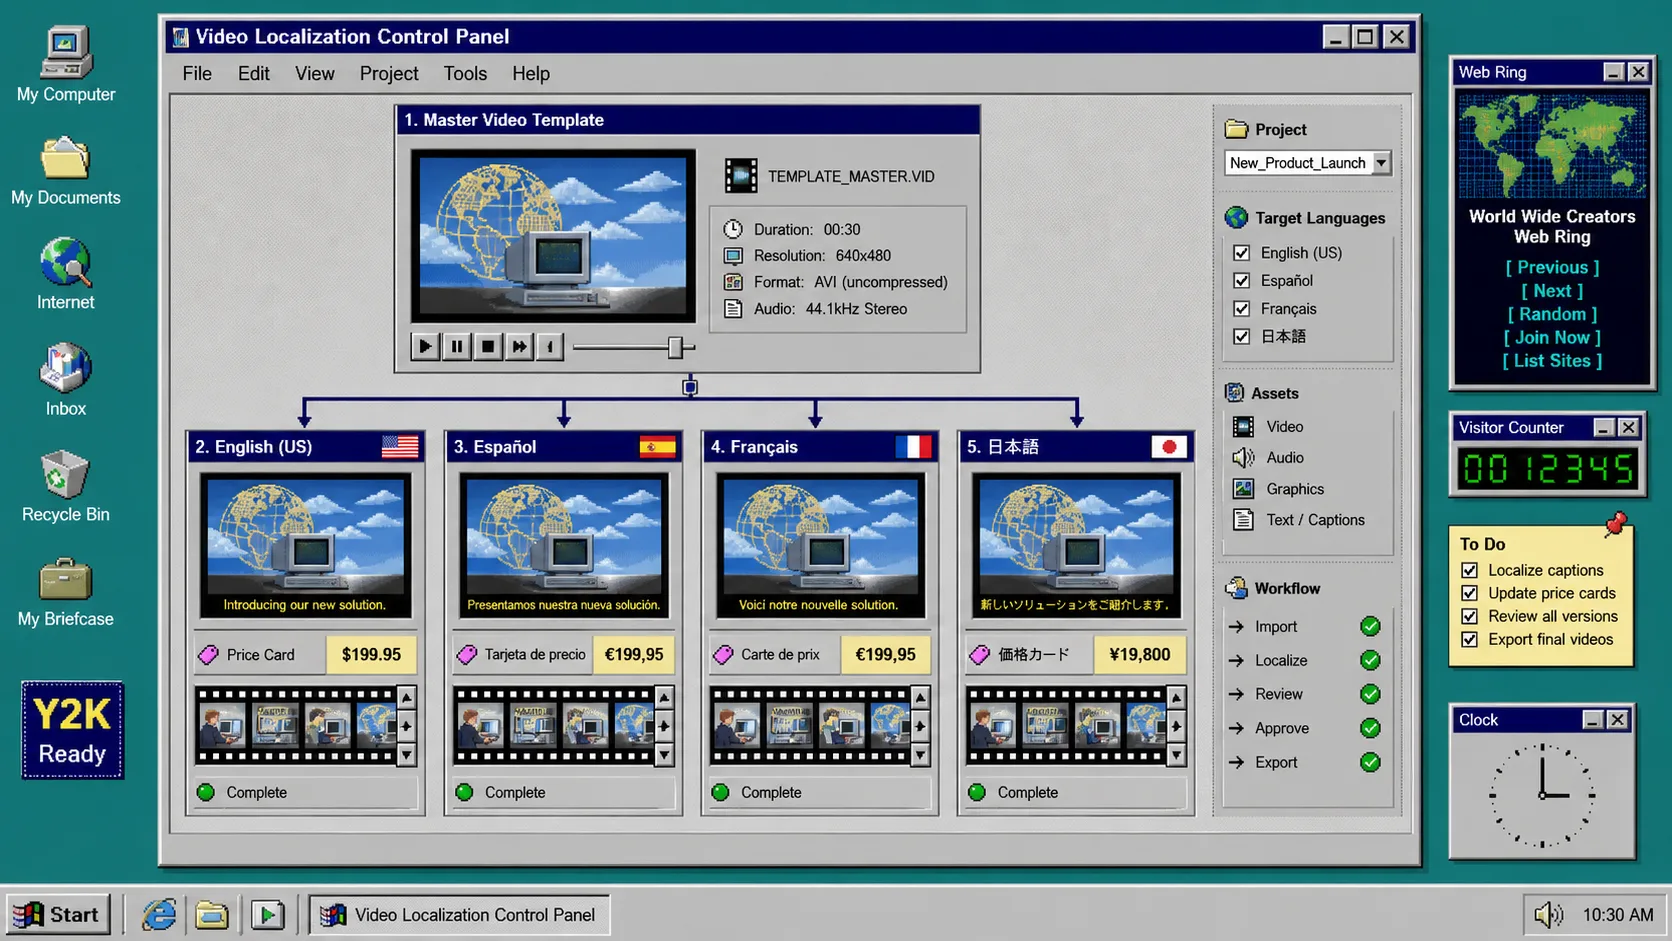
If you need several language versions of the same product or customer video, do not make a separate timeline for each one. Keep one template, place the language-specific values in data, preview each locale, and render only after the checks pass. VideoFlow is useful here because the same portable VideoJSON can drive a live preview and a final render.
Prerequisites: a TypeScript project, one working VideoFlow template, a short list of target locales, and approved translations for on-screen copy, captions, prices, and calls to action. You do not need a new video project for every language.
1. Separate the template from the locale data
Start with a master template that contains the timing, media placement, animations, and layer structure. Put only changeable values in a locale object: headline, captions, currency, date format, voiceover URL, CTA, and any market-specific media.
A simple folder layout keeps this obvious:
video/
  template.ts
  locales/
    en-CA.json
    fr-CA.json
    de-DE.json
  render.ts
Your template should receive a small, explicit data shape instead of reaching into a translation file on its own. For example, pass headline, priceLabel, cta, captions, and voiceoverUrl to the function that creates the video. That lets you see exactly which values each render needs.
For a refresher on turning structured product inputs into a clip, see How to Turn Shopify Catalog Data Into Product Videos. The important change for localization is that locale values become another controlled input, not a copied project.
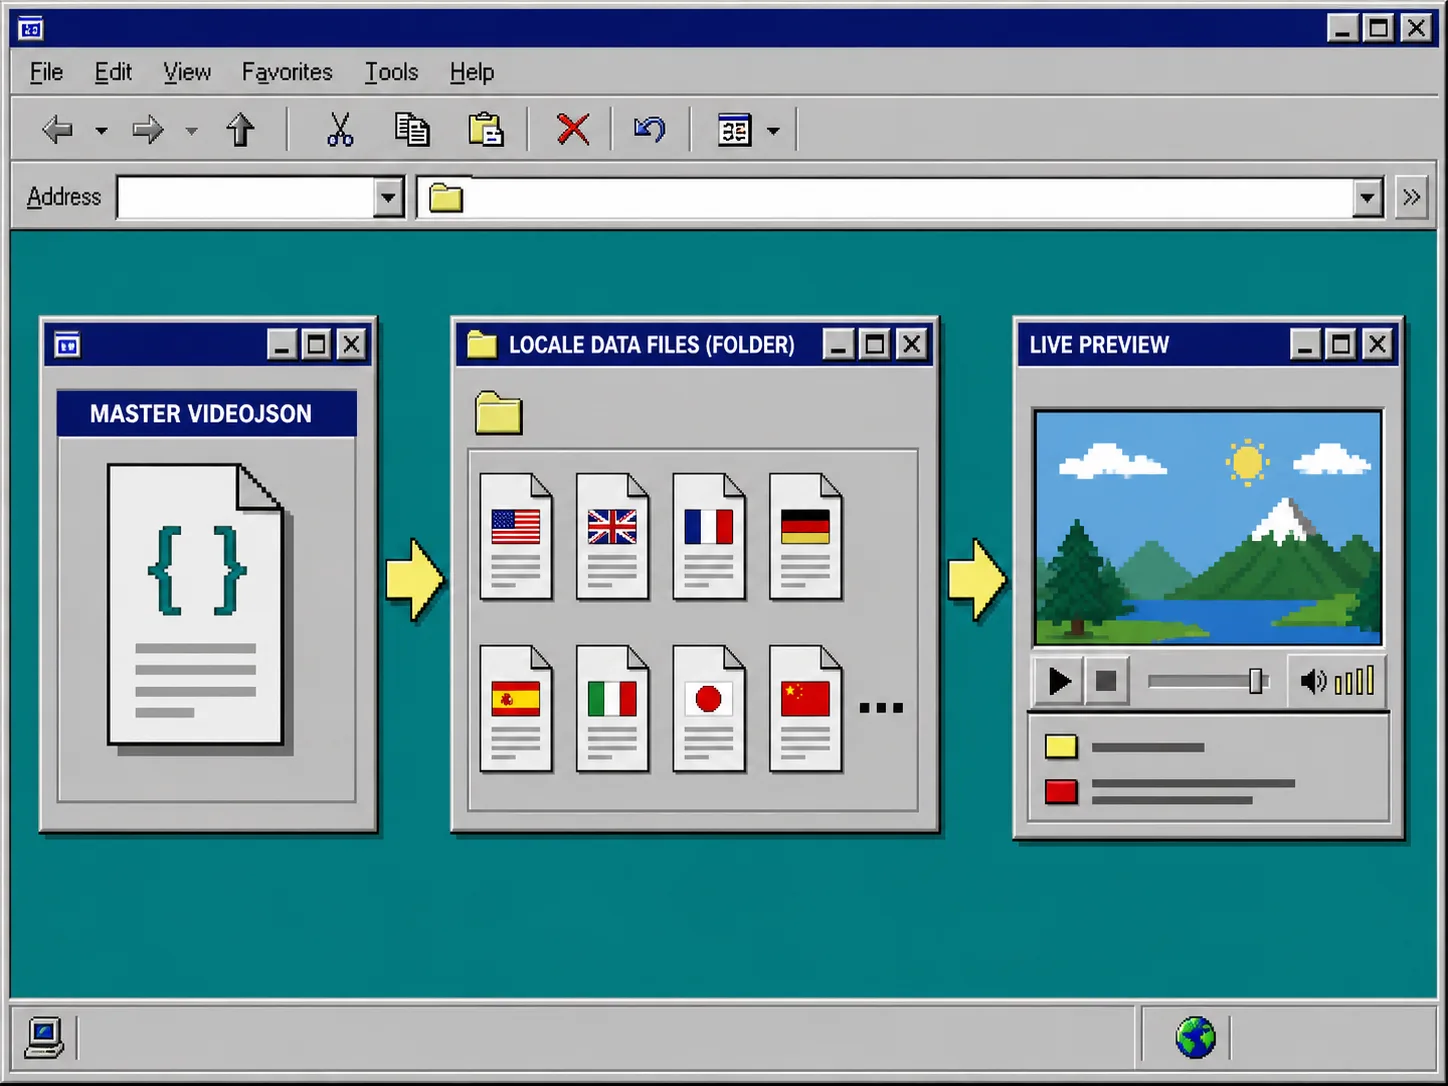
You should see: one source template and several small data files. If changing French copy requires editing a timeline file, the separation is not finished yet.
2. Define the fields every locale must provide
Create a locale contract before you translate anything. Keep it boring and complete. A missing CTA is easier to catch in JSON than after an MP4 has rendered.
type VideoLocale = {
  code: string;
  headline: string;
  priceLabel: string;
  cta: string;
  captions: Array<{ start: string; end: string; text: string }>;
  voiceoverUrl?: string;
};
Store each locale against that shape. Include a locale code such as fr-CA, not just French, so your render job, output filename, and analytics can agree later. Keep regulated claims, discount wording, and product names as approved source strings rather than asking the template to rewrite them.
Use the same approach for assets. If a market needs a different product photo, legal end card, or voiceover, put its URL in the locale record. Do not add conditionals all through the animation code. One optional endCardUrl field is much easier to review than five if (locale === ...) branches.
You should see: a validation error before preview when a required value is blank, not a silent fallback to the wrong language.
3. Build the master VideoJSON once
Install the core package with npm install @videoflow/core, then build the scene from the data object. VideoFlow’s fluent TypeScript API compiles the project to portable VideoJSON, which makes it practical to store, inspect, preview, and render the same structure later.
Keep layout decisions in the template: font size, safe margins, animation duration, caption position, and layer order. Keep customer-facing values in the locale data. When a translated headline is longer, use a layout rule that can handle it—such as a smaller allowed range or two lines—instead of moving text by hand in every language.
For workflows where a human needs to adjust copy or timing after generation, VideoFlow’s React editor can open the same VideoJSON rather than forcing a new export path. How to Build a Video Review Workflow With VideoFlow shows why that review handoff matters.
4. Preview every locale before rendering MP4 files
Mount the VideoJSON in a live DOM preview and loop through your locale records. Treat this as a visual QA station, not a formality. Check one version at a time.
Look for these four problems:
- Check text length. Confirm that long words, price strings, and right-to-left copy do not overflow or cover the product.
- Check captions. Confirm timing, line breaks, punctuation, and whether each caption matches the actual voiceover.
- Check market details. Confirm currency, units, availability language, legal text, and CTA destination.
- Check media. Confirm the correct voiceover, locale-specific end card, and product assets load before the render begins.
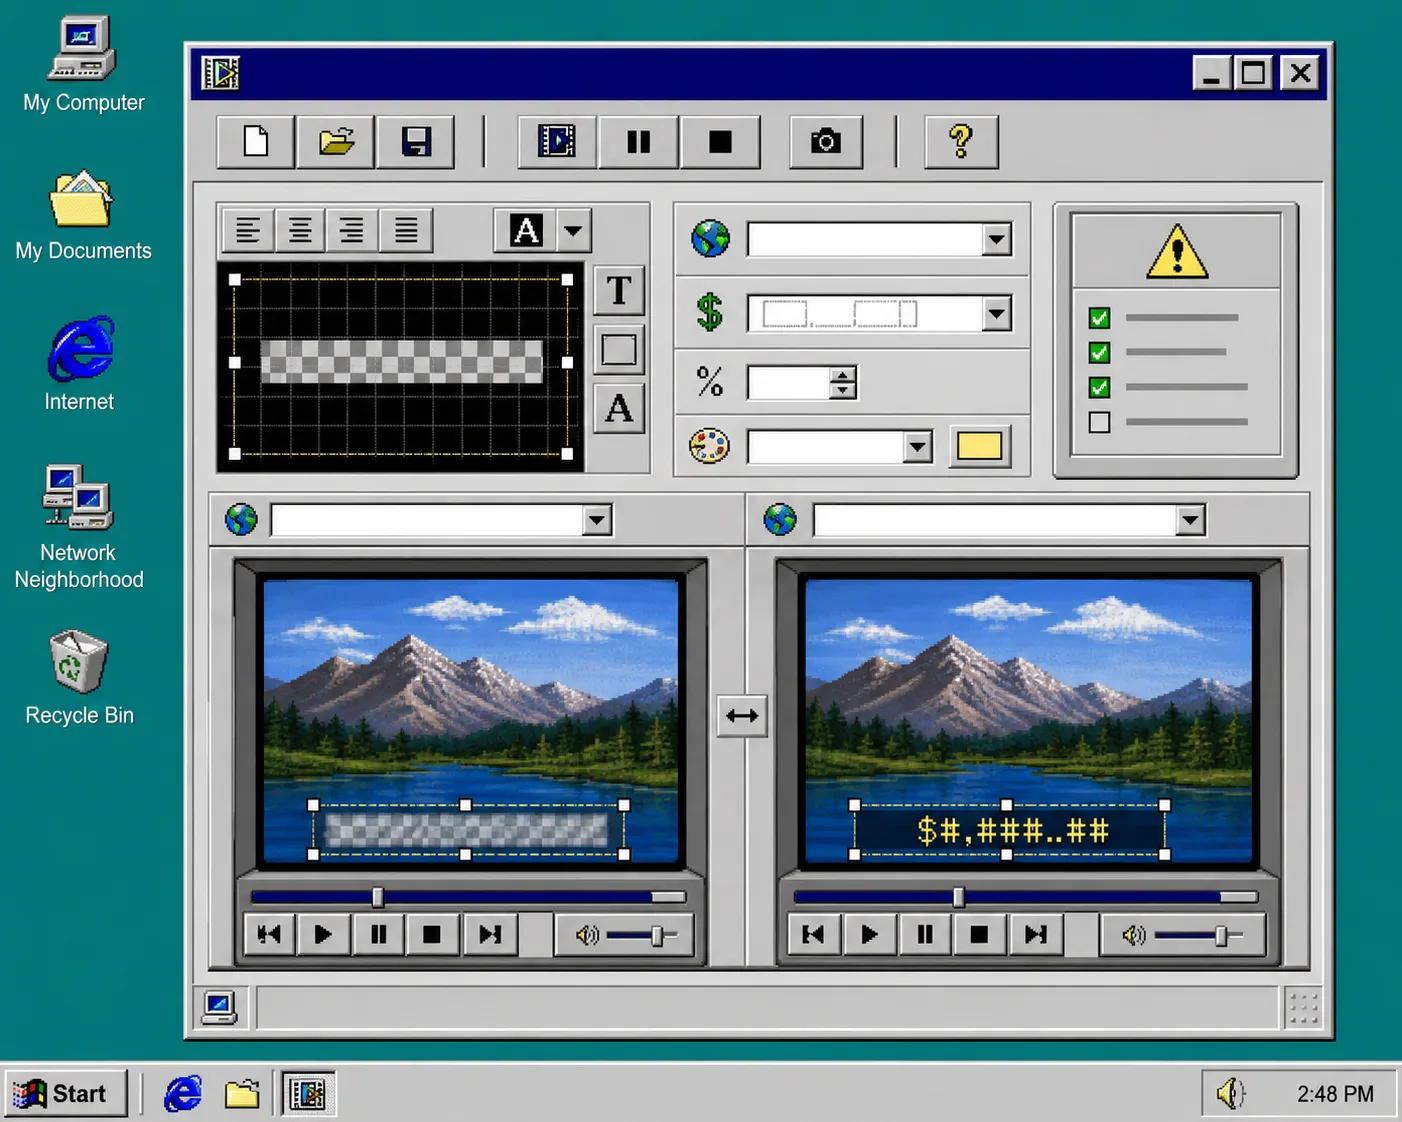
You should see: a preview that can be scrubbed frame by frame and a short list of corrections tied to a locale file or a shared template rule. When feedback arrives, write it as a small data or structure change. The guide How to Turn Video Feedback Into Safe VideoJSON Revisions is a good pattern for keeping those changes reviewable.
5. Choose the renderer for the job
Use the browser renderer when a person is exporting a small approved video inside your app and you want to avoid uploading the source project to a render server. Use the server renderer for scheduled batches, API jobs, and a queue that may create many locale variants. Use the DOM renderer for preview and editing.
The point is not to pick one renderer forever. VideoFlow lets the same VideoJSON move between preview and render environments, so you can use the lightest tool for each stage. If the choice is still fuzzy, read How to Choose the Right VideoFlow Renderer for a Project.
Name rendered files predictably, for example spring-sale-fr-CA.mp4. Save the locale code and template version beside the output. That creates a reliable trail when someone asks which approved copy was used in a video.
6. Queue only approved locale records
Create a render queue after preview approval, not before. Each job should include the template version, locale code, data payload, output size, renderer choice, and destination path. Log errors with the locale code so a broken German voiceover does not look like a general renderer failure.
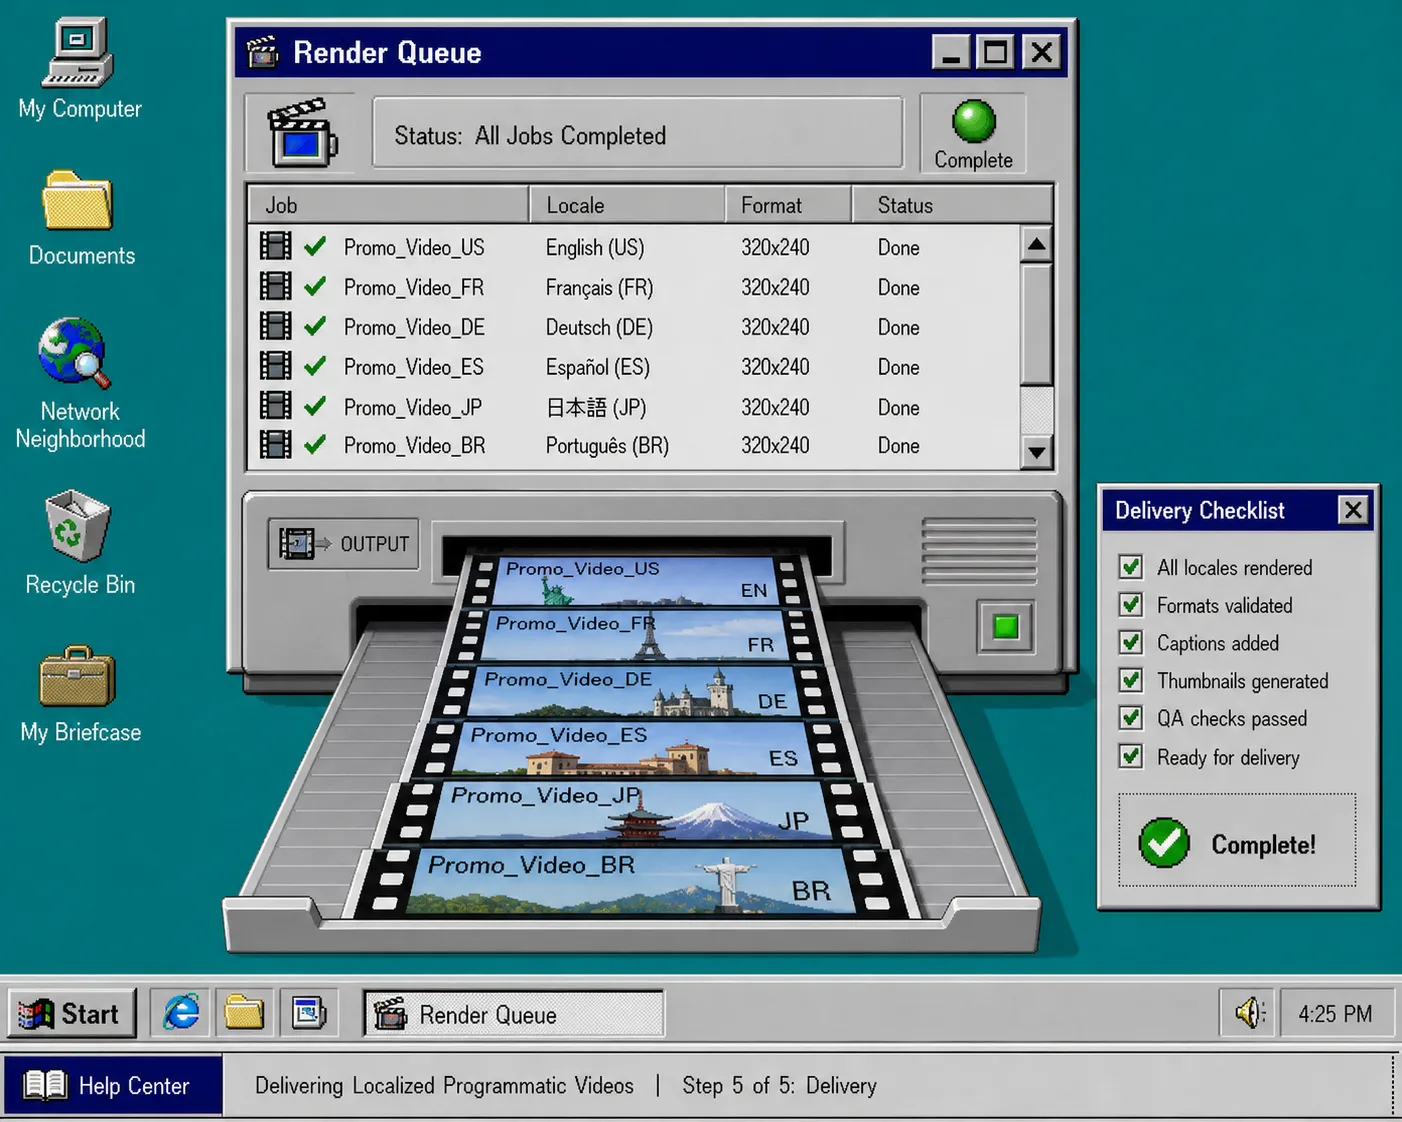
For repeated campaigns, add a small approval field to each locale record. Your job runner can skip draft or needs-review records and render only approved ones. That keeps automation useful without letting a rushed translation publish itself.
Troubleshooting
The translated headline overflows. Do not manually nudge its coordinates for one locale. Add a maximum line count, a fallback font-size range, or a shorter approved headline field.
The preview looks right but the MP4 is wrong. Confirm that the preview and render job received the same VideoJSON, locale data, asset URLs, and template version.
A render has the wrong currency or CTA. Add the locale code to the job name and render logs, then validate the locale record before it enters the queue.
A reviewer asks for a timing change. Decide whether it is a shared template rule or a locale-specific value. Put shared timing in the template; put a locale-specific caption offset in the locale record.
One template, controlled variations
A localized video system works when the timeline stays stable and the locale data stays explicit. Build one VideoFlow template, validate the required fields, preview every version, and queue only approved renders. Start with two locales and one short video; once the checks are reliable, add more markets without multiplying timelines.
Open the VideoFlow docs and build your first template around a single locale object. That is the smallest setup that makes future video variations much easier to manage.