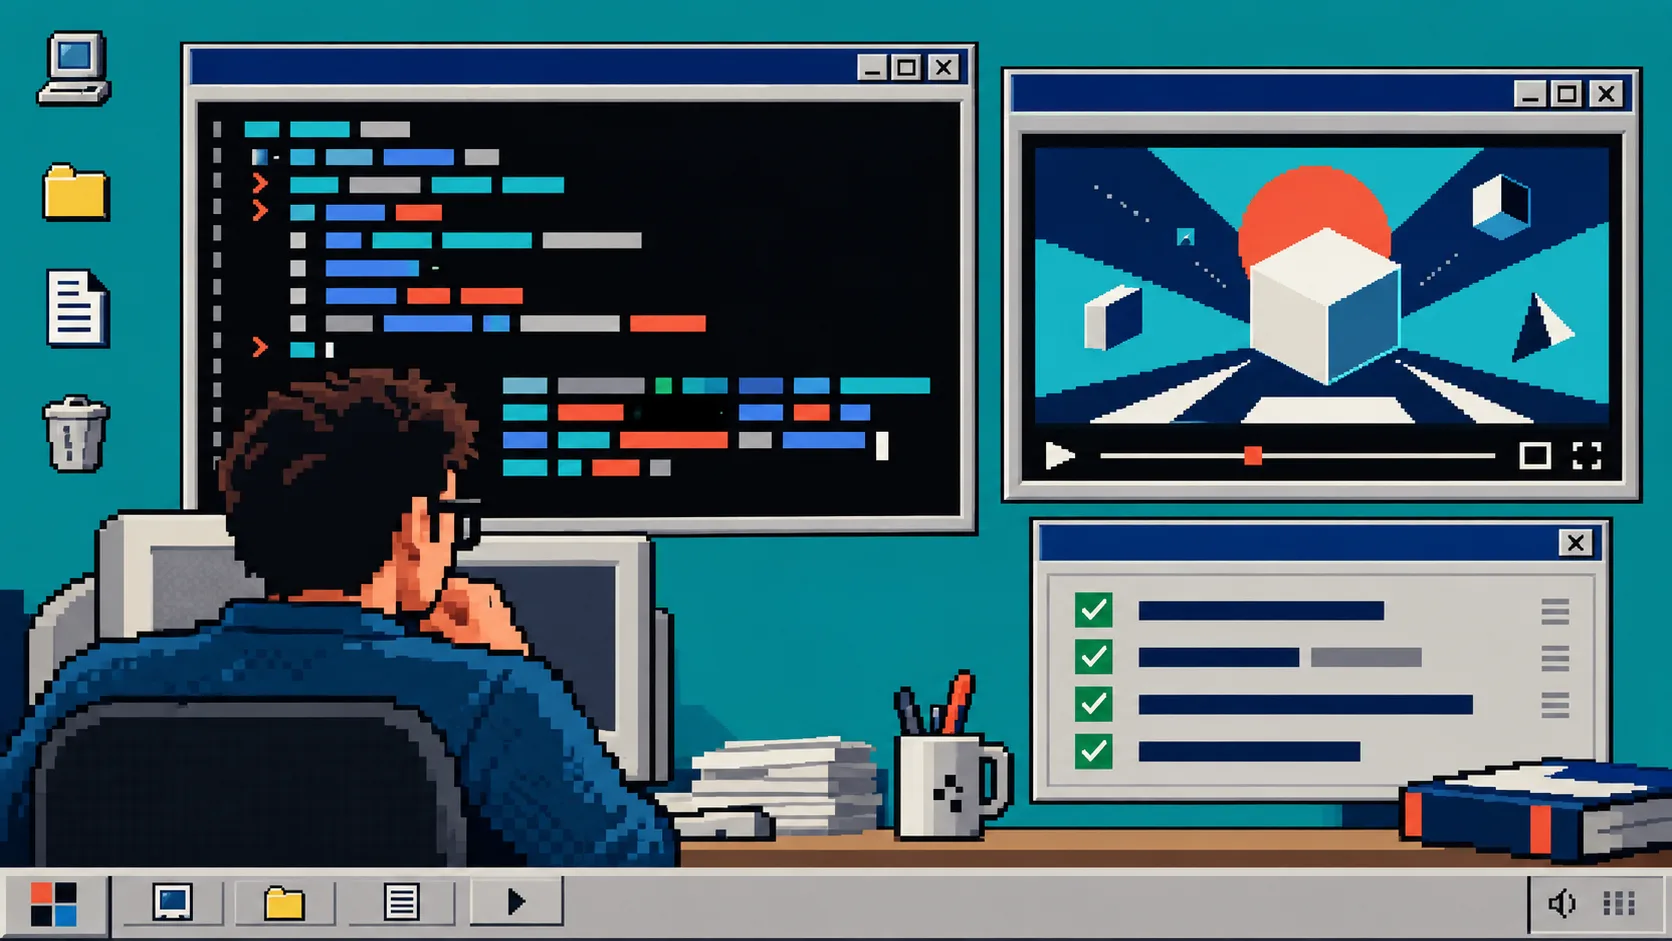
Your launch trailer should not become outdated the moment the product changes. With a short release-note brief, a working website URL, and a terminal, you can turn one meaningful update into a revised motion-graphics cut that still feels like the same product story.
This guide uses VideoFlow Studio, an agent-driven workflow that plans, renders, visually reviews, and revises a structured video. You will need a live product URL, the release notes you want to announce, and a clear decision about who the update is for.
1. Reduce the release notes to one viewer outcome
Start by highlighting the one change a customer will notice. Do not paste every engineering detail into a trailer request. Write one sentence in this format: For [audience], [product] now makes [job] easier because [visible change].
For example, a new approval step is not merely “approval-state persistence.” It may mean that a marketing lead can approve a first cut without losing feedback. Keep a second bullet for proof: a screen, an interaction, or a before-and-after moment the viewer can understand.
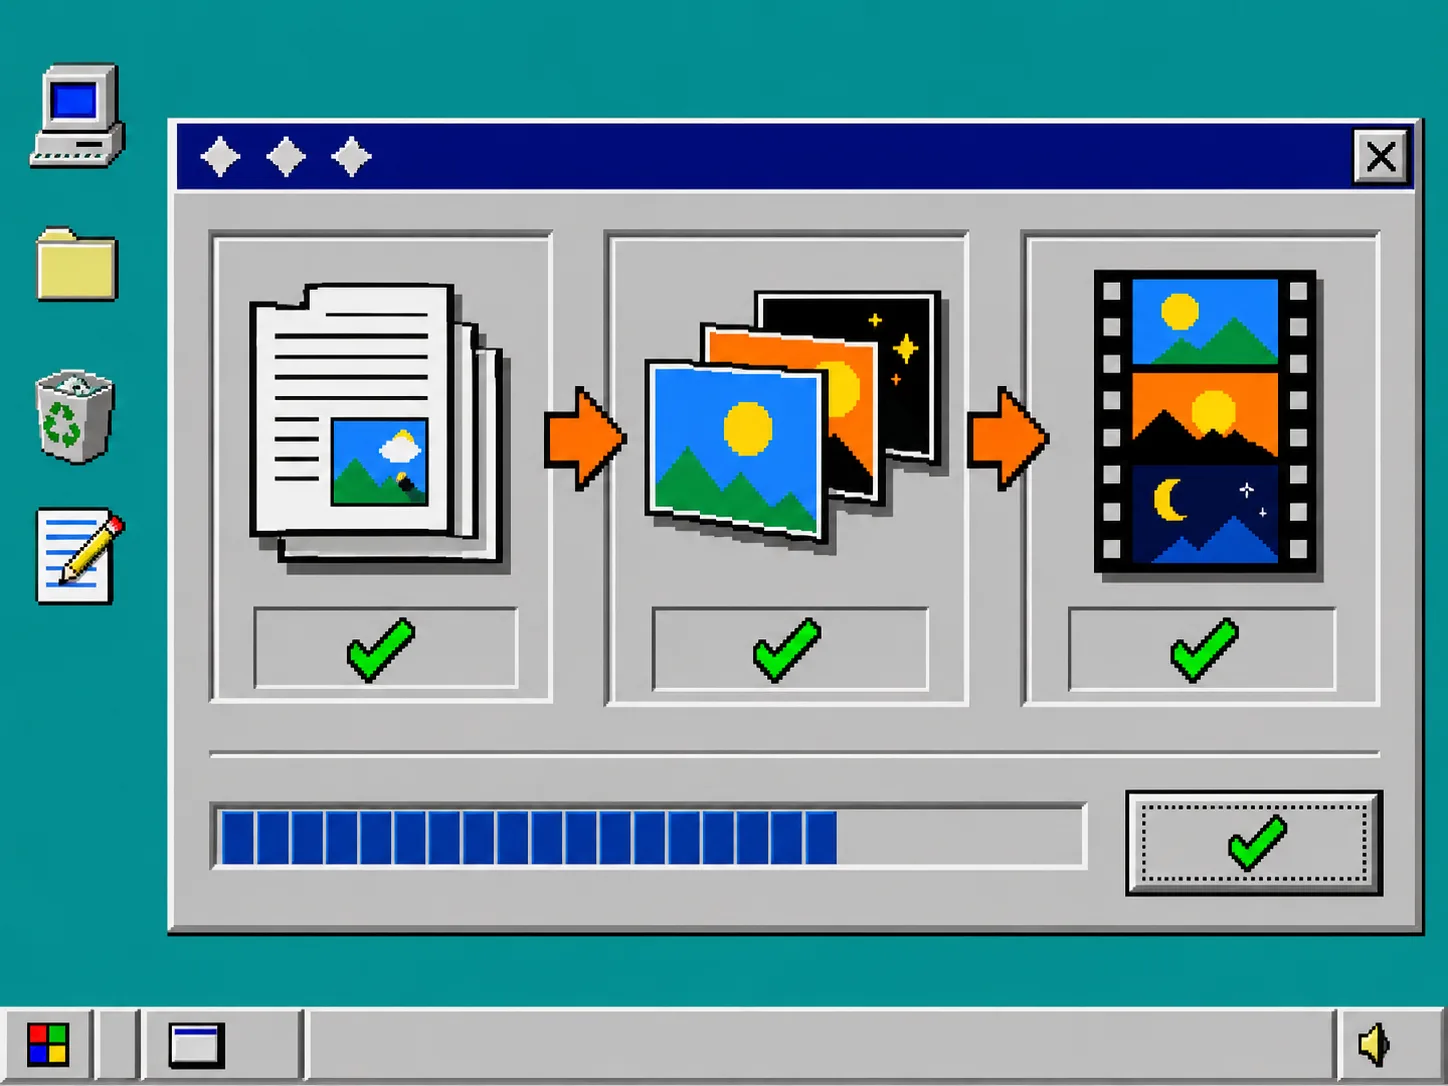
If the release is broad, choose one primary outcome and leave the rest for an end card or a follow-up clip. A trailer is an orientation tool, not a changelog.
2. Prepare a compact video brief
Create a plain-text note beside your release notes. Include the product URL, target length, audience, primary outcome, proof moment, and one action you want after viewing. Add the words that must stay exact, such as a feature name or CTA.
Then open your terminal and start with the Studio workflow described on the VideoFlow Studio site. Give it the URL and the short brief rather than a pile of pasted notes. Studio can use the site to understand the product and build a plan before it renders. That planning pass is the useful boundary: it turns release notes into a narrative sequence instead of a random set of animated claims.
For a URL-first starting point, see How to Turn a Website Into a Launch Video From the Terminal.
3. Ask for an update, not a replacement
Describe what must remain stable: the opening promise, brand palette, duration range, and final action. Then name the scenes that should change. A focused instruction is easier to review than “make a new video about our release.”
Use language like: “Keep the current opening and end card. Replace the middle proof scene with a clear approval workflow. Show the new result before the feature detail. Make the call to action point to the update page.”
Studio is a finished-workflow product layered on the open-source VideoFlow engine. That distinction matters here: Studio handles the agent-directed creation and revision flow, while the structured video remains editable rather than becoming a one-shot locked file.
4. Review rendered frames before you ship
Wait for the rendered cut, then inspect it as a customer would. Play it once without the release notes open. You should be able to answer three questions: What changed? Why should I care? What should I do next?
Next, pause on the first frame of every scene. Check logo treatment, contrast, clipped text, spacing, and whether the new feature appears before the explanation of it. This is especially important for product trailers: an accurate voiceover cannot rescue a confusing visual proof.
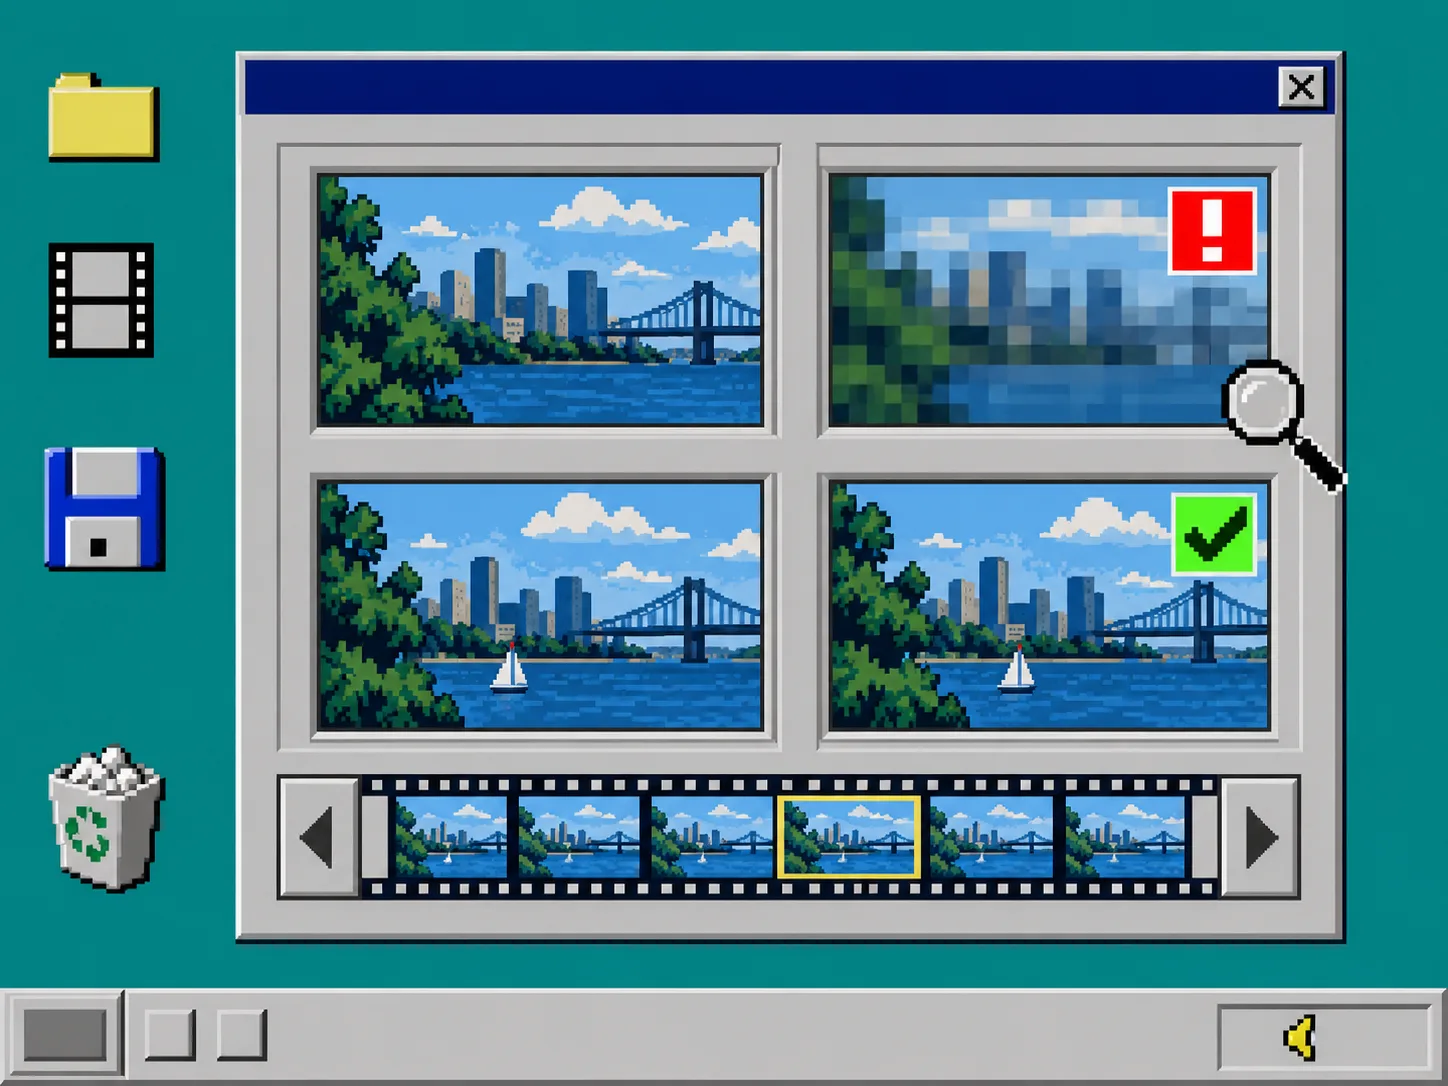
Write each correction as a small ticket. “Move the proof scene earlier” is reviewable. “Make it better” is not. If you need a practical frame-review loop, use How to Revise a Startup Launch Video From the Terminal.
5. Revise the smallest possible section
Send the correction in a sentence, then re-render only after you can state the expected result. Keep a copy of the approved brief and the revision request in the release folder. That record makes the next update faster and prevents an old message from quietly changing the trailer’s central promise.
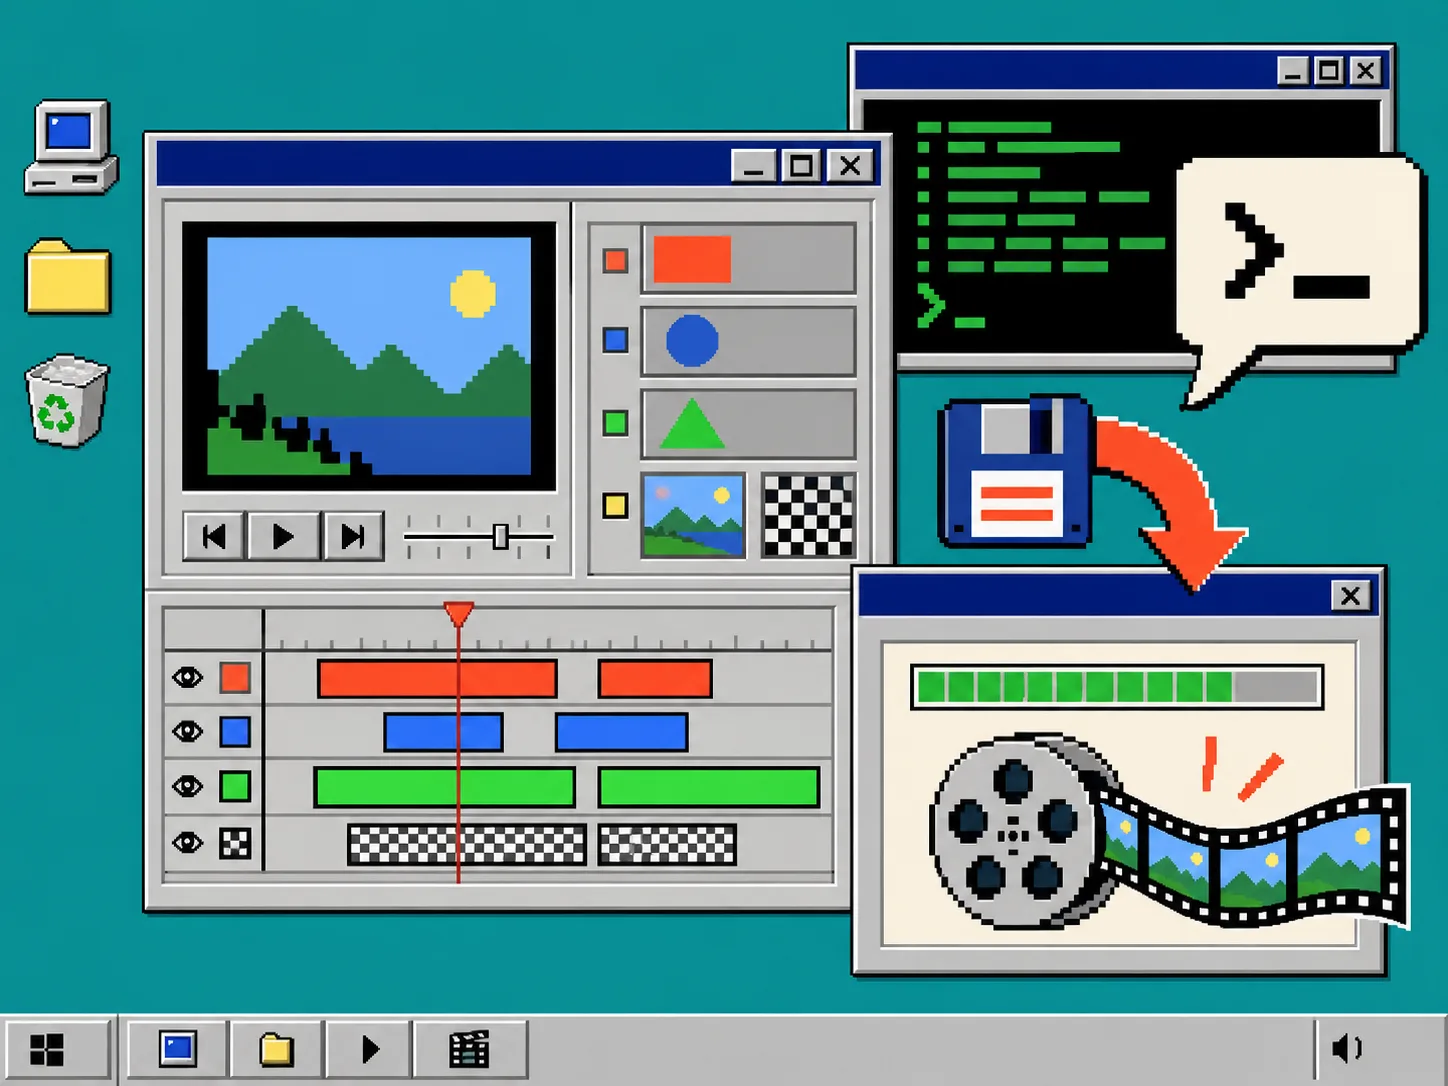
Use the built-in editor when a human needs to adjust layers, timing, colors, or text directly. The important part is that manual work does not force you to abandon the agent context. You can still make another natural-language change after a small hand edit.
6. Export only after the update passes a simple checklist
Before exporting, confirm that the video names the correct release, shows the new proof moment, keeps the CTA current, and has an approved final frame. Save the working document with the release version, then export the delivery file. Do not overwrite your previous approved cut; it is your fastest rollback if the update needs a correction.
If your team is choosing between an agent workflow and code-first video work, VideoFlow Studio vs Remotion: Choose the Right Startup Video Workflow explains the tradeoff. Remotion is a React framework for teams who want to author video in code; Studio is suited to founders and operators who need a reviewable first cut from a URL and clear directions. Neither replaces good creative judgment.
Troubleshooting
The draft lists features but does not tell a story. Cut the brief down to one audience outcome and one proof moment.
The new scene feels detached from the trailer. Repeat the opening promise and the desired transition in the revision request.
The render is technically correct but hard to understand. Move the visible proof before the explanation and remove one secondary claim.
A stakeholder asks for broad changes late. Turn the feedback into separate scene-level requests, review each result, and keep the last approved version.
Recap
Release notes become a useful launch-video update when you reduce them to one customer outcome, ask for a focused revision, and inspect the rendered proof before exporting. Start your next update at VideoFlow Studio, bring a short brief and a product URL, and make the smallest clear change that earns a new cut.