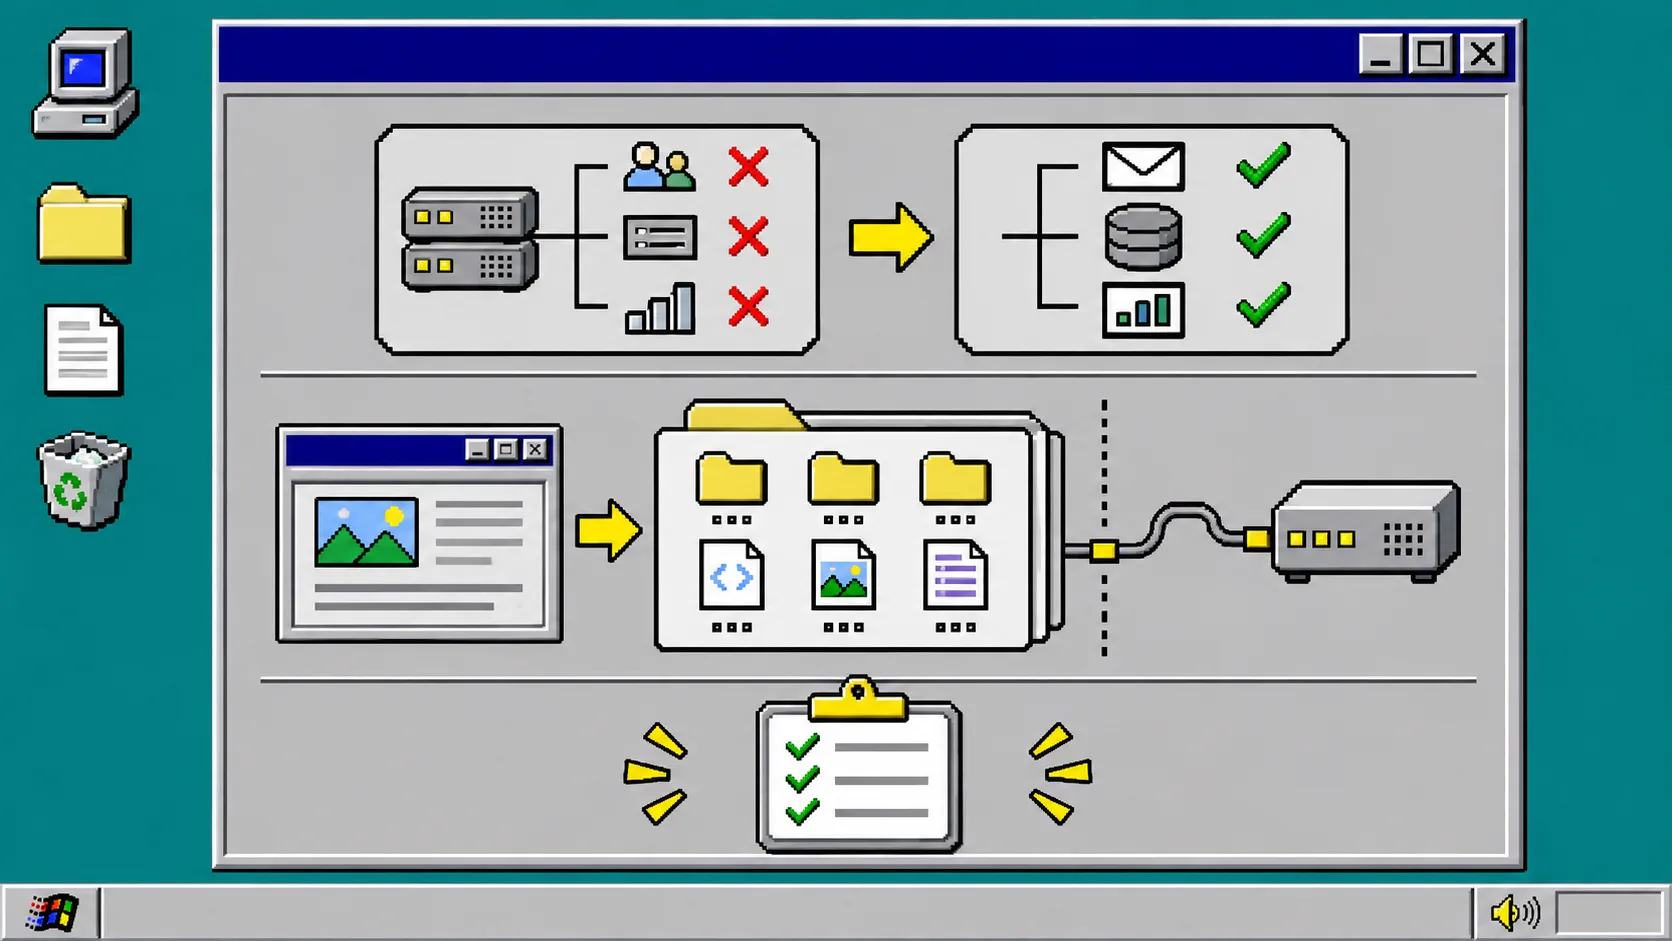
Your Framer page can look complete after a static export while two important jobs have quietly disappeared: native form handling and analytics that live on Framer’s servers. Replace those jobs before you change hosting. The safe order is to inventory the live page, choose independent endpoints, export with ExFlow’s Framer exporter, then test a real submission and visit on the static copy.
ExFlow can capture a published Framer site as static HTML, CSS, JavaScript, fonts, media, CMS pages, and client-side interactions. Its own Framer guide also draws the useful boundary: native form handling and Framer-tied analytics do not come along with a static export. This guide is for a public marketing site; do not use it as a substitute for an authentication or payment migration plan.
1. List every feature that sends data somewhere
Open the live Framer site and make a short inventory before exporting. Use a browser at the same URL visitors use, not the editor preview. Check every page, including success and error states.
| Feature on the page | Keep in static copy? | Replacement to choose | Proof of success |
|---|---|---|---|
| Contact or waitlist form | Yes | Form endpoint or serverless handler | Test message arrives and confirmation appears |
| Newsletter signup | Yes | Email-provider form endpoint | Subscriber is visible in the intended audience |
| Analytics | Usually | Independent analytics tag or host analytics | One test visit appears without console errors |
| Search, login, checkout | Depends | Purpose-built service or application route | Full task completes in a test account |
Do not copy the form markup and assume it is a working form. Record each form’s field names, required fields, recipient, consent copy, thank-you behavior, and spam protection. For analytics, record the property ID, consent requirement, and the events that matter. This is the same kind of inventory work that makes a Webflow CMS export before a redesign recoverable later.
2. Choose replacements before changing DNS
Pick one endpoint for each form and one owner for analytics. A simple brochure site can use an email provider’s hosted form endpoint or a small serverless function. A product site may need a backend route that validates fields, stores leads, and sends a transactional email. The important part is that the destination belongs to the new setup, not to the old Framer hosting arrangement.
Write the decision beside the feature. For example: contact form -> POST /api/contact -> send to support inbox. If you need consent, include the consent field in the payload and test that it reaches the system that stores the lead. Do not put API keys in the static JavaScript bundle. A browser can call a public endpoint; secrets stay in the endpoint’s environment.
For analytics, add the provider’s script or use host-level analytics according to that provider’s instructions. Keep the first release small: verify a page view before adding custom events. If the site only needs a campaign landing page, a link-tagged source URL and page-view measurement may be enough.
3. Export the published Framer site
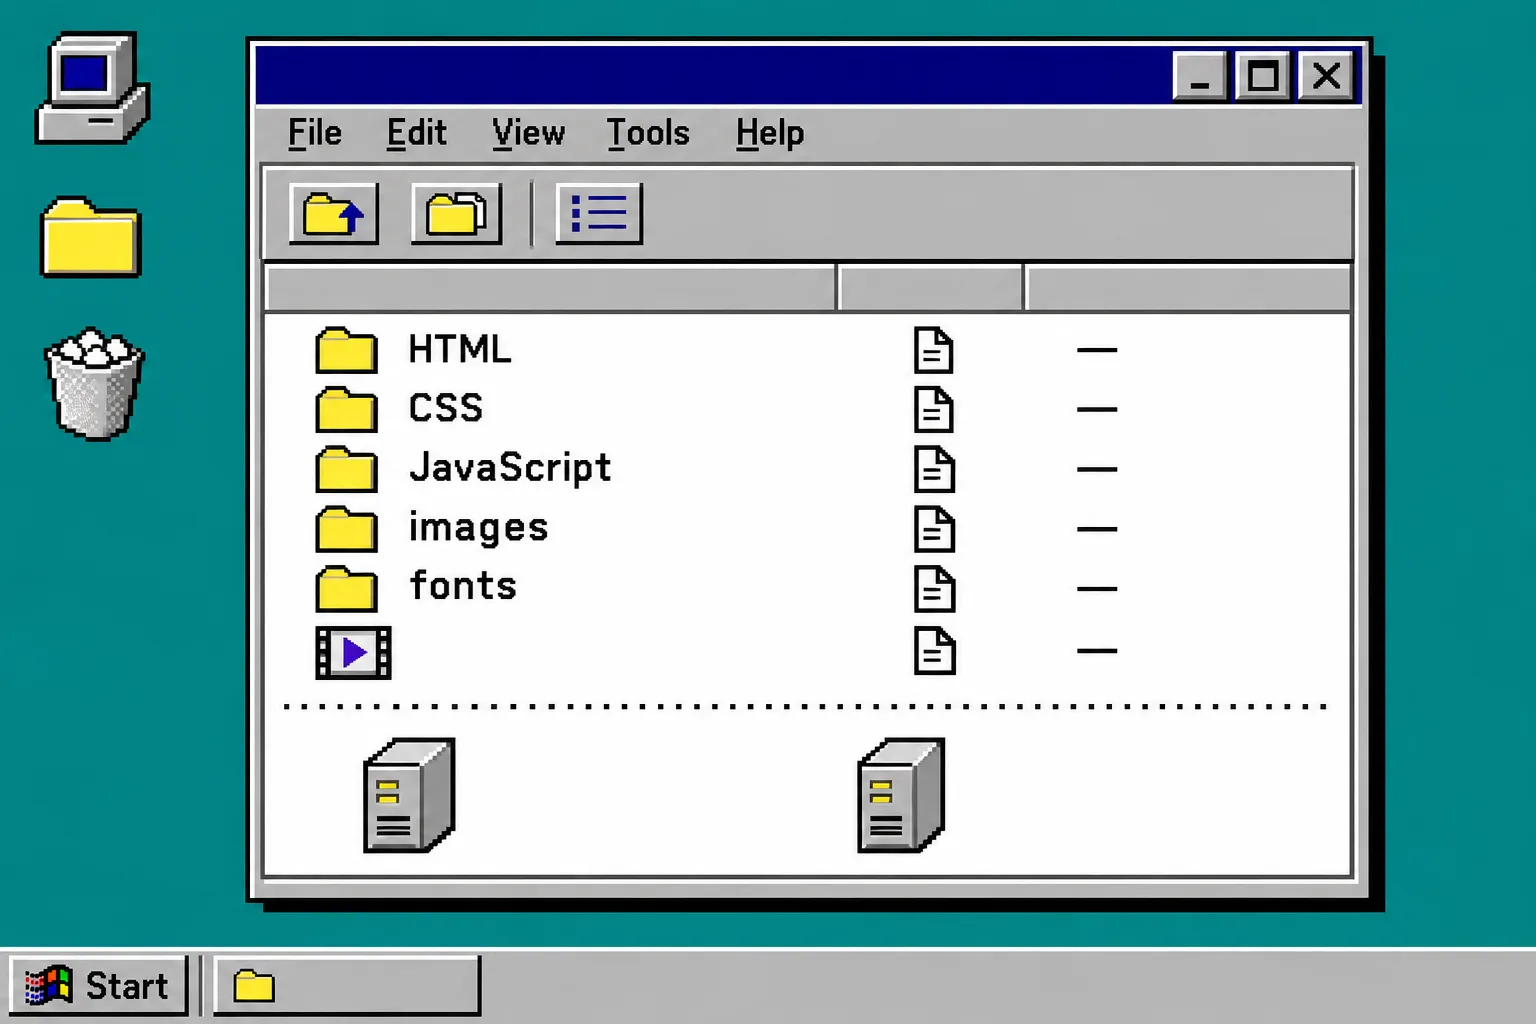
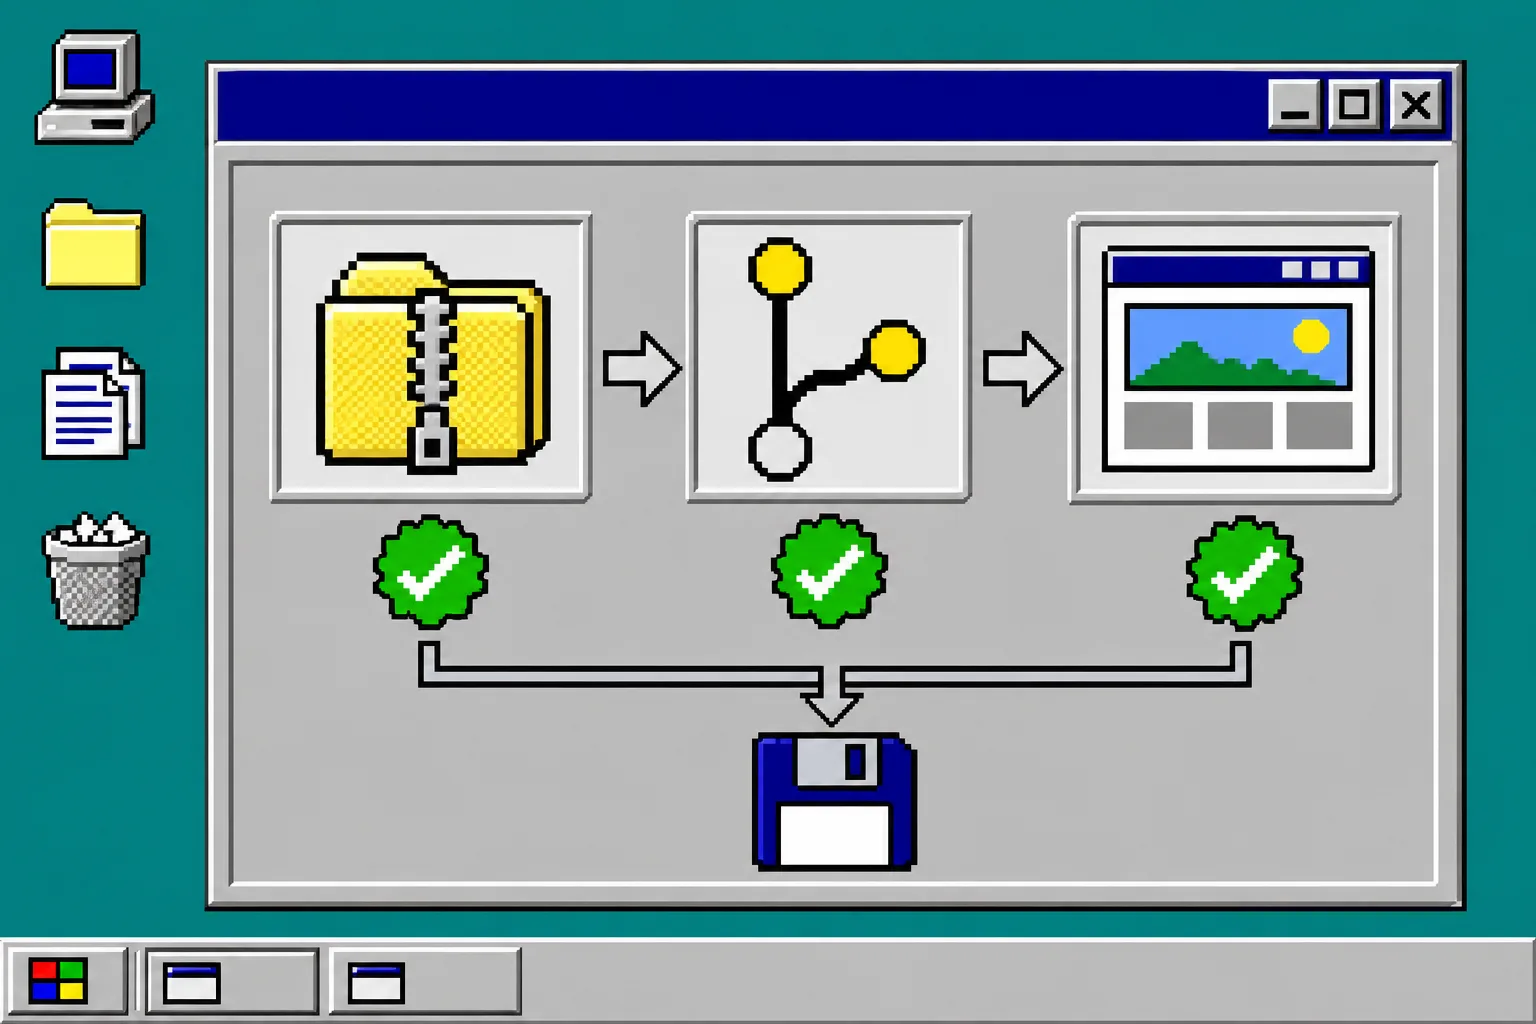
In ExFlow’s Framer export workflow, paste the published site URL. Enable CSS, JavaScript, images/media, and all pages. The export is designed to capture the rendered site, its asset requests, and Framer’s client-side behavior, then provide a ZIP or deploy to Git, S3, FTP, or ExFlow Hosting.
Download the archive first even if you plan to deploy directly. Name it with the live date and commit it to a private repository or retained backup location. A static copy is most useful when you can identify exactly which live version it represents. For the wider handoff practice, use the same archive-and-test mindset as this Squarespace static backup guide.
4. Wire the replacement features into a staging copy
Serve the export from a staging domain or a local static server that resembles your eventual host. Replace each old form action with the new endpoint. Configure the success and error messages, then make sure the button cannot accidentally submit twice. Add the independent analytics snippet once, in the shared layout or the page template your exported site uses.
Run this small release card:
- Submit valid data from the desktop page. Confirm receipt and the success state.
- Submit a deliberately invalid value. Confirm the page gives a useful error without losing the other fields.
- Inspect the browser network panel. Confirm no request still points to a Framer form or analytics endpoint.
- Open the staging URL in a private window. Confirm the first page view reaches the replacement analytics property, subject to your consent configuration.
- Repeat the valid form test on a phone-width viewport.
5. Check the static site at three widths
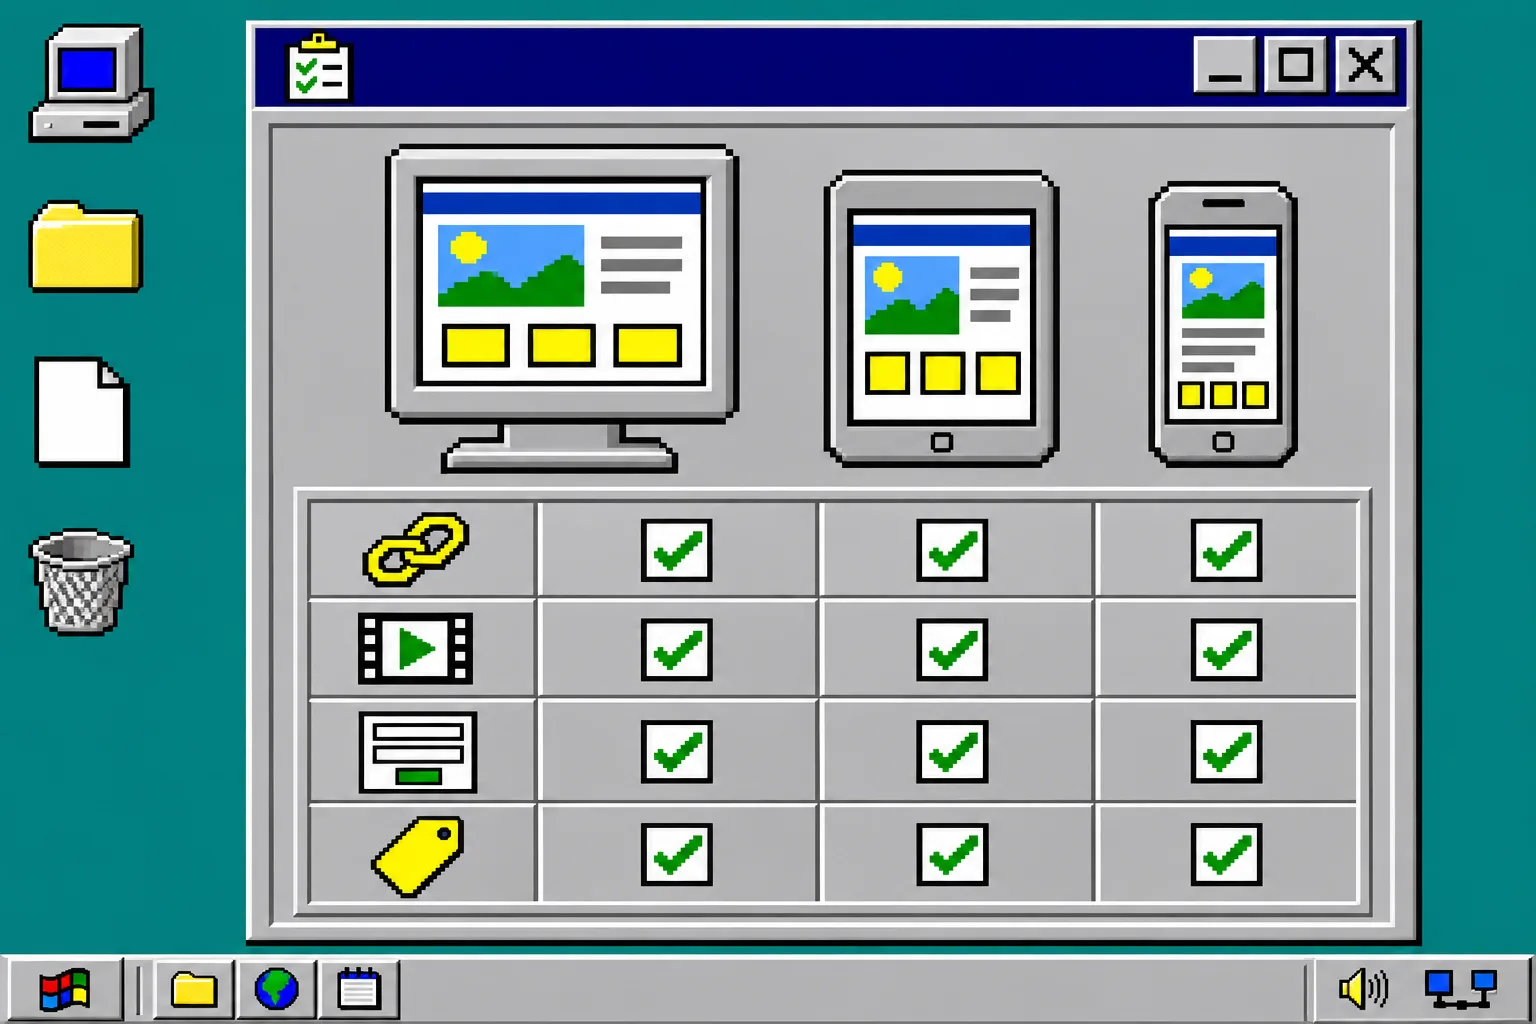
Framer interactions may survive the export, but a static host gives you a different production environment. Test the menu, anchors, hover states, scroll effects, video, fonts, and every main link at desktop, tablet, and phone widths. Check the page source or network panel for failed assets, especially fonts and images.
This is where a focused breakpoint receipt helps: test only the pages and actions people actually use, then record the browser, width, URL, and result. For a more detailed responsive review, this Framer export QA guide is a useful companion.
Troubleshooting: the export looks right but the form fails
Start with the browser network panel. A 404 usually means the form action still points to a route your static host does not provide. A CORS error means the new endpoint must explicitly allow your staging or production origin. A successful request with no email or saved lead usually means the endpoint has its own integration or validation problem; inspect its logs rather than editing the static page at random.
If analytics does not report a visit, check consent behavior, ad blockers, the correct property ID, and whether the script loads once. Do not count your staging checks as production conversion data. Keep test submissions visibly labeled so your team can exclude them.
6. Publish only after the replacement path works
Point the production domain after the staging checklist passes. Keep the old site available long enough to roll back the DNS or hosting target if the new endpoint fails. Save a short release receipt with the archive filename, Git commit, endpoint owner, analytics property, form test time, and the pages tested.
ExFlow also has dedicated exporters for Webflow and Squarespace, but keep this task platform-specific: a Framer export is ready for static hosting only when every visitor-facing server-owned job has a new home.
Recap
Inventory forms and measurement first, choose independent services, export the published Framer site, then prove the replacements work in staging on desktop and mobile. Your next action is simple: open the live site and write down every form action and analytics dependency before you run the export.