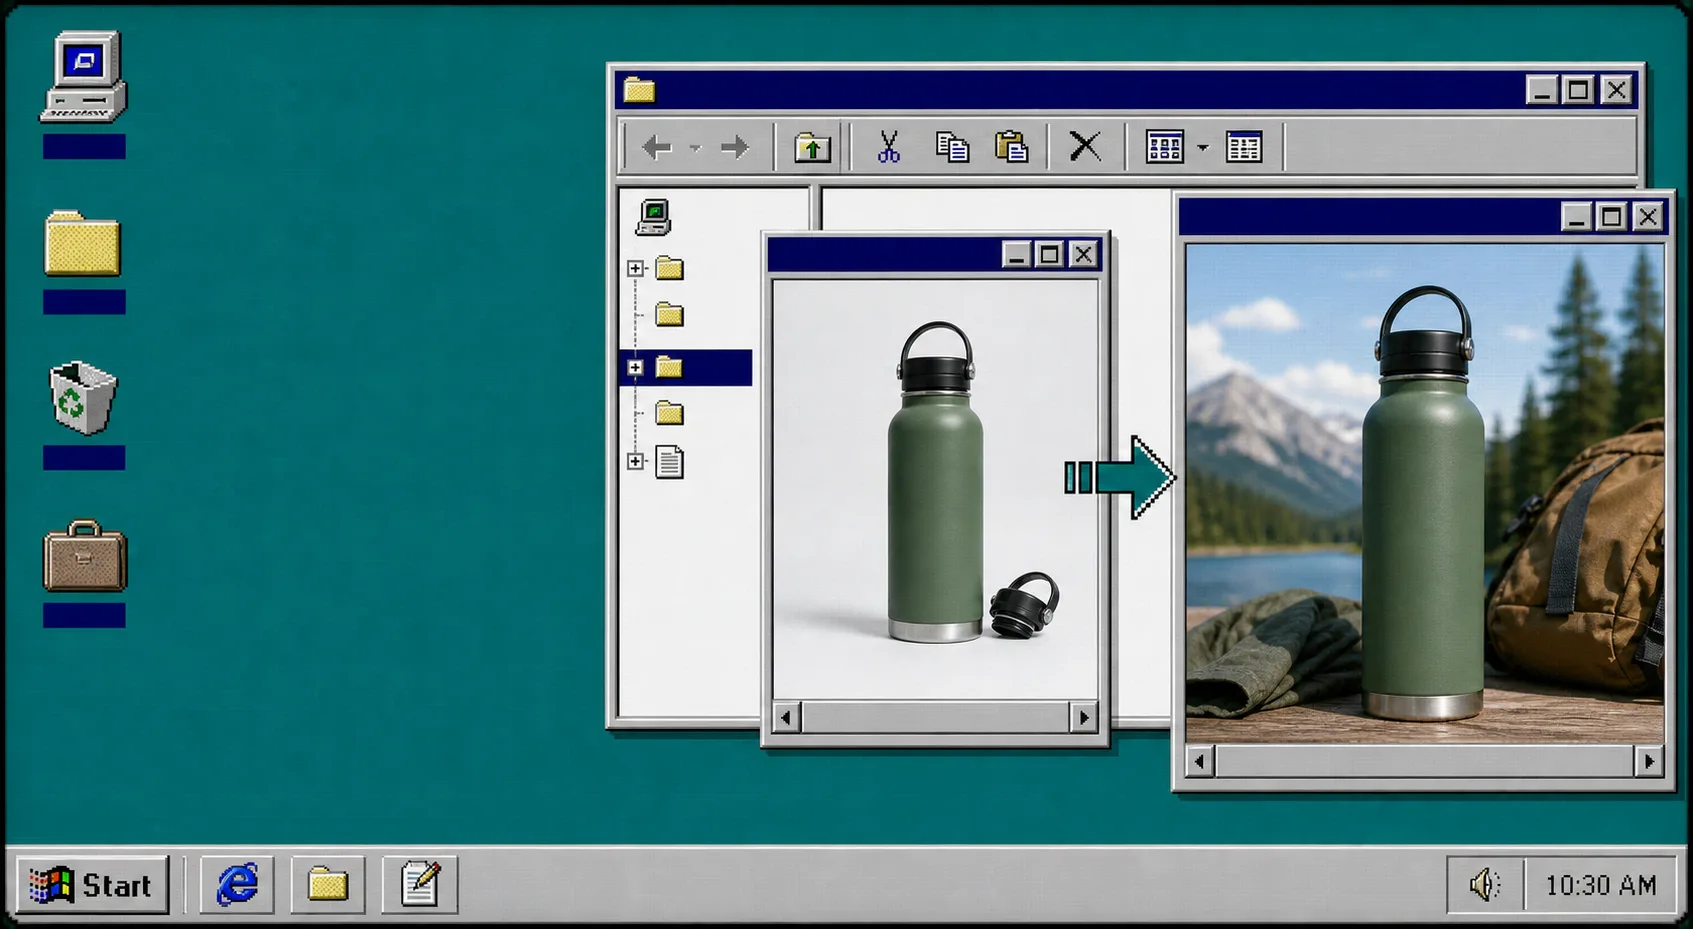
Plain product photos are enough to list an item, but they usually are not enough to sell the idea of the item. If you want the image on a Shopify page, in a blog post, or in an ad to do more work, you need a cleaner source photo and a better output format.
Supra AI Photo Studio is built for that job. It can remove or replace backgrounds, sharpen and upscale the source, place a product into a new scene, create model try-ons, and generate short video assets from the same input. If you want to see the product first, start with the Shopify App Store listing, the landing page, and the demo trailer. The free plan is enough to test the workflow before you commit to a bigger rollout.
1. Load The Best Source Photo
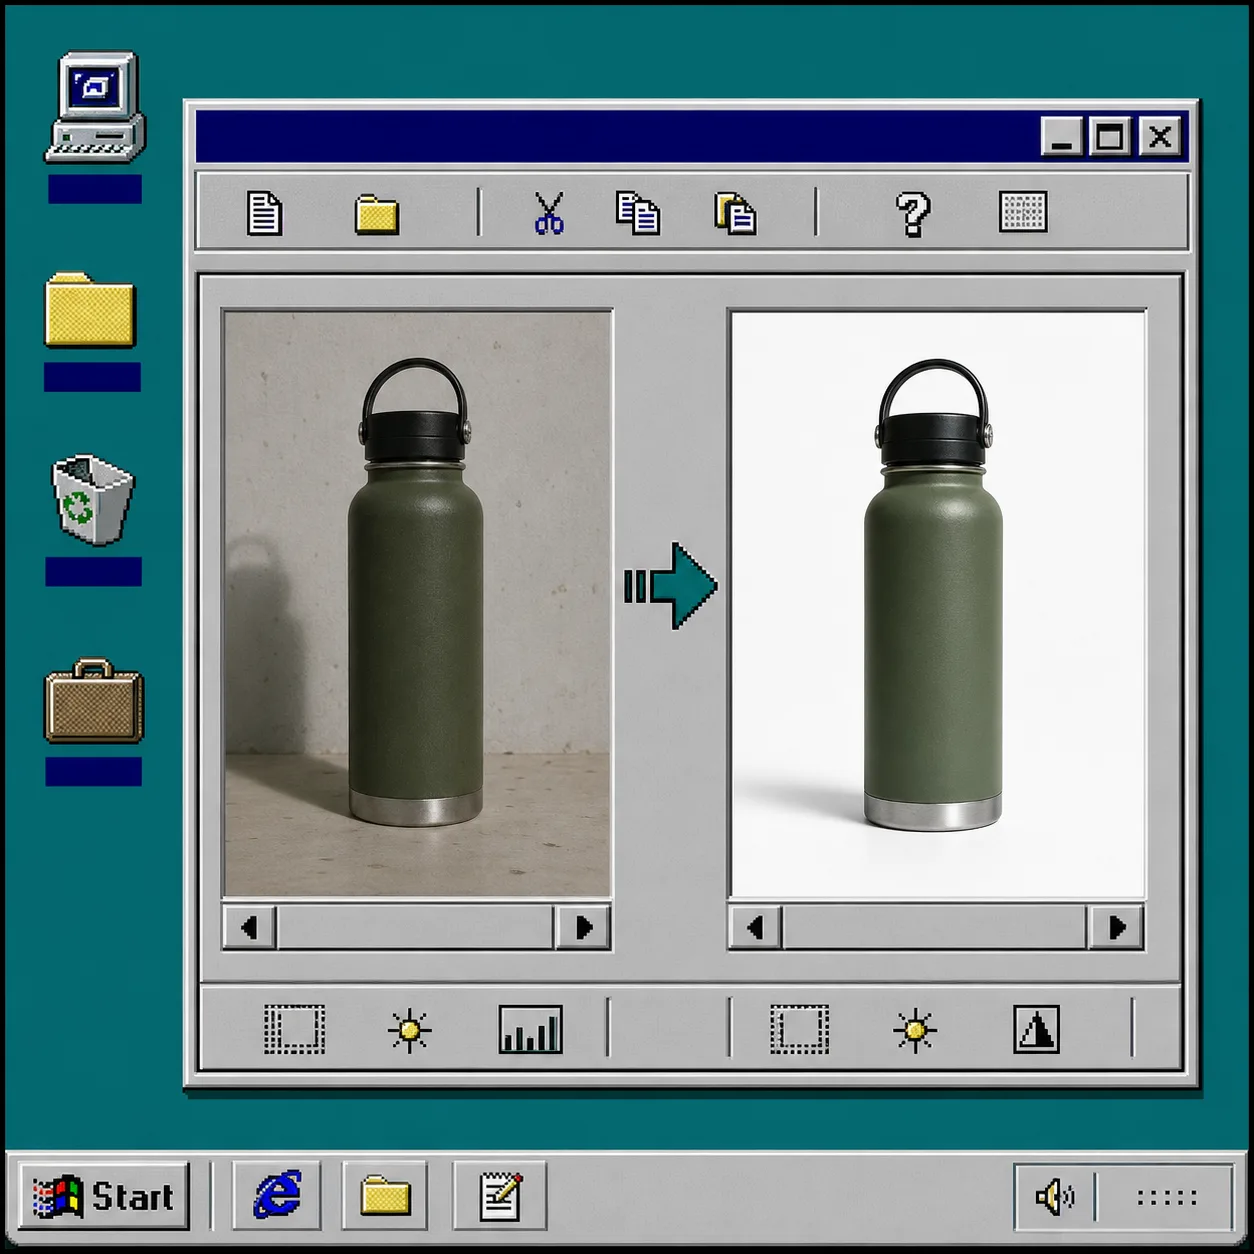
Open the app from Shopify admin, pick a product or upload an image, and start with the sharpest photo you already have. A good source image is centered, lit well enough to read the edges, and not so cropped that the product shape becomes a guess.
If the original is blurry, noisy, or cut off, fix that first. The app can improve the image, but it cannot magically recover detail that was never visible. On the canvas, you should be able to recognize the silhouette before you do anything creative.
That same rule shows up in How I Prioritize Shopify Product Photos for AI Editing: if the input is weak, every later step gets harder.
2. Clean The Base Image Before You Add Style
Use the cleanup tools before you try to generate anything fancy. Background removal, upscaling, deblurring, denoising, and lighting correction are the first edits I would make on a new image.
Inside the editor, the Top Bar handles undo, redo, download, and publish. Tools on the left is where the AI edits live. Canvas on the right is the current image. Image Gallery at the bottom is where the product’s full image set stays organized.
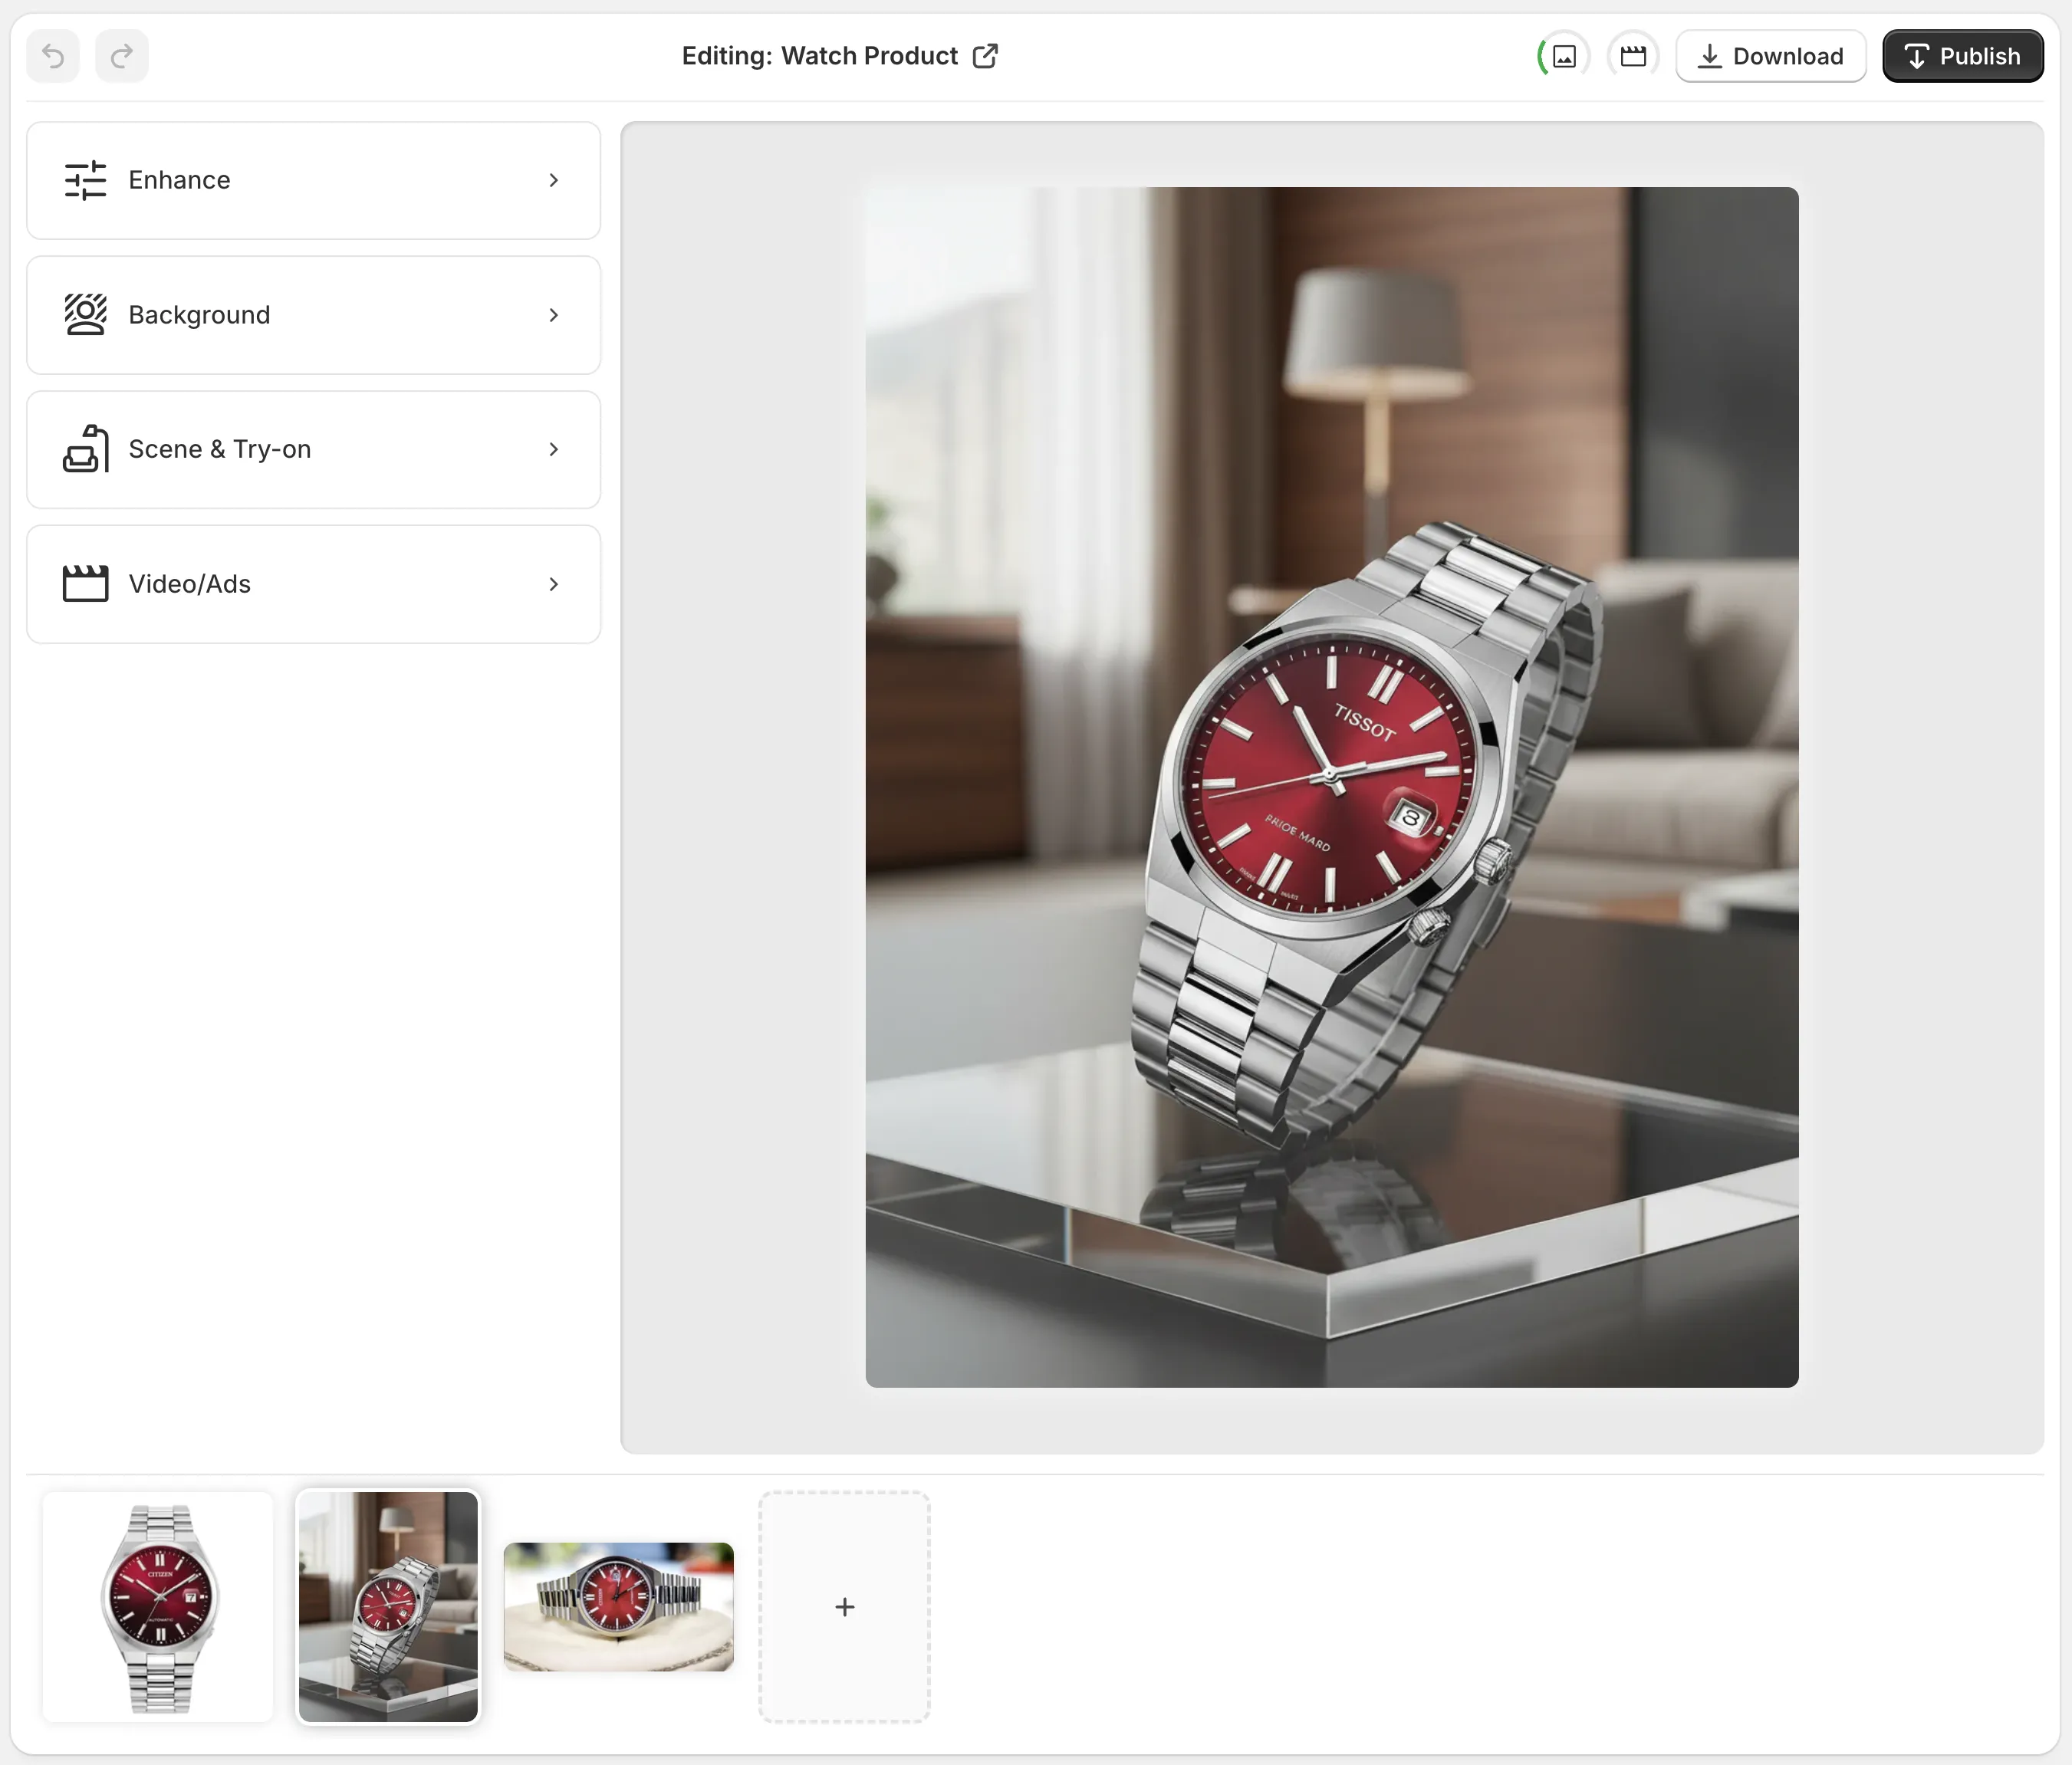
The point of this step is not to make the image pretty. It is to make the product easy for the model to understand so the final result still looks like the same item.
3. Match The Output To The Product Type
Not every product should use the same output format.
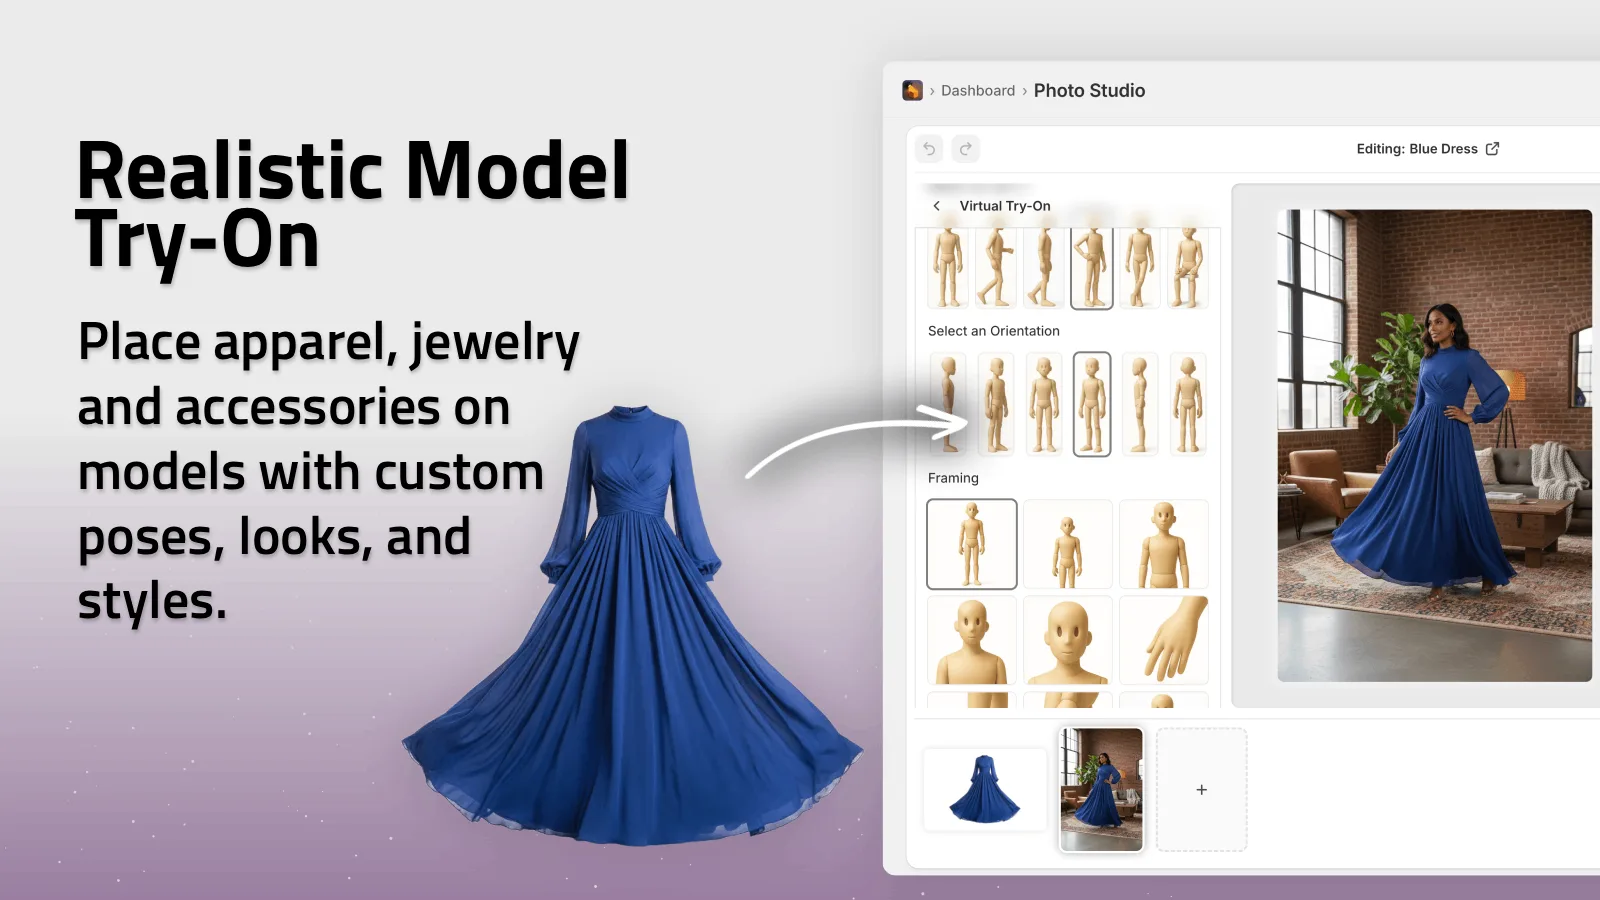
- Apparel, jewelry, and accessories usually work best with try-on images.
- Home decor, bags, and other lifestyle goods usually work best with object placement.
- Logos and printed designs usually work best with mockups.
The app listing calls out realistic model try-ons and placing products in new environments for a reason. The strongest result comes from matching the scene to the product, not forcing the product to fit one generic prompt.
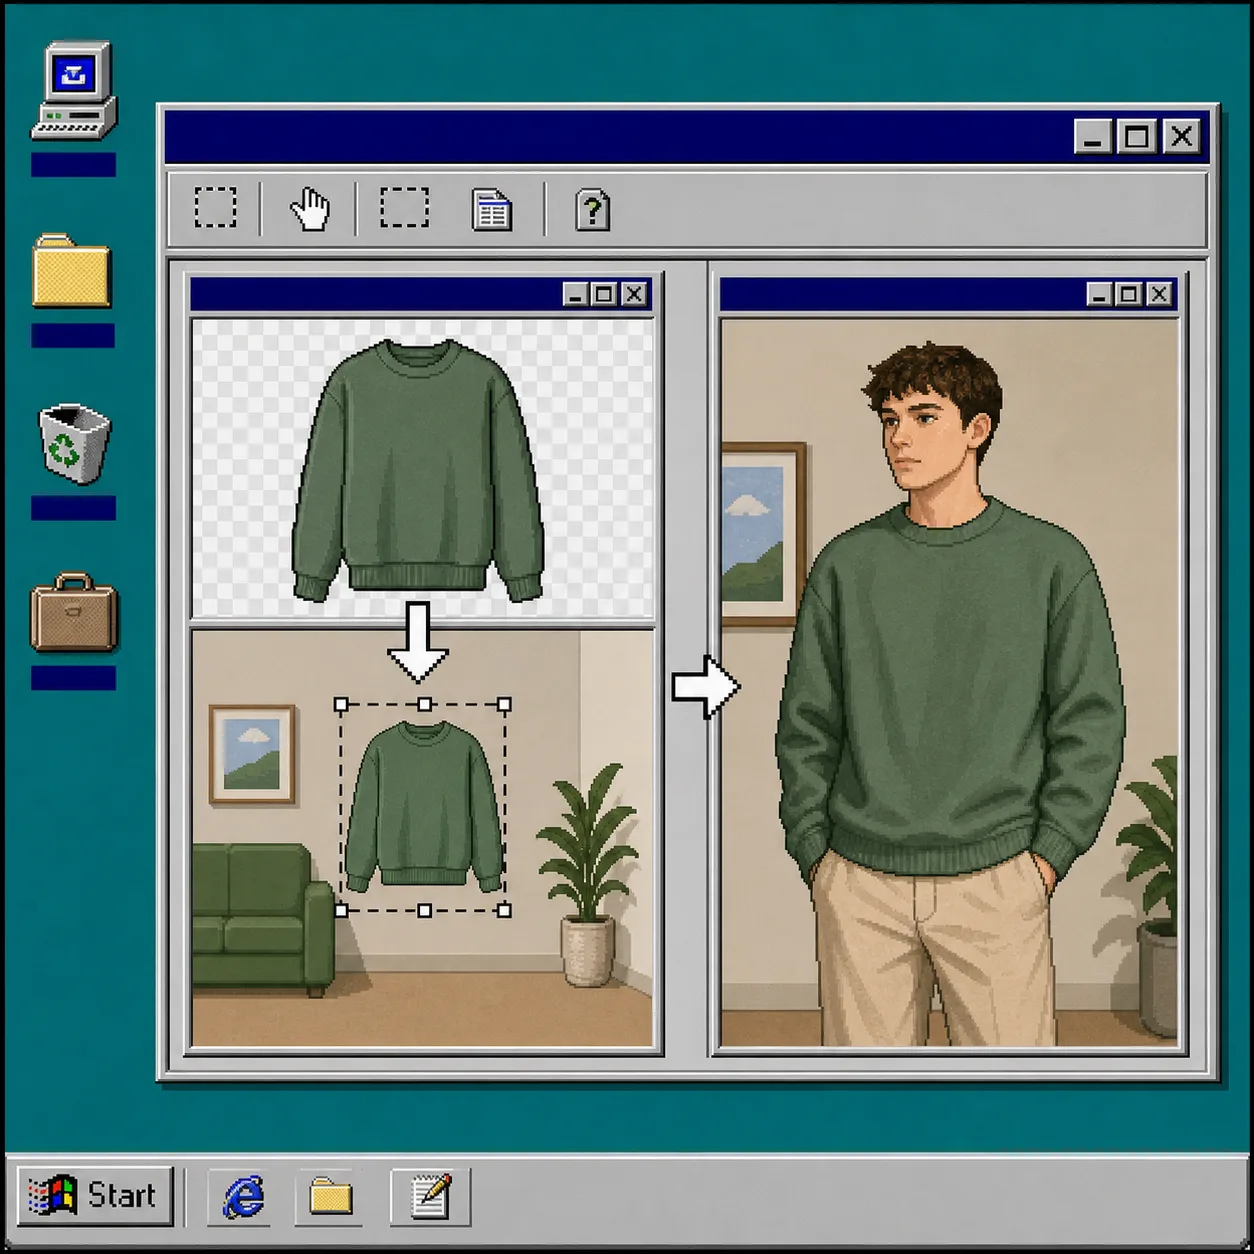
If you want a fuller example of turning one source photo into a ready-to-publish set, How to Turn One Product Photo Into a Full Shopify Image Set and How I Turn a Plain Product Shot Into Shopify Ads and Try-Ons are good companion reads.
4. Add Motion Only After The Still Image Works
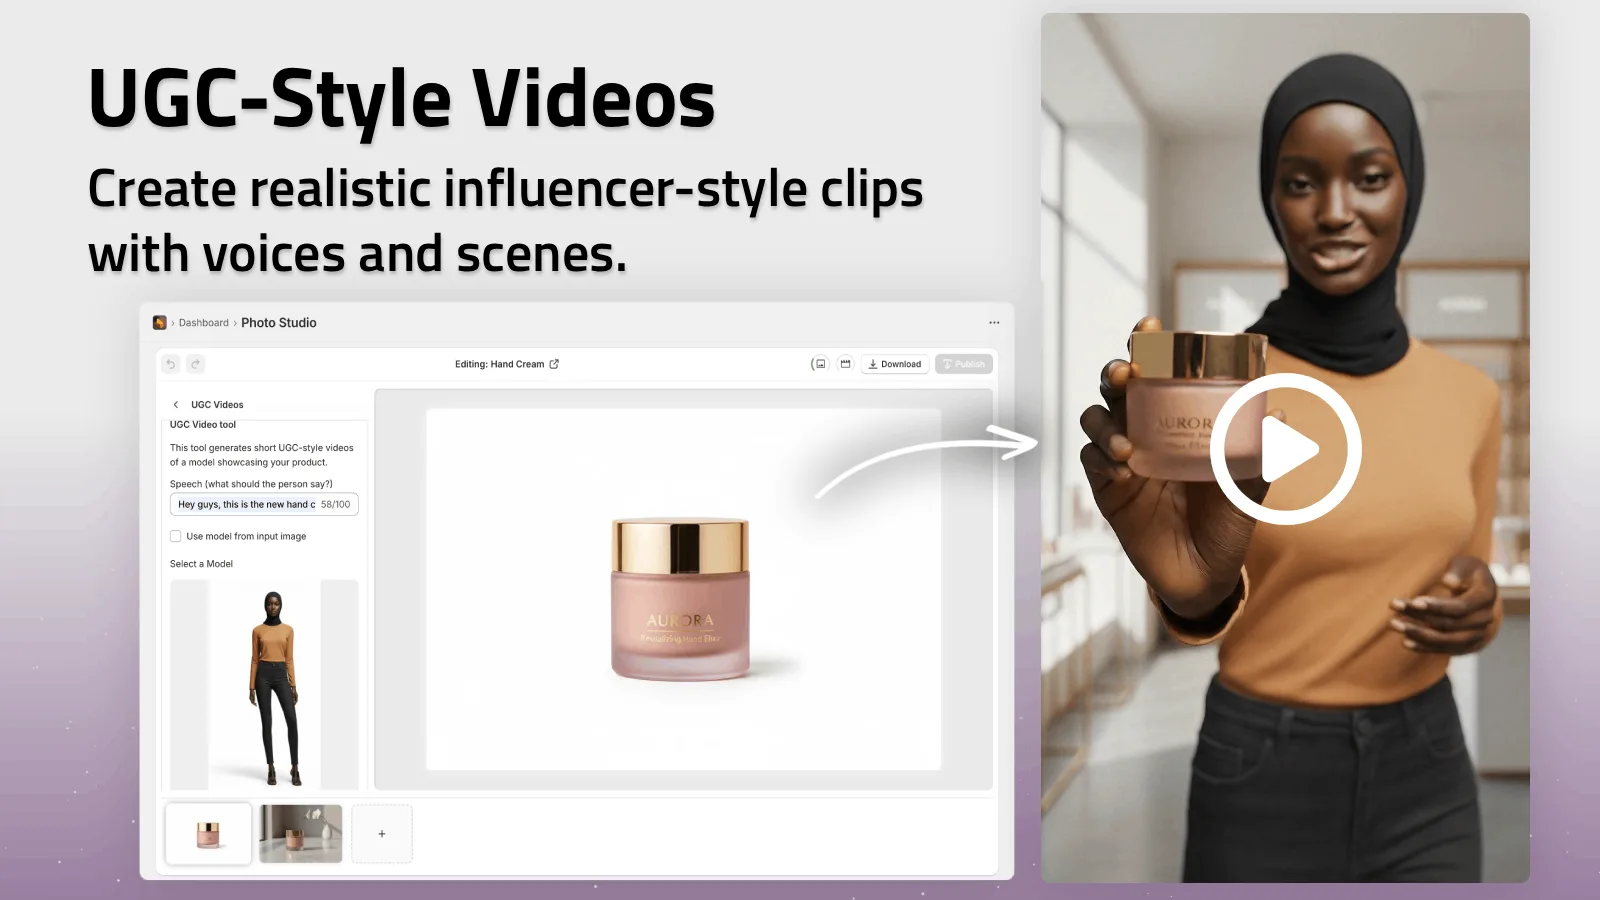
Once the still image is believable, generate a short video version from the same source. UGC-style clips and b-roll are useful when you need a second asset for ads, social, or retargeting.
Keep the motion simple. A product drop, a clean turn, or a short scene with a product in use is usually enough. If the still image still looks off, do not hide that problem inside motion. Fix the image first.
If your goal is to stretch one asset across channels, How I Reuse One Shopify Product Video Across Ads, Product Pages, and Email shows the next step after the first clip is approved.
5. Review The Set Like A Merchandiser
Compare the output against the original and check the details that matter most: product color, silhouette, logo placement, material texture, and whether the scene still fits the brand.
If something feels off, change one variable at a time. Swap the scene, then the prompt, then the source image if you need to. That makes it much easier to see which part actually improved the result.
If you want to turn this into a repeatable testing loop, How to Build a UGC Video Testing Loop for Shopify Products is the best follow-up.
Troubleshooting
If the output looks fake, simplify the scene and start from a cleaner image. Most bad results come from a messy input or too many instructions.
If the product changes shape, choose the output mode that actually fits the category. Try-on is right for wearable items. Placement is right for products that live in a room or on a surface.
If the catalog starts to look inconsistent, lock the lighting and scene style before you batch-generate more images. Consistency matters more than novelty when the goal is to support a store page.
If you need a wider example of how a single product image can feed several outputs, How to Turn Plain Shopify Product Photos Into Lifestyle Shots is the closest match to this workflow.
Wrap-Up
The shortest path is simple: clean the photo, choose the right output, and stop once the visual is believable.
If you want to try it on your own store, install Supra AI Photo Studio, run one product through cleanup, scene generation, and video, then publish the version that looks closest to a real storefront asset.