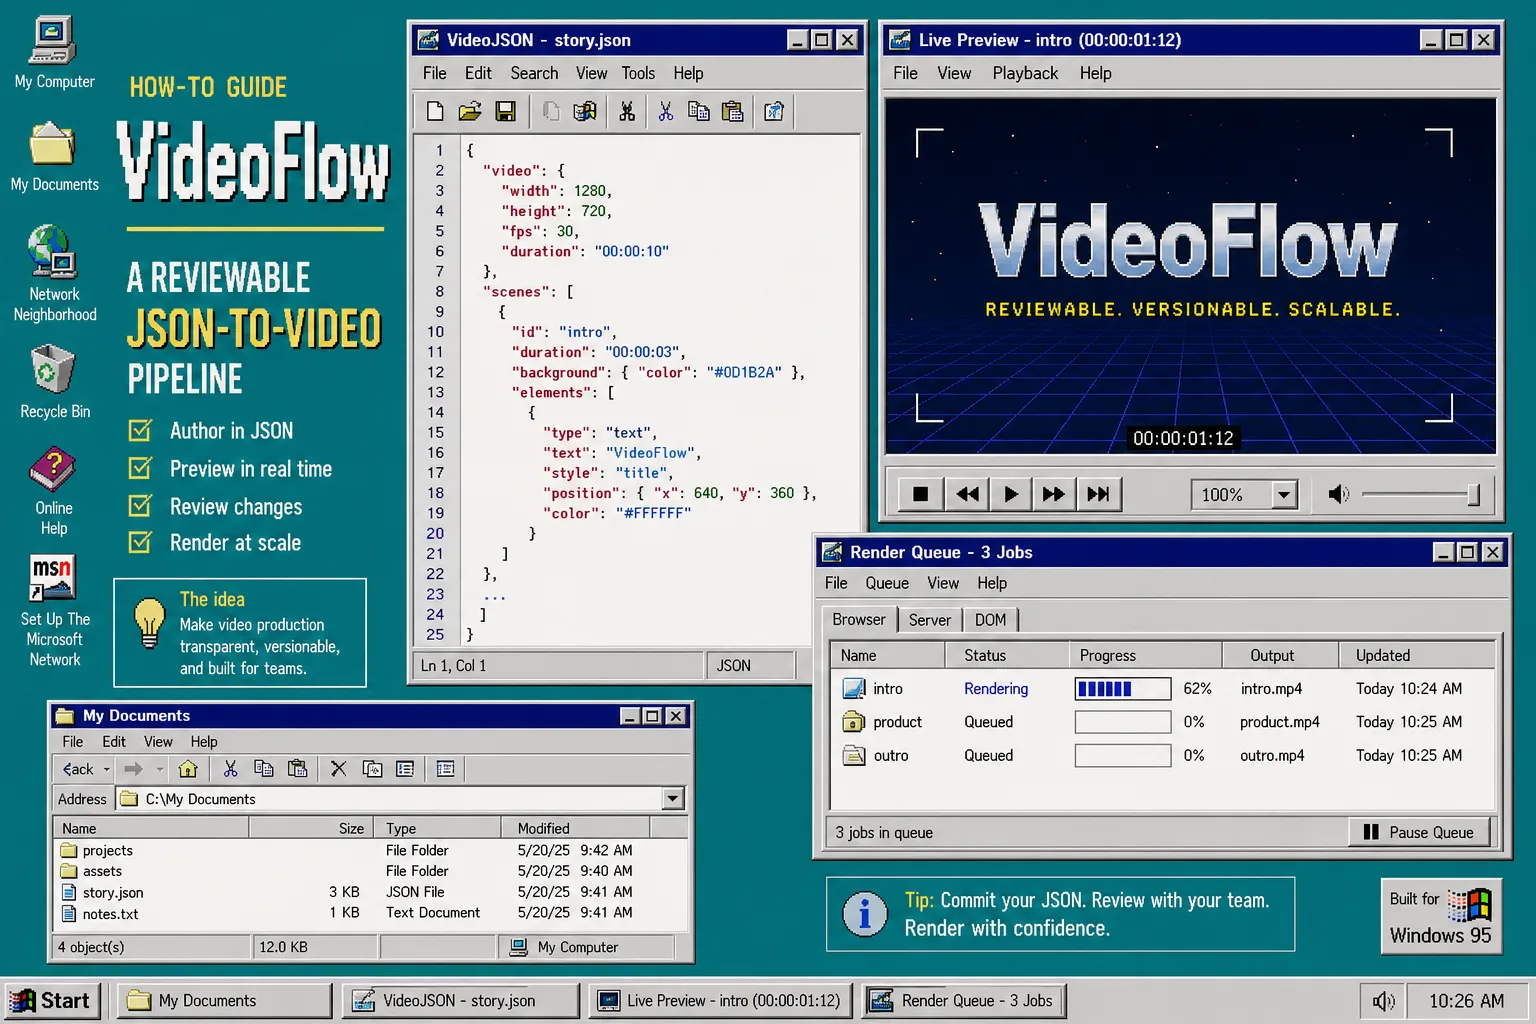
If you need a human review loop before export, start with VideoFlow
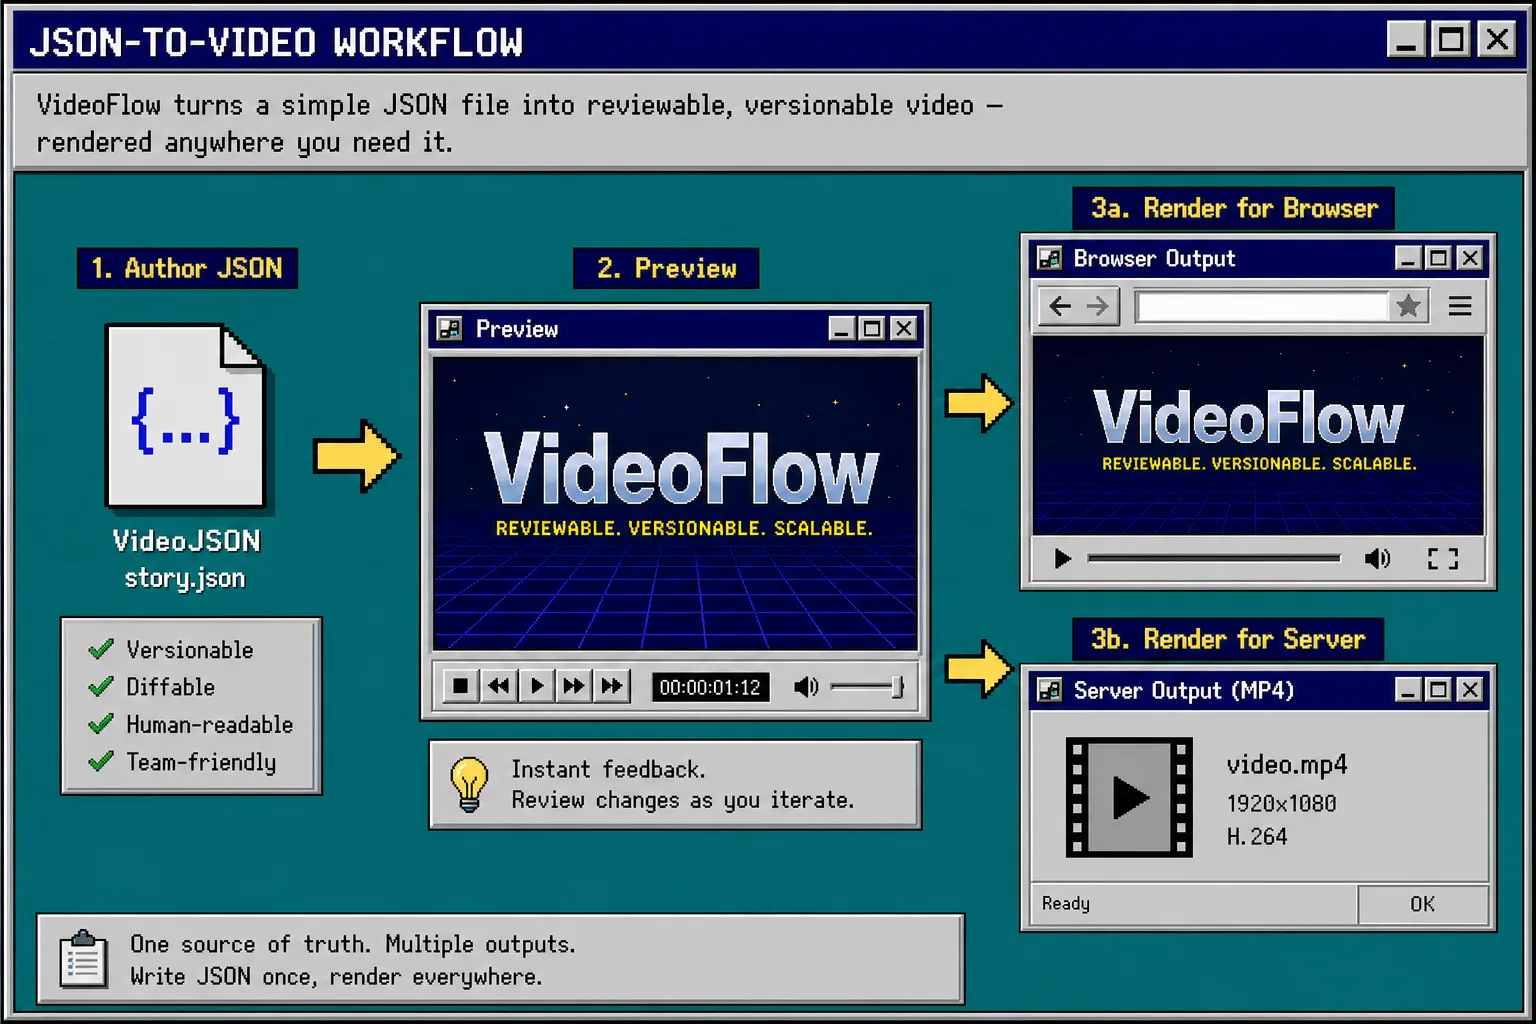
VideoFlow is a good fit when you want to write a video once, inspect it, edit it, and render it in different places without rebuilding the project every time. The core package turns TypeScript into portable VideoJSON, the DOM renderer gives you a live preview, the React editor gives reviewers a timeline, and the browser or server renderer can produce the final MP4.
This is the practical version of the separation pattern I covered in How to Separate Video Data From Rendering With VideoFlow. The difference here is that we are optimizing for review: the JSON needs to be readable, the preview needs to match the final output, and the handoff needs to stay simple enough for a teammate to understand without asking for a screen share.
1. Install the pieces you need
Start by installing the packages that match the workflow you want to support. If you only need one renderer today, you can add the rest later.
npm install @videoflow/core @videoflow/renderer-browser @videoflow/renderer-server @videoflow/renderer-dom @videoflow/react-video-editor
If you want the broader product docs, keep VideoFlow Docs and the GitHub repo open while you work. The docs are useful when you need the renderer APIs or a refresher on the portable JSON model.
When the install finishes, you should have three things available: a builder for authoring, a preview path for review, and a render path for export.
2. Author the scene in @videoflow/core
The core package is where the reviewable part of the workflow starts. Build the scene in TypeScript, keep the project name and dimensions explicit, and compile to JSON before you involve any UI.
import VideoFlow from '@videoflow/core';

const $ = new VideoFlow({
  name: 'Review Loop Demo',
  width: 1280,
  height: 720,
  fps: 30,
});

$.addText(
  { text: 'VideoFlow', fontSize: 7, fontWeight: 800 },
  { transitionIn: { transition: 'overshootPop', duration: '500ms' } }
);

const videoJSON = await $.compile();
That videoJSON object is the thing you want to review, store, and hand off. If you want the deeper reason for splitting scene data from rendering code, How to Separate Video Data From Rendering With VideoFlow walks through the same idea from a different angle.
A good rule here is simple: if a teammate cannot inspect the change in Git, the workflow is still too tied to one renderer.
3. Preview the same JSON before anyone exports it
The preview step is where reviewable video work usually succeeds or fails. Mount the DOM renderer or browser renderer and check the same JSON before you queue a final export. If the frame is wrong here, fix the scene here instead of discovering it after the MP4 is already in a bucket.
A clean preview loop should answer three questions:
- Does the composition match the intent?
- Do the timings feel right?
- Are the dimensions and aspect ratio correct?
If you want the longer version of this preview, edit, and export loop, see How to Preview, Edit, and Export the Same Video JSON Everywhere.
4. Let reviewers edit the timeline in React
Once the preview is stable, give non-developers a real editor instead of asking them to comment on frame grabs. @videoflow/react-video-editor drops into a React app, gives you a multi-track timeline, and exposes the same VideoJSON source of truth through callbacks.
import { VideoEditor } from '@videoflow/react-video-editor';
import '@videoflow/react-video-editor/style.css';

export default function App() {
  return (
    <VideoEditor
      video={videoJSON}
      onChange={(next) => saveToServer(next)}
      onSave={async (next) => await persist(next)}
      onUpload={async (file) => await upload(file)}
      theme='dark'
    />
  );
}
The editor is where reviewers can drag, trim, snap, reorder, inspect keyframes, and export without learning your internal scene format. It also gives you transitions, effects, and MP4 export inside one interface.
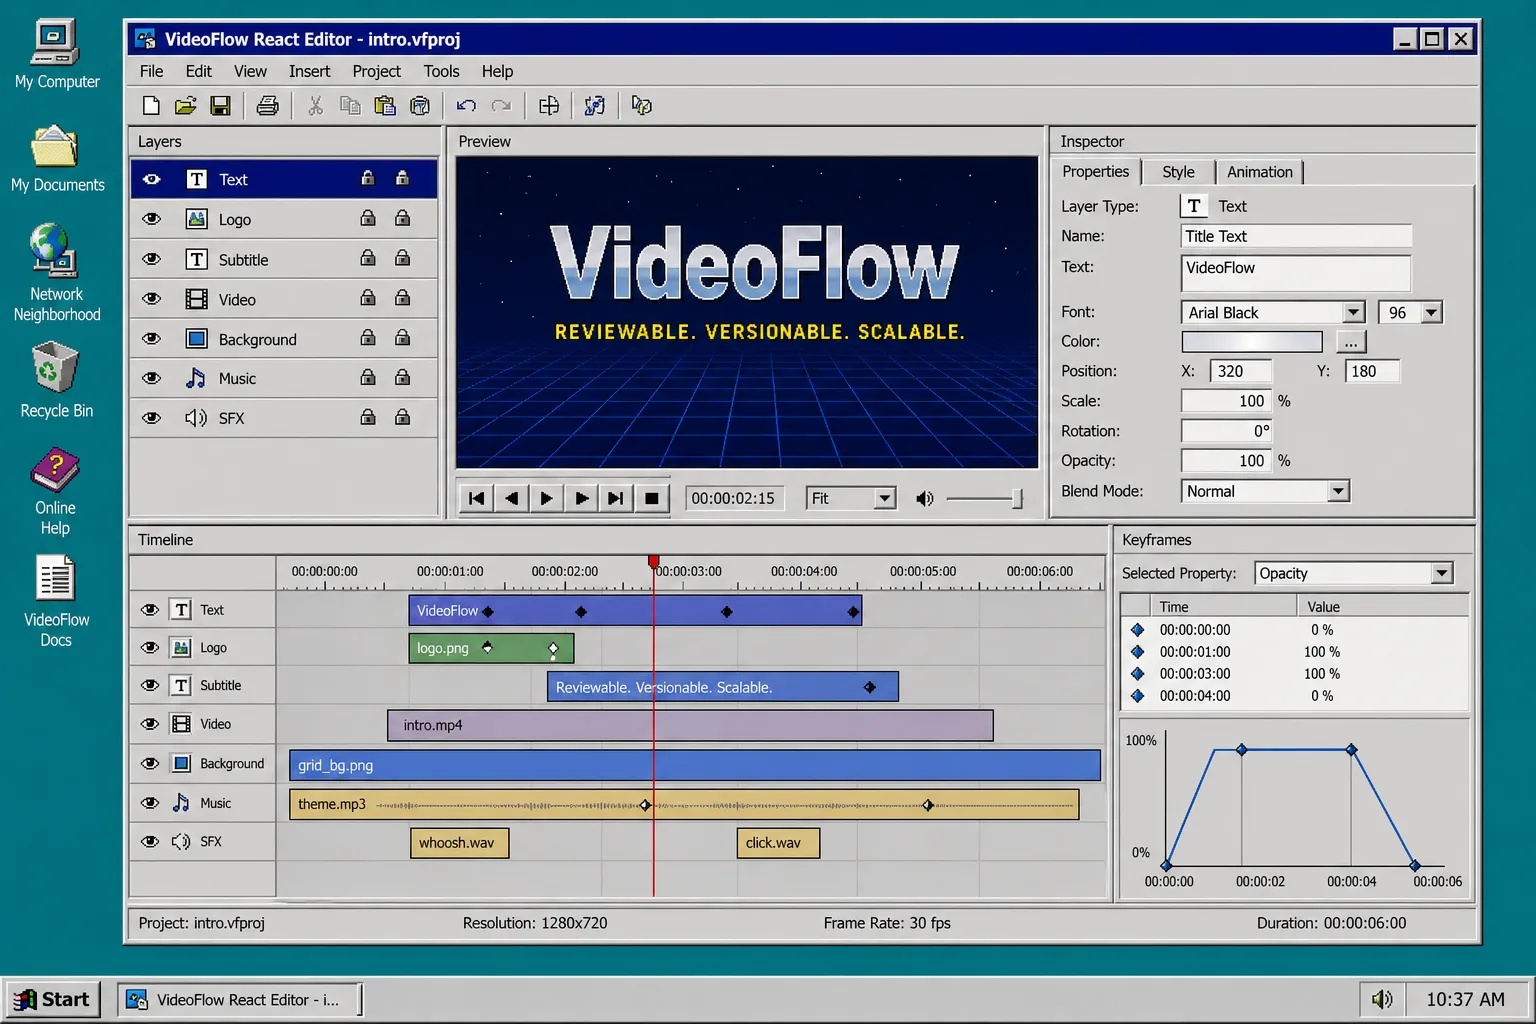
If you are wiring the editor into an existing app, How to Add a React Video Editor Without Rewriting Your Render Pipeline is the companion article I would read next.
5. Pick the render path deliberately
Once the scene has been reviewed, choose the renderer based on where export actually needs to happen. Do not pick a renderer because it is the one you happened to wire up first.
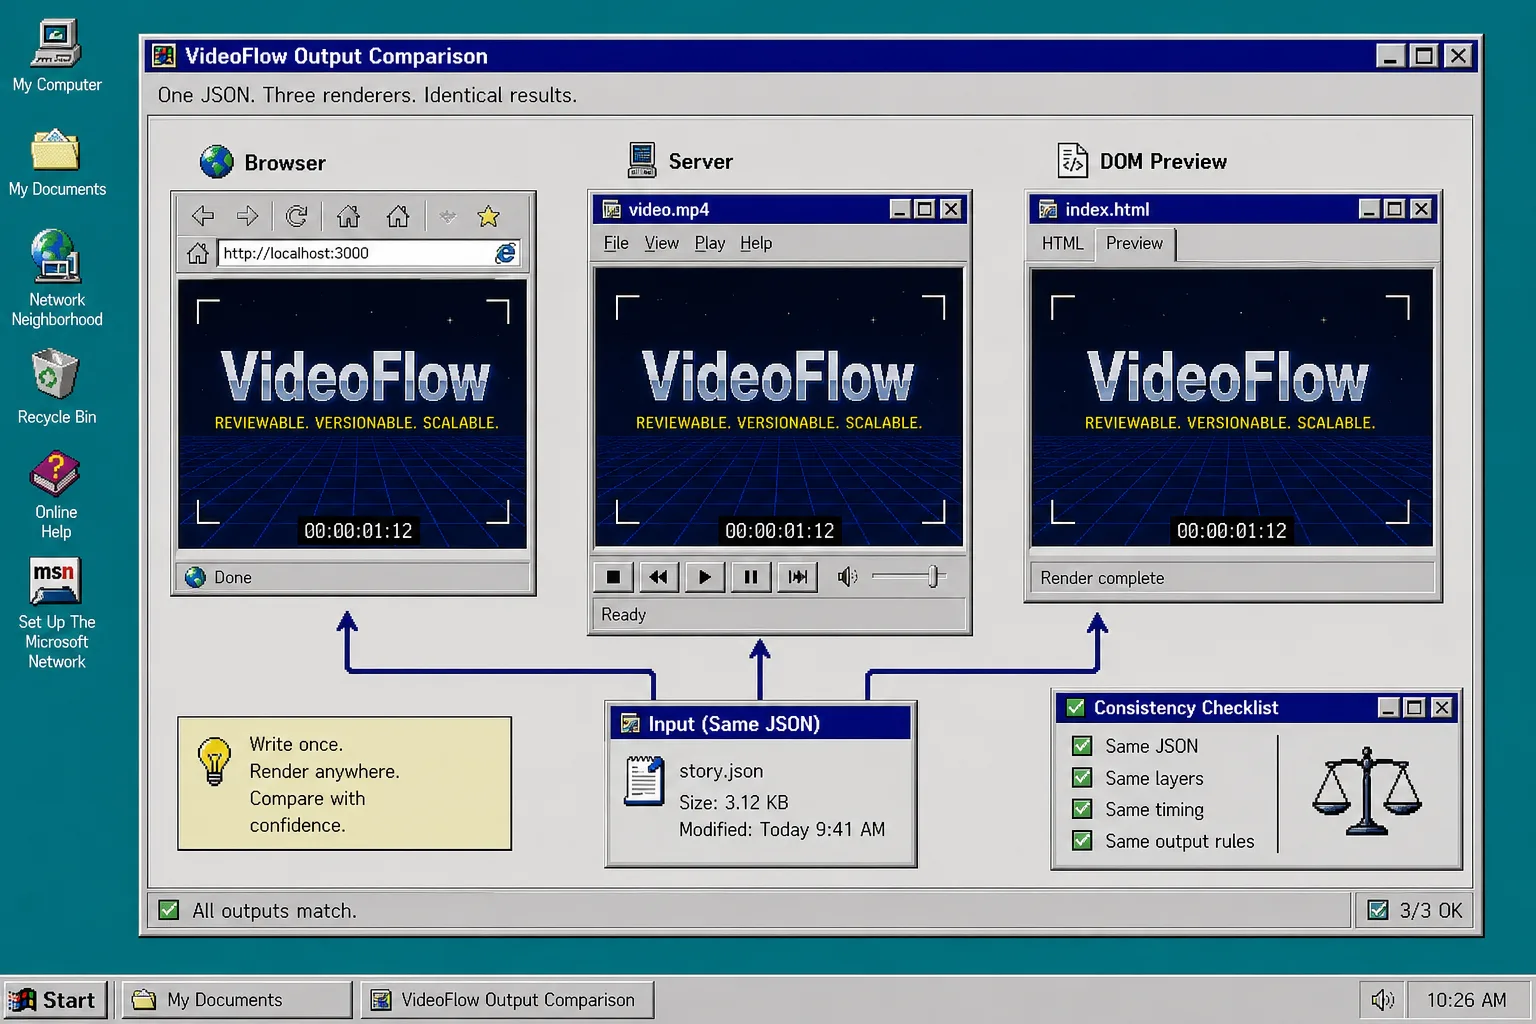
Use the browser renderer when the export should happen locally in the user’s session and you want to avoid sending the source project to a server. Use the server renderer for queues, APIs, CI jobs, or scheduled rendering. Use the DOM renderer when you need a live preview that stays in sync with the same JSON.
That choice matters because each renderer has a different operational shape. The browser renderer supports progress callbacks, AbortController cancellation, and worker acceleration. The server renderer is built for headless rendering from Node.js and can optionally use FFmpeg when you need it. The DOM renderer gives you a scrubbable, frame-accurate preview in the page.
If you want a more explicit decision tree, How I Pick the Right VideoFlow Renderer for the Job covers the tradeoffs in more detail.
6. Keep the project reviewable in Git
The last step is the one teams forget after the demo works: keep the JSON, scene definitions, and reviewer notes versionable.
Store the compiled VideoJSON in the repo or in a tracked artifact store. Keep the TypeScript builder small enough that a diff tells you what changed. Name your scene files after the intent of the shot, not after the renderer that happens to render it. That makes code review easier and makes AI-assisted generation easier later, too.
A simple review checklist helps:
- Did the source JSON change in a readable way?
- Did preview and final output match on size and timing?
- Did the reviewer sign off on the frame before export?
- Did the final MP4 come from the approved JSON, not a separate ad hoc timeline?
Troubleshooting
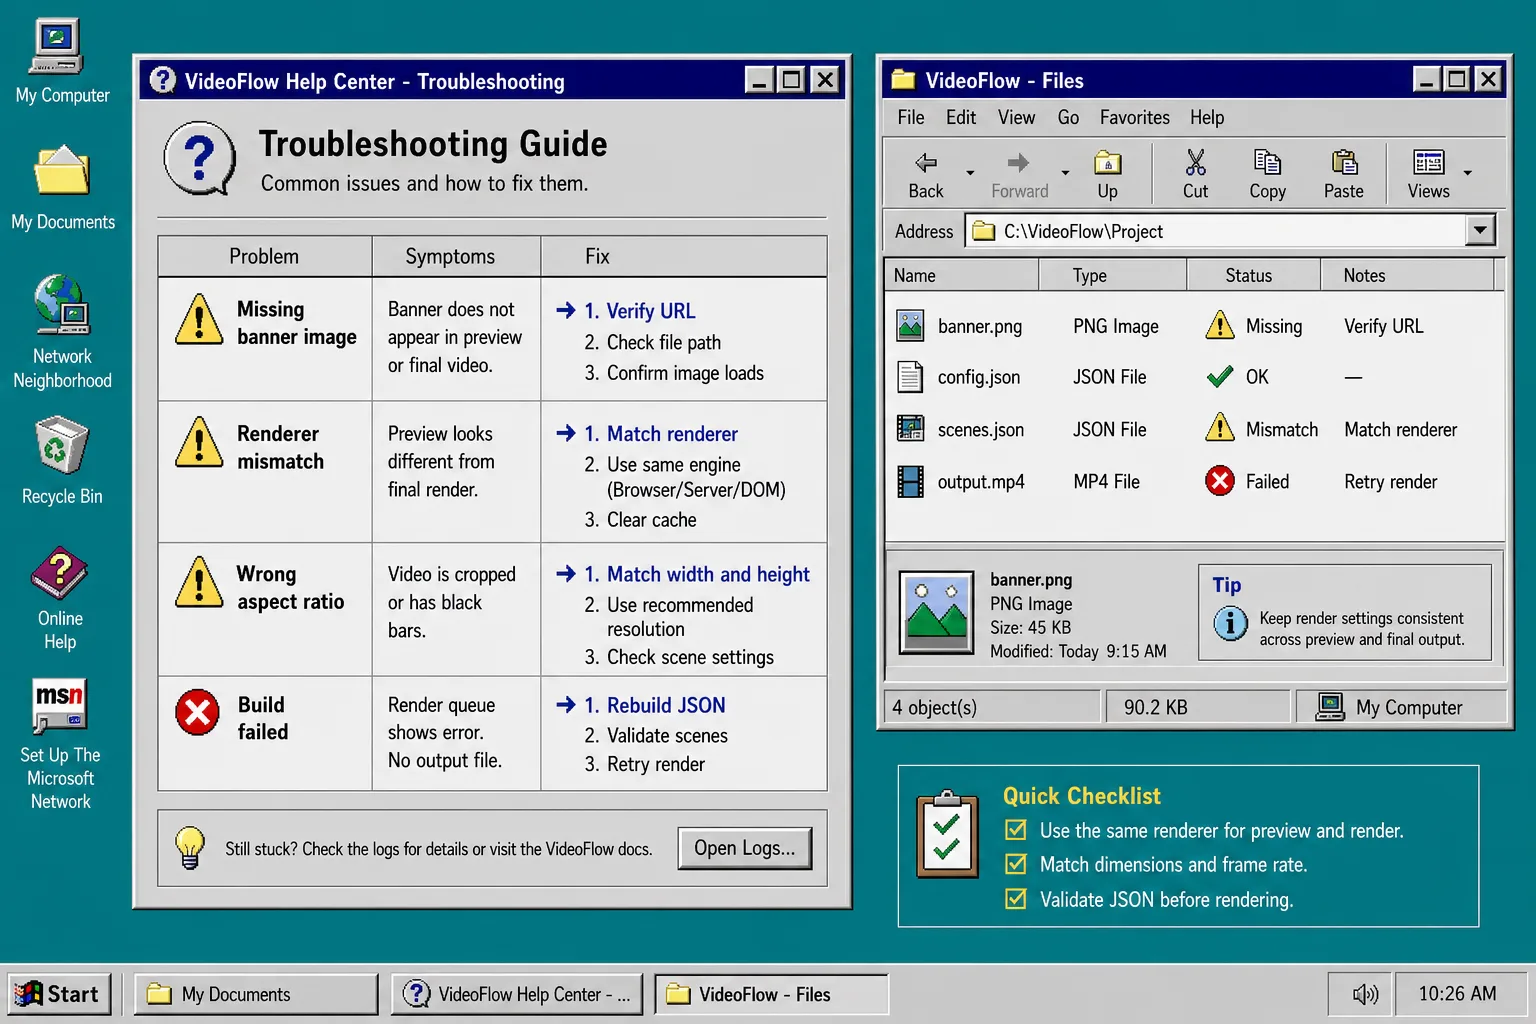
Most VideoFlow problems in a reviewable pipeline come from mismatched settings or hidden assumptions.
- If preview and render disagree, check width, height, fps, layer order, and the renderer you used for each step.
- If the browser render is slow, keep the scene smaller first, then rely on progress callbacks and worker acceleration.
- If React editor changes do not persist, verify that onChange and onSave both write the JSON you received.
- If exports are cropped, make sure the preview canvas and the final renderer use the same dimensions.
- If a banner or image is missing, confirm the URL is public and the uploaded asset is the one referenced in the post.
Wrap-Up
A reviewable video pipeline works best when the JSON is the source of truth and every rendering path is just a different way to look at the same project. That is where VideoFlow is strongest: author once, preview once, edit once, and render wherever the job actually belongs.
If you want to try it yourself, start with VideoFlow, read the docs, and wire one scene through the DOM preview before you add any automation around it.